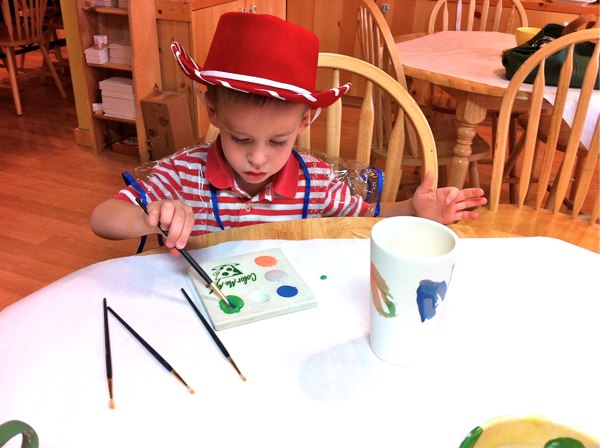
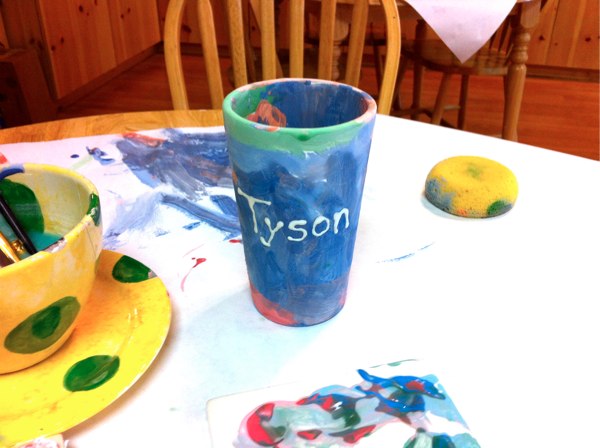
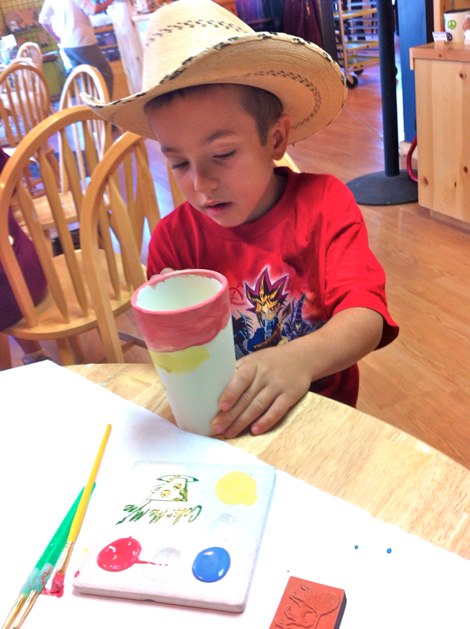
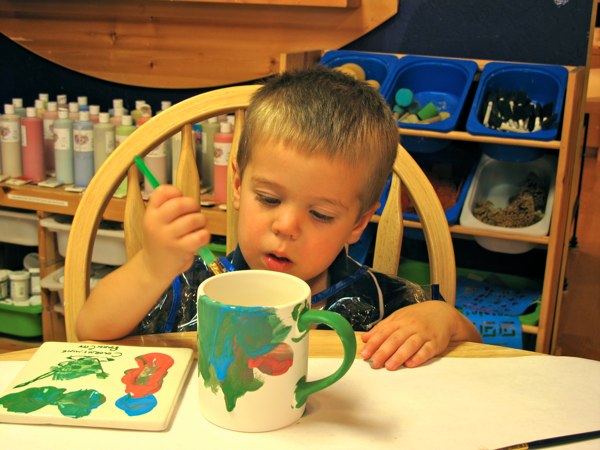
We had so much fun at Color Me Mine. I had always thought it looked fun, but am cheap frugal. While we were out visiting grandparents they wanted to take the boys to make their own cups to have at their house.
What fun we had! The boys loved it! It was even fun for my two year old. Was it Pricey? A bit. We paid $12 for each cup. They also have a sitting fee, but luckily we went when they were having a buy one get one free special.
So basically you show up, no appointment necessary and pick an item to paint. They have all kinds of stuff from cups and mugs to cute little animals and cars. Then you get a paint tray and put the colors you want on them (there are hundreds to choose from).
You finish painting and just leave it right on the table. No clean up necessary (my favorite part!). It takes about a week for them to put in their ovens and finish it up, but they really turned out great. Very good quality.
I really want to go back and paint a cute lizard to put on my back patio. So fun!
Anyway, if you have been thinking of doing this you should give it a try. We had a great time. I would definitely call ahead and try to go when they are having specials.
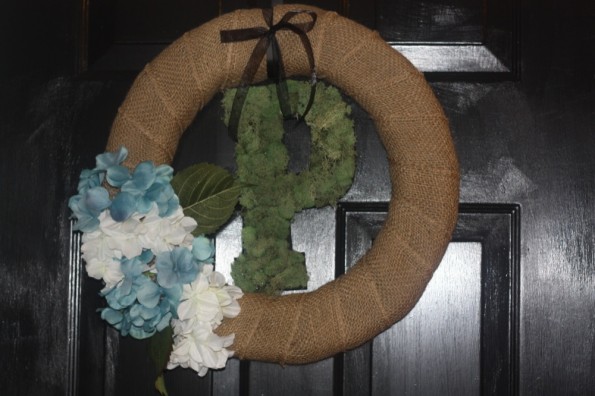
So, I recently saw something like this on Pinterest, but it kept linking to an error/site that could give a virus. So I would give credit, but I can’t this time. Look at what I made!
Isn’t this adorable!
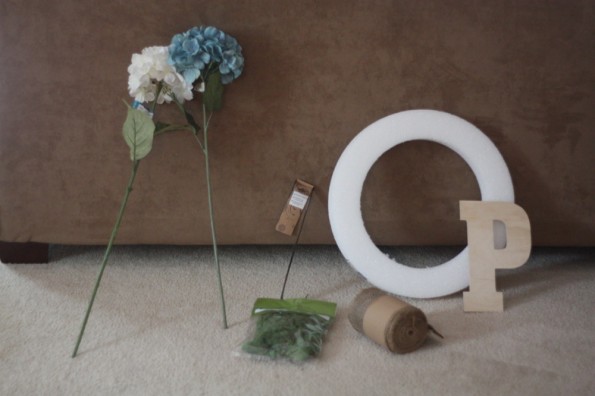
I went to Michael’s and got all of my supplies! This is what you need:
This is all you need!
Pick your favorite flowers, the letter you want, wreath, some burlap, moss and hook for the door.
All you do is:
Just wrap the burlap around the wreath, hot gluing it occasionally.
Glue Moss to the letter. (I actually painted my letter black before putting the moss on only because I would rather black show through than wood color).
Cut flowers and stick them into the wreath and also hot glue them.
Wahlaa, you have an adorable wreath for about $35!!!!!
So we are in the process of building a home in Palm City (near Jensen Beach) and have been staying with my sister and her family while we wait! It is always one big party with all these cousins together every day! They have so much fun together and it is crazy nonstop! My poor charitable sister! Ha!
I hope they will remember this time as one of the most fun times they have had in their lives… while I will probably remember them as the time I tired really hard to stay sane. Ha!
Anyway, to help keep the sanity around here we trade off weeks of who has to cook. The best part is that when it is my turn to cook I don’t have to help clean up! Hehe. So it is my turn to cook this week and we are all trying to eat relatively healthy (my sister calls it the “don’t-eat-like-an-@$$-whole-diet”). Ha!
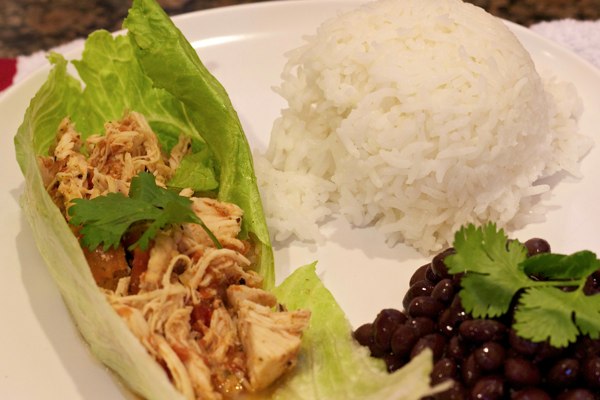
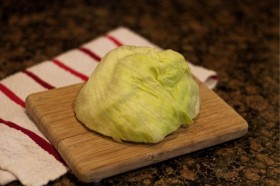
I cooked these delicious lettuce wraps, Mexican style! I probably liked them so much because I LOVE Mexican food… particularly fajitas. If you dont want to eat the carbs from the tortilla, stick it in a lettuce wrap! Yum!
The idea was inspired by my love of Chicken Tortilla Soup and Tacos!
Mexican Lettuce Wraps 1 packet of your favorite taco seasoning
6 chicken breasts
1 can diced tomatoes
1 can diced green chilies
*** Throw them all together in a crock pot. My chicken was still frozen when I put them in. Turn it on HI and give it 4 to 6 hours. Serve in lettuce and sprinkle on some cilantro! Yum!
Try it with a tortilla, cheese, and sour cream as well!!!!
If you like this, you might also like these recipes!
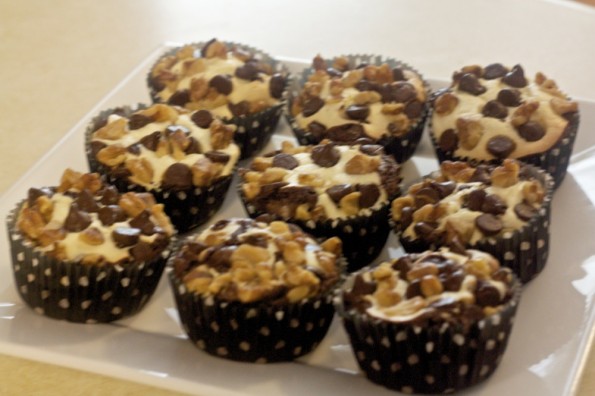
It only takes a small amount of extra effort to make a cute and visibly delicious dessert! Today, I made these beauties for husband with the help of my 3 year old.
Cheesecake Brownie Cupcakes!
I don’t think anything drives me more crazy than plain brownies cut and put onto a plate. Seriously, the five minutes of effort is being shown. Husband loves brownies and has been asking me for a few days to make some.
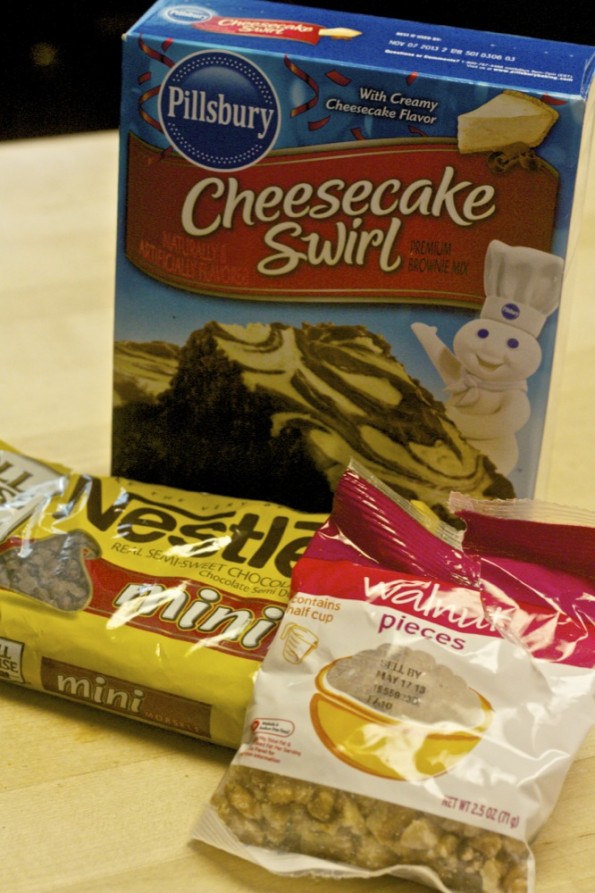
I pulled out my cheesecake swirl brownie box and I found the cupcake version recipe on it! Luckily, I had the two (yes, only TWO) extra ingredients on hand. Well, I take that back, I had walnuts and the recipe called for almonds, still it was a perfect taste.
Here is what you need:
This is all you need.... plus the extra ingredients for the brownies (water, 2 eggs, 1/3 cup of oil)!
It’s always nice to have some extra baking essentials on hand.
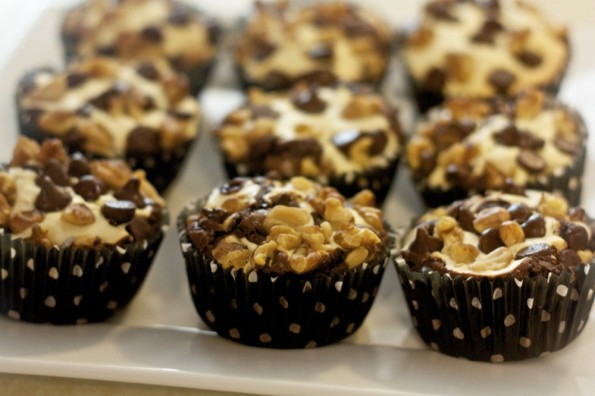
All you do is make the brownie and cheesecake batter. Fill each bin 2/3 full of brownie mix and then about 2 teaspoons of cheesecake batter. Throw some chocolate chips and walnuts on top. That’s it! Bake for 26 minutes on 350. The box said it would make 12, but I only got 9 out of it (I wanted it to overflow the cupcake holder a little). So delish and so easy!
So yum!
Maybe the next time you buy brownies, check out the extra fun recipes on the side of the box! There’s the semi-homemade dessert for ya!
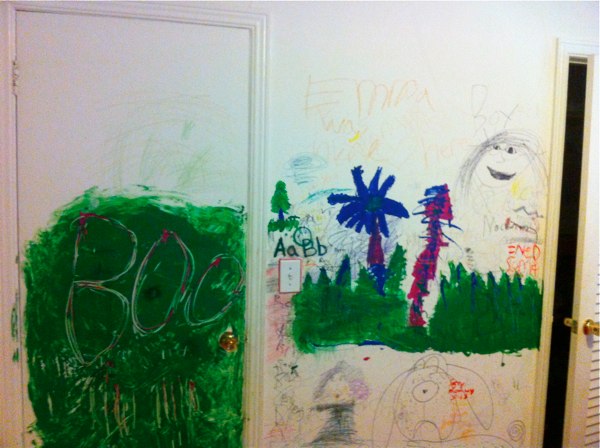
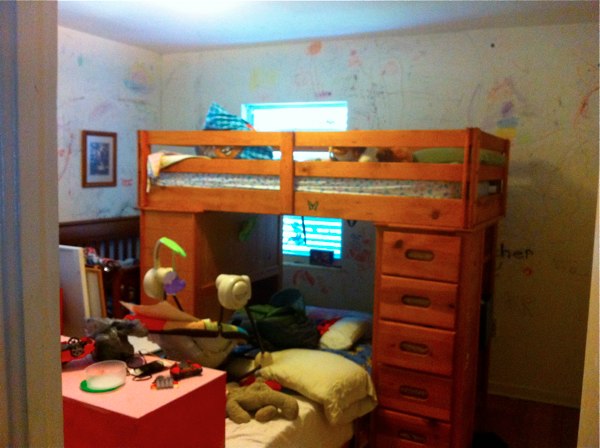
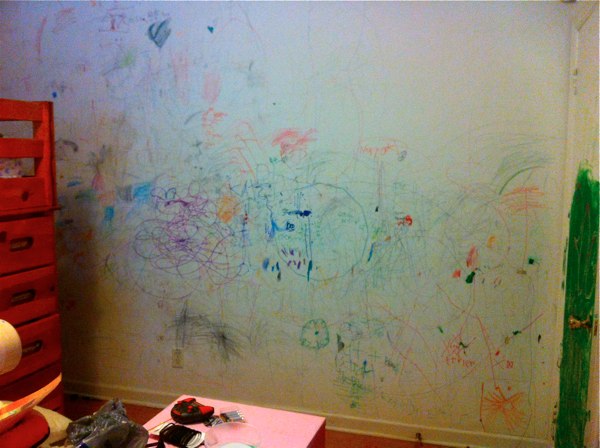
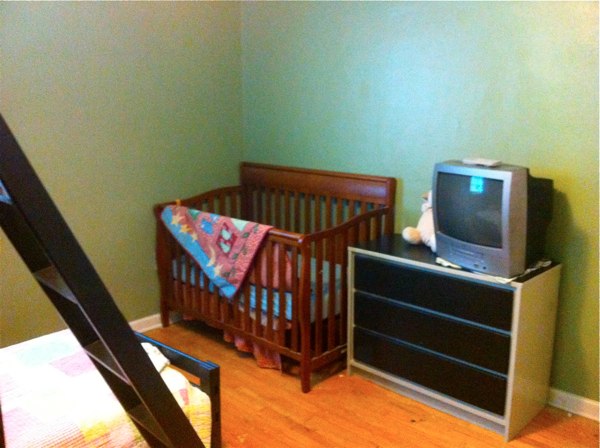
Okay so this was way too funny not to post. Check out these before pics of my niece and nephew’s bedroom! Hilarious!
My sister is way more chill than I am… I am too ashamed to even put how I would react if my children ever did something like this to any spot in my house. You know what they say, “Nothing stikes fear like the site of a toddler holding a open sharpie!”
Anyway, for whatever reason my sister thought it would be fun to let her kids color and paint anywhere they wanted in their own bedrooms. The kids had a blast and so did any of their friends that came over (as evident by all the different friend signatures on the wall).
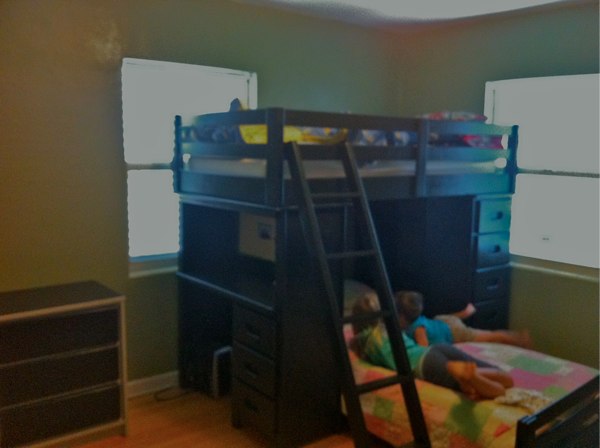
Anyway, after a couple years of this they were really ready to clean it up! Ha! So this is our before and after of the clean up job. It is not finished just yet and could use some curtains and cute little bedspreads, but even still, the difference is night and day.
The kids were sad to lose their “masterpiece,” but LOVE the new room!
We learned some very valuable lessons while cleaning this up…
1. An oil based primer must be used to get off any permanent marker and dark paint spots. The paint and primer in one was not strong enough and after it had dried the marker would still seep through… yep then we had to go over the marker spots again with the primer and then with the green paint.
2. They have an oil based spray paint primer that blends in on white ceilings nicely… this came in handy so we didn’t have to paint the entire ceiling, just sprayed the few spots they somehow were able to color on from standing on their bunk beds.
3. The paint in primer worked wonderfully on the furniture without doing any sanding, but did take longer to dry than the walls. Even when it felt dry on the surface it was still wet underneath the first layer. It took a full 24 hrs to be completely dry where we could put the mattresses back on the beds.
It is hard to see in this lighting, but the room is now a nice sage green color.
I love the way the dresser turned out with the grey trim.
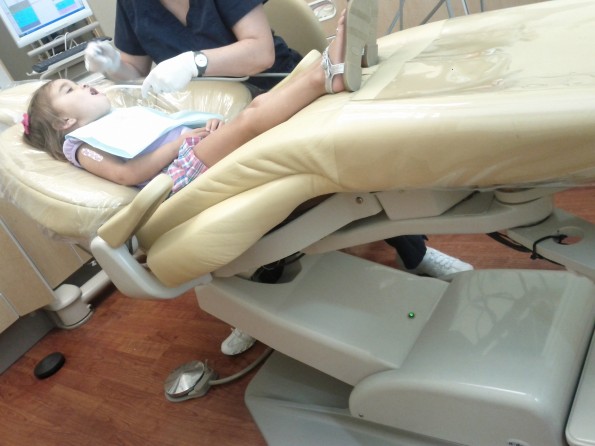
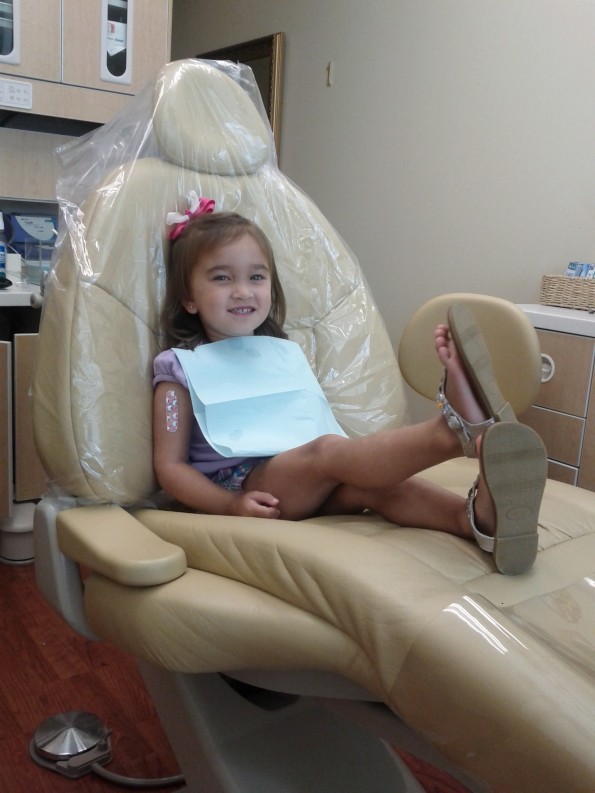
At Ella’s 3 year check-up, the doctor said it was time for the dentist! I had no idea what to expect. We immediately let her watch some positive YouTube videos of the dentist. But, I think the best thing that we did was allow her to go to the dentist with me for a check-up. Trust me, I know all kids aren’t the same, but this helped her. She sat in the chair the whole time and was intrigued with every tool. We’ve also always said positive things about the dentist. Here she is, all ready!
She's SO ready to get her teeth cleaned!
I have some tips!
1. Choose a family friendly dentist! The hygienist at our dentist office has a 2 1/2 year old girl and knew exactly how to talk to her. Ours was not a pediatric dentist, but they are very kind hearted, so I knew they would be great with her.
She looks so big!
2. Prepare, prepare, prepare! Talk about how much you love the dentist and how great your teeth feel. You gotta coach them into it!
3. Take them with you! When she went with me, the hygienist explained everything to her.
They cleaned and counted her teeth. They even let her choose chocolate toothpaste! Look at my sweet babe all grown up!
My little princess!
Make sure you take your child to the dentist, I would say definitely by 4. If you haven’t, now is a good time. I can definitely recommend a good one in NoVa!
Not only did she have her first trip to the dentist, but she also had her first day of preschool.
Okay, okay. Let me preface this by saying: I know I say all my recipes are so dang good, but this one. Oh mannnnn. I don’t even like olives and I fell in love with them here! I’m such a soft cheese person. It was the thing I missed most when I’m pregnant. I crave bleu and feta cheese all through my pregnancy and I can’t have them! Seriously, go to the store and buy these ingredients. You WON’T be disappointed!
A big shout out to my friend Karyn! We had her and her husband over for dinner one night and she brought this! Seriously, try it or bring it to someone’s cookout. It’s SO delicious!
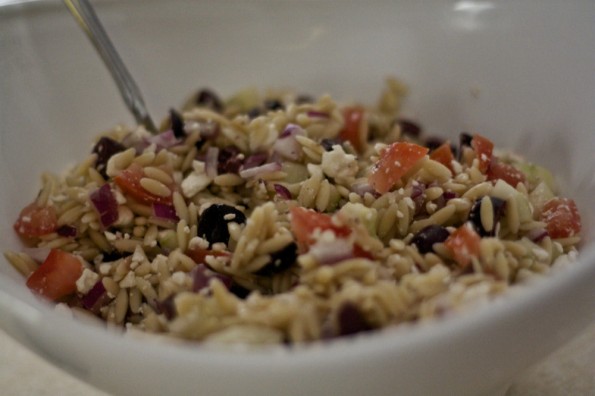
Orzo Pasta Salad - SO DANG GOOD!
All you need is:
1 1/2 uncooked pasta
1 tomato, seeded and chopped
1 cucumber, seeded and chopped
1 red onion, chopped
1 cup crumbled feta
Jar of kalamata olives, drained (I also cut them in half)
1/4 cup chopped fresh parsley
1 tablespoon lemon juice
2 tablespoons olive oil 1/2 teaspoon dried oregano
1/2 teaspoon lemon pepper
1/2 teaspoon salt
All you do is:
Cook orzo al dente and mix everything together! Wahlaaaaaaa.
So.dang.good. I know it’s not diet friendly, but who diets when you have people over or when you go to someone else’s house.
Human exploitation, conflict diamonds and environmental damage are all major issues facing the jewelry industry today. Many, if not most, jewelers do not deal with these and turn a blind eye. Introducing Ingle & Rhode, a jeweler that not only recognizes these issues, but has created a solution.
Ingle & Rhode have extensively investigated and pioneered a supply chain that allows them to trace the origin of all materials (gold, diamonds, etc.) used in their jewelry. This chain gives their customers peace of mind, with proof that their jewelry does not come from businesses that exploits their workers or from countries and organizations that fund wars.
It doesn’t stop there. Locating and mining for these materials traditionally has had a negative impact on the environment. It does not have to be that way and Ingle & Rhode only trades with businesses that minimize their environmental impact. This includes using recycled platinum in their jewelry.
Continuing their pioneering ways, Ingle & Rhode is one of a handful of jewelers that have been licensed to sell certified Fairtrade & Fairmined gold jewelry. This creates a fair playing field for communities to compete with global trade.
Ingle & Rhode create amazing jewelry that receive great reviews
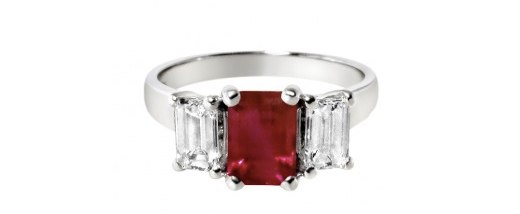
Now that you know what they stand for, let’s talk about their jewelry. Ingle & Rhode designs and creates custom jewelry to fit many different budgets and personal styles. Meet and work with one of their experts to create a unique piece that can be luxurious or as budget-conscience as you would like.
If you are worried that the exceptional quality and pioneering safeguards will increase the price, think again. Ingle & Rhode’s custom-made jewelry is priced competitively. But there is no upper-limit, so if you have something more expensive in mind, brief their experts and let them exceed your expectations. Jewelry is usually completed within six weeks.
Ingle & Rhode delivers exceptional custom jewelry while giving their clients the peace of mind that the environment, local communities and workers are treated with respect. Reviews of Ingle & Rhode are extremely positive. They have an abundance of satisfied clients, and Ingle & Rhode reviews across the internet are very positive.
This recipe is so easy! It will make you so happy! It makes me so happy! While I was out in Utah visiting my BFF she made us the yummiest snack! It took her all of three minutes to pull it together and it was awesome!
Anyway, if you are in a jam for a quick and yummy snack for the family try this out! It was awesome and everyone in the family enjoyed it!
Easy Caramel Popcorn
1. Pop 1 bag of popcorn, then scoop it up by handfuls into a large bowl so that you do not get any unpopped kernels in the bowl.
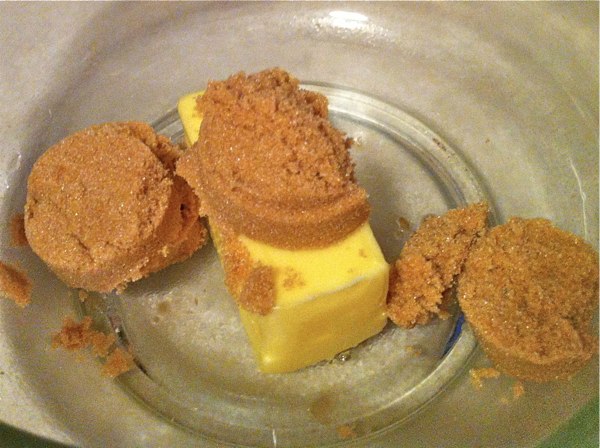
2. Put 1 stick of butter and 1/2 cup of brown sugar in a microwave safe bowl and heat for 2 minutes. Stop it half way through and and stir.
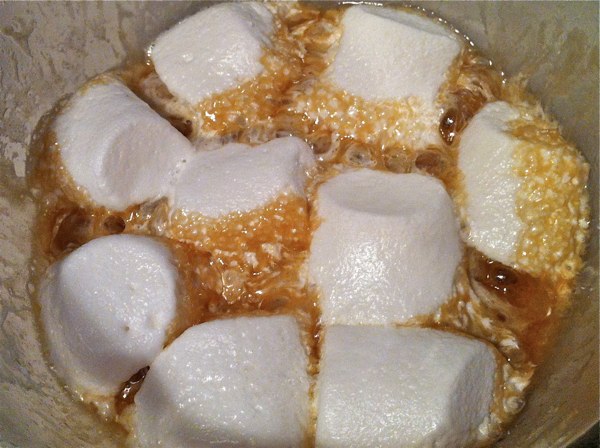
3. Put 8 to 10 large marshmallows in the bowl with the butter and sugar and heat for one more minute.
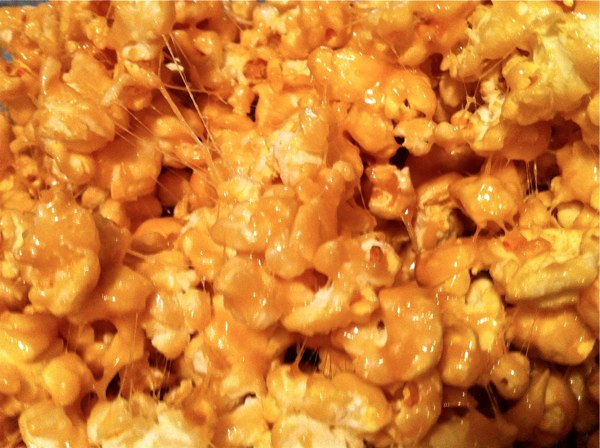
4. Stir the marshmallows in until completely combined, then poor over the popcorn and mix.
Eat it up and enjoy! I made this just the other night again on my own and added some m&m’s. It was yummy that way too!
Ella and I had a great time learning the letter A! She loves all the crafts that come along with the learning.
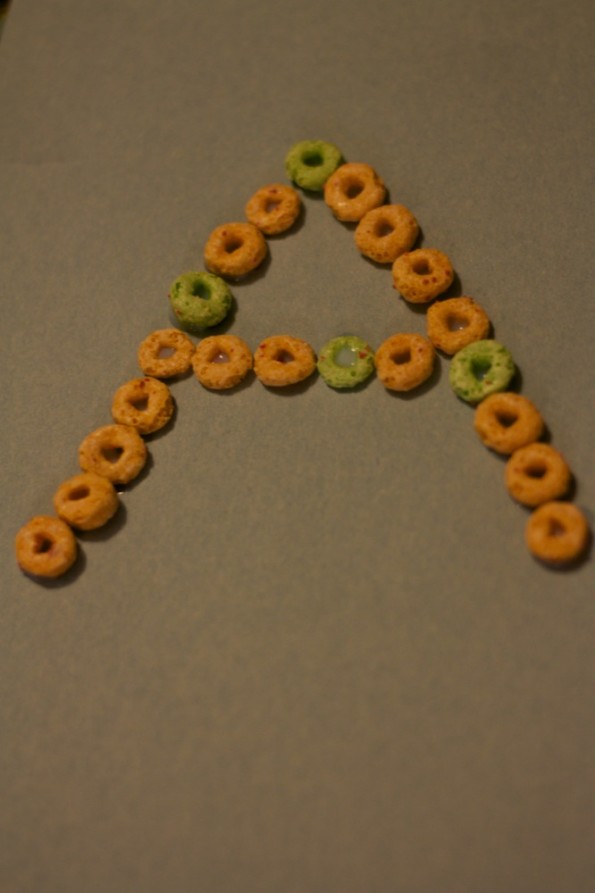
The first thing we did was take A-pple Jacks and create an A.
Used Apple Jacks to create an A.
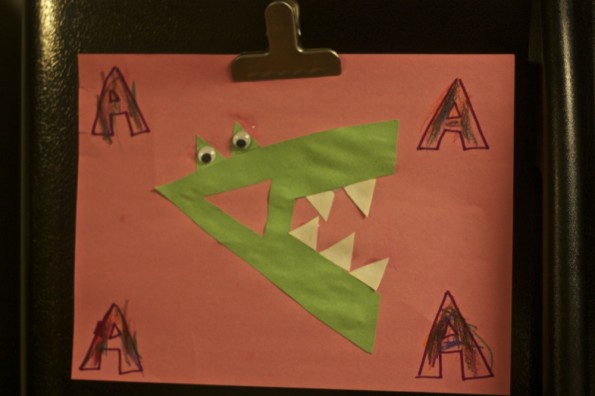
Next, was my favorite part! We created an alligator “A” that I learned from this cute blog! All you need is green, white and another color paper and some googly eyes. That’s it!
Our alligator "A"
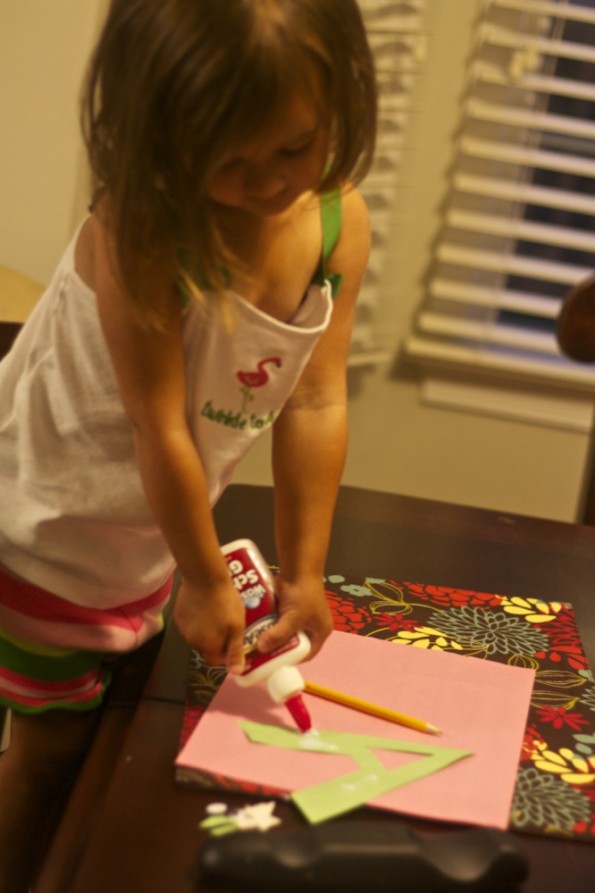
Here she is working on it!
Ella working on her alligator.
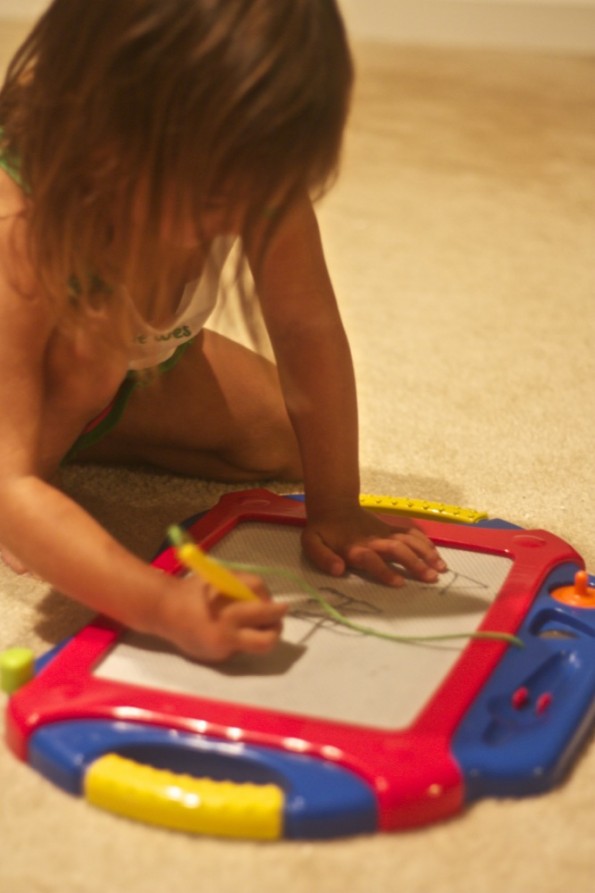
Next, Ella did a great job practicing writing the letter A on her aquadoodle. I think EVERY kid needs one of these. They never get old. Here is the one we have.
Using her A-quadoodle to make an A.
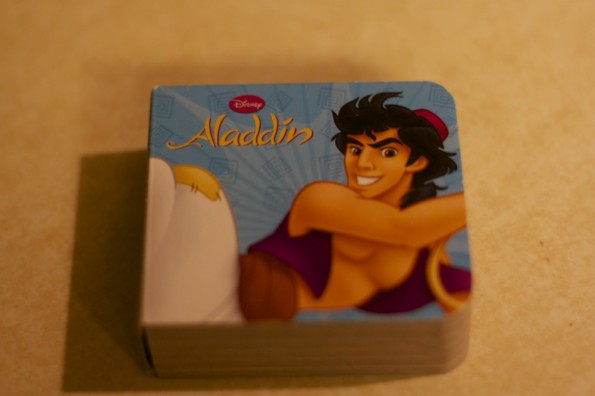
Lastly, we read Aladdin! She loved it!
We read Aladdin.
It was a great day and we had an awesome time!!
Check out how we taught our kids all the other letters!