
Enchanted Mommy

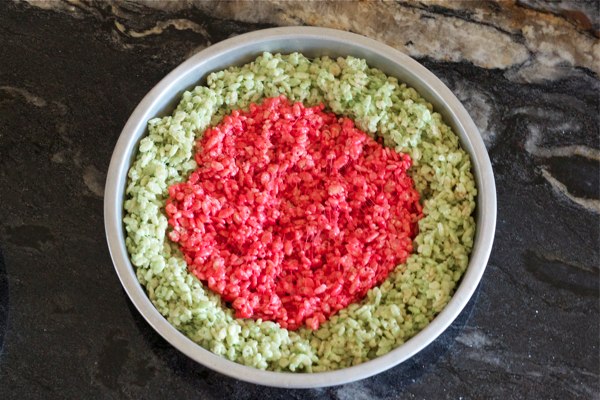
Watermelon Rice Krispies

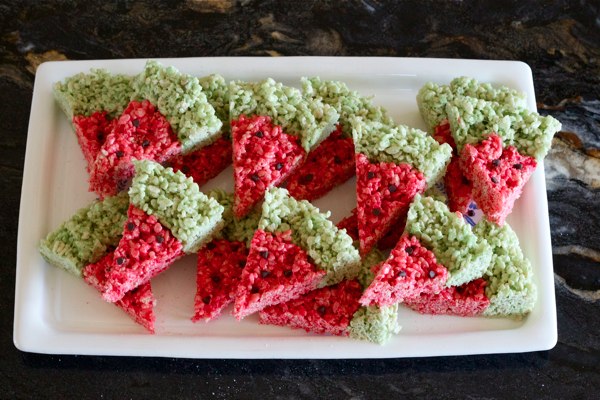
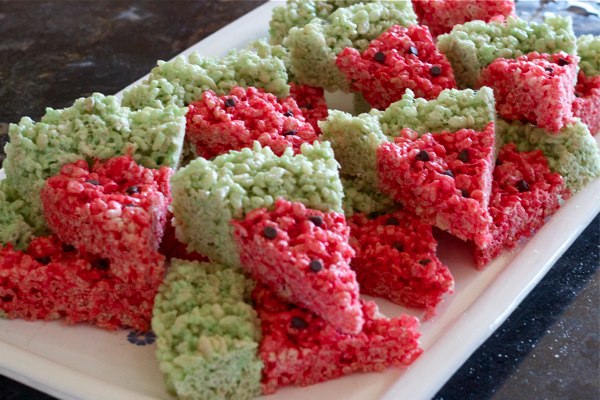
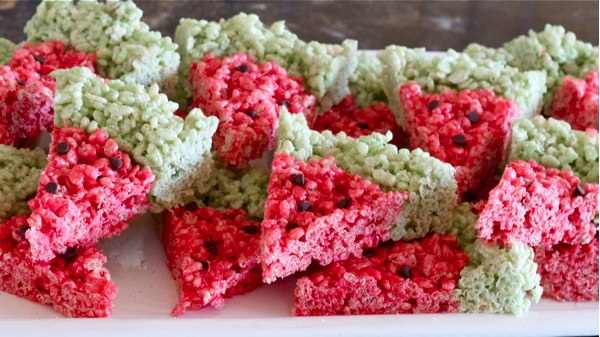
How cute are these!  I know right!  I am on vacation right now visiting a lot of family and got invited to a bbq at my Aunt’s house (well more like I invited myself over, but hey you can do that with family when you are in town).  I wanted to bring something yummy, but simple and found these on www.glourioustreats.com.

My 7yr old watched me make them and kept begging to eat one.  I was mean and told him he had to wait until after dinner.  He ran up to me after he ate all his food and asked me to get him one, but when I went to grab them off the plate they were all gone! Poor kid!!!

Don’t worry, he was plenty happy after he was offered a chocolate dipped ice cream bar instead.

Anyway, these are super fun and cute and really simple to make.

Watermelon Rice Krispie Treats

1 box of Rice Krispies Cereal
6 Tb butter
1 large bag of mini marshmallows
1 bag of mini chocolate chips (she used chocolate covered sunflowers, but I was going for easy)
2 round cake pans

Green Part:

4 Cups rice krispie cereal
4 cups mini marshmellows
3 TB butter
green food coloring

1.  Measure out rice krispies in a large bowl and set aside.
2.  Put butter and marshmallows in a microwavable bowl.
3.  Microwave for 2 minutes or until big and puffy.
4.  Add food coloring and stir.
5.  Quickly poor over rice crispy cereal and mix well.
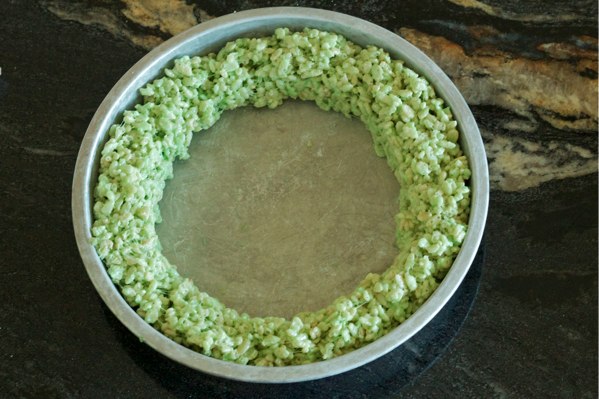
6.  Put 1/2  in each round cake pan and push around the outer edges.  Make sure to work quickly!
Red Part:

5 Cups rice krispie cereal
5 cups mini marshmellows
3 TB butter
Red food coloring

***Repeat steps above and pour in the center of cake pans and make the center.  Let them cool for a bit, then cut them into triangles like you would cut a pie and and add a few chocolate chips to each piece.

Yummy!  If you have more round cake pans I recommend making extras as they are grabbed up quick!


Looking for more great bbq sides to bring to your next shin dig?  Check these out:

Peanut Butter Fudge Brownie Trifle             Fluffy Lion House Rolls
Banana Pudding Trifle                                    The Best PB Chocolate Chip Cookies
Roasted Red Pepper Hummus                       Avocado Hummus
Chicken Salad                                                    Cookies’n Cream Cookies
Avocado and Tomato Salad                           Chocolate Chip Snickers Cookies
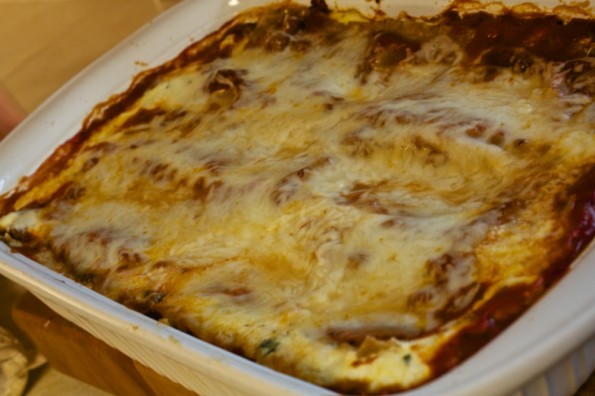
 

Whole Grain Lasagna – South Beach Phase 3 Friendly

I know, I know… I’m moving from Paleo to South Beach.  Well, I still am a HUGE fan of Paleo, but I figure why not add some grains every once in a while.  I also did South Beach Diet after I had both my girls and it really helped me lose the weight really fast and I would totally recommend it to anyone!

south beach lasagna

So delicious!!

Oh yeah…. I also made lasagna last night for a friend that just had her baby.  I used regular noodles and regular sauce for her.  Mine still tastes delicious, I just think sometimes people get weirded out by darker noodles.

Here is what you need:

1 lb. ground beef
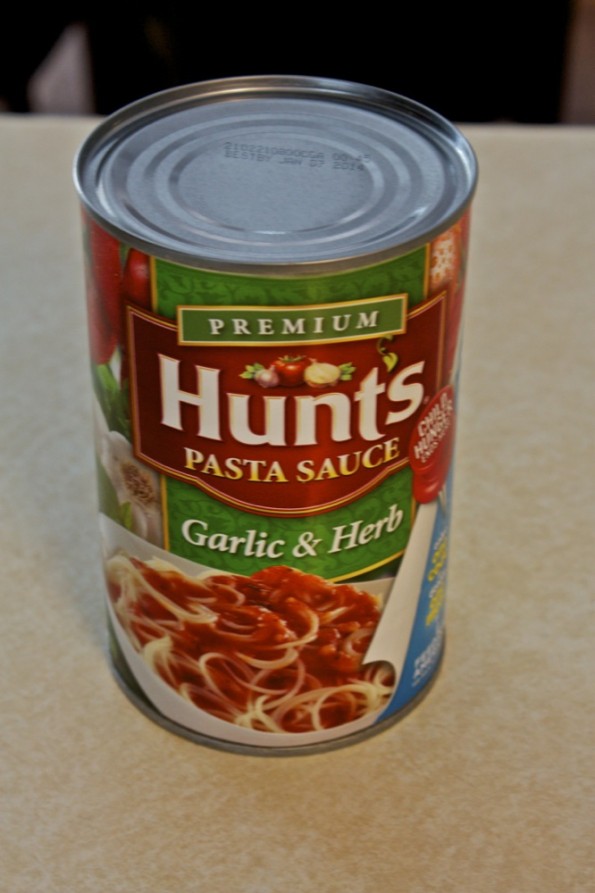
1 1/2 jars hunts garlic and herb spaghetti sauce (It’s the ONLY one that doesn’t have added sugar), look at pic below

hunts tomato sauce

Hunts pasta garlic and herb sauce.

1 3/4 cups (15 oz container) ricotta (MAKE SURE IT IS PARK SKIM)
2 cups shredded mozzarella, divided
2 eggs
1/4 cup chopped fresh parsley
1/2 teaspoon salt
1/4 tsp ground black pepper
9 pieces Ronzoni Healthy Harvest Lasagna Noodles (I found mine at Wegmans)


All you do is: 

Heat oven to 350 degrees.
Brown meat in pan; drain.
Add spaghetti sauce and simmer 10 minutes.
Stir together ricotta cheese, half mozarella, eggs, parsley, salt and pepper.
Pour 1 cup sauce in 9 x 13 baking dish (I feel like I have to add a little more to cover the entire bottom).
Arrange 3 UNCOOKED pasta pieces lengthwise over sauce; cover with one cup of sauce.
Spread one-half cheese filling over sauce.
Repeat layers of lasagna, sauce and cheese filling.
Top with layer of lasagna and remaining sauce; sprinkle with mozzarella cheese.
Cover with foil.
Bake 45 minutes.
Remove foil; bake additional 10 minutes until hot and bubbly.
Let stand 10 minutes before cutting.
Makes 12 servings!

I got this recipe from the back of the ronzoni healthy harvest box.  It’s SUCH a keeper.  I really loved it!


Making Cowboys out of City Boys!

This summer we have set off on an adventure!  First we drove across the country in our mini-van… no joke.  Three boys, me and the hubby, and our dog Koda.  We started in Northern Virginia (Washington DC area) and ended in Utah.  The kids did great in the car and we had a good time being silly, watching movies, and singing songs!

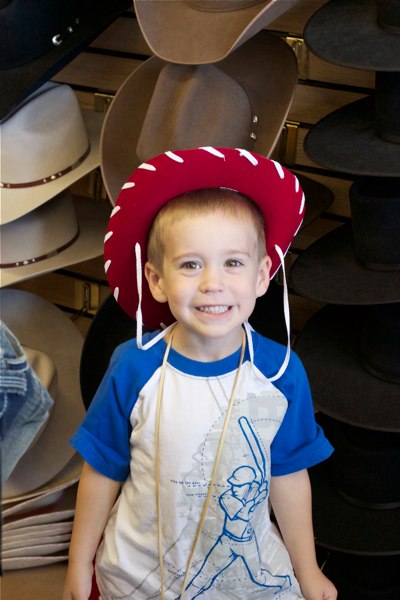
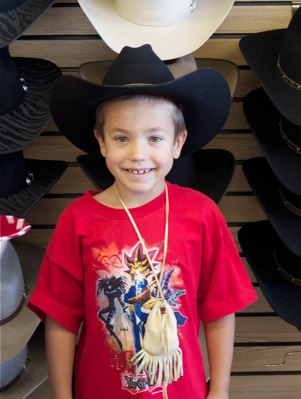
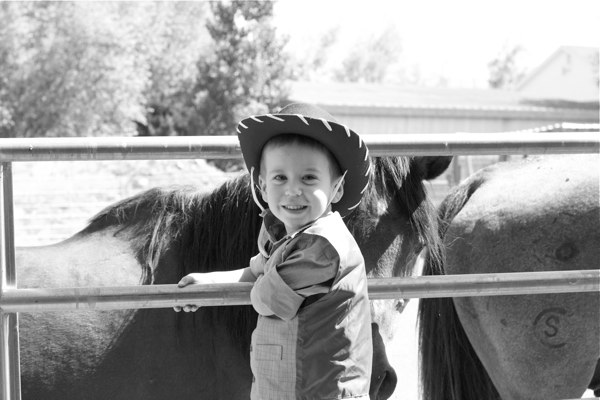
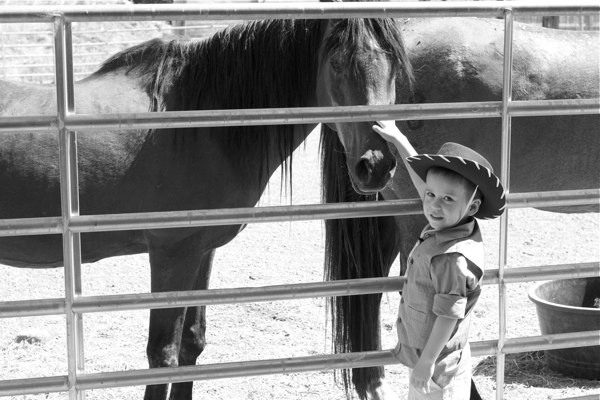
We made it to Utah on day 3.  Heber City, Utah to be exact.  When we arrived, Grandpa took the boys to pick out their own cowboy hats to wear around the ranch all summer! The boys had so much fun trying on hats!

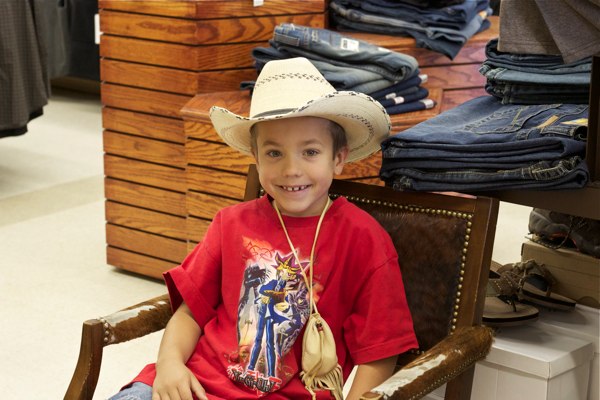
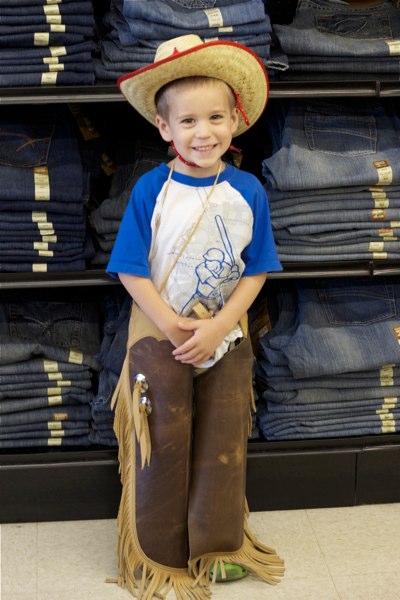
Afterward we got a lot of really good cowboy pics around the ranch!  Here are a few of my favorites…

This little guy continues to be such a ham long after the other boys are sick of me taking pics of them.

We love this one of our two year old because it captures the essence of his grouchy personality.

More posts to come on how the teach these city boys from the DC area how to work on a ranch!  We will be staying here for several weeks then will be off to Florida… another long drive back across the country!

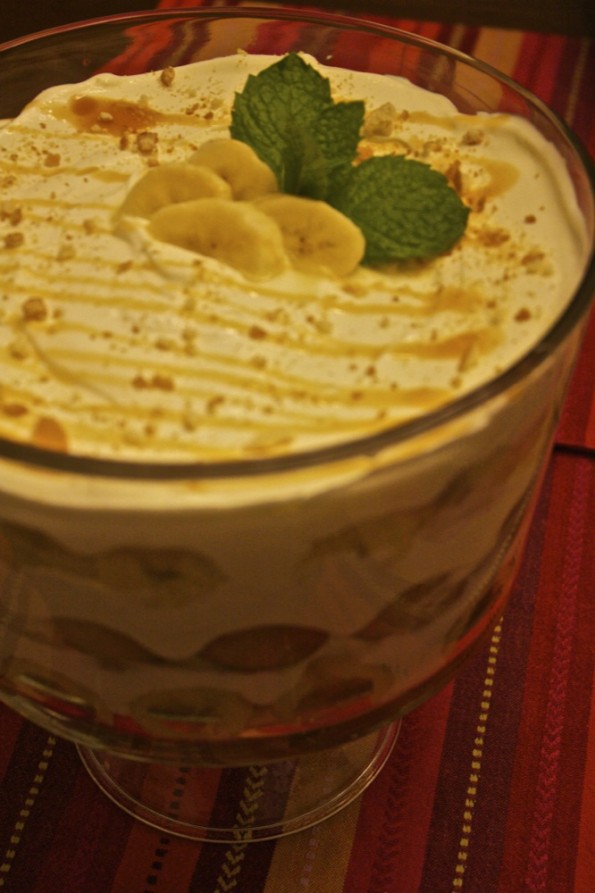
Banana Pudding Trifle — Amazing!

Happy 4th of July!!!!  We’ve had such a great day.  One reason was because of this beauty!!!!

So delishyummysavoryummgood!

I bet you’re wondering how you make it!  It’s so easy and fun!  Trifles are such a great way to serve dessert and a must have in the kitchen.  If you don’t have one, check out the one I have here.

All you need is:
10 bananas
12 oz. cool whip
16 oz. sour cream
1 box instant banana cream pudding
2 cups milk
1 box vanilla wafers
lemon juice to soak bananas

Topping:
few pieces of mint
3 vanilla wafers put in plastic bag, crushed up
a little bit of caramel topping


All you do is:
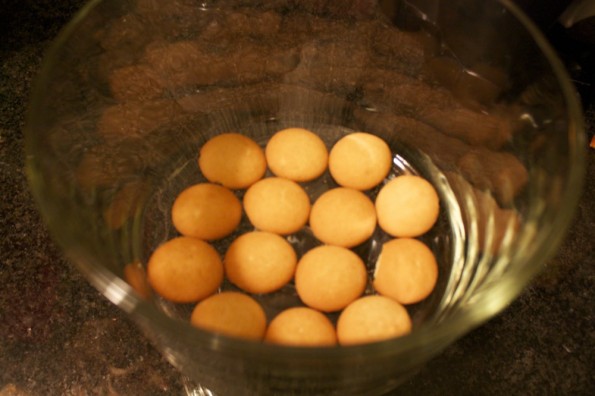
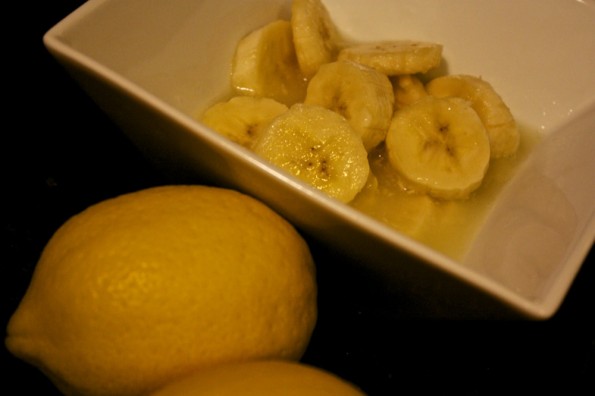
Mix pudding (I used a hand mixer) with two cups of milk.  Let sit for about 5 minutes.  I started putting the vanilla wafers in the trifle and cut up bananas to soak in lemon juice while I was waiting.

banana pudding trifle

Start off by putting vanilla wafers on the bottom and standing up against the glass.

soaking bananas in lemon juice

Make sure you soak your bananas in lemon juice to keep them from turning brown!

Mix cool whip and sour cream in with the pudding after the pudding is set.

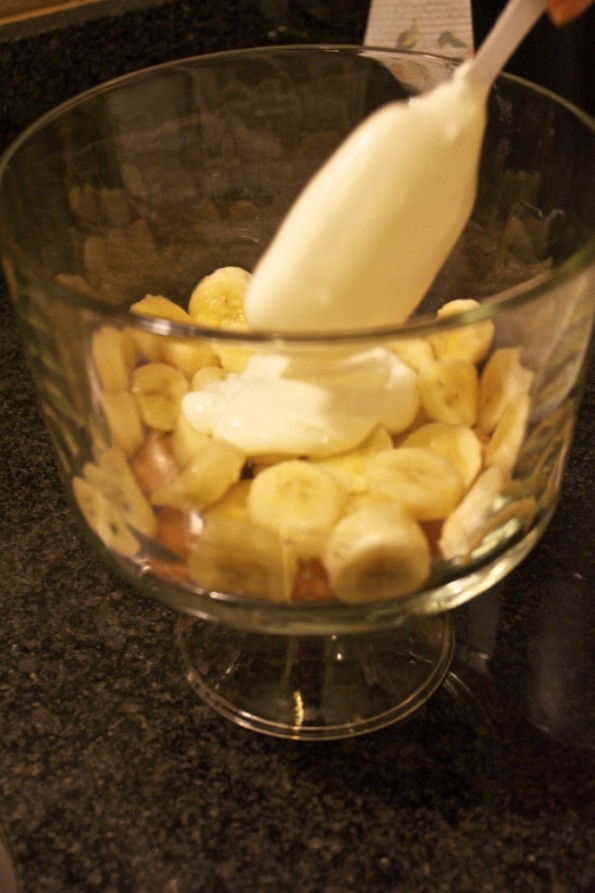
Layer the trifle- vanilla wafers, bananas and pudding mix and repeat.  Make sure you put bananas and vanilla wafers up on the side.  It makes it look utterly delish.

layering a banana pudding tifle

layer vanilla wafers, bananas, and pudding mixture

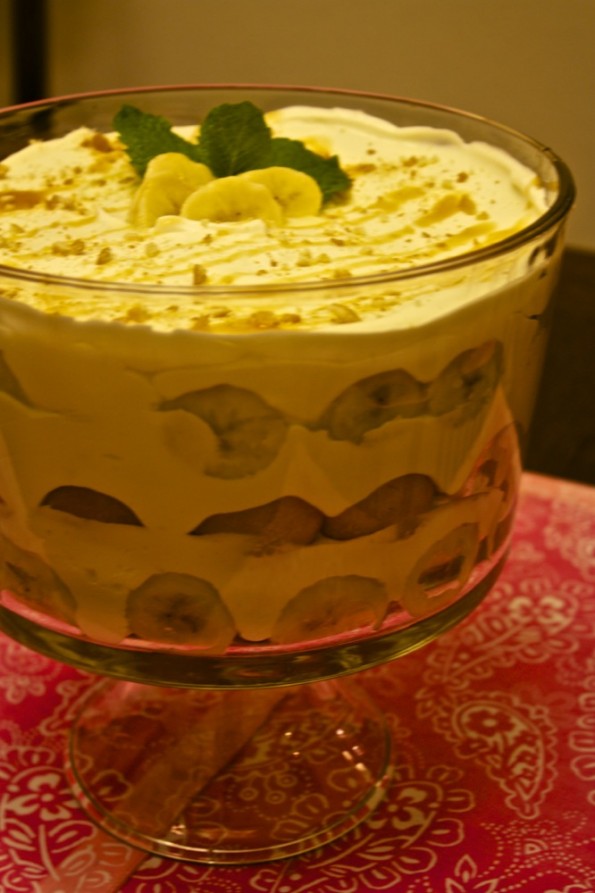
Top with some caramel, crushed vanilla wafers, a few bananas and a couple mint leaves.

There you have it.  A yummy trifle!

trifle

My beautiful trifle!


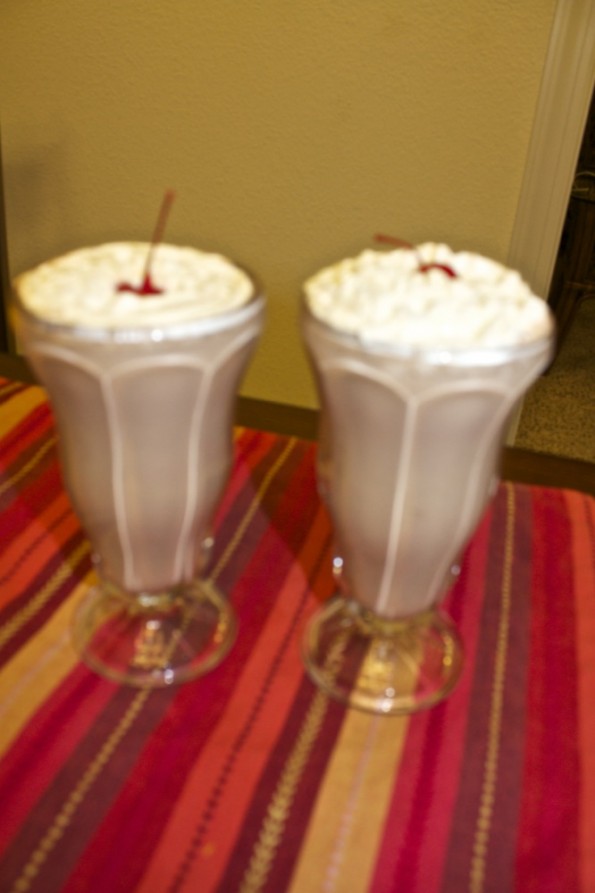
Then, I was hungry later (don’t hate it’s July 4th, my diet went out the window).  I made banana pudding milkshakes!  Take the leftover trife and add a little milk and ice cream.  YUMMMM!

Then, we made banana pudding milkshakes! Take the pudding and mix it with some ice cream, add whip cream and cherries. Chick fil a, you got nothing on us!

These were the perfect ending to a perfect day at the beach spent with the family.

girl on the beach

My sweet one on the beach!

Check out our other trifles:

Red, White and Blueberry Trifle

Peanut Butter Fudge Brownie Trifle


Lemonade Stands!!!

So my six year old has been begging for quite a while now to sell lemonade.  I have been crazy busy with moving and kept distracting him and putting him off.  I finally gave in this week.

Why in the world didn’t I let them do this sooner???  Seriously!!!!!  It kept them so busy!!!  I would let them have one every single day if it didn’t bug the neighbors!

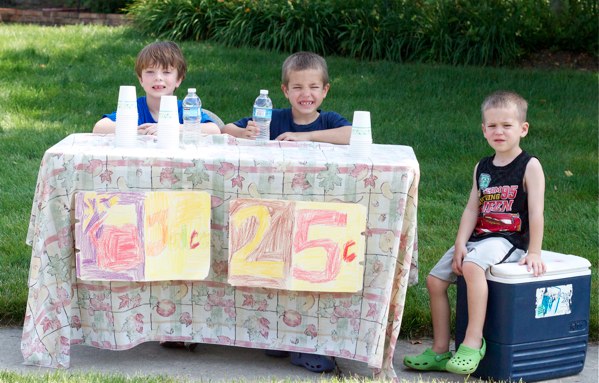
The hardworking adorable boys waiting anxiously for cars to drive by!

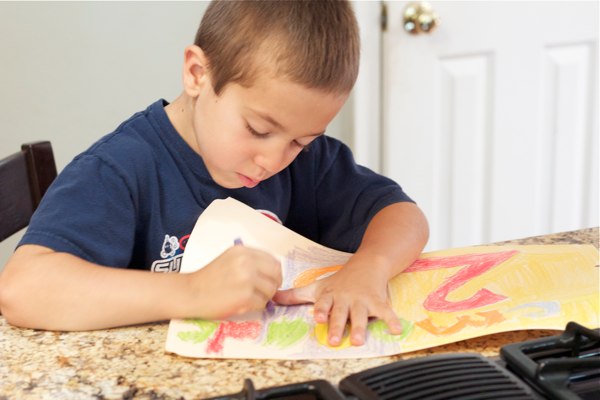
They spent all day coloring signs… really nice detailed signs!  Apparently they are more motivated to really do a good job if they think it will make them more money!$!$!

So after working all day on signs they set up a little table with cups and waved and jumped at every car that drove by… really the cutest thing ever!

I decided that anyone who drives past a lemonade stand without stopping is completely heartless!

Working hard on his sign!

We turned the lemonade stand into a math lesson.  The kids counted the money and then divided it up evenly.  They also figured out how much profit they made after subtracting the cost for the lemonade.

The boys each ended up with $3.75 after an hour and half of selling 25 cent cups of juice.  They were very excited!

Not bad huh!  The kids were busy, I got tons of stuff done, and they actually learned something!

Pom Pom Tutorial

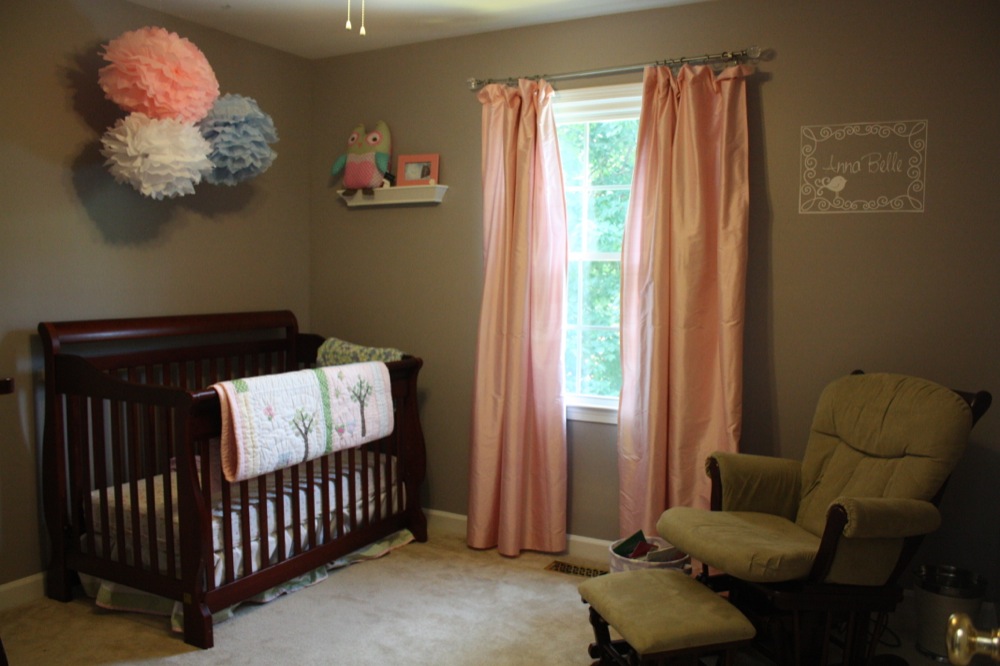
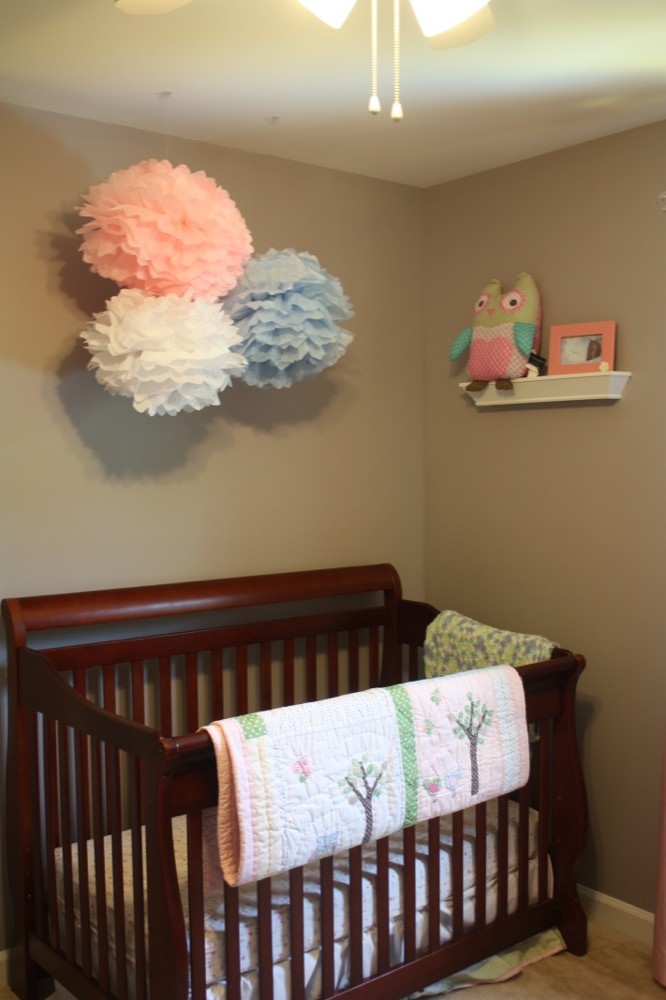
I don’t know what it is about me and my girls’ rooms, but I kind of choose odd or should I say different colors than you would expect for a girl.  I knew I wanted Anna’s room gray and pink and I wanted Ella’s room blue with pink accents (post on that later).  We recently moved into this house and this is the first chance I had at decorating her nursery even though she’s 15 months old now!  My friend came over a couple weeks ago and showed me how to make the pom poms over Anna’s bed.  It was just what I needed for that blank space.  I’m real simple, I just wanted a few to hang over her bed.

owl nursery

Most of her room! I needed something over her bed and this was perfect!

So, I bet you’re wondering how it’s done.  It’s SO simple that I’m almost embarrassed to tell you!

What you need is:
12 pieces of tissue paper times the number of pom poms you want to make
stapler
scissors
fishing line
hooks for ceiling that won’t show — like the ones here

All you do is:

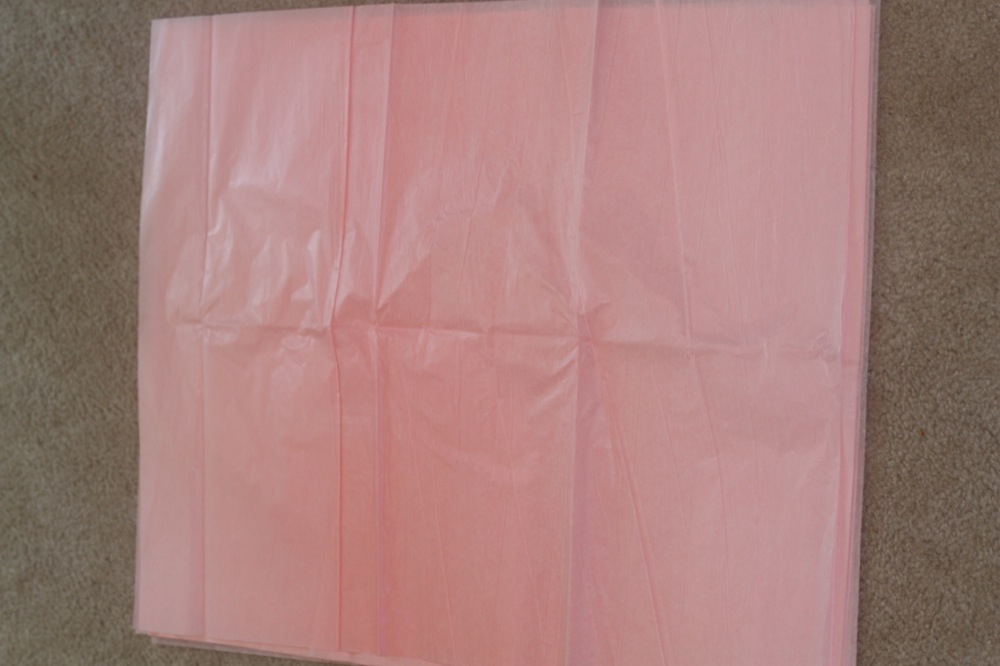
1.  Lay your tissue paper out flat on the floor.

pom pom tutorial

Choose 12 pieces of tissue paper.

2. Start folding about 1″ over, under, over, under, etc.

pom pom tutorial

Fold accordion style. I do mine about an inch wide.

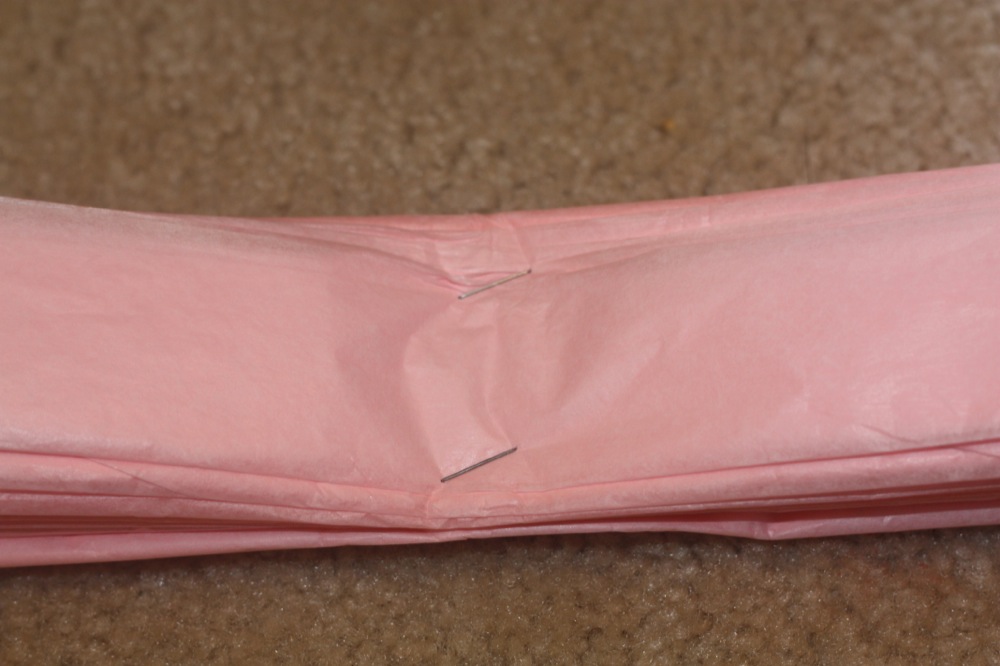
3.  Fold it in half and put two staples, you can do more if you feel like it isn’t going all the way through.

pom pom tutorial

Staple it a couple times in the middle.

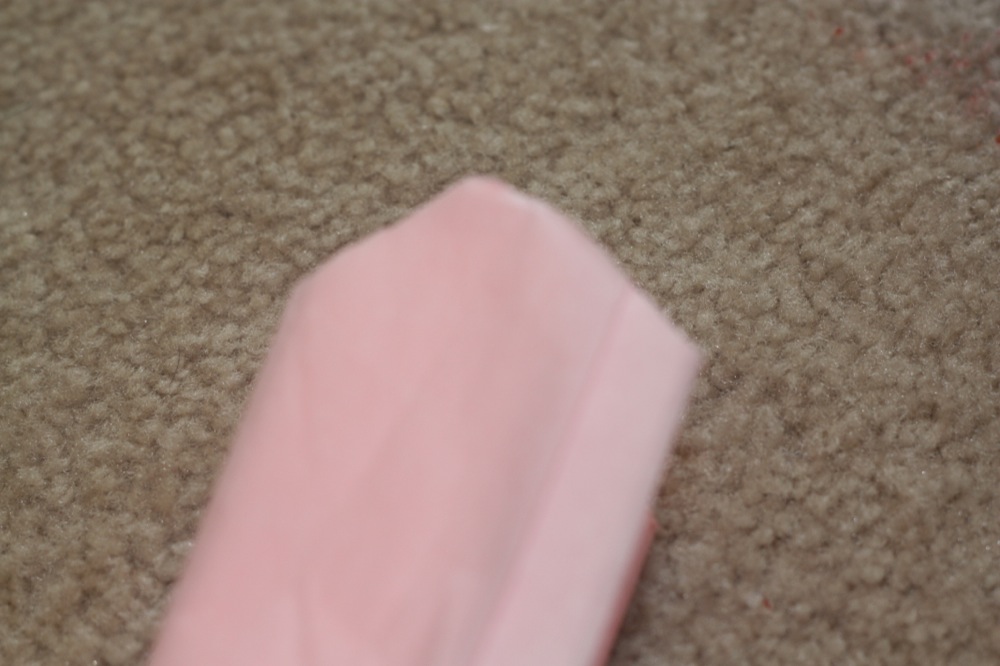
4.  Cut the outside edges in almost a point.  You want to make sure sides are even, if not cut the longer side to match up.

pom pom tutorial

Cut on each side like this or however you want your tips to look.

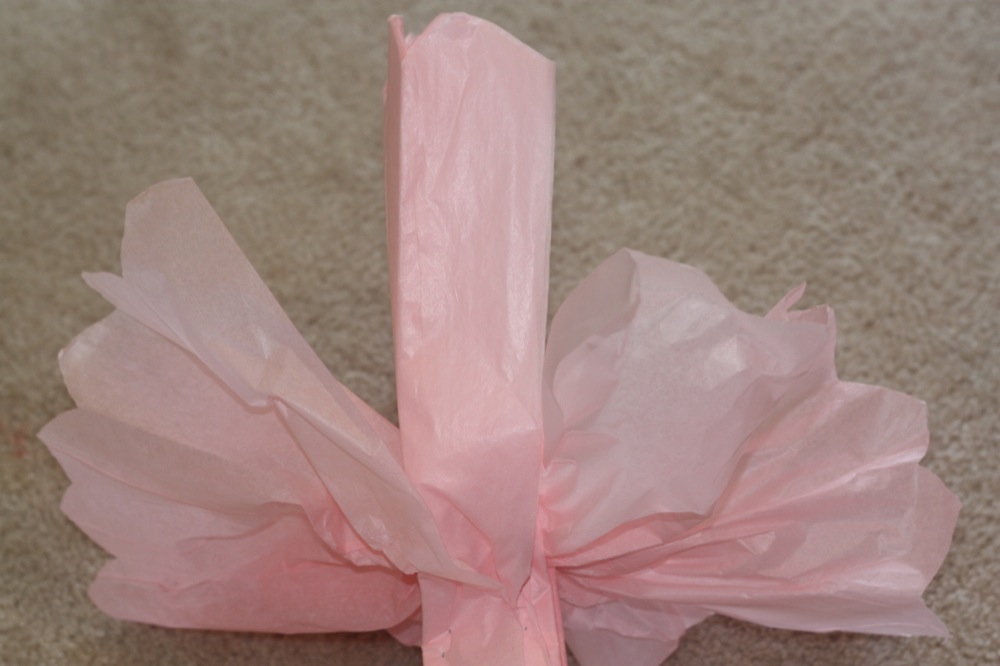
5.  Here begins the fun part!  Starting with one half, pull the outside piece of tissue paper out, then repeat on other side.  Then, keep pulling from one side then the other.

pom pom tutorial

Start pulling apart from each side.

My friend's advice was to start pulling one piece from each side. She said not to pull all one side then the other.

pom pom tutorial

Half of the pom pom done!

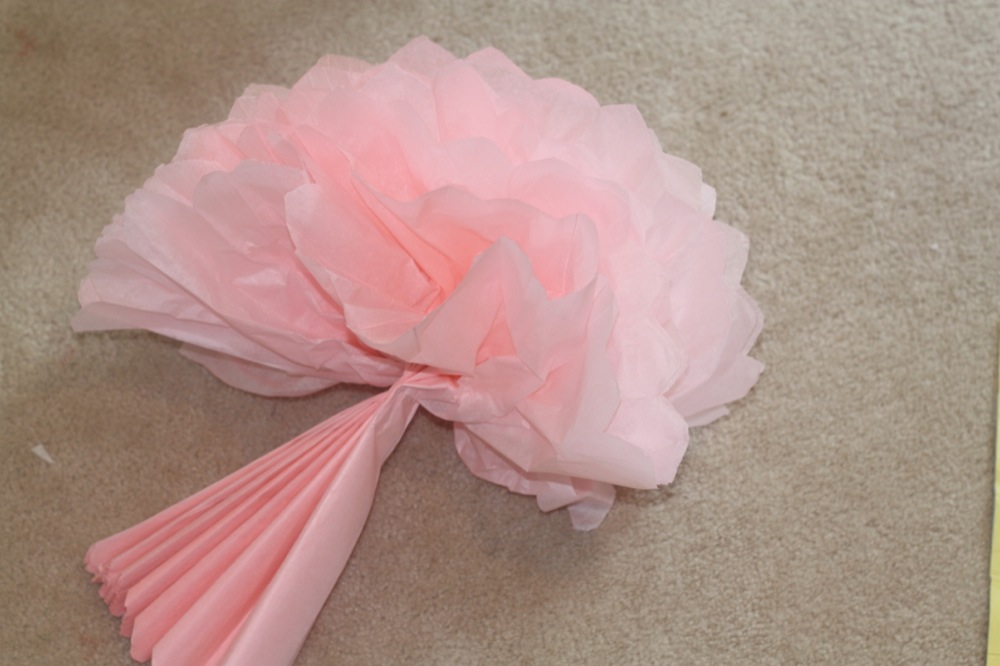
6.  Repeat on other half!

pom pom for nursery

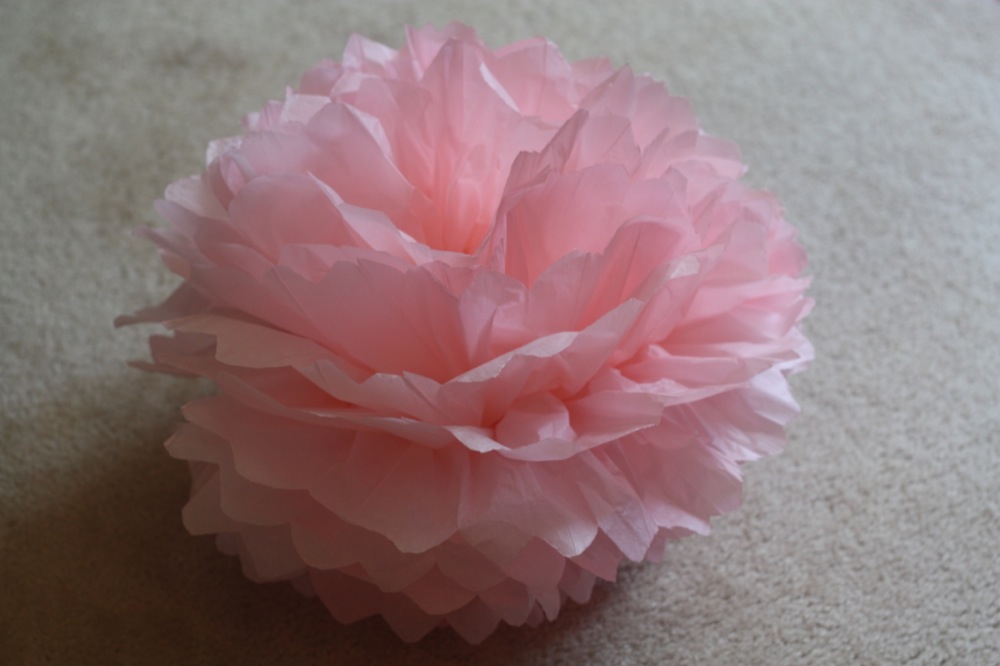
One pom pom complete!

Make as many as you want for your sweet one!  My friend said she made some for one of her friends baby shower and anothers bachelorette party.  Keep playing with it if it isn’t perfect at first!  You will get it!

Now, just hang some fishing twine, or ribbon if you prefer, from it and hang it!  So fun and so cute!!!

girl owl nursery

Finished product!

So sweet!

****  In case you’re wondering, bedding is from Pottery Barn Kids, wall decal is from this shop on Etsy!

Marshmallow Cream Cupcakes!

Need to spruce up your cupcakes?  Make them marshmallow cream cupcakes!

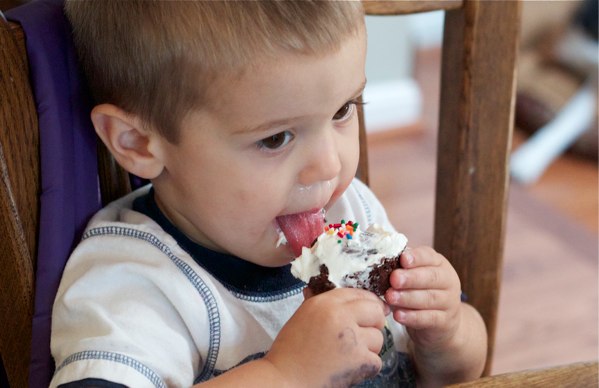
These are seriously so easy to make and are oh so yummy!  The kids loved them!

My little guy’s birthday party is coming up and I wanted to try something a little different for the cupcakes this time.   I grabbed a jar of marshmallow cream and thought I would try it out.

They turned out great!

DIRECTIONS:
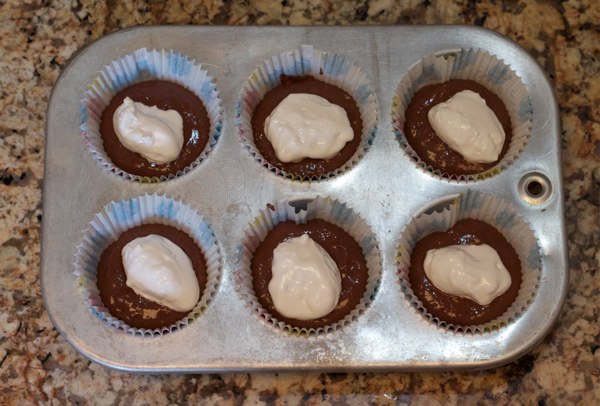
1.  Make your cup cake batter any way you choose (I just used a box).  By the way, one box that normally makes 24 cupcakes made 36 with the marshmallow cream stuffed in the middle.

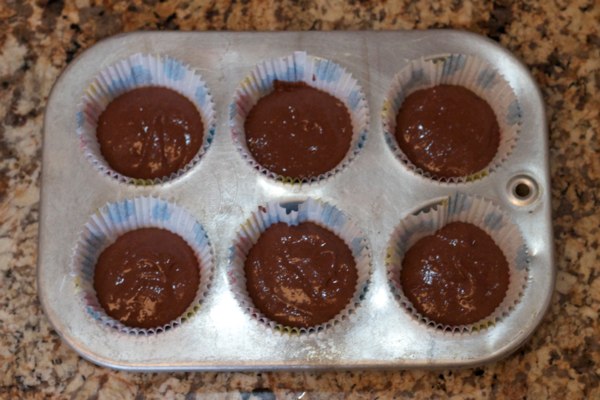
2.  Put your paper liners in your cup cake pan and  scoop a small spoonful of batter into the bottom.  I just used a regular cereal spoon.


Step 2

3.  Put a small teaspoon of marshmallow cream on top of your batter.  One regular sized bottle was enough for 48 cupcakes!

Step 3

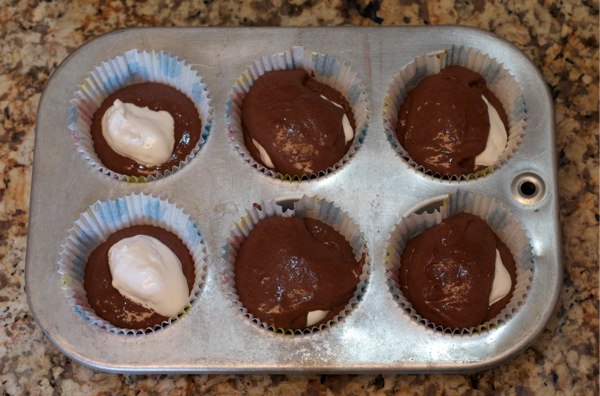
4.  Scoop a large heaping spoonful of batter over the marshmallow cream and bake as you normally would.

Step 4

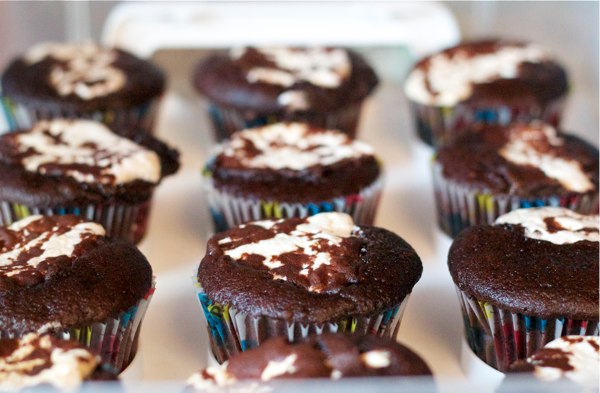
The marshmallow cream rises to the top of the cupcake making it look pretty cool and making every bite delicious.  Next time I will try stirring the cream into the batter to see what difference it makes.


The kids gobbled them up... so did I. 🙂

Roasted Red Pepper Hummus

Whenever we go to anyone’s house, I think it’s a must to bring something.  Well, last weekend we went to one of my college friend’s house and I asked her what we could bring and she asked if husband could please make hummus.  Of all things, right?!?!  She loves his hummus (that he tweaked from Alton’s recipe), so we took that and I grabbed some pics of him doing it!  He is quite the chef and is VERY particular and only puts his name on something that is done right.  Here you have it!


roasted red pepper hummus

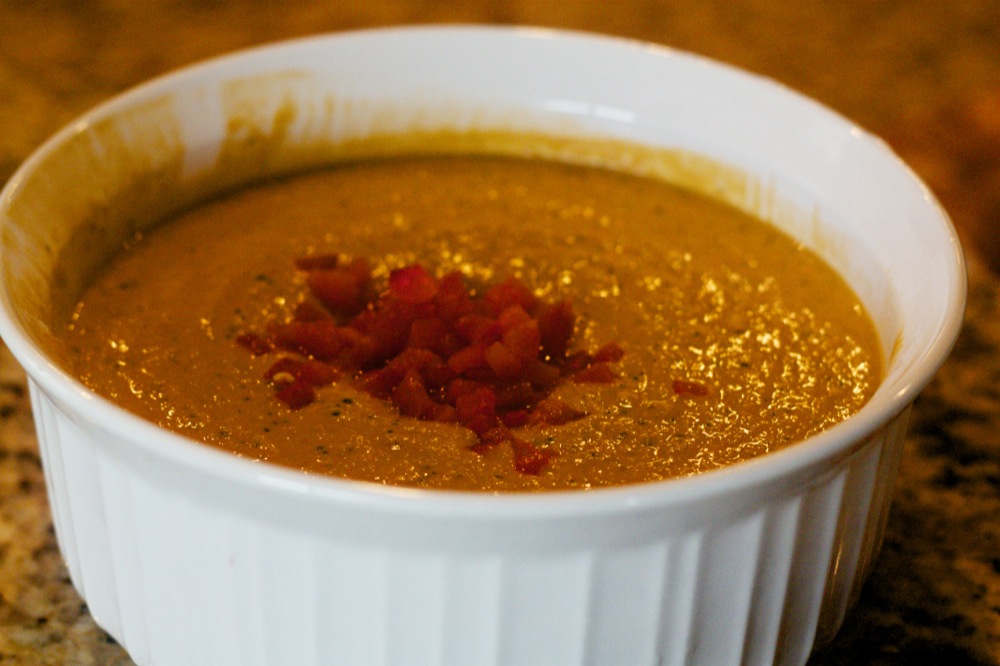
Roasted Red Pepper Hummus - so delicious!

This is what you need:

ingredients for roasted red pepper hummus

Ingredients for Roasted Red Pepper Hummus

  • 3 roasted red peppers
  • 2 to 3 cloves garlic
  • 1 can garbanzo beans (chickpeas), drained and liquid reserved
  • 2 to 3 tablespoons tahini
  • A handful fresh parsley leaves
  • 1 lemon, zested and juiced
  • Pinch freshly ground black pepper
  • Pinch kosher salt
  • 1/3 cup extra-virgin olive oil
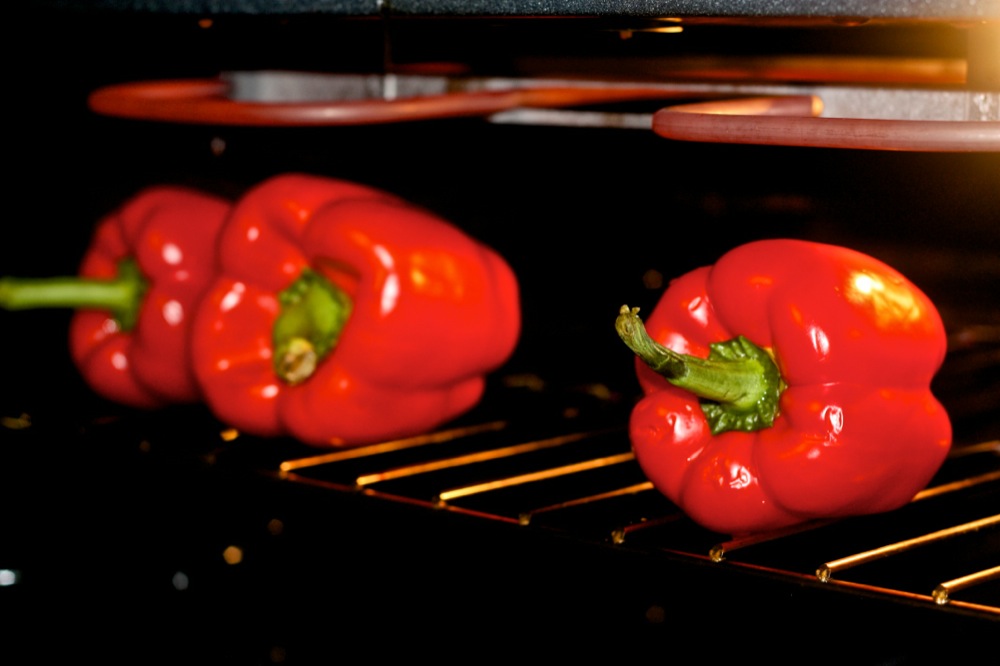
In case you’re wondering how to roast a red pepper.  Check out the pic below!

Roasting a red pepper. Put oven on high broil for about 15 minutes. Or, on a gas stove top for 5 minutes or an outside grill for ~10 minutes.

Here is the process!
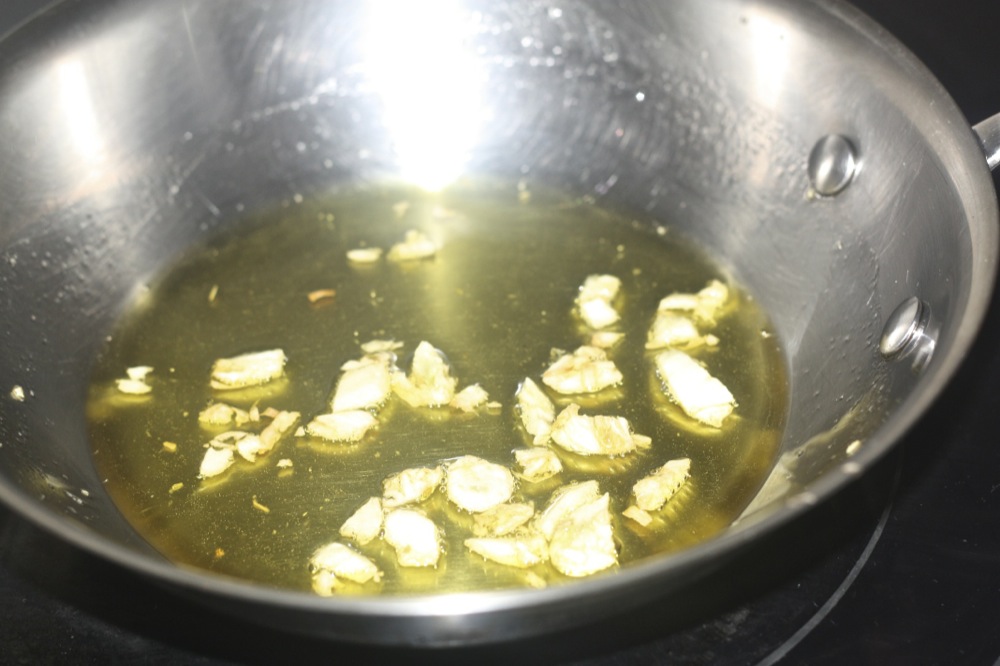
Chop the garlic finely and roast in a pan,
roasting garlic

roasting garlic

peel skin off red peppers,
taking skin off roasted pepper

Gently take a knife to get outside skin layer off pepper.

cut up some and place in food processor along with garlic, beans and 1/2 of the reserved liquid and process finely or to desired consistency. Add the tahini, parsley, lemon zest (here is how to zest a lemon, we use a microplane — a definite must in the kitchen)
zesting a lemon

Using a microplane to zest lemon

and juice, black pepper, and salt. Process until it forms a paste. Drizzle in the olive oil and process until it reaches the consistency of mayonnaise.
Top with cut up roasted red pepper.
We also took some pita chips and carrots to serve with it!  Yummmm.  We all filled up on the hummus, that we weren’t that hungry for dinner!

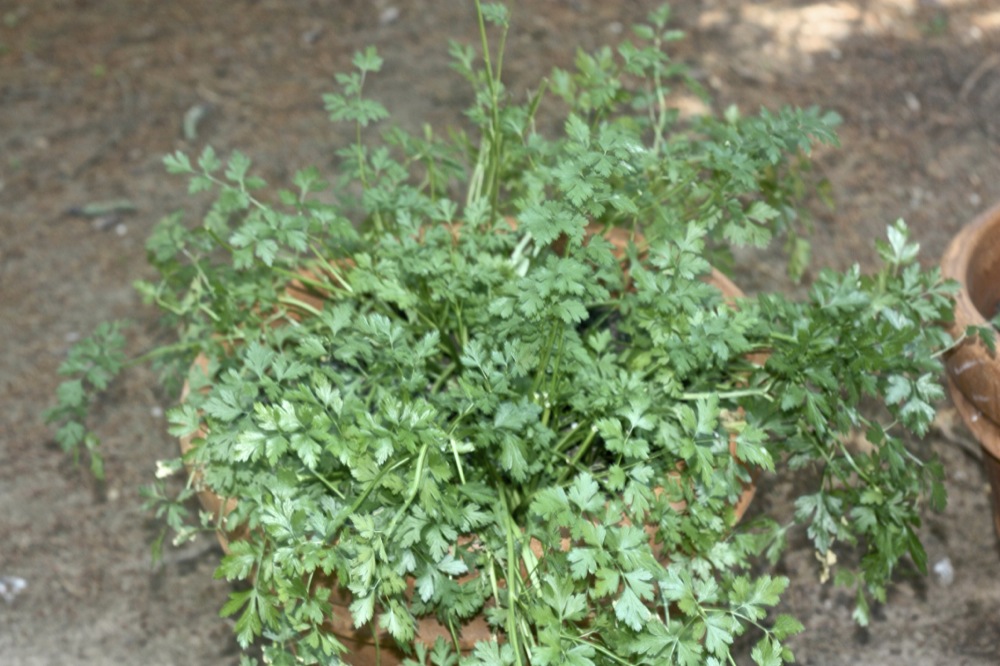
Oh yeah, we grow parsley at home.  It spreads SO fast.  Check out our plant!

parsley

parsley plant in our backyard!


Ella’s 3rd Princess Pancake and Pajama Party

I know I’ve mentioned a million times how much I love throwing birthday parties for my girls.  This one was no exception at all!  It was so much fun!!!  In the planning process, I wanted to have a party that wouldn’t take up everyone’s Saturday or a time that would conflict with naps.  So, I had it at 9 am.  This gave me the idea to have the kids come in their pajamas and serve pancakes.  From there, her theme quickly became a Princess Pancake and Pajama Party!  I will explain how the party went because I used to be a PE teacher and I know that organized chaos is fine, but still every minute needs to be accounted for.  So, here we go!

9-9:15: People arrived and all of them had a pillowcase with their name on it (I just used puffy paint) and they were able to color on it with fabric markers!  Here are a couple of pictures of them working on their pillowcases!  I also had a banana sitting with their pillowcase just in case they came ready to eat right off.
decorating pillowcases
My mom helping Ella with her pillowcase!

Jamie's sons, Tyson and Andy decorating their pillowcases!

9:15-9:35: Everyone ate!  For the kids, we had pancakes, watermelon, bacon and juice boxes.  For the adults, I set up a refreshment table of muffins, donuts, fruit platter, juice, coffee and water.

pancake party

Look at all those yummy pancakes!

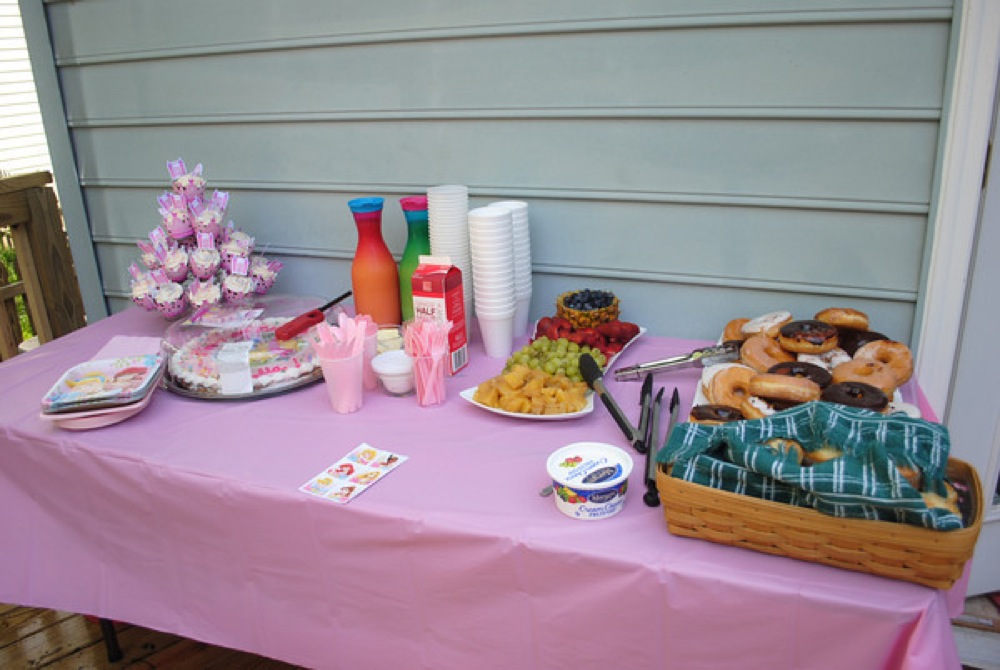
Here is a pic of the refreshment table minus the coffee:

feed the adults at your party

Refreshment Table

From about 9:35-10:05 I gave them free time with stations.  We had quite a few stations such as:

My husband making balloons:

balloon artist

My husband making a flower.

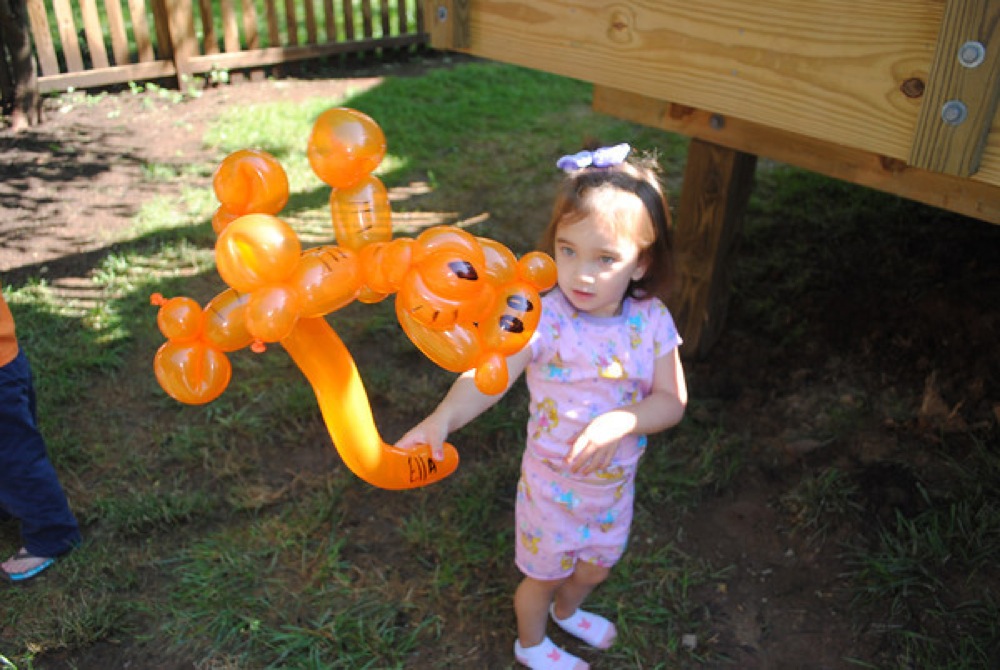
He made Ella a tiger.

Bounce house:

bounce house at birthday party

Bounce house fun!

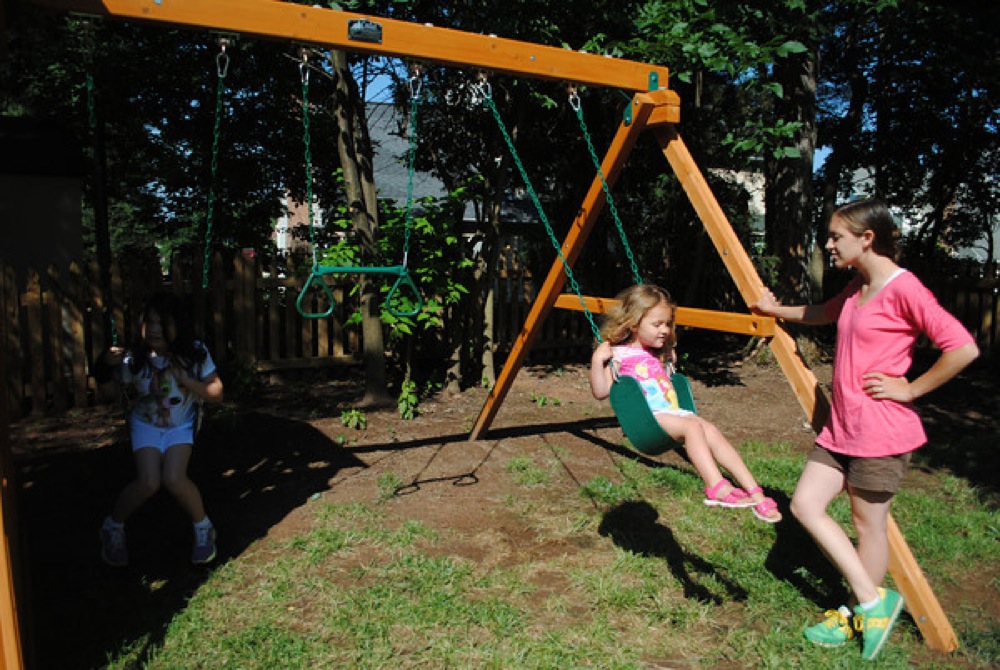
Swing set fun:

Fun on the slide!

costco swing set

Loving the swings!

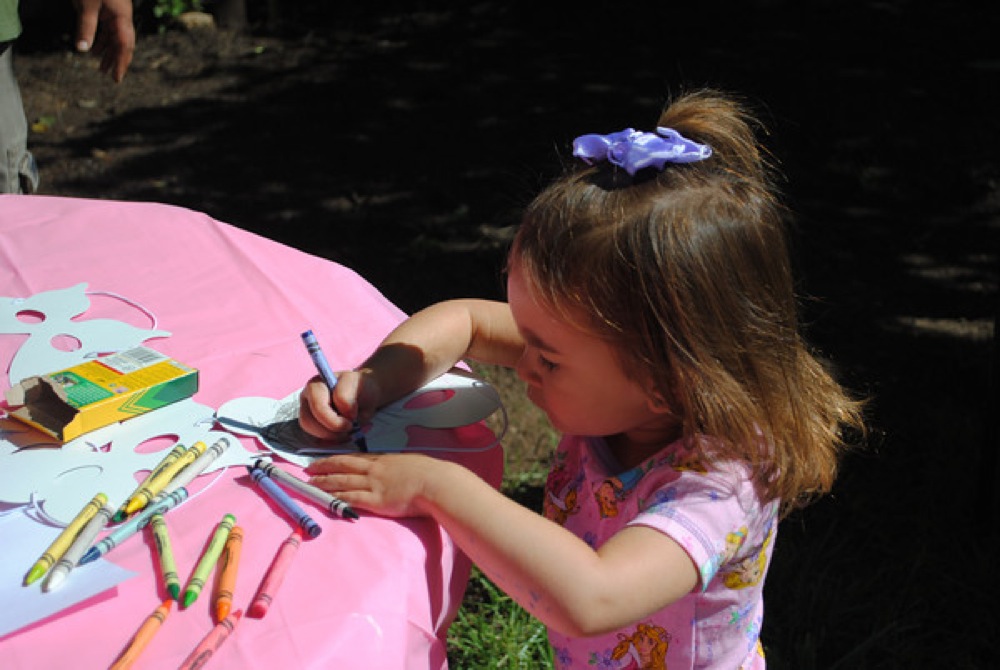
Coloring masks {I bought these from Michael’s 6 for $2}.

coloring masks

Coloring masks at the party!

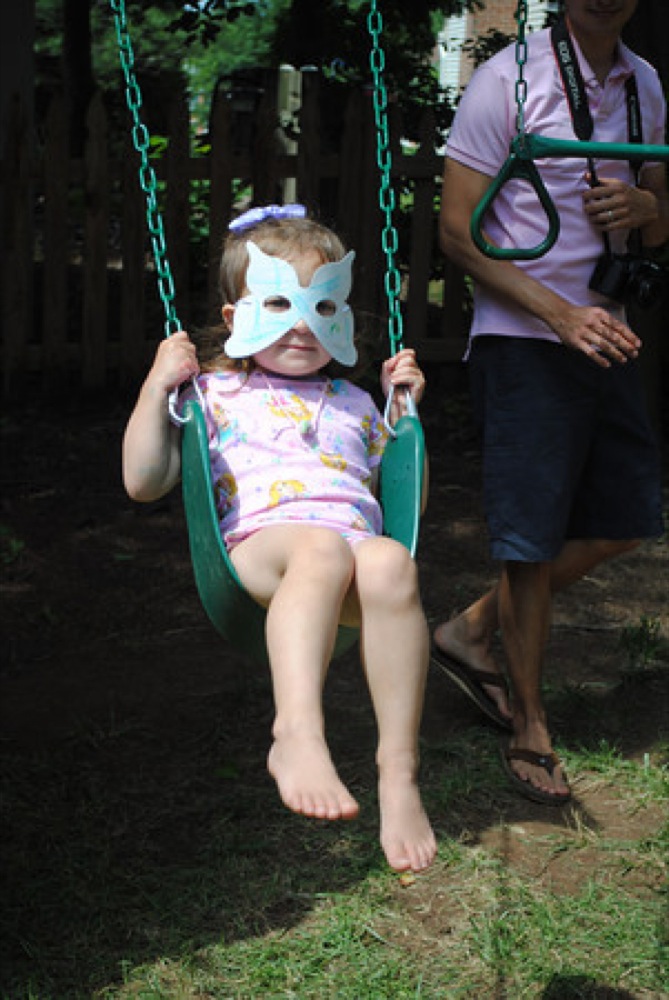
perfect 3rd birthday

Ella swinging with her mask on!

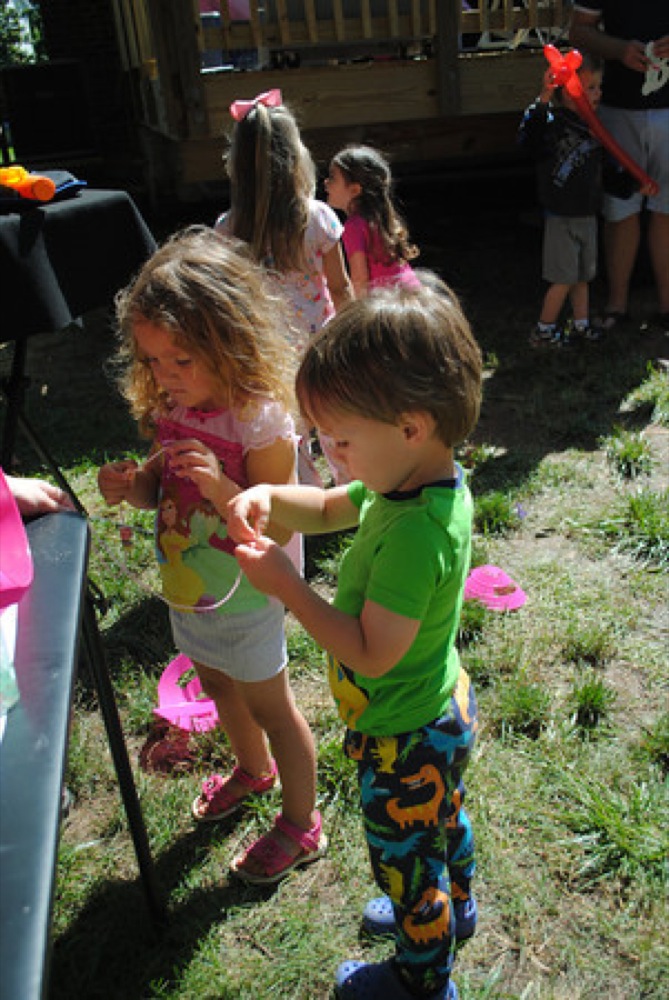
(and finally) Making cereal necklaces {just buy fruit loops and apple jacks and some string, wahlaaaa}:

cereal necklace

Making cereal necklaces!

Those things really kept them busy for the 30 minutes they had to play!

10:05: We did a pillowcase race.  It was a little muddy out, so I used the extra pillowcases I had and let them race in those so they wouldn’t get theirs dirty!  This was so incredibly cute.  Pillowcases are the perfect sac for 3-5 year olds!

pillowcase party race

Pillowcase race!

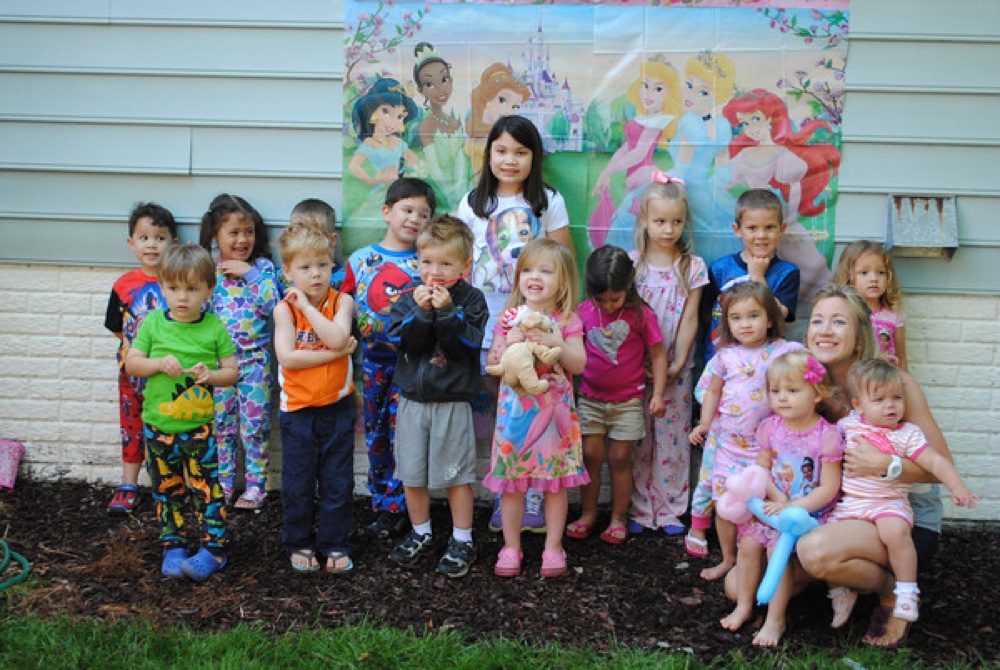
10:20: Picture in front of the princesses!

princess party

Party guests and me! I wanted Anna in the pic, so I had to be too!

Picture in front of princesses

Our family!

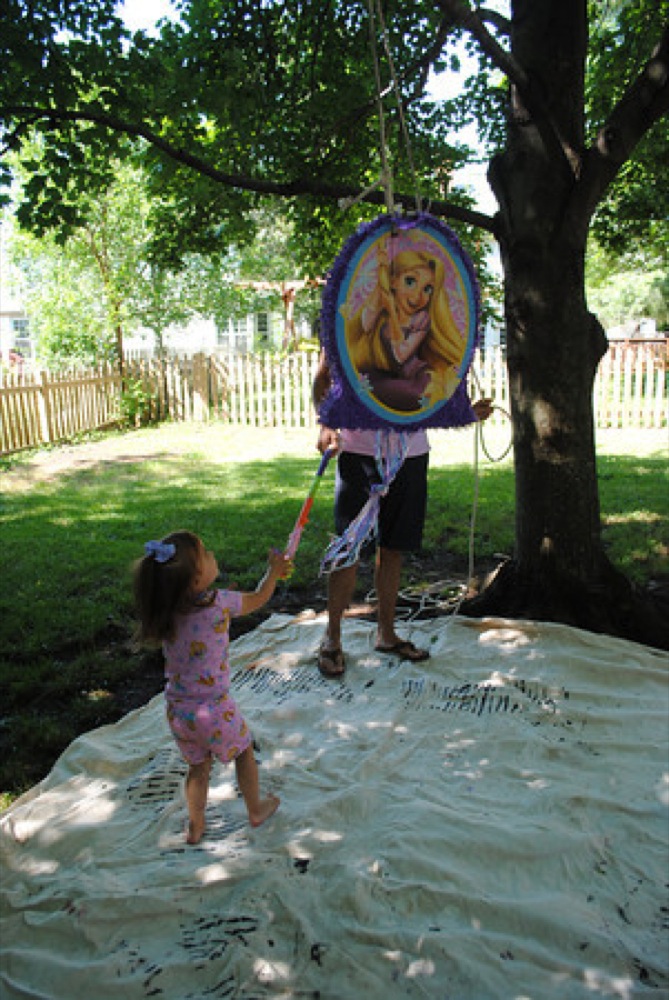
10:30-10:45: Pinata!  The kids were SO well behaved and all waited their turn.  I let Ella go first and then the rest lined up shortest to tallest (kind of went along with their ages).  They had so much fun!

pinata

Ella swinging at her pinata.

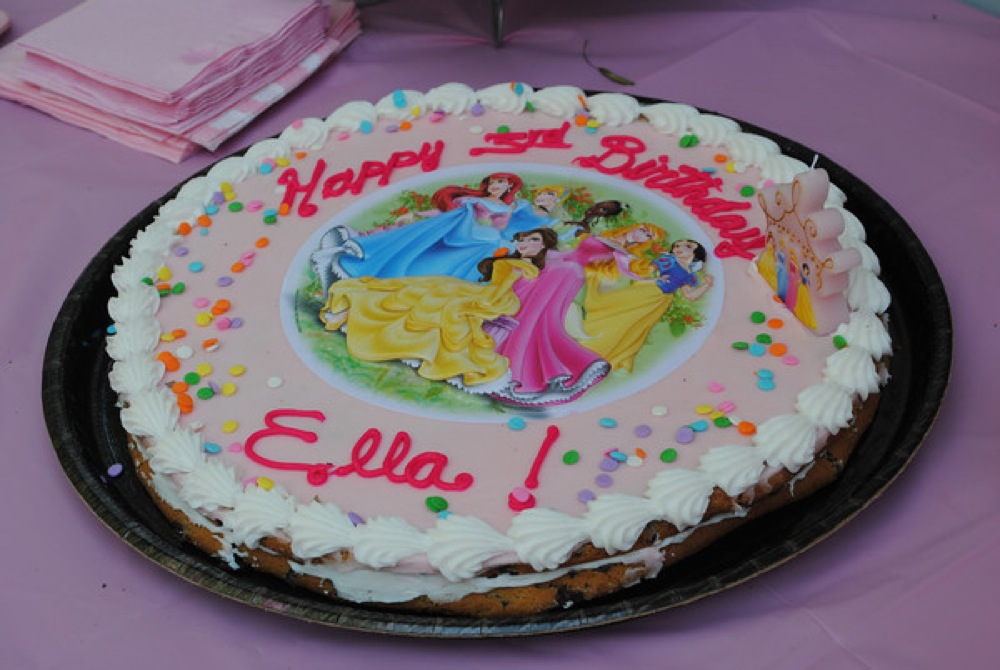
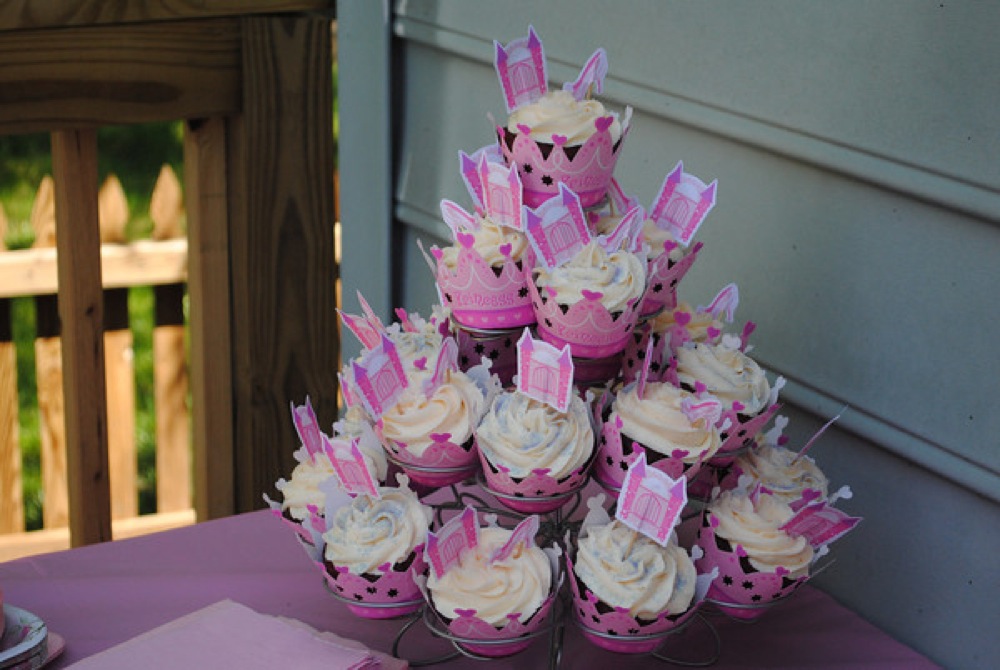
10:45: Cookie cake and cupcakes!  I bought a cookie cake from Sam’s Club, so cheap and SO delicious and I also made red velvet cupcakes.  I did both because we had about 35 people there and I wanted to make sure there was enough.

Princess Cookie Cake - Sam's Club $15

red velvet princess cupcakes

Red Velvet Cupcakes

This lasted until 11 and then everyone went home!  It was an incredible party and I spent WAY less than if we went somewhere to have it done.  A special thanks goes out to all of my “helpers”.  It wouldn’t have gone as smoothly, yes note to you, get lots of help!  Be creative!

Couple of related posts!

Awesome 3rd Birthday cake
1st Birthday Party Ideas
Cupcake Cake Idea
Lion Birthday Party
Super Hero Birthday Party 


A Last Minute Picture Card For Father’s Day

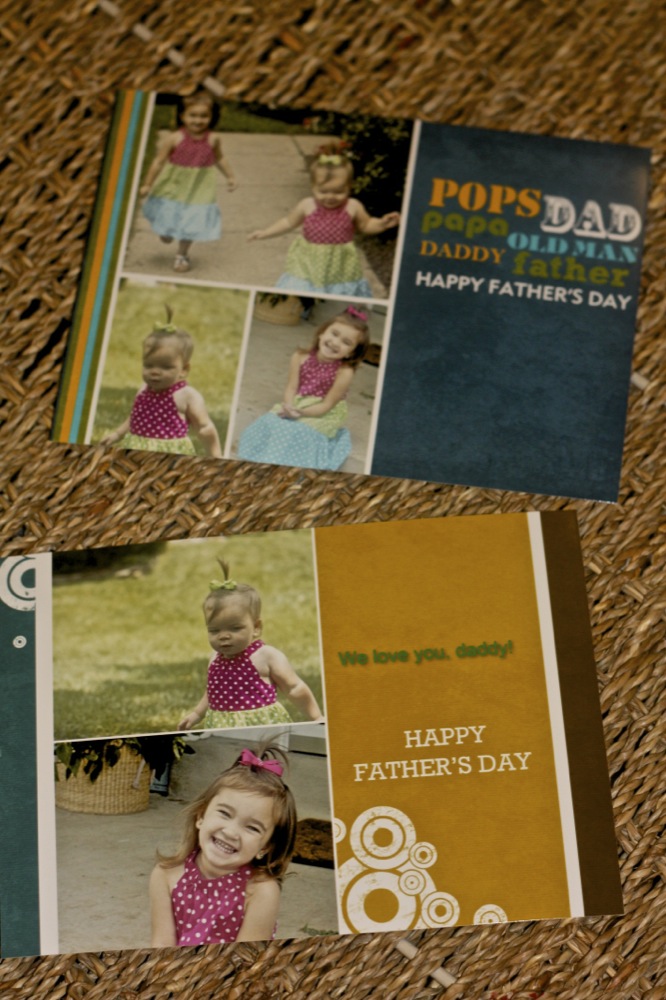
Sometimes I just can’t think three weeks in advance for a card, so I can’t order a nice picture card from a photo company.  I also HATE the store bought wordy cards that you have to pay an arm and a leg for.  They usually go straight to the trash and I would much rather take that money and buy some Starbucks put it to good use.   I know today is Friday and it’s two days before Father’s Day, but I wanted to make a card for my husband, my dad and father in-law.  So, I went to Walgreens and made these cards for $1.49 each.  I bet these stay up on the fridge for a while because they are so dang cute.

Father's Day Photo card

$2.98 for both of these cards AND I bet they stay around much longer

All you do is go to the little kiosk and make just a standard flat card (not the folded, they take a couple of days) and order away.  It took them less than five minutes to make three cards!  Total was $4.47 plus tax.  Now, rush on over and make a cute card so you don’t have to get the leftover junk cards that no one wants.

Happy Friday and Happy Father’s Day weekend to all you Daddies!