by Jamie Hinckley on May 22, 2012
I am pretty sure I have mentioned that my child might actually be a monkey! Seriously! He climbs everything! As a result his clothes do not last very long! He climbs trees and rips his shirts and tears holes in his pants on a regular basis!
Seriously… this is my monkey child. Climbing up everything and anything every time I turn around! He is the oldest of my three boys and a real boy through and through!

I am always finding ways to preserve his clothes a little longer! I buy the jeans with reinforced knees, mend rips if possible, but still end up tossing plenty of ruined clothes.
Making cut off shorts out of old jeans that have gotten too short or have holes in the knees is really easy and makes me feel better about all the clothes my boys go through!
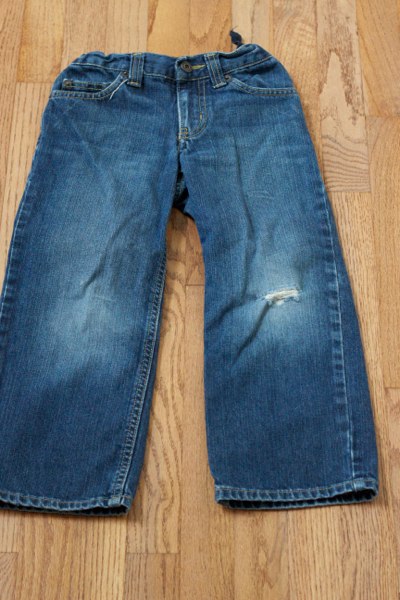
Holes in the knees... no problem!
1. Cut straight across just above the hole in the jeans (or measure to your desired length making sure to leave an extra 1/2 to 1 inch for the hem).
2. Take the part you just cut off and lay it on top of the other pant leg to use as a guide to make sure you cut both sides the same length.
3. Turn the jeans inside out and fold the cut of ends of the pants up an 1/2 inch to 1 inch and sew.
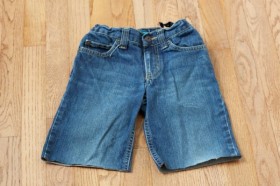
Before hemming
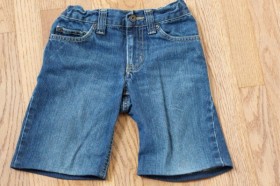
After hemming
That’s it! Easy! Now these pants can get a little more money’s worth out of them!
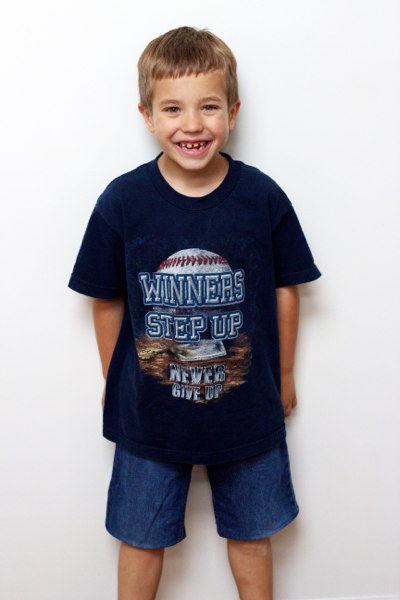
One handsome guy!
by Dana Patterson on May 21, 2012
Want a perfect dish to make for a cookout? Here you have it!
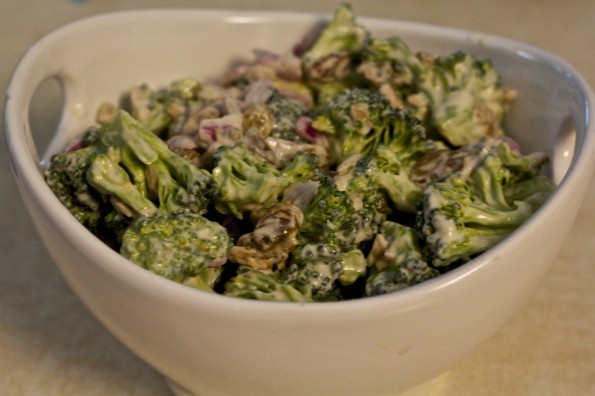
It tastes even better than it looks!
This is so delicious and it is always gone wherever I take it! I know, I know I’m loading you guys up on some bangin’ cookout food, but I can’t really help it because I love summer and I love getting together with friends! Also, this was made at my recipe party.
So, here you have it!
Here’s what you need:
2 heads fresh broccoli, washed and cut into small bite size pieces (smaller the better)
1/2 cup red onion
1/2 lb. bacon
1 cup sunflower seeds
1 cup golden raisons
2 1/2 tablespoons vinegar
1 cup mayo
1/3 cup sugar (I used splenda substitute)
1 1/2 cups mozzarella cheese (I omitted because husband doesn’t love cheese)
What you do is:
Mix sugar, vinegar and mayo together. Mix everything else together in a separate bowl. Combine and mix. Chill for at least 4 hours before serving.
Wahlaaaaaaa…..
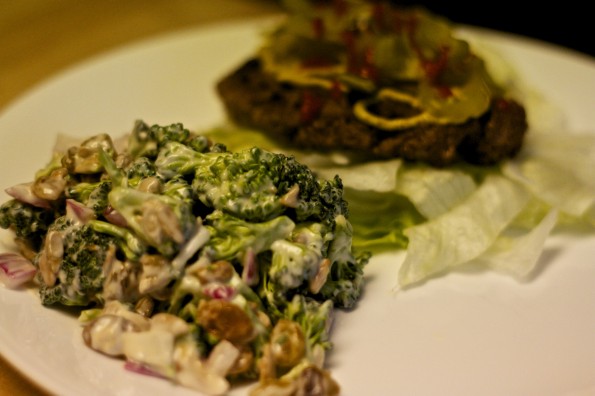
It's healthy too!
We enjoyed ours with a grilled burger (using lettuce as the bun!). Take this to your next event and I promise people will be begging for the recipe!
Other cookout recipes!
Peanut Butter Fudge Trifle
Healthy Avocado and Tomato Salad
Popcorn Cake
Chex Mix
Peanut Butter Frosted Chocolate Chip Cookie Dough Brownies
Spinach Dip
Avocado Hummus
Too Much Chocolate Cake
No Potato Salad
Stay tuned! I have one more great cookout recipe on Thursday. I’m preparing you for the nice long weekend ahead!
by Jamie Hinckley on May 18, 2012
It is official! We are moving to Florida! Everyone keeps asking me why… well why not! Why not go live by the beach for a bit and give it a try. We are not tied down here and have jobs that let us work anywhere… so why not!
Just as we made it official we received this little present in the mail from my sister…
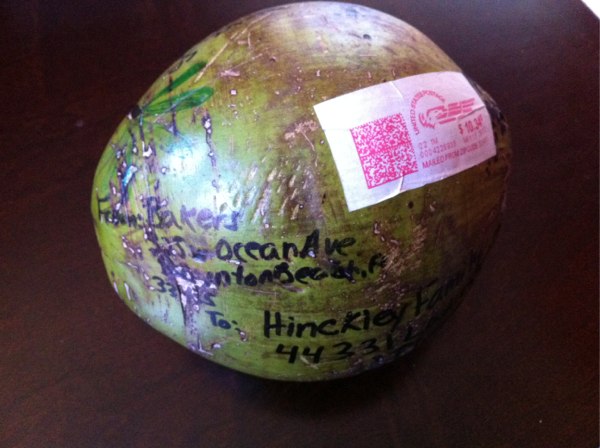
Funny right!!!!?!?! Who knew you could mail a coconut! Just so you know the background story of why my sister sent us this coconut, you should know that my hubby lived in the Philippines for two years before we were married… that adorable man wrote me a letter every single week for two years! He never missed! We were engaged 3 weeks after he came home and married 3 months after that.
While living in the Philippines he drank from these young coconuts all the time. He has been craving them since we got married, almost 10 years ago now. Whenever we go to Florida he is always eyeing them, but is too big to climb up a tree to get them!
He tries throwing rocks at them, using a sticks to poke at them, pretty much whatever he can think of. Now that we have a six year old who is half monkey – half boy he has encouraged him to climb up the palm trees to pick the young coconuts for him. Don’t believe me… see pics below!
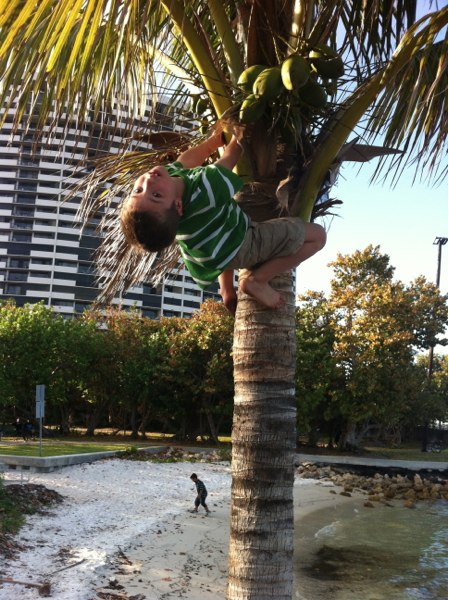
Can you believe this monkey! This was in Florida in March for our spring break visit.
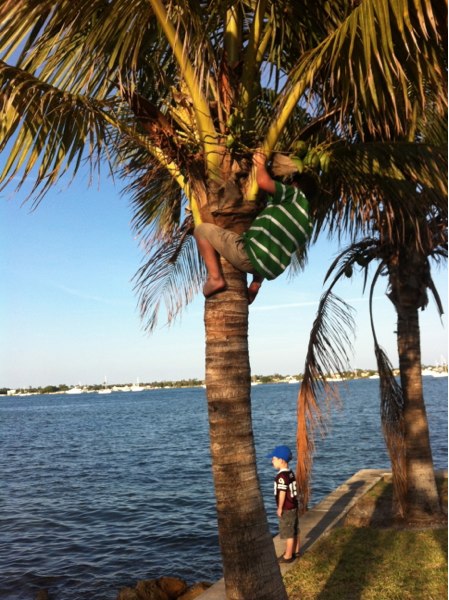
Here he is.. making his Daddy proud!
So yes, now we are moving to Florida in one month where we can have all the young coconuts we want!

Drink it up!

Luckily he shares with the boys!
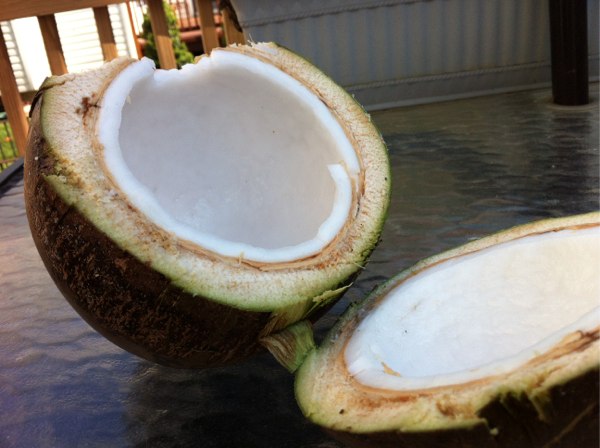
Thanks for the fresh coconut Bakers!
Although, here is my motivation for moving! Starting off my day with a morning run on the beach is absolute bliss!!!!! Florida here we come!!!!!!

Fabulous way to start your day!
by Dana Patterson on May 17, 2012
This recipe is definitely a keeper AND a great one to take to a Memorial Day cookout. I say this because most likely other people won’t bring it and you’ll have something healthy to eat too.
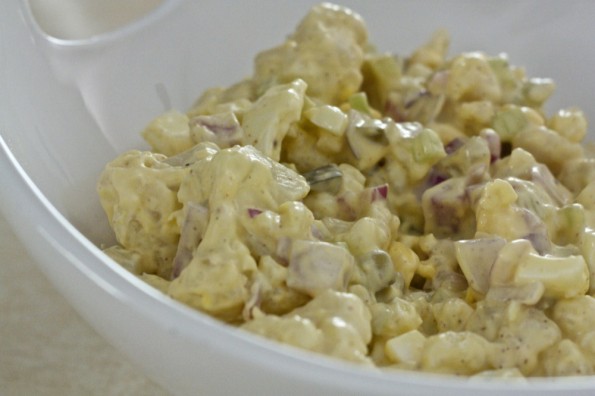
It's so delicious and healthy!
My friend sent me this recipe so I thought I would give it a try. We make it almost every week and it’s great to snack on or eat as a side with any meat! I got the recipe here. It’s basically substituting the potatoes in potato salad to cauliflower.
What you’ll need it:
2 heads of cauliflower (I use 1 because it makes SO much)
1 dozen eggs, hard-boiled and diced (I used 8 )
1/2 a medium sized red onion, finely diced
6-8 celery stalks, finely diced (I used 3 )
A lot of dill pickles, diced (I bought mine already diced, I know call me a cheater)
About 1 1/2 cups of my Paleo Mayo
2 tablespoons of dried dill
1 teaspoon of crushed garlic added.
About 1 teaspoon of yellow mustard
Black pepper to taste
How it’s done:
Cut the cauliflower into florets and steam them for ~10 minutes. Rinse with cold water so they don’t continue to cook.
Hard-boil your eggs (**I put my eggs in hot water, put them on stove, wait until water boils then allow to boil for 12 minutes. That makes the perfect hard-boil egg). Once they are done on stove, immediately place into water with lots of ice. Peel and cut them.
Mix mayo, dill and crushed garlic.
Add all contents to bowl and mix.
Wahlaaaaaaaa…. Doesn’t it look good with steak?!?!
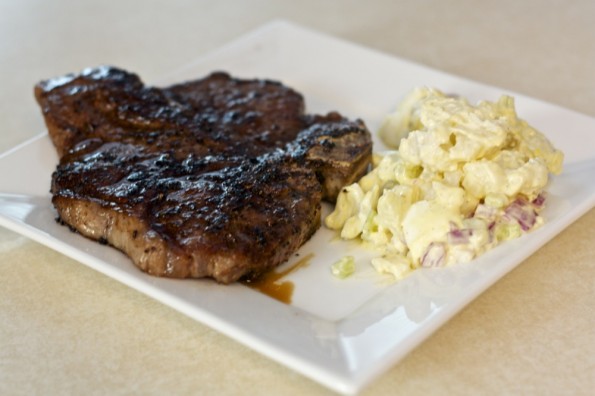
and with a steak makes it even betterrrrrrr!
Some other ideas to take to a fun cookout:
Peanut Butter Fudge Trifle
Healthy Avocado and Tomato Salad
Popcorn Cake
Chex Mix
Peanut Butter Frosted Chocolate Chip Cookie Dough Brownies
Spinach Dip
Avocado Hummus
Too Much Chocolate Cake
by Jamie Hinckley on May 15, 2012
My family is big on trifle. We have it at most get togethers and have tried a lot of different variations (peppermint, candy bar, fruit, cherry pie filling, oreo, etc…). We love our trifle!
So when I came across this Peanut Butter Fudge Brownie trifle on www.howsweeteats.com I was shocked that I had never seen this kind before! I couldn’t wait to try it! So I got all the ingredients and planned on making it for our next family pot lock, but as it turns out two other people were already bringing dessert. Bummer!
I ended up just making it for myself! That’s right… don’t judge! I wanted it, so I made it! Ha! Besides, I have three half monkey – half boy children at home that are always willing to gobble up desserts!
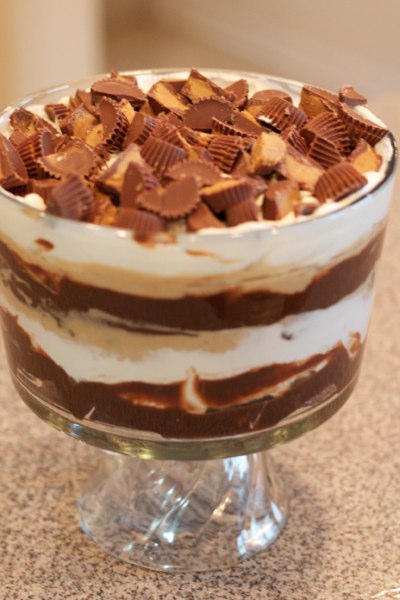
So this trifle was awesome. My favorite variation of trifle thus far. I think it was the peanut butter layer that did it for me… well that and the entire top layer of Reeses Peanut Butter Cups! So yummy!
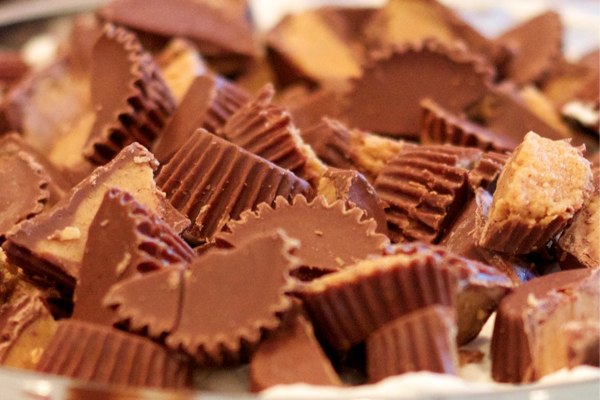
Loaded with Reeses Peanut Butter cups! Awesome!!!!
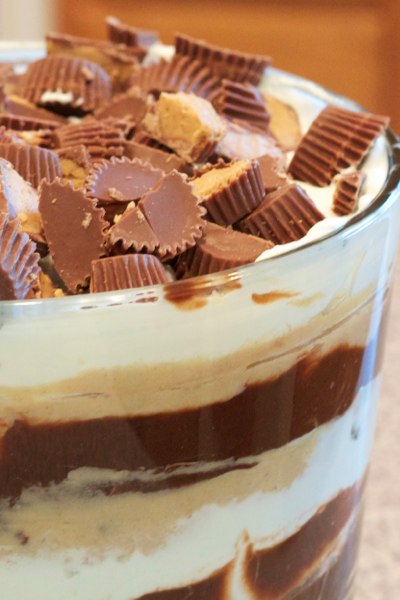
PEANUT BUTTER FUDGE BROWNIE TRIFLE
Brownies layer (any kind you like)
Whip cream layer
Peanut Butter layer
Chocolate pudding layer (I used one box of instant pudding mix)
1 Bag Reeses Peanut Butter Cups
***Cut your brownies into cubes and put half of them along the bottom of your trifle dish. After this you just put the different layers on in any order you like and then repeat. Then top with sliced Reeses Peanut Butter Cups! It’s so pretty at the end you will want to dig right in and start eating!
So here is the how-to on the layers:
Whip Cream Layer
2 cups Heavy Cream
3-4 Tb granulated sugar
*Beat heavy cream and sugar together on medium-high speed until stiff peaks form. Stick bowl in the fridge until you are ready to put in trifle dish
Peanut Butter Layer
1 cup creamy peanut butter
8oz of whipped cream cheese, softened
1 cup powdered sugar
2 Tb milk
*Beat peanut butter and cream cheese together until creamy. Add powdered sugar and mix well. Add 2 Tb of milk. Take 1 cup of your whip cream mixture from the fridge and fold it into the peanut butter mixture until just combined.
Now you are ready to layer your ingredients in your trifle dish!
by Dana Patterson on May 15, 2012
The letter M was an easier letter to do because of all the fun possibilities! My 2 year old loves baking and doing little tasks that make it seem like she’s a big help. She had such a great time! Here are just a few fun ways to learn the letter M.
Ella started learning the letter M by using Markers to fill in the letter M, template here.
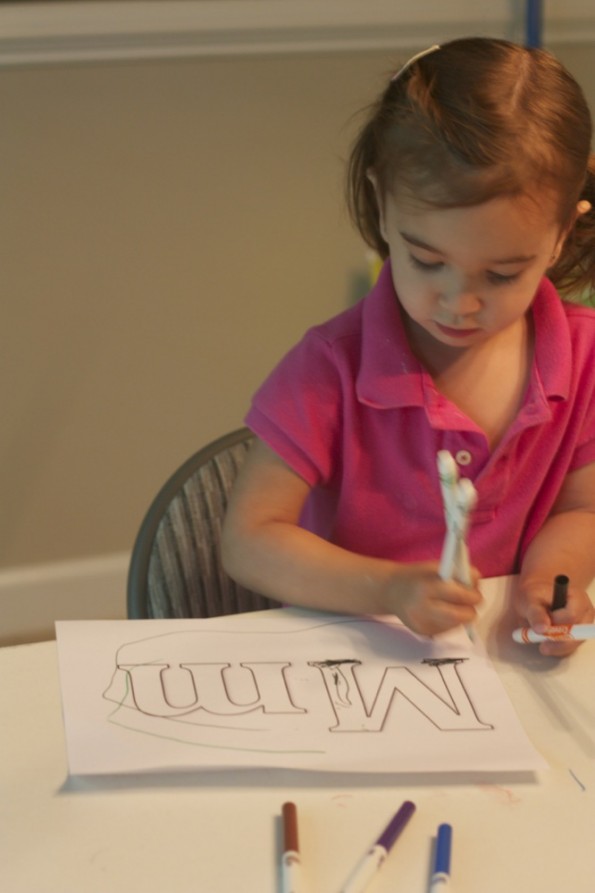
Coloring the letter M with markers.
We also made {and ate} Muffins!
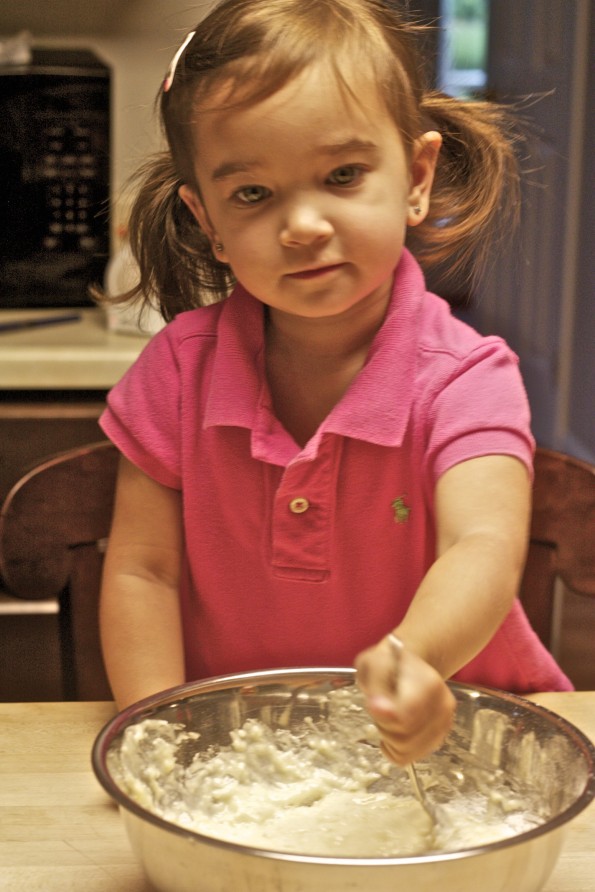
Making her Muffins

Eating her mmmmmuffin.
Using Marshmallows to create the letter M was another fun and edible learning tool!
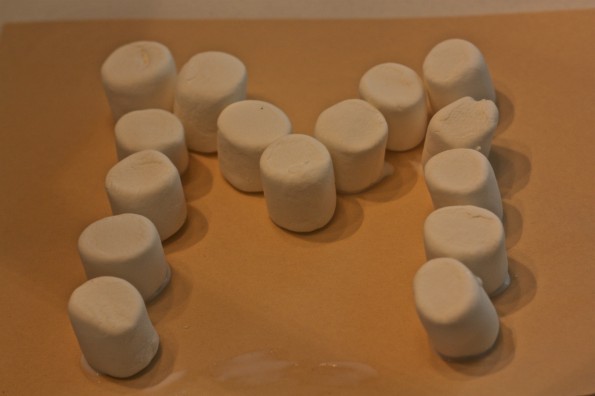
Making the letter M with marshmallows.
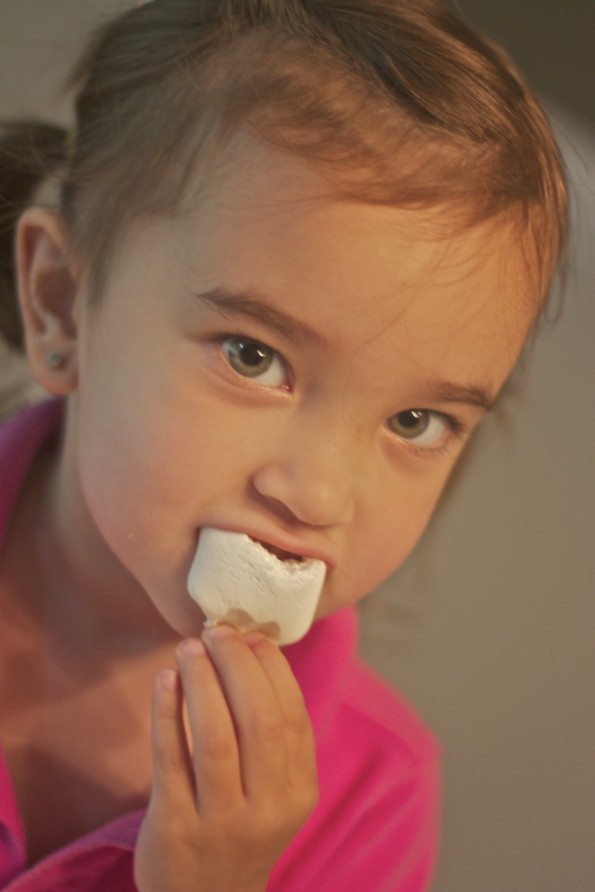
You always have to eat what you make!
She also went and put her birthday invitations into the Mailbox.
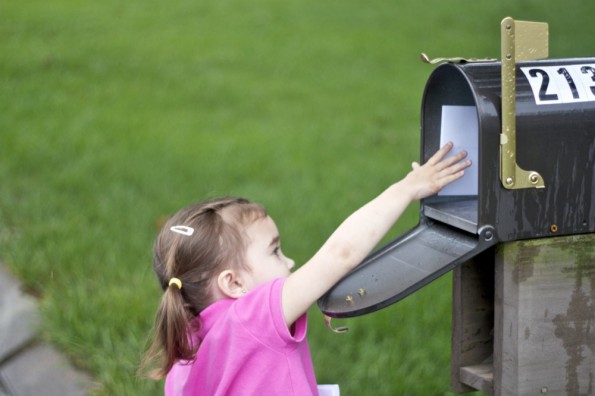
She's putting her party invitations in the mmmmmmailbox.
Ella loves counting her Money and putting it into her piggy bank!
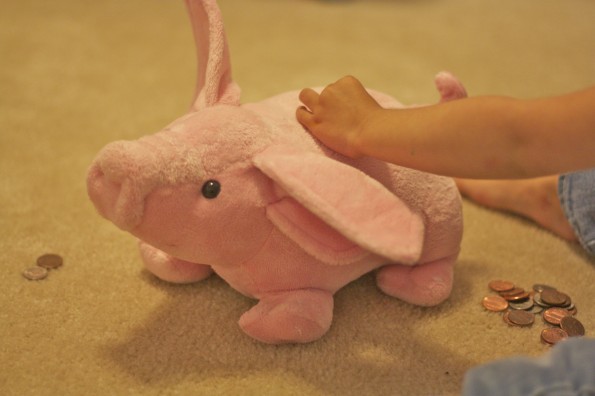
We also put mmmmmmmoney in the piggy bank.
Lastly, we read “If You Give a Moose a Muffin”
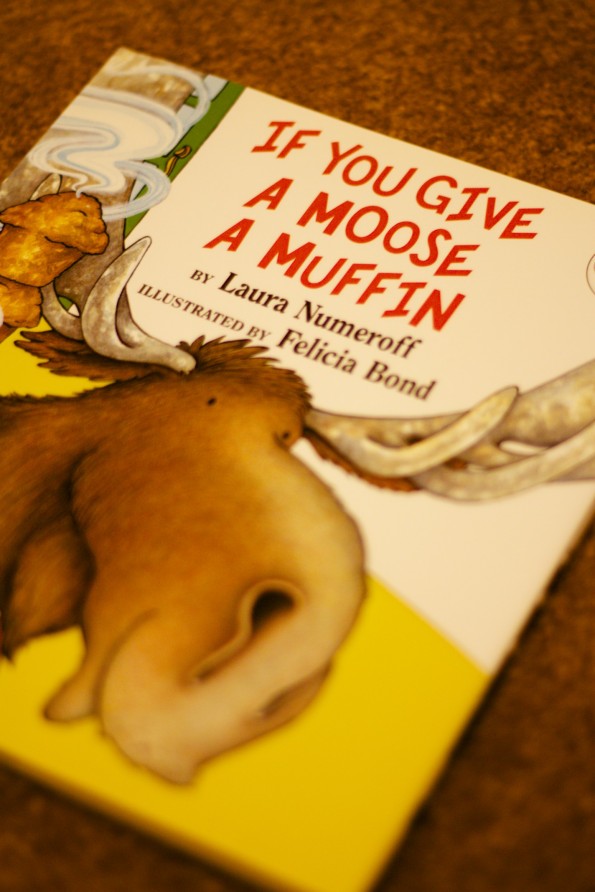
We read "If You Give a Moose a Muffin".
Learning letters and making out the sounds are great preschool activities. Check out all of our other letters too!
Letter B | Letter C | Letter F | Letter H | Letter I | Letter K | Letter L | Letter Q | Letter R | Letter W | Letter X
by Dana Patterson on May 10, 2012
Since we moved, spray paint has become quite popular. Even though I wanted to change the color of some things, I still liked the look. This time around, I changed the trash can, soap dish and tissue box cover in the girls bathroom. I used this spray paint:
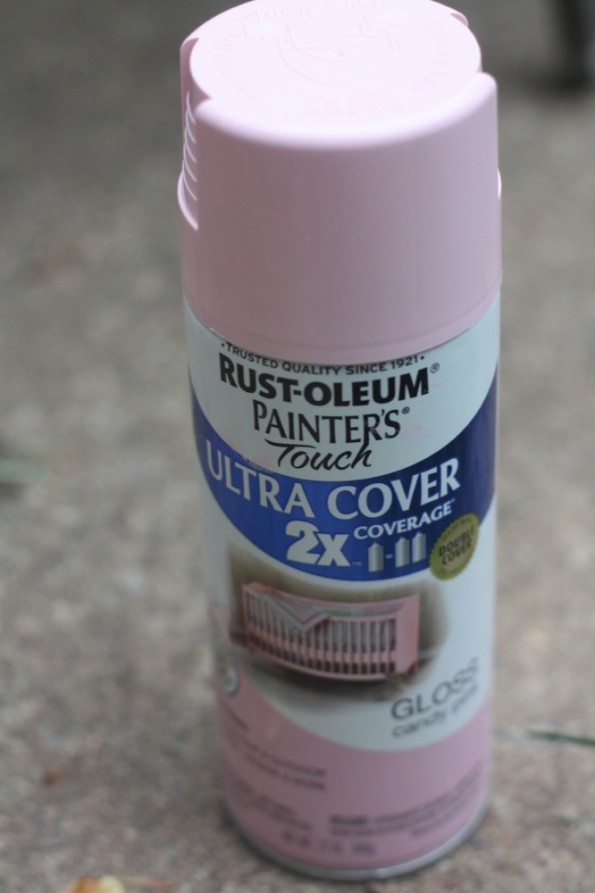
Here is the spray paint I used. Cost $3.82 at Home Depot.
Here is the before:
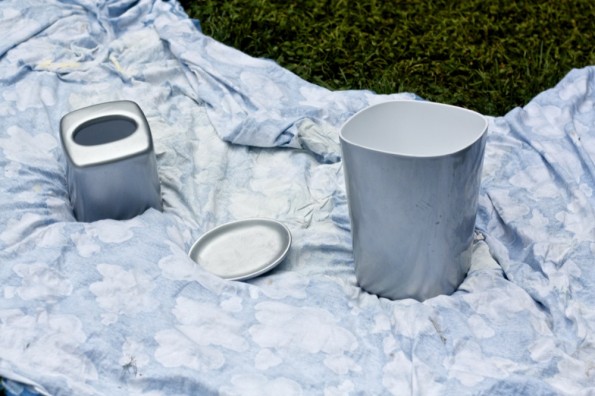
Blah Blah silver...
They all still had the price stickers left on them. The trash can was $11.99, soap dish was $4.99 and the tissue box was $8.99. I bought these for my husband (boyfriend at the time) when he was fixing up his college bathroom. I saved ~$22 by spray painting instead of buying new.
Here are some after pics:
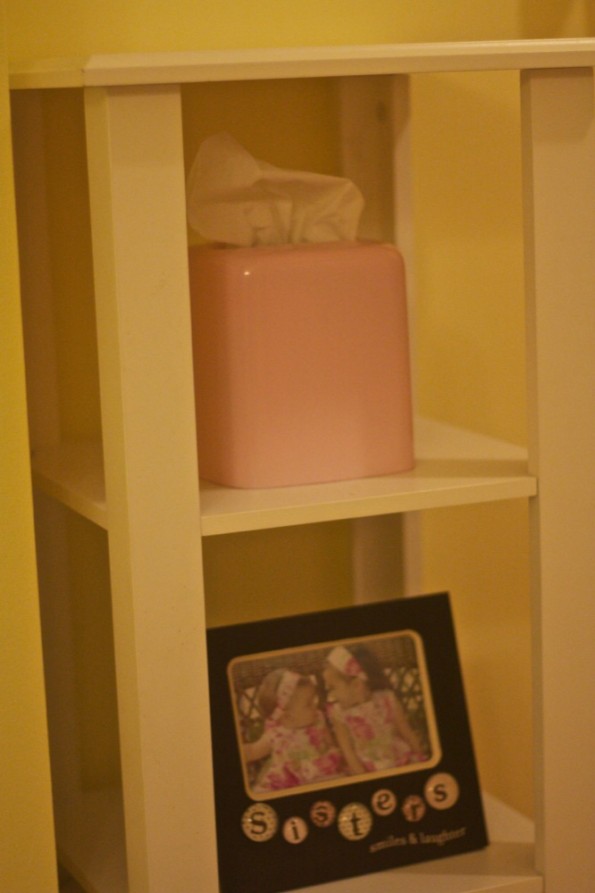
Here is the tissue box cover spray painted.
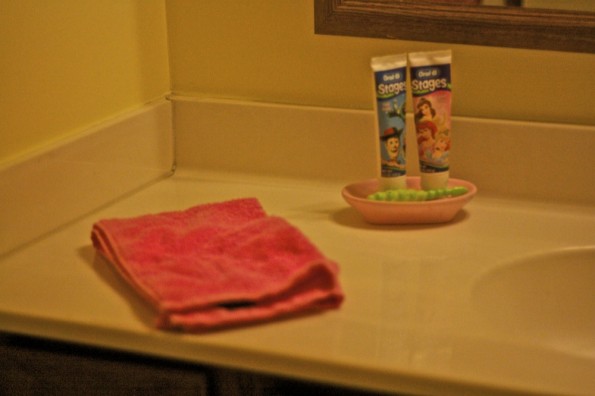
Soap dish painted from silver to pink. I used it as a place to hold tooth paste.
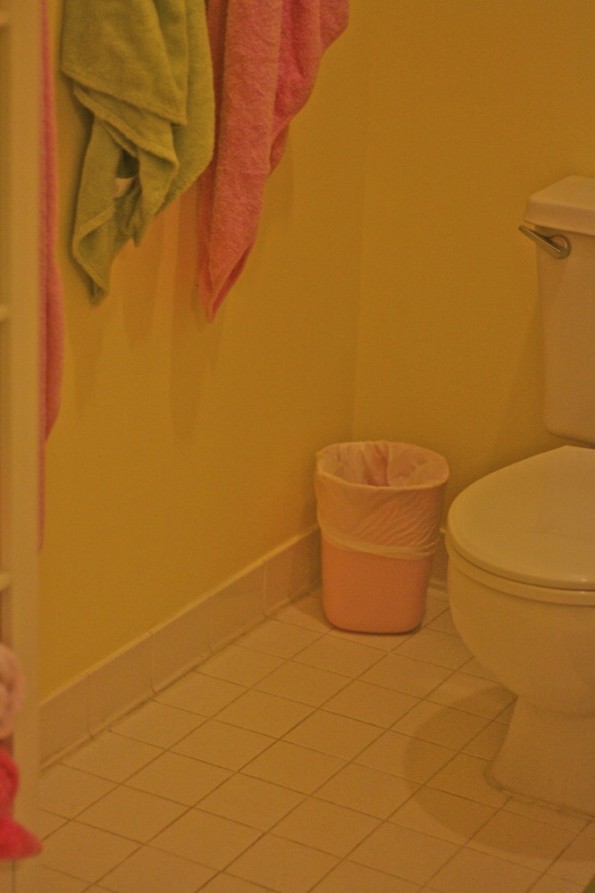
Trash can painted.
Overall, I’m extremely happy with the less than $4 transformation.
Tip:
Make sure you spray far away from the object. It’s better to do a few coats than one thick one. It will drip! Mine dripped on one side of the trash can and I quickly figured out that slow and steady wins the race.
Coming soon: Spray painted wicker furniture
by Jamie Hinckley on May 10, 2012
Today I guest posted on another great blog, www.supernovamom.com. That is another fun site you should check out when you have the chance!
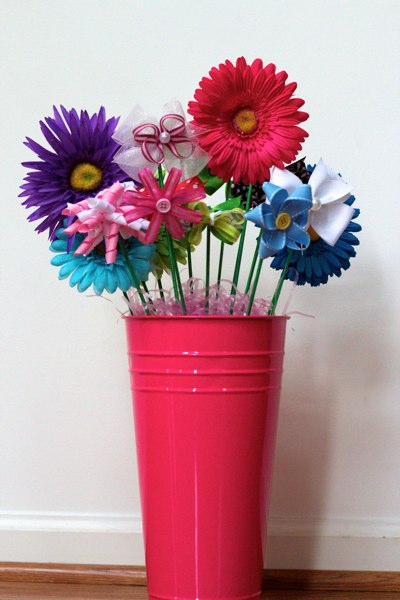
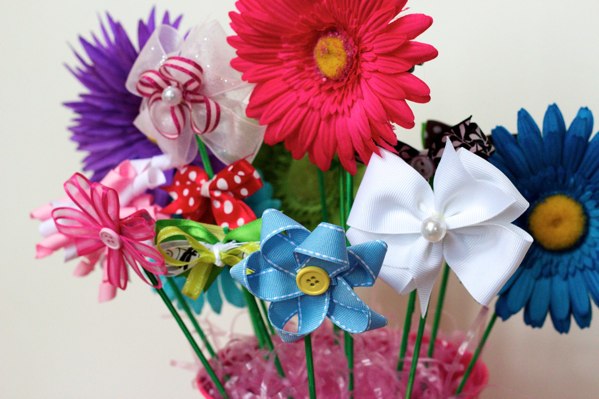
Anyway, I made this adorable flower bouquet of all kinds of different hair bows for an upcoming baby shower. Check out the link above to see the details on how to make some of the bows. You’ll love it.
It will make a great center piece at the shower as well as a cute present for the new mommy!
Check out our other hair bow posts!
Daisy Pinwheel Hair Bow
Korker Hair Bow
Regular Daisy Hair Bow
by Jamie Hinckley on May 08, 2012
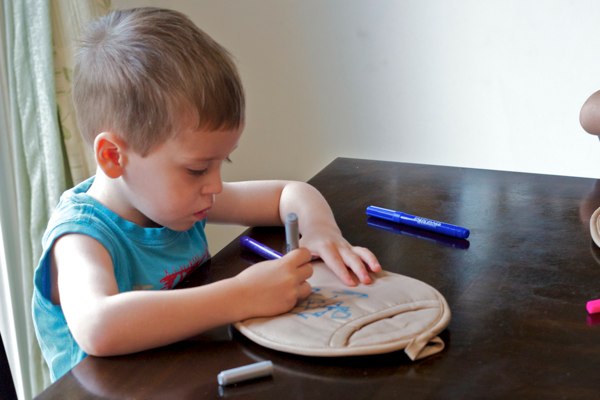
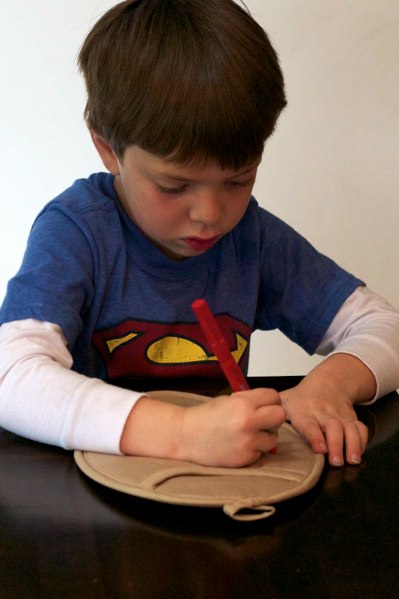
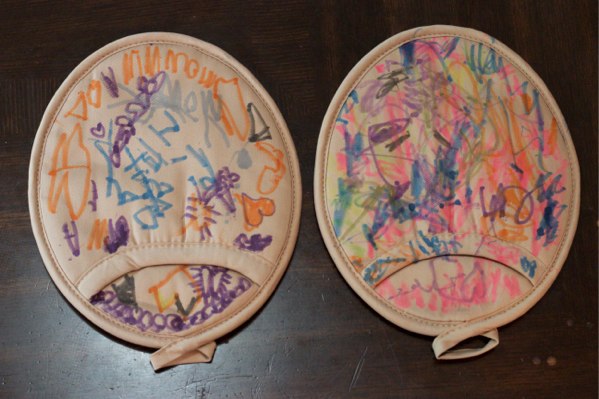
I babysit full time and trade off teaching preschool so each year I am always searching for a cute Mother’s Day craft the kiddos can do. I decided to have the kids do hot pads this year as they will go nicely with the aprons we did a few years back.
These are really cute and really easy. You can order the hot pads on oreientaltrading.com or you can buy any light colored hot pad. You will also need some fabric markers and/or fabric paint to decorate them with.
Mothers and grandmothers everywhere will love these!
by Dana Patterson on May 08, 2012
@EnchantedMamas
We finally moved up in the world! Follow and tweet us!!!!
