Enchanted Mommy

Tortellini from Scratch!

Happy Birthday to me!

This year my husband was extra creative!  He took a cooking lesson from a professional Italian chef and founder of Copper Pot Food Company, Stefano Frigerio.  We are lucky to have him as a good friend and neighbor.

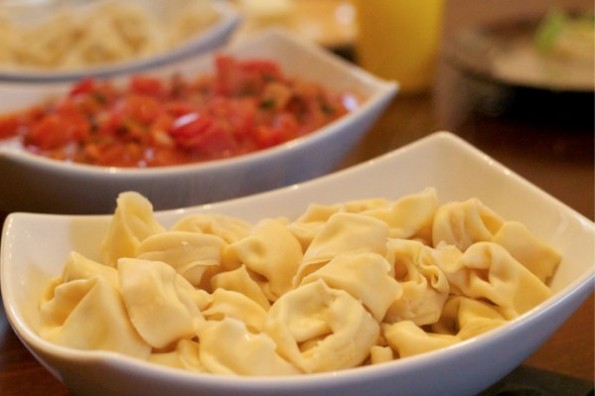
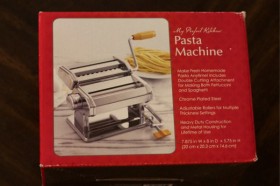
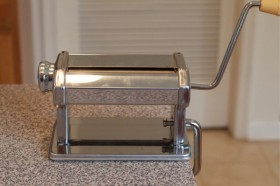
My husband had Stefano teach him how to make homemade tortellini (one of my absolute favorite foods!).  Anyway, for my birthday he bought me a pasta press and from what he had learned from his cooking lesson, he had us make fresh Tortellini from scratch together for my birthday dinner.

It was a lot of fun, but more than that, the food was awesome!  There is something to be said about fresh homemade food!  I can see us forty years from now (retired hopefully!) making delicious gourmet meals from scratch with the freshest ingredients!


We went with a cheese filling this time since that is my favorite and after all… it was my birthday!  🙂  You can use lots of different fillings.  Stefano had Danny learn a prosciutto filling during is cooking lesson.

Here is the recipe we used for our cheese filling.

Cheese Filling:

1 (8 oz) container ricotta cheese
1 (4oz) package cream cheese, softened
1/2 cup shredded mozzarella
1/2 cup cup provolone cheese, shredded
1 egg
1 1/2 tsp dried parsley

***Combine all ingredients and mix well.  Refrigerate until ready to use.

Dough:
2 cups flour
1 pinch salt
1 tsp olive oil
4 eggs
1 1/2 Tb water
***I use 4 eggs instead of 2 as our chef told us you need 2 eggs for every cup of flour you use.  If you only use 2 eggs and mix the dough it is so dry it just crumbles instead of being able to roll out.

The recipe from Allrecipes.com has you dump the flour and salt right on the table and mix it by hand.  Then you form a well and mix in the liquid ingredients (that you first beat together).  Then knead for 8 to 10 minutes.

This did sound sort of interesting so we made two batches… one we mixed right on the table as the directions say to do and one we mixed in the kitchen aid.  I couldn’t tell the difference between them.

So, if you are adventurous and don’t mind a mess mix it right on the table, but really it doesn’t matter!  I will admit that the kneading gets a bit tedious when you do it by hand (Yes, Grandma I know us modern girls are spoiled!).  I did not refrigerate the dough for one hour either, but hey neither did our professional chef teacher.

Ready to get cut in to small pieces to feed through the pasta machine

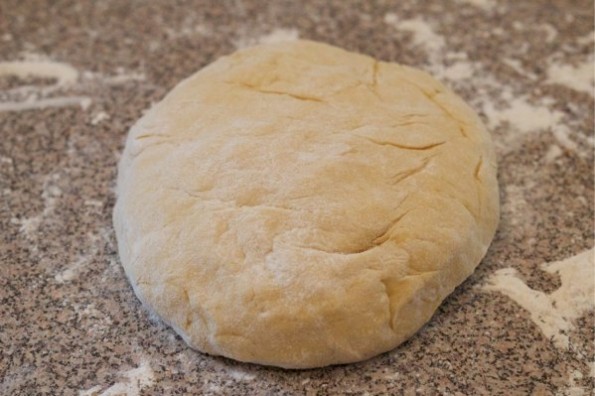
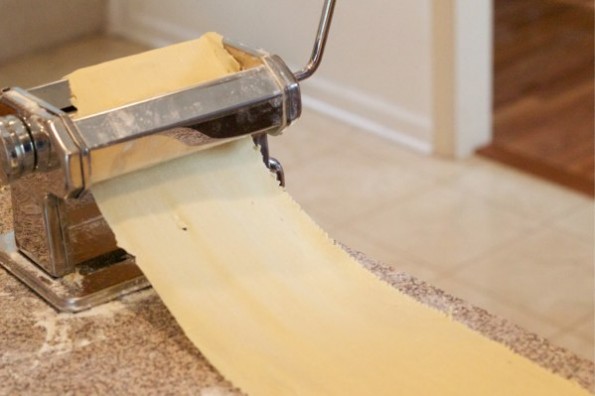
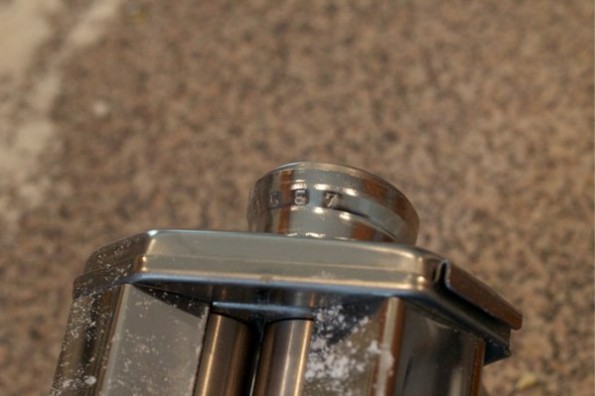
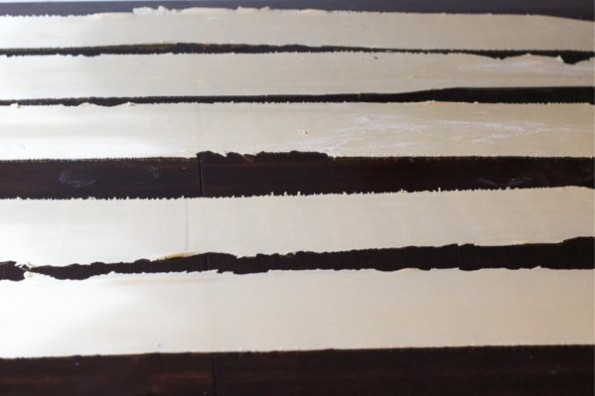
Form your dough into a ball and place on a lightly flowered surface.  Cut the ball into small pieces (we did 4 or 5 smaller pieces).  Grab one piece at a time and feed it through the pasta machine on the thickest setting (there is a number dial on the pasta machine).  Add a pinch or two of flour to the rolled out dough, then fold up flatly and feed back into the machine on one setting lower.  Repeat this process until you have gone through to the 2nd to lowest setting on  your number dial.  You will be left with a very long thin, ribbony textured strip of dough.  Put the strip across a cleaned table.  Do this with all of your dough.


Rolling the dough through the machine


Here is a close up of the dial. Roll each piece of dough through each setting once.


Lay your strips of ribbon textured dough across a clean table.

For the next part, you need a circle cookie cutter, or just use the top of a kids cup like we did.  Cut out as many circles as you can using your strips of dough.  Lay your circles on a lightly flowered table and get your cheese mixture out.  Put just a small amount in the center of each circle (we used a baby spoon to dish this out).  If you use to much filling, you will not be able to roll your tortellini without the cheese leaking out.
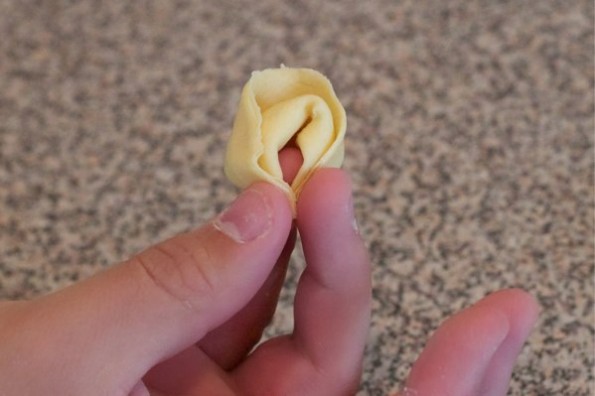
FOLDING THE TORTELLINI
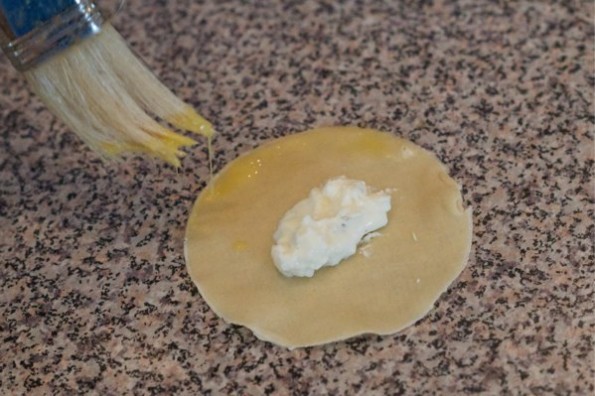
Beat one egg in a bowl.  Brush a small amount of egg onto the very end of the dough circle.  This will act as the glue.

1. Fold the circle in half pushing the dough together to seal the cheese in
2.  Fold the ends of the dough (not the creased part) up
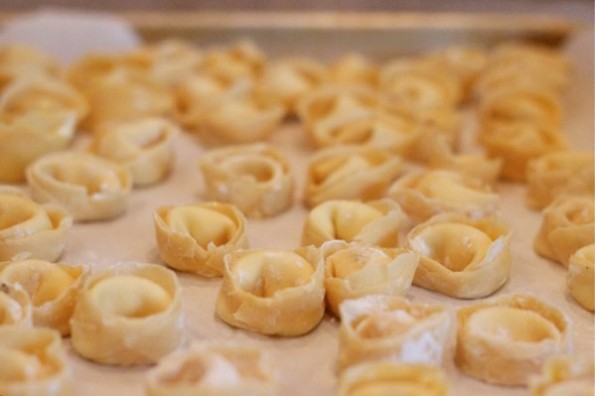
3.  Pull the corners of the dough together around your pinky finger and squish dough together to hold

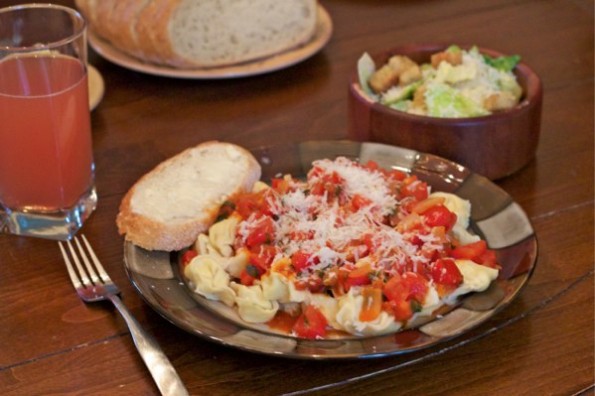
Once you are ready to cook your tortellini, fill a large pan with water and a pinch of salt and let it come to a rolling boil (a rolling boil is a strong boil that doesn’t stop even when being stirred or adding ingredients).   Add the pasta, stirring occasionally.  Cook until the pasta starts to float to the top… about  4 to 8 minutes.  Drain and add your sauce!

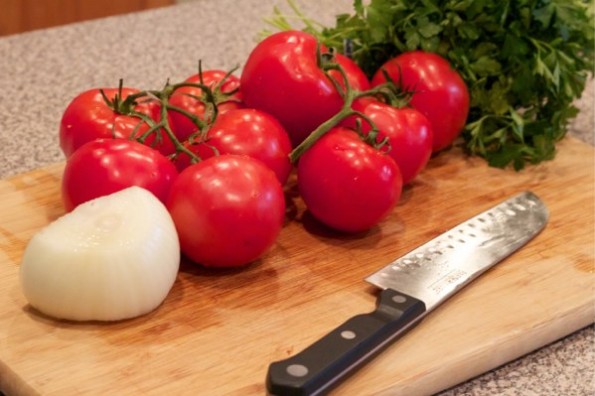
You can use any sauce you want really!  We wanted to use a homemade sauce made with all fresh tomatoes!  It was fabulous!
All fresh ingredients for the sauce! Delish!


A fabulously romantic birthday dinner!


If you look closely you can see the steam coming off the food in this picture!

Preschool Letter Ww Activities!

We are getting down to the end of our alphabet here and seems like the last few letters are the trickiest to find activities for.  This week was my turn to teach and we were on Ww.  It took a little extra thought, but we ended up coming up with plenty of fun activities!

We had a very silly circle time for Ww.  We first reviewed past letters and sounds, then introduced the letter Ww.  There are a ton of gross motor activities associated with W so we took some time to do them during circle time using role playing.  Here are a few of the things we did:

  • Wiggle like a Worm
  • Pretend to be blowing in the Wind
  • Swim and splash in the Water
  • Pretend to eat a big piece of Watermellon
  • Use a magic Wand to turn each other into a Whale, Walrus, and Worm.
  • Lay down to make the shape of a W with our  bodies

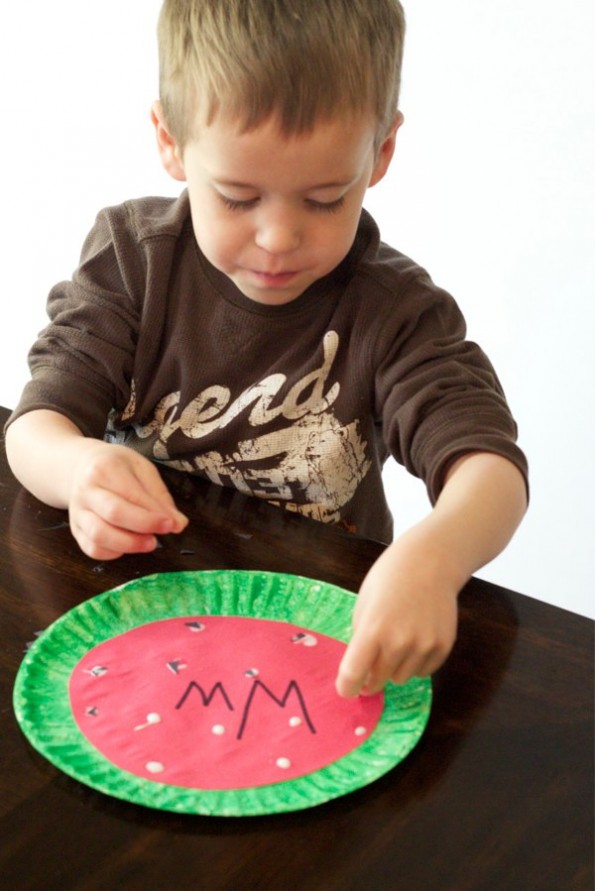
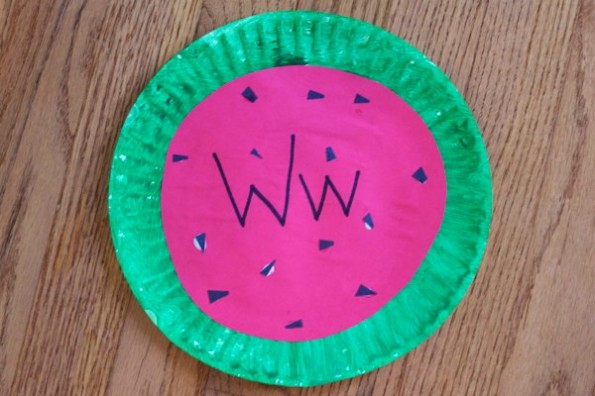
We made cute watermelons out of paper plates, construction paper, and paint.  These are really easy and do not take a lot of supplies.  The kids really liked making them, especially after we had just pretended to eat watermelon during circle time.  This is a great cross curricular activity as well since you can incorporate both science and math into your art by teaching about fruits and having the kids count the watermelon seeds on their project.

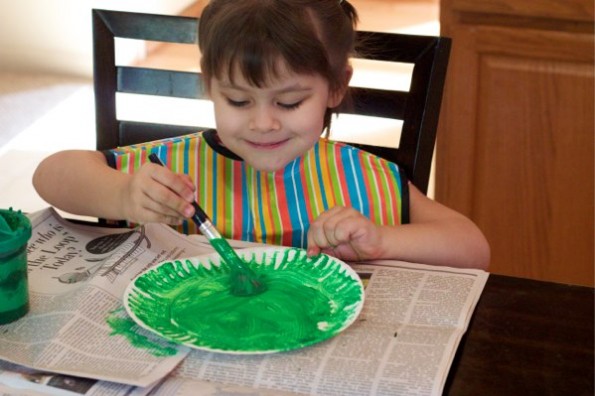
First let the kids paint a paper plate green.


Then have them glue a red circle in the middle and have them glue black "seeds" made from construction paper onto the red circle. This is great for fine motor development also since the seeds are so small!

Don't forget to have a little mini lesson on what a fruit is and have them count the watermelon seeds so that it can be a cross curricular activity for science and math as well!

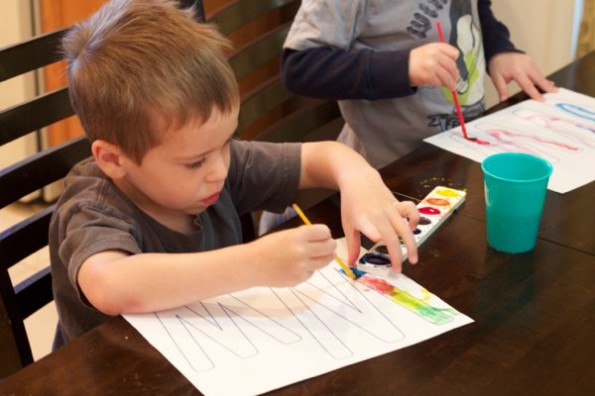
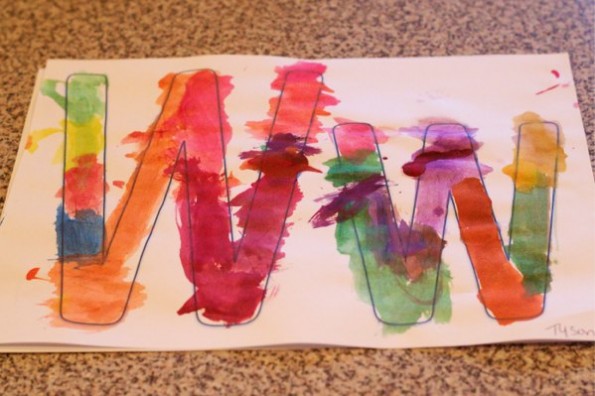
We also let the kids paint W’s with Watercolors.  This is a simple, but fun project.  It also looks great as a finished project to add to their alphabet books they have been making!

Painting with Watercolors!

Perfect letter page for our alphabet books!


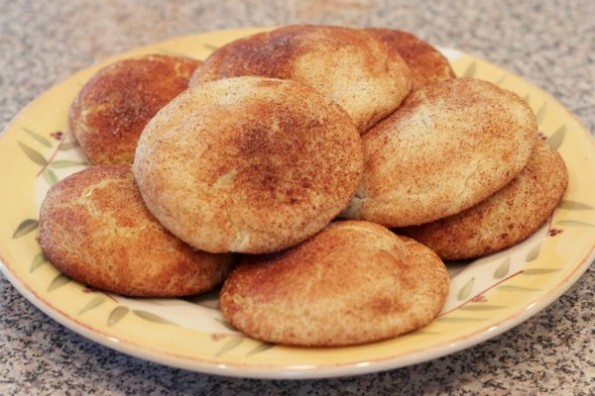
To finish our obsessed Ww preschool day we ate yummy snickerdoodle cookies topped with Whipped cream!  Make sure to emphasize how whipped cream starts with W!!

To see more preschool letter activities we have done, check out the links below!

Letter B, Letter C, Letter H, Letter I, Letter KLetter L, Letter Q, Letter R.

Making Your Own Foam Hand Soap

Foam hand soap

Just as perfect as if you bought it, for probably 1/10th of the price!

This is SO easy!  Now that I know how it is made, I’m in shock that places charge the same price for the foam soap as the regular.  I always buy the foam soap any way because it never leaves clumps in the sink and it always seems to last longer.

All you need is:

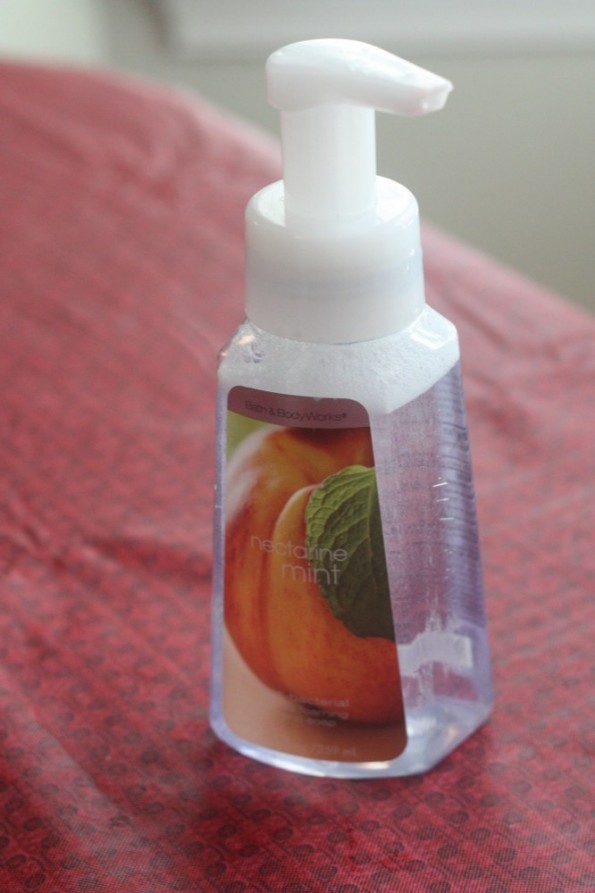
  • Any of your favorite nonfoam hand soap (enough to cover 1 inch in your foaming soap bottle)
  • Foam soap bottle
  • Water
Directions:
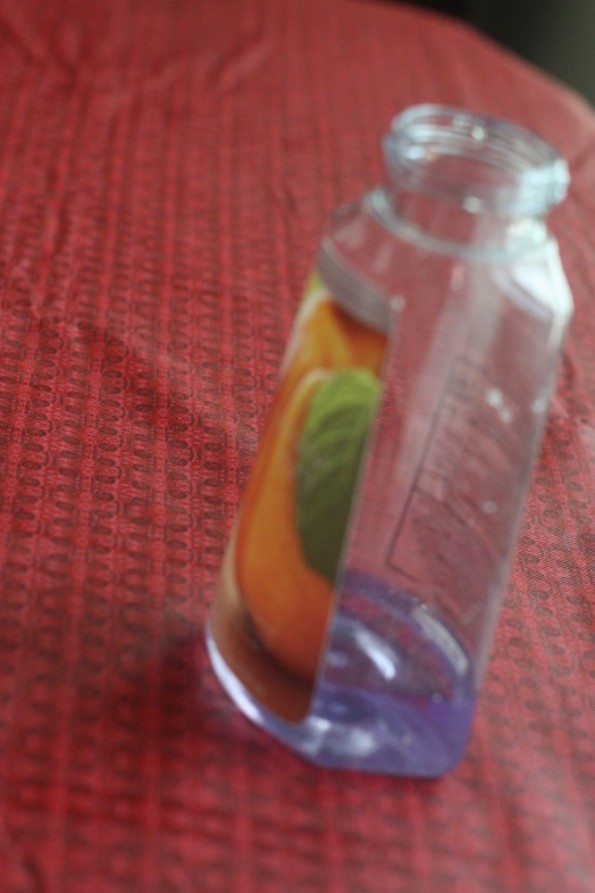
  • Fill foam soap bottle with 1 inch of your desired soap.
MAking foam soap

All you need is 1 inch of your favorite hand soap and water!

  • Fill the rest with of bottle with water.
  • Mix around slowly from side to side and up and down (I wouldn’t shake because it will get all sudsy).
You’re done!
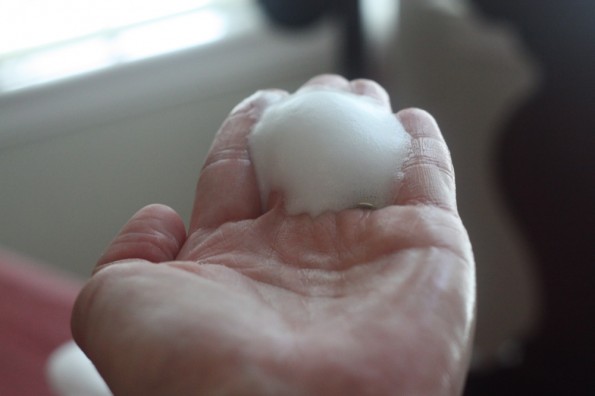
perfect homemade foaming hand soap

See how perfect it comes out!

Here’s a fun tip:
Go buy one regular bottle of foam soap and then buy the regular (nonfoam) in that kind.  Then, you can make 10 bottles for the price of two!


Austin Food and Wine Festival Review

What is it?

The Austin Food and Wine Festival is a three day celebration of cuisine, wine, spirits and music in Austin, Texas. This in the second annual festival and will be held April 26-28, 2013 at the Auditorium Shores. It is presented by FOOD & WINE Magazine and is a collaboration of Texas’ most celebrated chefs and restaurateurs.

What can I expect?

Grand Tasting Tents have been erected where you can try cuisine from restaurants and purveyors. Chef’s that are located at interactive stations throughout the venue, will teach cooking tips and you can even taste the results. Cleanse your palette at the many wine seminars, where you will mingle and learn from Sommeliers.

Austin Food and Wine Festival Reviews

The view from Austin’s Food and Wine Festival

Many improvements from the first year address the Austin Food and Wine Festival Reviews. The Grand Tasting Tents have been expanded to allow for more restaurants and purveyors. The Auditorium Shores, has been restored to a lush, green venue with the help of the Austin City Council. This will make the wine and cuisine taste that much better. Austin Food and Wine Festival Reviews stated logistical concerns. So events have been staggered and more seating created for attendees during the demos, wine tastings, and grand tastings.

Are there any special events?

The Austin Food and Wine Festival kick-off party, The Taste of Texas, will be held in Republic Square Park. The focus here is on Texas. You will find the most talented Texas chefs share their cuisine with the sounds and dance of Delta Spirit and Whiskey Shivers.

For some competition, The Rock Your Taco will showcase prior years’ winner Chef Tyson Cole. He will defend his title against Marcus Samuelsson, Susan Feniger, Tim Love, and more. You will even be able eat the tacos and see for yourself who is the winner, all to the sounds of Allen Stone.

What are the prices?

The Savor Pass – $850. This is the see and be seen pass with nothing spared. You get all the ultimate access with true VIP treatment. The special events, Taste of Texas Kickoff Event and Rock Your Taco Celebrity Chef Showdown, is included as well as access to the VIP Lounge. 2-Year FOOD & WINE Magazine Subscription in included.

The Taste Pass – $250. You will get general access to all the events. You don’t have VIP access or a dedicated lounge, but you do get a 1-Year FOOD & WINE Magazine Subscription. The Taste of Texas event and Rock Your Taco Celebrity Chef Showdown can be added at a charge.

Should I go?

This truly is a world class event held in one of the County’s best Southern locations. Whatever your situation, if you like great cuisine and enjoy drinking wine, the Austin Food and Wine Festival is the place for you to be in April.  Head over to the Austin Food & Wine Festival Reviews page on Yelp for more details.

Candy Bar Filled Snickerdoodle Cookies!

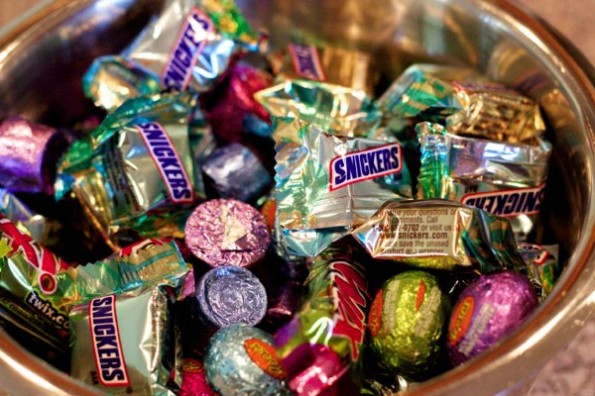
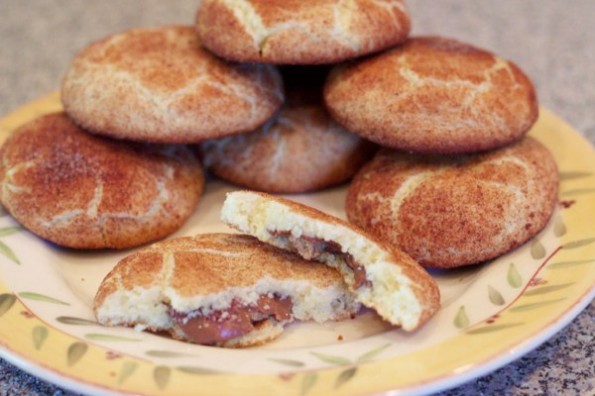
We got WAY to much candy for Easter!  I want to eat responsibly, but with all this candy laying around… well, I just can’t.  So I decided that I  need to get rid of the candy asap!  I found the perfect method!  Candy bar filled snickerdoodles.  I got the idea from thebakerchick.com who filled her snickerdoodle cookies with caramels.  If caramels work, why not these easter chocolates?

Too much candy!

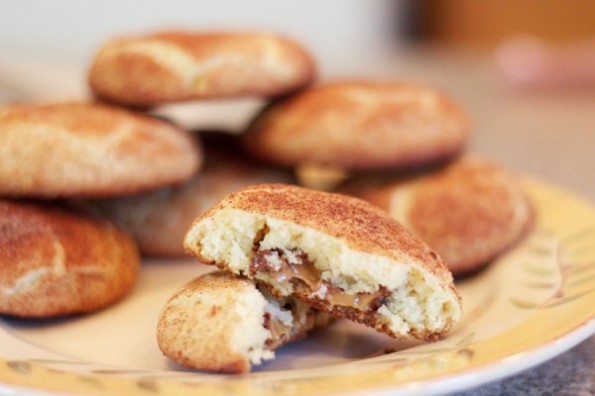
I ended up using Snickers, Rollos, and Reese’s peanut butter eggs in mine.  They were awesome!  All the cookies were on way tray and you never knew which candy bar would be in the middle.  It didn’t matter though… they were all delicious!  My favorite was the Reese’s!  The candy bars melted into the center of the cookies and were seriously soooooo yummy!
So all you need to do to get rid of all that Easter candy so you can start eating responsibly again is to invite a bunch of kids over and make these cookies!  They were gobbled up!  I was barely able to save one for my husband to try when he got home from work.  Here’s to no more Easter candy!

Candy Bar Stuffed Snickerdoodle Cookies
Adapted from thebakerchick.com

2 3/4 cup flour
2 tsp cream of tarter
1 tsp baking soda
1/4 tsp salt
1 stick of unsalted butter
1/2 cup vegetable shortening
1 3/4 cup of sugar (put 1/4 cup of this aside)
2 Tb cinnamon
2 large eggs

1.  Mix dry ingredients in a medium bowl (flour, cream of tarter, baking soda, and salt)

2.  Mix butter, shortening, and 1 1/2 cups sugar together until light and fluffily.  Add eggs, mixing one at a time.

3.  Add dry ingredients to butter mixture gradually.

4.  Mix 1/4 cup of sugar with the cinnamon in a small bowl and set aside.

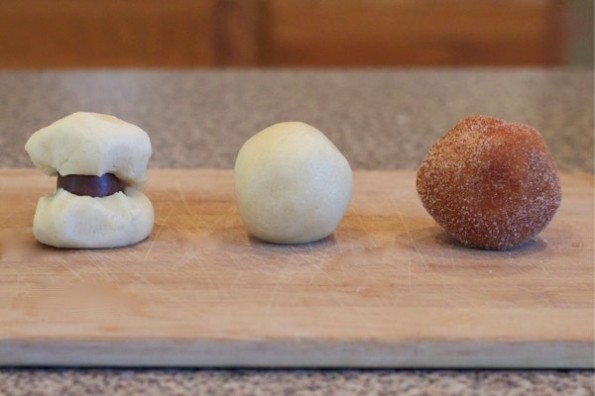
5.  Heat oven to 400 degrees.  Using a ice cream scooper, scoop up a ball of dough and roll into a nice ball.  Break ball apart and put a mini candybar in the center of each one before rolling back up.

6.  Roll each dough ball in the sugar/cinnamon mixture until it is well coated.  You really can’t overdo it here.

7.  Bake on 400 degrees for 10 minutes and let cool on baking sheet for 5 minutes.

***She said this would make 48 cookies, but my batch only made 24.  Maybe my ice cream scoop was a lot bigger than hers.  Either way… they were yummy and I didn’t have to adjust the cooking time.

A Fun Way To Organize All Of Your Girlie Hair Clips!

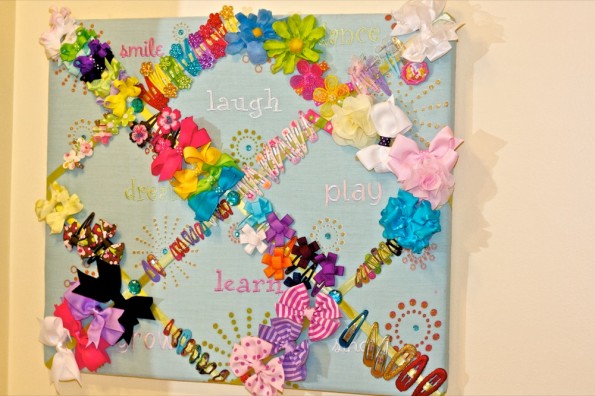
hair clip organizer

Isn't this so cute for hair clips?!?!

I didn’t think of this myself.  A couple of years ago, we went to a homearama in Norfolk near my in-laws house and I saw this in a little girl’s bathroom.  If you’ve never been/heard of a homearama, you need to check out ASAP if there is one in your area anytime soon.  Basically, it’s a set up of 20 or so model homes that are for sale, but they are decorated amazing and can give you tons of fun ideas!!

I went to the Navy Exchange and found this memo board (~$15) and wahlaa.  These aren’t bows that I made in case you’re wondering, I got most of these from Target, Wal-Mart or Clarie’s.  It is a great way to organize all of the hair clips and everyone that sees it loves the idea.  It’s perfect in their bathroom.

For a couple of bow tutorials, check out my daisy hair bow and my korker bow!

Seven Uses for Plastic Easter Eggs After Easter

(Note from Dana: My sister in-law sent me a text stating she had some great uses for leftover Easter eggs and wanted to guest post.  I was like for sure!!!!  Read the post and check out her own blog here!)

Well the Easter bunny has done it again. I’m not quite sure how it happens. Especially since I am very close with the Easter bunny and monitor her spending habits very closely. It seems at some point in the preparation of Easter baskets, the Easter bunny placed a “bunny” blessing on our plastic eggs because they seem to be multiplying faster than bunnies do.

Just when I think I’ve tracked down every last plastic egg, I find another one in a couch cushion or my shoe. This wouldn’t be so annoying except for the fact that it’s usually not an entire egg: just half.

As a mother of three preschoolers, we accumulate a lot of plastic eggs. In addition to the Easter bunny, we have church egg hunts, family egg hunts and preschool egg hunts. This amounts to roughly 5,000 plastic eggs (maybe I’m exaggerating, but only by a little).

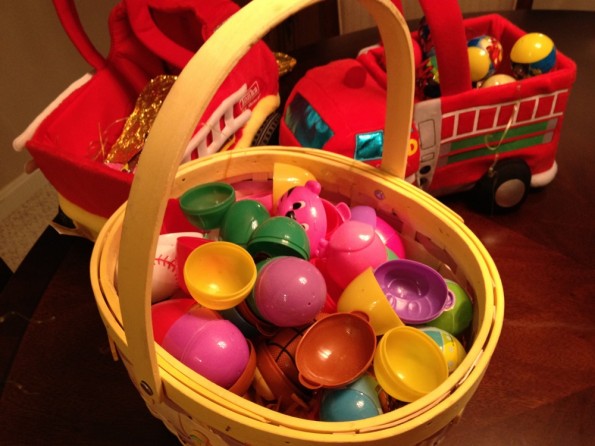
What to do with leftover Easter eggs

My kids' leftover eggs!

In the past, I’ve saved the plastic eggs for the following year. In five years, I’ve accumulated quite a stash of eggs. There is no need to keep new ones this year. Instead of throwing them away, I’ve found several uses for the plastic eggs.

  • Use them as bath toys. Most eggs have a little hole in the bottom of the egg. My kids love to fill them up with water and watch the water drain out.
  • Make an Easter egg wreath. There are a million ways to make these and they are all over Pinterest. This is a perfect time to make an Easter wreath because any additional accessories you might need (i.e. ribbons, additional flare, etc.) will be on sale.
  • Make a set of “play” eggs. The next time you buy real eggs, save the container and fill it with plastic eggs. Your kids will love this new addition to the play kitchen.
  • Use them to teach your child to read. Check out this recent post that uses eggs to help new readers learn new words.
  • Use them as prize incentives. One thing I love about plastic eggs is their size; they perfectly hold a temporary tattoo or sticker. My kids love rewards and they love surprises. Keeping some eggs year-round to fill with little treats is a great way to motivate your kids.
  • Donate them to your local Humane Society. Apparently, cats love to chase around plastic eggs filled with food. This helps with their mental stimulation and development. Not all Human societies collect plastic eggs so make sure you call before you show up with your bag full of eggs.
  • Give them back. If you attended any community egg hunts, you might be able to donate your eggs back after Easter. Not all organizations want to store the eggs for a whole year but some might. It takes a lot of eggs to host a community egg hunt, so if they are accepting eggs this is an easy way to get rid of your entire stash.

Having trouble deciding which one to choose? And this list is just a start. There are a ton of craft ideas that use plastic eggs. The good news is you probably have enough eggs to do them all. Twice.

Tips to Navigate the Magic Kingdom at Disney World!

Planning a Disney trip this year?  We just got back from Orlando and I wanted to share some tips on how to navigate the Magic Kingdom.   We had so much fun even though we went during one of the busiest weeks of the year… spring break!

It was crowded, but I was really impressed with how well Disney manages such a large crowd.  I did talk to one of the employees on the tram back to the parking lot and he told me that the best time to come is late september and October.  He said that spring break, summer, and the month of December will have the biggest crowds there.

1.  Get there early!  Plan to be there at least 30 minutes before the park opens.  The parking lot is very intense and it will take you that long to get to the gate.  You have to first take a tram from the parking lot to the kiosks.  There you can buy your tickets and then hop aboard a ferry boat or a train that will take you to the entrance of the Magic Kingdom.  If you get in the park right as they open all the Disney characters are right there doing a welcome song and dance as you walk in.  It is pretty cool to see, plus you can get a lot of your pictures done first thing without having to hunt for the characters through out your day.

2.  Let them take your picture!  They will hand you a card when they take your picture at the entrance.  You can use this same card the entire day each time you want a family picture.  You just hand them your card and they scan it, take the picture, and hand it back.  After you get home there is a website on the photo card (disneyphotopass.com) you can go log in and view, share, or order any of the pictures you want.  There are employees all over the place and they do not mind taking pics for you from your camera or iphone either.

3.  Bring lots of snacks and drinks!  Besides glass bottles, you can pretty much bring in whatever you want.  I packed a backpack full of bottled water and snacks and passed them out to the kids while whenever we were in line somewhere.  It kept the kids busy while waiting in line, plus it kept them full and we avoided buying food at the park.  If you want to buy a meal at the park I would suggest doing it around 345pm.  The dinner prices start at 4pm so that is your last chance to get a big meal for the lunch price.  It is late enough that you can make it the rest of the day with just the snacks you packed.

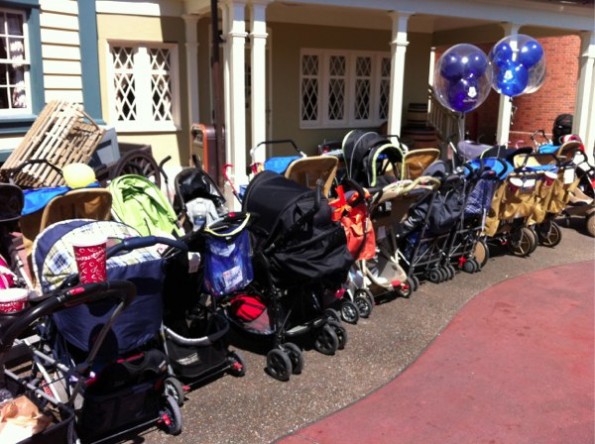
4.  If you need to bring a stroller make sure you distinguish it somehow.  There are gazillions of strollers in the stroller parking area and sometimes the disney employees even move them around a bit to keep them organized.  Our stroller was not always in the same spot we left it when coming back from a ride.  We got some bright orange ribbon for 75 cents at the craft store and tied a bow around the handle to make it stand out.  Some people bought balloons and tied that to their strollers too.  The last thing you want to do is spend 10 minutes looking for your stroller in the crowd of strollers!

This is actually one of the smaller stroller park areas we used near the Haunted Mansion. Ours is the stroller with the orange ribbon tied to it. You can easily see how useful this was!

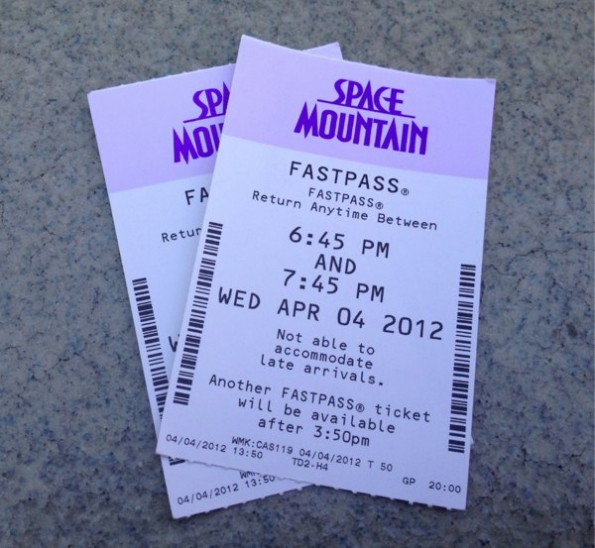
5.  Use the fast passes!  Here is how the fast passes work.  In front of the major rides there is a fast pass kiosk.  You put your admission ticket in and it prints out a ticket with a time printed on it of when you need to come back.  Come back during this time and you enter a fast pass line that is dramatically different then the regular line.  For example:  We used a pass on Space Mountain.  The regular wait time was 85 minutes and we only waited 12 minutes using the fast pass line.  Don’t waste your fast passes though…  once you have printed a fast pass you cannot get another for a couple hours so pick the rides you want to use them on wisely.  I would suggest using them on the mountain rides (Splash, Space, and Thunder mountains).

This was our 2nd round of fast passes to Space Mountain. As you can see, we got the tickets at 1:50pm and were not able to get any more fast passes until 350pm

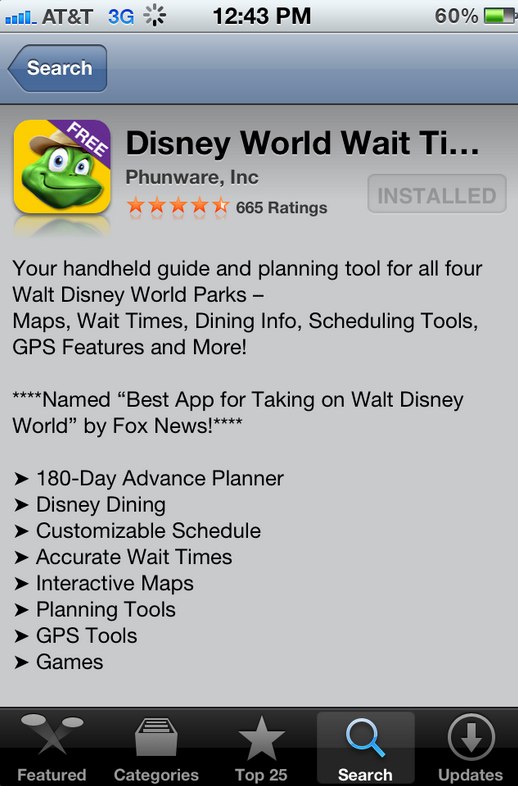
6.  Use the free Disney app to estimate wait times.  This was incredibly useful and helped us decide which rides to go on and when.  We used the Disney World Wait Times app (has a picture of a frog on it).  It was easy to use and also has a map of the park on it.  You can also make lunch or dinner reservations and find where you favorite disney character is using the app.

6.  I strongly recommend hitting up the classic rides in Fantasyland first.  These are the famous Mad Tea Party,  Flying Dumbo, Winnie the Pooh, Railroad, Prince Charming’s Carrousel, etc..  If you dont do them first thing then you may not get to later on.  They are very popular and the lines get pretty long later in the day.  With all the other rides at the park I didn’t want to wait 40 minutes just to ride the tea cups if you know what I mean.  Plus it gives you something to do while you wait to use your fast pass to nearby Space Mountain.  🙂

7.  Stay for the parade and fire works.  It makes for a long day, but you wont be disappointed.  They really put on a great show.  Dont underestimate the day time shows either.  They give you a time to sit and relax for a bit and they really are well done.  We went to the Monsters, Inc. Laugh Floor Show.  It was pretty funny.  I think I enjoyed it as much as the kids.  You can text a joke into them on your way in to the theater and they  really do try to use them in their act.


My Sweet Girl’s 1st Birthday!

I love celebrating my girls birthdays!  I always say that the next birthday will be more simple and less crazy on my end, but I truly do love it.  We do everything ourselves, so I try being creative when I’m putting the party together.  We did celebrate Anna’s 1st birthday twice by doing a shared family party for her and my great nephew  (there are 35 people in mine and my husband’s family) and a friend party.  Here are some of the fun things I did to make Anna and my guests enjoy the time.

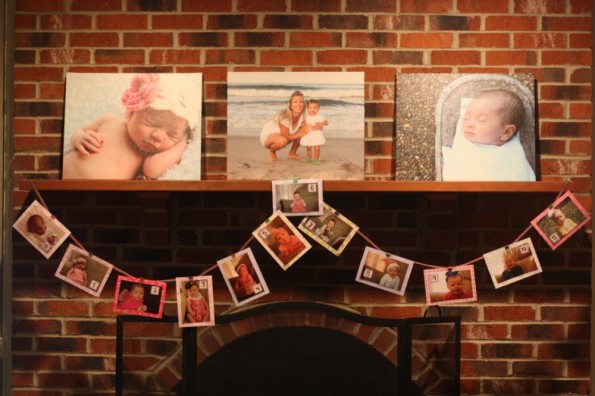
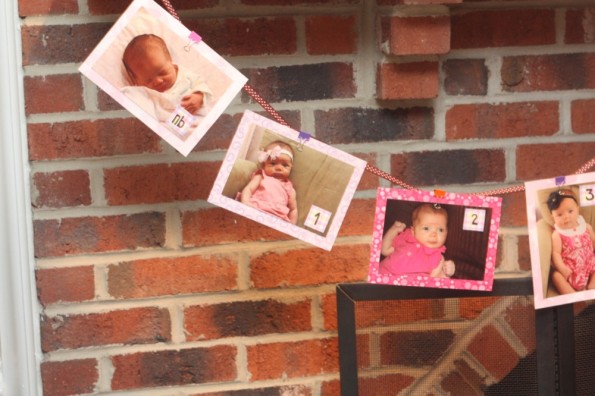
month birthdays

I took a picture on each of her month birthdays and created this!

1st birthday party idea

Here is a close up of Anna's first 3 months. A fun and cute idea to see how much your baby has changed in one year!

FOOD FOOD FOOD!

Remember, people eat with their eyes.

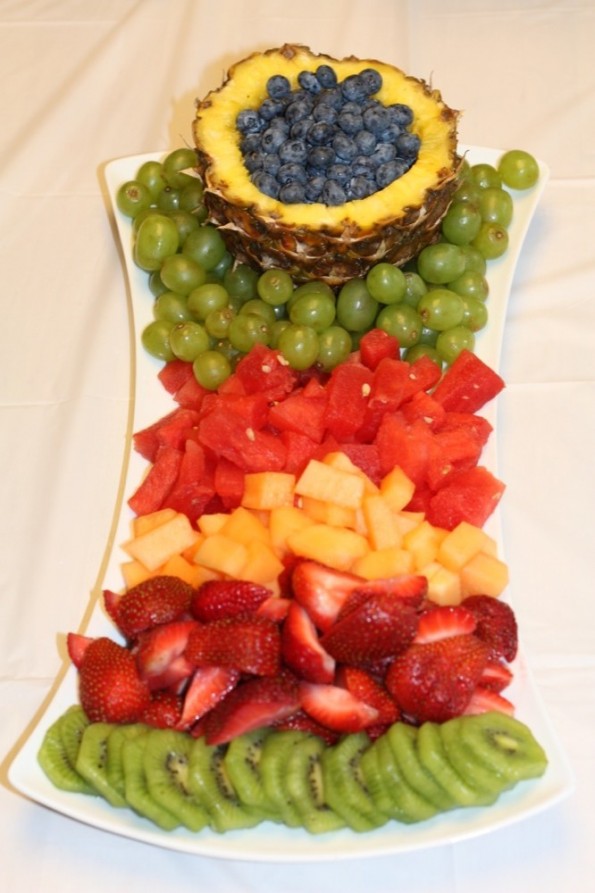
Fruit tray

My husband did this fruit platter for our sweet girl!

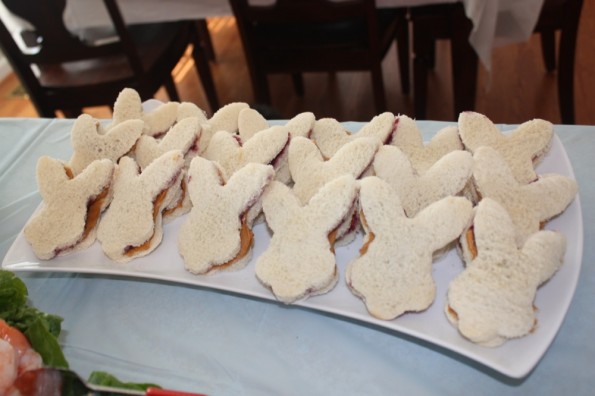
Even the kids, make sure you  make things that they will enjoy.  I just used a bunny cookie cutter for this since it was close to Easter.  I’ve seen people also use cookie cutter letters that spell out things.

Peanut bunny and jelly sandwiches.

Always remember to do cute things that the kids will eat!

CAKE CAKE CAKE!

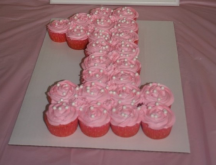
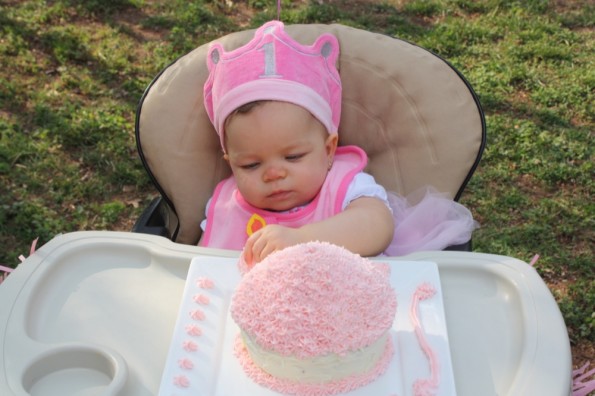
For the family party, I did the smash cake (my mother in-law iced it because I was running out of time).  I love the big cupcake cake for smash cakes.

1 year old smash cake

Perfect for a smash cake and so easy!

I also did a cute smash cake for my other daughter’s 2nd birthday.  Check it out here.

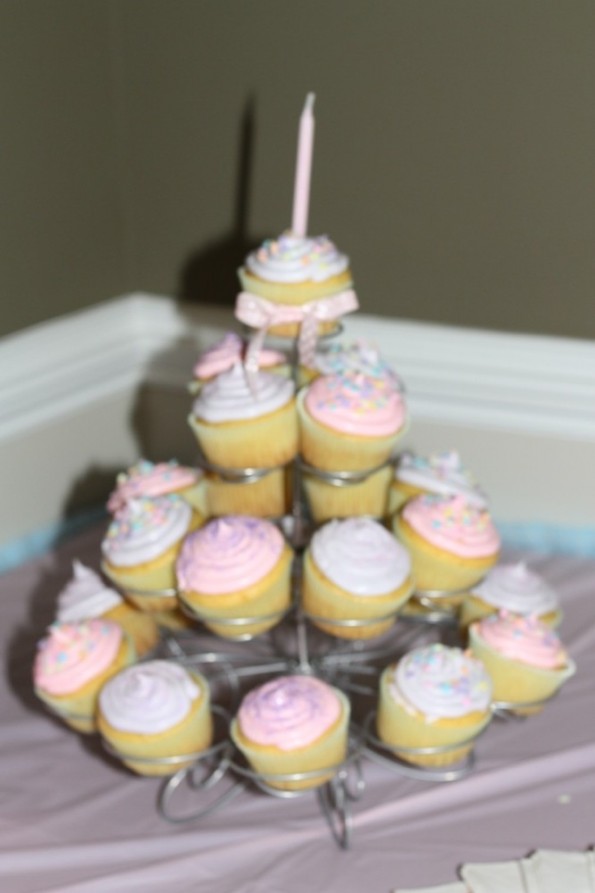
I made cupcakes for her friend party.

Sorry for the blurry picture, but I made all of these for $5 and it was so simple.

FUN FUN FUN!

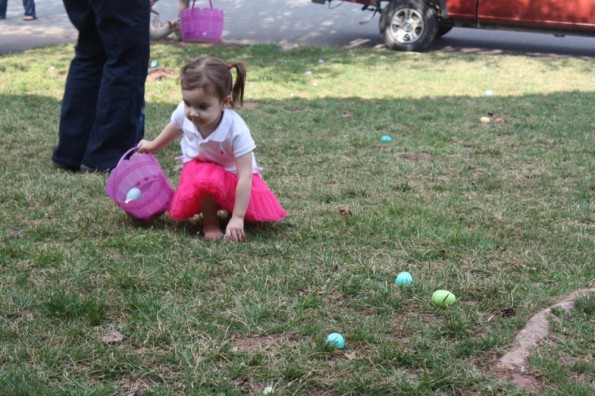
The parties were so fun!  Even if it is a 1st birthday, remember all of the kids that are there too!  We did an Easter Egg Hunt at both parties because it was close to Easter, but heck, kids like hunts any time of the year.  You could even just throw candy in the grass and send the kids out to find it (in wrappers of course).  

My 2 year old, Ella, doing the egg hunt!

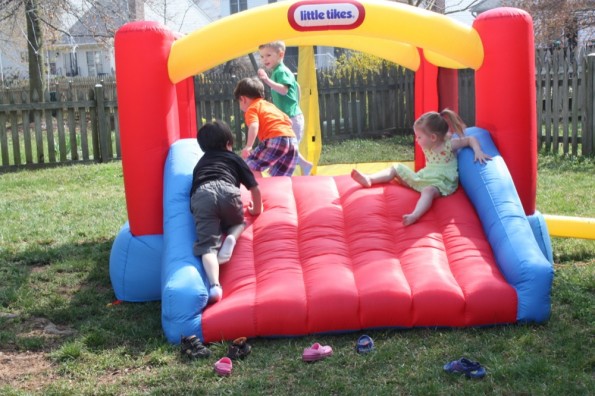
We also invested in a bounce house last year for my daughter’s 2nd birthday that we bring outside for parties.  They are kind of pricey, but we keep it in our basement when we don’t have guests over.  The girls jump in it down there almost every night.  

bounce house

Definitely worth the money when hosting a party! It was the hit at the party.

I cannot believe it’s been a year!  Happy Birthday, sweet Anna Belle!

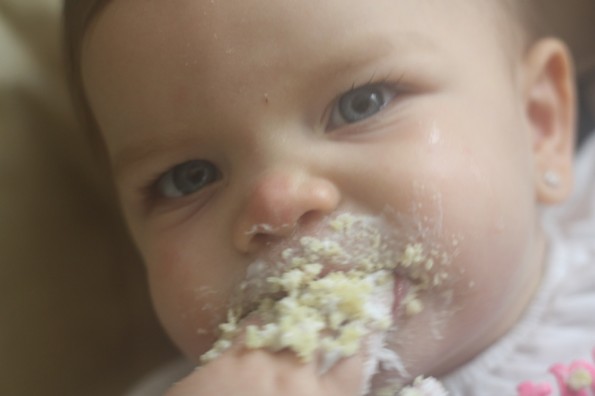
Eat it up girl!

 Happy Birthday Party Planning!


Easy No Sew Tutu Tutorial! A tutu for $3 and an hour of your time!

Have I mentioned that I have three boys and NEVER EVER get to do anything girlie? My life is fun and full of sports, bruises, grass stains, dragons, knights, and complete adventure! I love it and am not complaining, but sometimes I dream of a day I can crawl into bed without laying on a match box car or  put on my shoes just to find them stuffed with legos and plastic dinosaurs!

Okay, I guess I should just admit that I sometimes watch in wonder as my nieces or friends little girls play sweetly with their dollies while they rock them in their rocking chairs pretending to feed and care for them. I then look over at my boys who are usually smashing their toys together, rough housing, or jumping off the couch to wreck their large block towers…. and well sometimes I just want a moment of frilliness!

I decided that if I ever did have a baby girl she would have to wear a tutu every day of her life!!! With this in mind, I decided I would learn to make tutus!!! So my dear friend (and co-author of this blog) has two little girls and she is really good about humoring me and letting me play dress up with her girlies from time to time so I started with making one for her sweet Anna Belle’s first birthday!

This ended up being so easy… really not sure why anyone would spend money buying one when they are so simple! Let’s start with the supplies!

Supplies:
3 yards of tulle
Ribbon
1 elastic headband

You need 3 yards of tulle. Any color, multiple colors doesn’t matter as long as you have 3 yards total. I found mine for $1.49 a yard at Jo-Ann Fabric and used a 50% off coupon you can get in every weekend paper or online.  Add some 50 cent ribbon from the sale rack and you have spent a whopping $2.75. Not bad huh! For the elastic I just used an elastic headband I already had in my collection. You could use regular elastic if you need too, but the head band is really the perfect size already!

Step 1:  Cutting your tulle
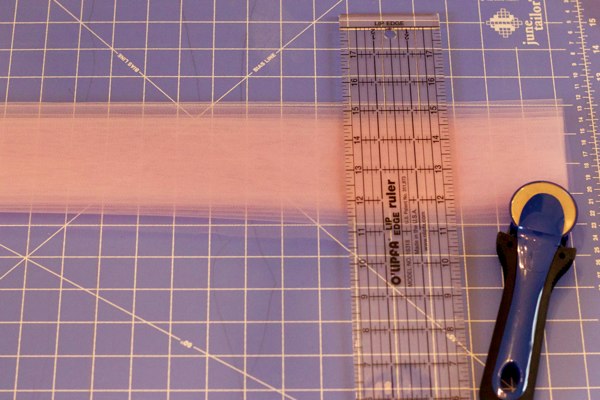
The easiest way to do this is the roll your fabric up 1 yard at a time, cut the end so it is even and then cut strips every three inches. Then you take each individual strip you cut and cut that exactly in half.  Yep… that’s it!  Very easy!

You don't have to use a rotary cutter for this. Scissors would work just the same... It's that simple really.

Step 2:  Tie your tulle around your elastic
This is the most time consuming part of the tutu, but it is pretty mindless really.  I just sat myself down in front of the tv and tied it all up before the half hour TV show was finished.  So, all you do is take a strip of tulle, fold it in half, then pull the ends up around the fabric and through the loop you created by folding it in half.  Think of attaching a ski lift pass to your coat when they use to use the bands instead of the metal hooks.  Super easy!  Here is a good video that demonstrates how to loop tie if you aren’t quite getting it from my description.

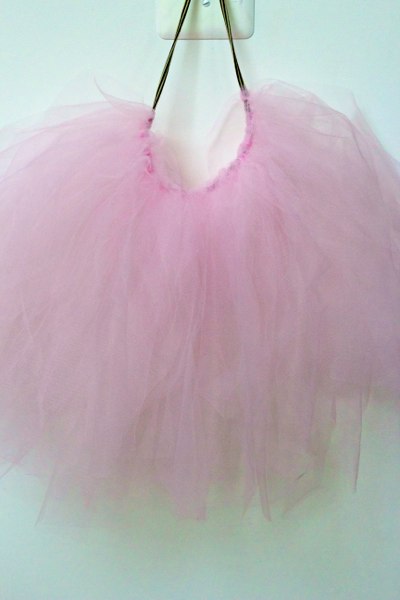
About half way done here and it is looking nice and frilly already!

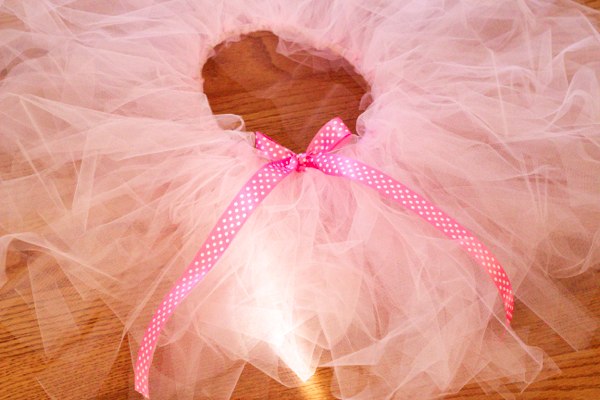
That’s it really.  You are done.  If want to tie a ribbon with bow around it go for it, but it isn’t absolutely necessary.  Some people like to put the tutu under something heavy to flatten it out a bit, but personally I love it all frilly and fluffy looking!  There are a ton of variations you can do here too.  You can use all one color of tulle and lots of different colors.  You can also tie strands of ribbon through out the tulle too.  

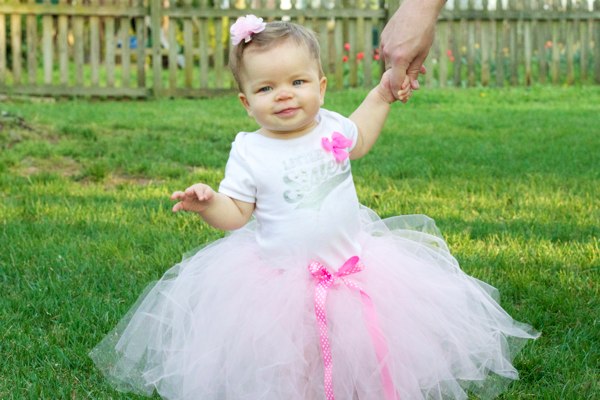
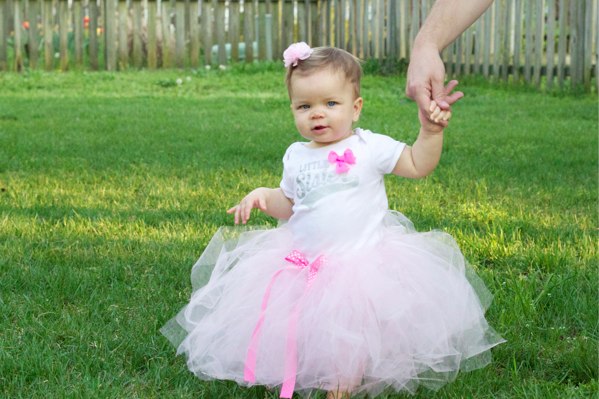
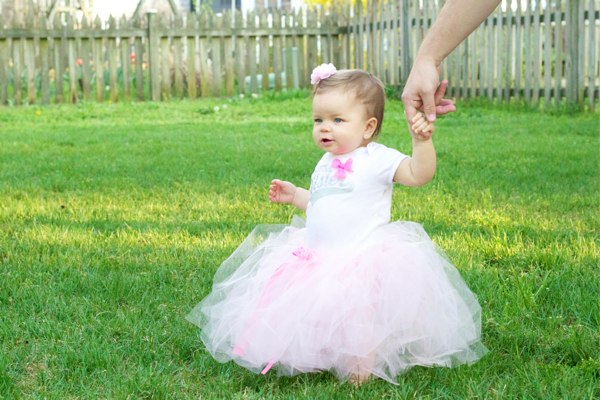
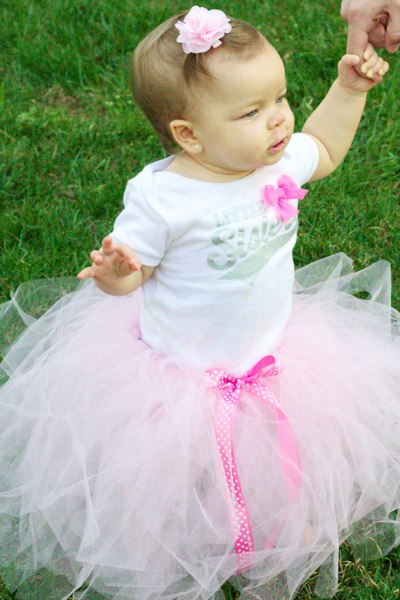
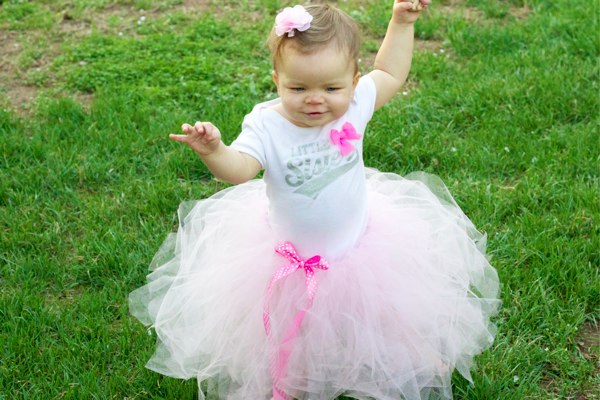
Very easy and very inexpensive!  Just look at this little princess… sigh!  Isn’t she perfect?!  Maybe one day I will have one of my own I can gush over… doubtfully, but hey one can dream!