

Enchanted Mommy

Tips to Navigate the Magic Kingdom at Disney World!

Planning a Disney trip this year?  We just got back from Orlando and I wanted to share some tips on how to navigate the Magic Kingdom.   We had so much fun even though we went during one of the busiest weeks of the year… spring break!

It was crowded, but I was really impressed with how well Disney manages such a large crowd.  I did talk to one of the employees on the tram back to the parking lot and he told me that the best time to come is late september and October.  He said that spring break, summer, and the month of December will have the biggest crowds there.

1.  Get there early!  Plan to be there at least 30 minutes before the park opens.  The parking lot is very intense and it will take you that long to get to the gate.  You have to first take a tram from the parking lot to the kiosks.  There you can buy your tickets and then hop aboard a ferry boat or a train that will take you to the entrance of the Magic Kingdom.  If you get in the park right as they open all the Disney characters are right there doing a welcome song and dance as you walk in.  It is pretty cool to see, plus you can get a lot of your pictures done first thing without having to hunt for the characters through out your day.

2.  Let them take your picture!  They will hand you a card when they take your picture at the entrance.  You can use this same card the entire day each time you want a family picture.  You just hand them your card and they scan it, take the picture, and hand it back.  After you get home there is a website on the photo card (disneyphotopass.com) you can go log in and view, share, or order any of the pictures you want.  There are employees all over the place and they do not mind taking pics for you from your camera or iphone either.

3.  Bring lots of snacks and drinks!  Besides glass bottles, you can pretty much bring in whatever you want.  I packed a backpack full of bottled water and snacks and passed them out to the kids while whenever we were in line somewhere.  It kept the kids busy while waiting in line, plus it kept them full and we avoided buying food at the park.  If you want to buy a meal at the park I would suggest doing it around 345pm.  The dinner prices start at 4pm so that is your last chance to get a big meal for the lunch price.  It is late enough that you can make it the rest of the day with just the snacks you packed.

4.  If you need to bring a stroller make sure you distinguish it somehow.  There are gazillions of strollers in the stroller parking area and sometimes the disney employees even move them around a bit to keep them organized.  Our stroller was not always in the same spot we left it when coming back from a ride.  We got some bright orange ribbon for 75 cents at the craft store and tied a bow around the handle to make it stand out.  Some people bought balloons and tied that to their strollers too.  The last thing you want to do is spend 10 minutes looking for your stroller in the crowd of strollers!
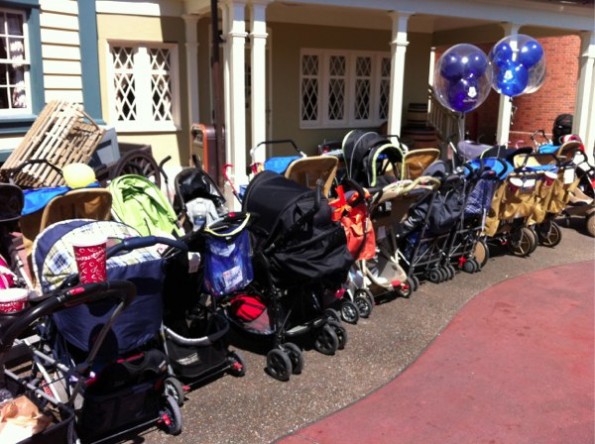
This is actually one of the smaller stroller park areas we used near the Haunted Mansion. Ours is the stroller with the orange ribbon tied to it. You can easily see how useful this was!

5.  Use the fast passes!  Here is how the fast passes work.  In front of the major rides there is a fast pass kiosk.  You put your admission ticket in and it prints out a ticket with a time printed on it of when you need to come back.  Come back during this time and you enter a fast pass line that is dramatically different then the regular line.  For example:  We used a pass on Space Mountain.  The regular wait time was 85 minutes and we only waited 12 minutes using the fast pass line.  Don’t waste your fast passes though…  once you have printed a fast pass you cannot get another for a couple hours so pick the rides you want to use them on wisely.  I would suggest using them on the mountain rides (Splash, Space, and Thunder mountains).
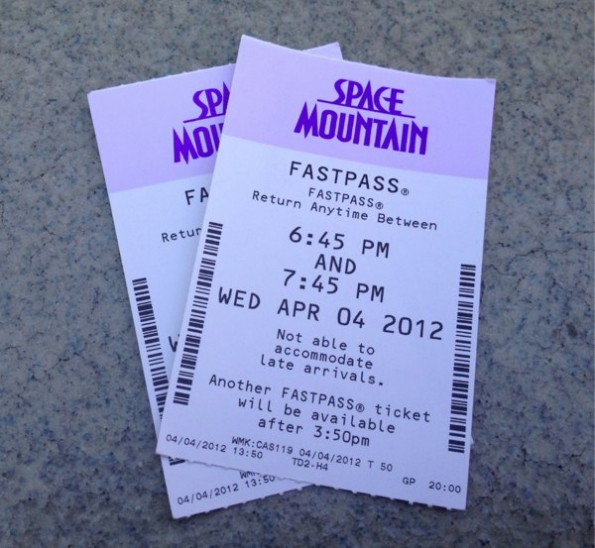
This was our 2nd round of fast passes to Space Mountain. As you can see, we got the tickets at 1:50pm and were not able to get any more fast passes until 350pm

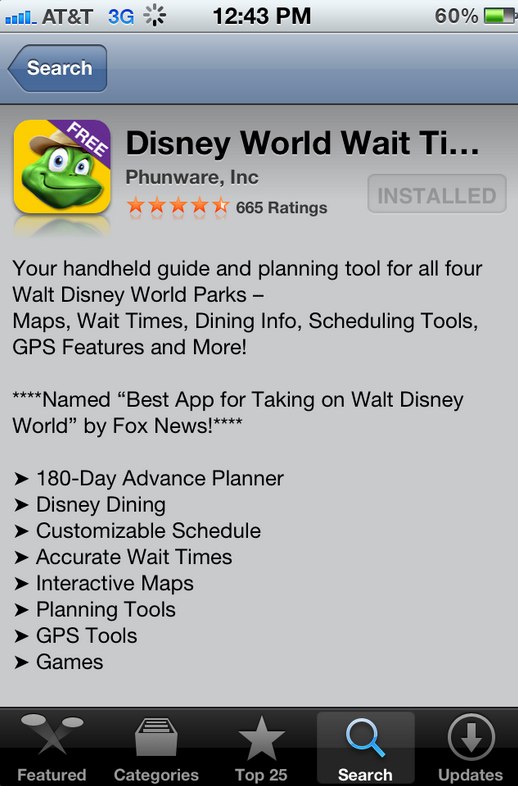
6.  Use the free Disney app to estimate wait times.  This was incredibly useful and helped us decide which rides to go on and when.  We used the Disney World Wait Times app (has a picture of a frog on it).  It was easy to use and also has a map of the park on it.  You can also make lunch or dinner reservations and find where you favorite disney character is using the app.
6.  I strongly recommend hitting up the classic rides in Fantasyland first.  These are the famous Mad Tea Party,  Flying Dumbo, Winnie the Pooh, Railroad, Prince Charming’s Carrousel, etc..  If you dont do them first thing then you may not get to later on.  They are very popular and the lines get pretty long later in the day.  With all the other rides at the park I didn’t want to wait 40 minutes just to ride the tea cups if you know what I mean.  Plus it gives you something to do while you wait to use your fast pass to nearby Space Mountain.  🙂

7.  Stay for the parade and fire works.  It makes for a long day, but you wont be disappointed.  They really put on a great show.  Dont underestimate the day time shows either.  They give you a time to sit and relax for a bit and they really are well done.  We went to the Monsters, Inc. Laugh Floor Show.  It was pretty funny.  I think I enjoyed it as much as the kids.  You can text a joke into them on your way in to the theater and they  really do try to use them in their act.
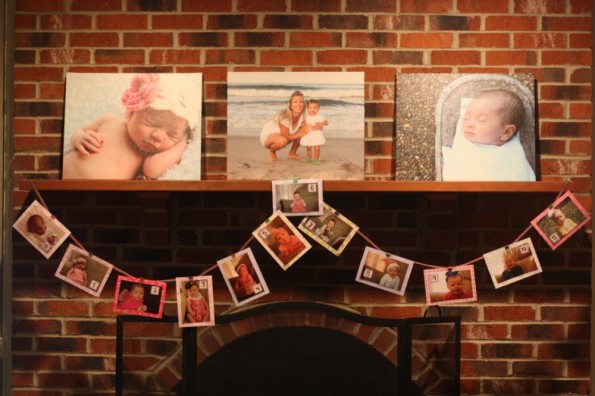
 

My Sweet Girl’s 1st Birthday!

I love celebrating my girls birthdays!  I always say that the next birthday will be more simple and less crazy on my end, but I truly do love it.  We do everything ourselves, so I try being creative when I’m putting the party together.  We did celebrate Anna’s 1st birthday twice by doing a shared family party for her and my great nephew  (there are 35 people in mine and my husband’s family) and a friend party.  Here are some of the fun things I did to make Anna and my guests enjoy the time.
month birthdays

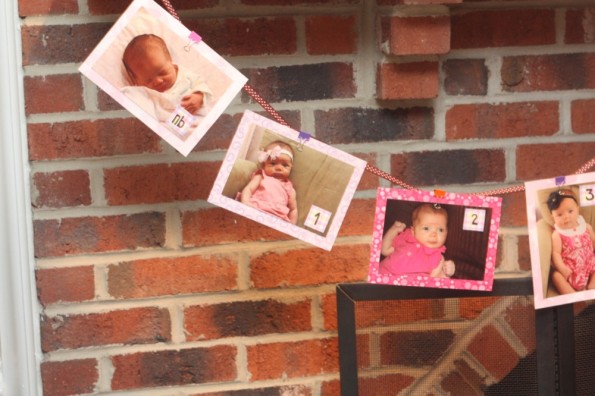
I took a picture on each of her month birthdays and created this!

1st birthday party idea

Here is a close up of Anna's first 3 months. A fun and cute idea to see how much your baby has changed in one year!

FOOD FOOD FOOD!

Remember, people eat with their eyes.

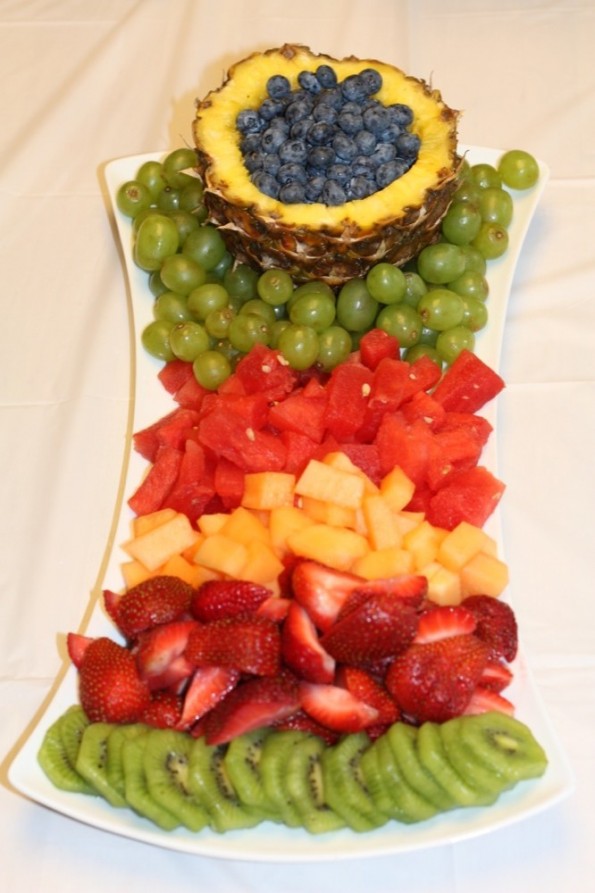
Fruit tray

My husband did this fruit platter for our sweet girl!

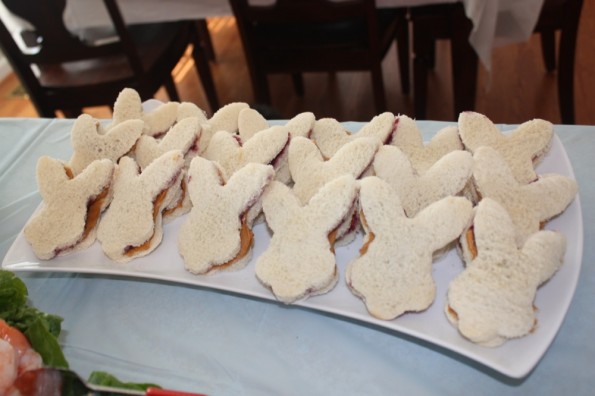
Even the kids, make sure you  make things that they will enjoy.  I just used a bunny cookie cutter for this since it was close to Easter.  I’ve seen people also use cookie cutter letters that spell out things.

Peanut bunny and jelly sandwiches.

Always remember to do cute things that the kids will eat!

CAKE CAKE CAKE!

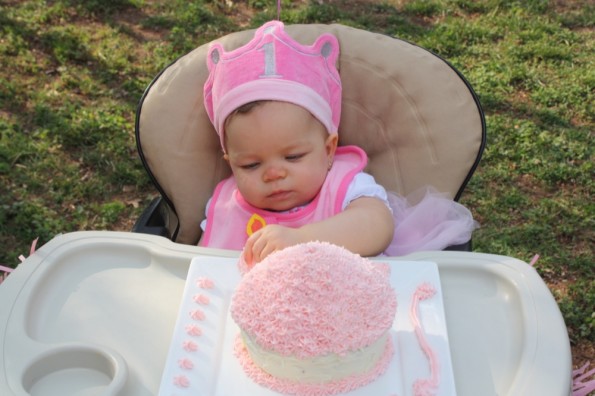
For the family party, I did the smash cake (my mother in-law iced it because I was running out of time).  I love the big cupcake cake for smash cakes.

1 year old smash cake

Perfect for a smash cake and so easy!

I also did a cute smash cake for my other daughter’s 2nd birthday.  Check it out here.

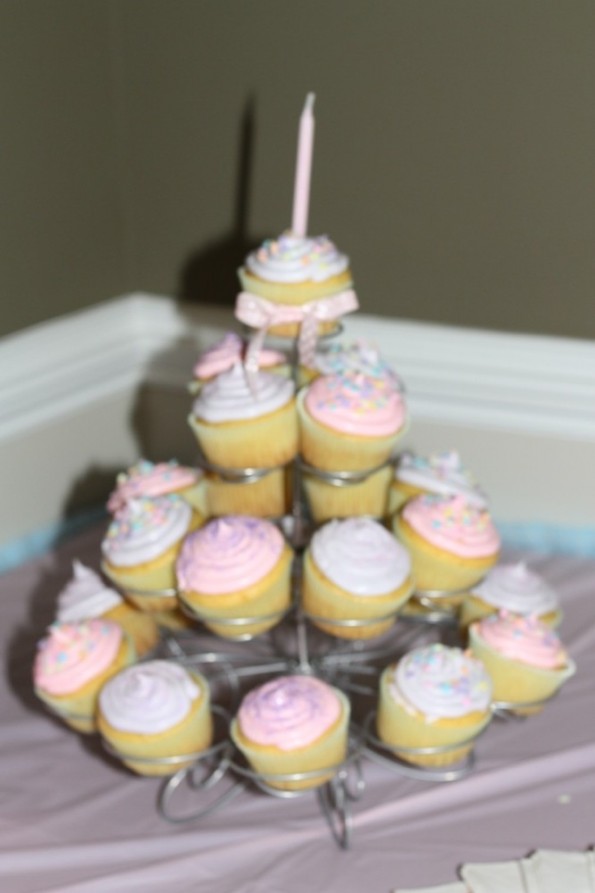
I made cupcakes for her friend party.

Sorry for the blurry picture, but I made all of these for $5 and it was so simple.

FUN FUN FUN!

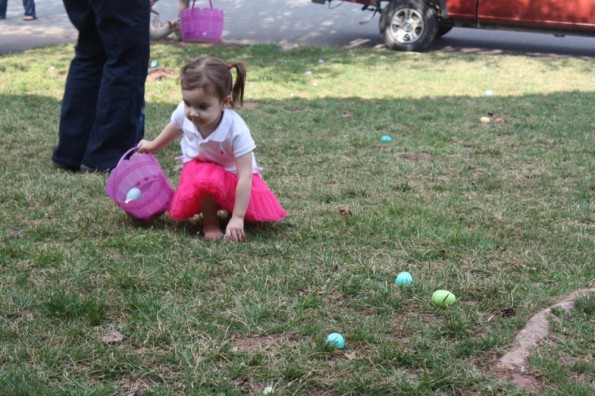
The parties were so fun!  Even if it is a 1st birthday, remember all of the kids that are there too!  We did an Easter Egg Hunt at both parties because it was close to Easter, but heck, kids like hunts any time of the year.  You could even just throw candy in the grass and send the kids out to find it (in wrappers of course).  

My 2 year old, Ella, doing the egg hunt!

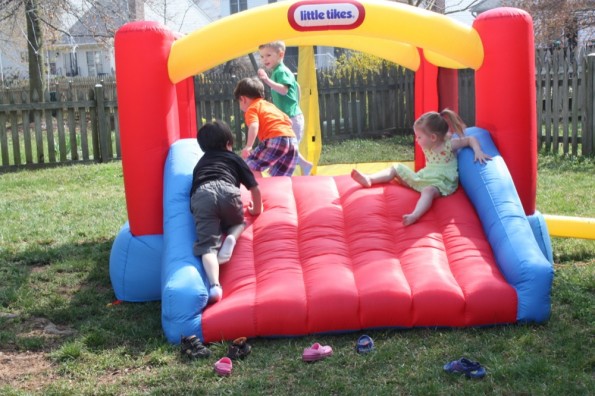
We also invested in a bounce house last year for my daughter’s 2nd birthday that we bring outside for parties.  They are kind of pricey, but we keep it in our basement when we don’t have guests over.  The girls jump in it down there almost every night.  

bounce house

Definitely worth the money when hosting a party! It was the hit at the party.

I cannot believe it’s been a year!  Happy Birthday, sweet Anna Belle!

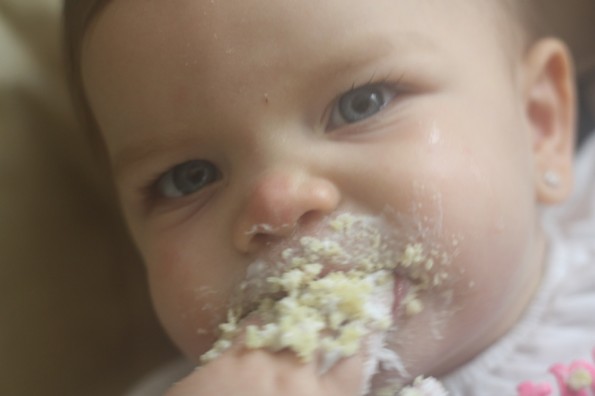
Eat it up girl!

 Happy Birthday Party Planning!


Easy No Sew Tutu Tutorial! A tutu for $3 and an hour of your time!

Have I mentioned that I have three boys and NEVER EVER get to do anything girlie? My life is fun and full of sports, bruises, grass stains, dragons, knights, and complete adventure! I love it and am not complaining, but sometimes I dream of a day I can crawl into bed without laying on a match box car or  put on my shoes just to find them stuffed with legos and plastic dinosaurs!

Okay, I guess I should just admit that I sometimes watch in wonder as my nieces or friends little girls play sweetly with their dollies while they rock them in their rocking chairs pretending to feed and care for them. I then look over at my boys who are usually smashing their toys together, rough housing, or jumping off the couch to wreck their large block towers…. and well sometimes I just want a moment of frilliness!

I decided that if I ever did have a baby girl she would have to wear a tutu every day of her life!!! With this in mind, I decided I would learn to make tutus!!! So my dear friend (and co-author of this blog) has two little girls and she is really good about humoring me and letting me play dress up with her girlies from time to time so I started with making one for her sweet Anna Belle’s first birthday!

This ended up being so easy… really not sure why anyone would spend money buying one when they are so simple! Let’s start with the supplies!

Supplies:
3 yards of tulle
Ribbon
1 elastic headband

You need 3 yards of tulle. Any color, multiple colors doesn’t matter as long as you have 3 yards total. I found mine for $1.49 a yard at Jo-Ann Fabric and used a 50% off coupon you can get in every weekend paper or online.  Add some 50 cent ribbon from the sale rack and you have spent a whopping $2.75. Not bad huh! For the elastic I just used an elastic headband I already had in my collection. You could use regular elastic if you need too, but the head band is really the perfect size already!

Step 1:  Cutting your tulle
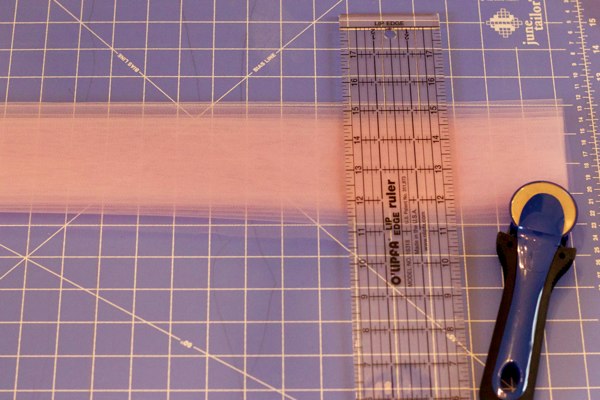
The easiest way to do this is the roll your fabric up 1 yard at a time, cut the end so it is even and then cut strips every three inches. Then you take each individual strip you cut and cut that exactly in half.  Yep… that’s it!  Very easy!

You don't have to use a rotary cutter for this. Scissors would work just the same... It's that simple really.

Step 2:  Tie your tulle around your elastic
This is the most time consuming part of the tutu, but it is pretty mindless really.  I just sat myself down in front of the tv and tied it all up before the half hour TV show was finished.  So, all you do is take a strip of tulle, fold it in half, then pull the ends up around the fabric and through the loop you created by folding it in half.  Think of attaching a ski lift pass to your coat when they use to use the bands instead of the metal hooks.  Super easy!  Here is a good video that demonstrates how to loop tie if you aren’t quite getting it from my description.

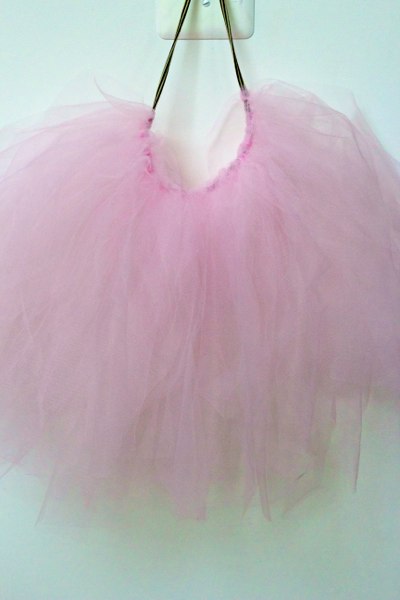
About half way done here and it is looking nice and frilly already!

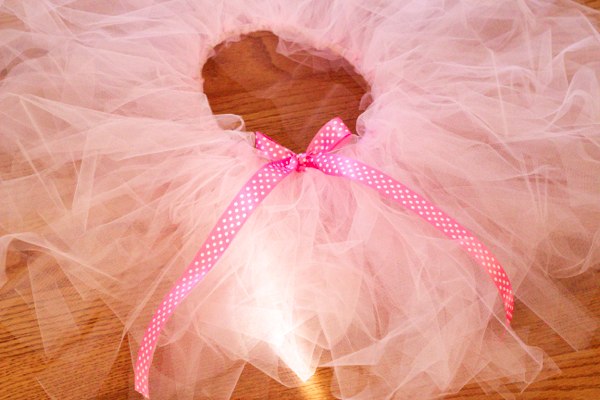
That’s it really.  You are done.  If want to tie a ribbon with bow around it go for it, but it isn’t absolutely necessary.  Some people like to put the tutu under something heavy to flatten it out a bit, but personally I love it all frilly and fluffy looking!  There are a ton of variations you can do here too.  You can use all one color of tulle and lots of different colors.  You can also tie strands of ribbon through out the tulle too.  

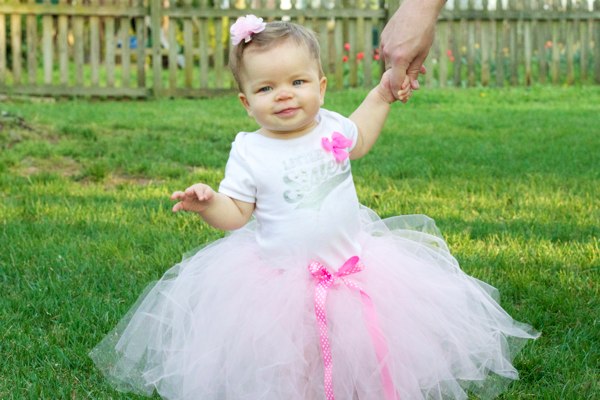
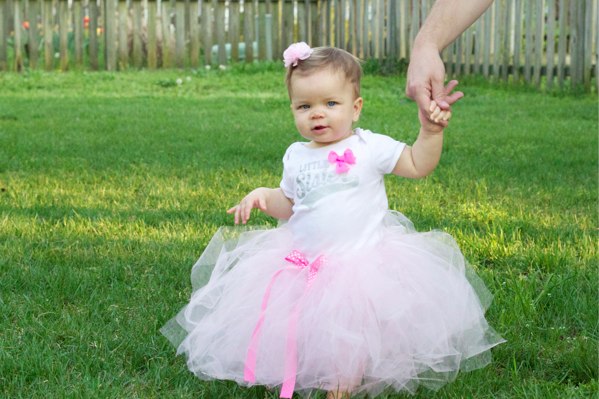
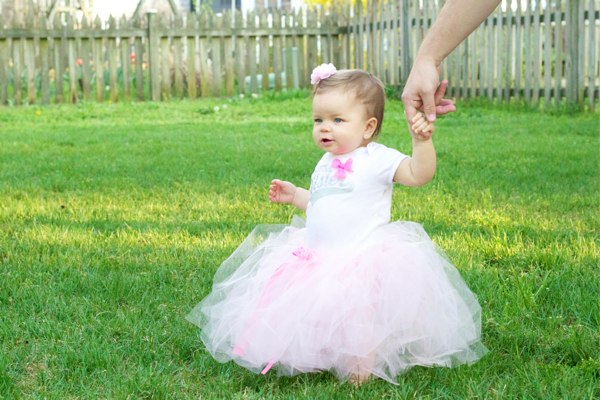
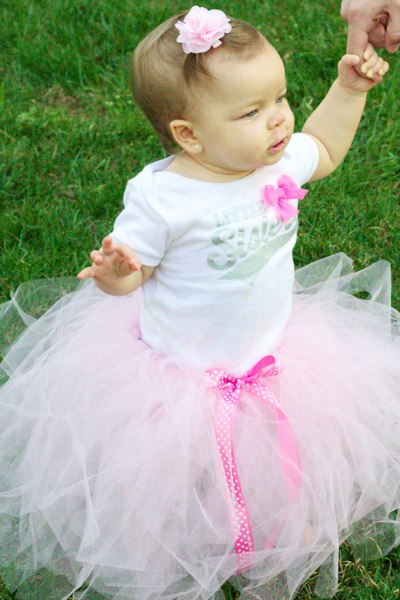
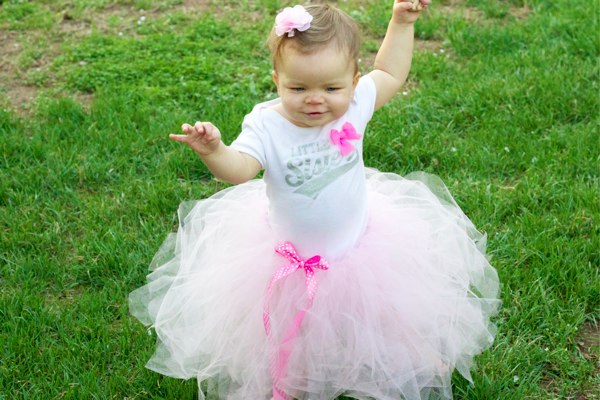
Very easy and very inexpensive!  Just look at this little princess… sigh!  Isn’t she perfect?!  Maybe one day I will have one of my own I can gush over… doubtfully, but hey one can dream!

Easter Popcorn Cake — Sweet and Savory Delicious

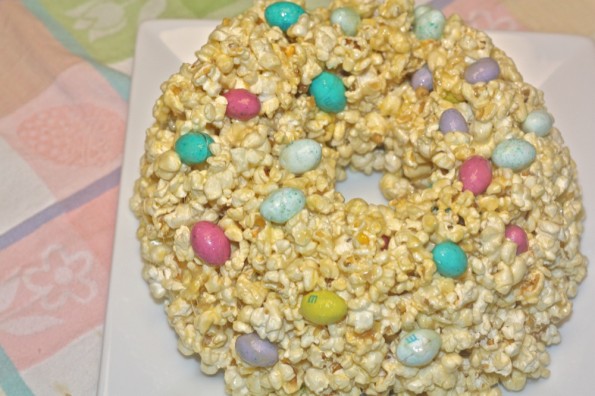
popcorn cake

sweet and savory, so delish!

I’ve always been a fan of popcorn cake.  It.is.amazing.  My brother always makes it every Christmas, so I made an excuse to make it at Easter time with the pastel M&Ms.  So.dang.good.  I’m “supposed” to be on the Paleo diet so I fit in my bridesmaid dress next week for my friend’s wedding, well I just started it a couple days late (therefore you might be seeing healthy recipes from me for a while).  Here you have it:

What you need:

  • 3 bags of popcorn, popped and placed in a bowl (remove kernels)
  • 1/2 cup butter
  • 21 oz. mini marshmallows
  • 4 tsp. vanilla extract
  • 2 cups M&Ms
  • 1 cup peanuts (optional)
What you do:
  • Place popped popcorn into a very large bowl.
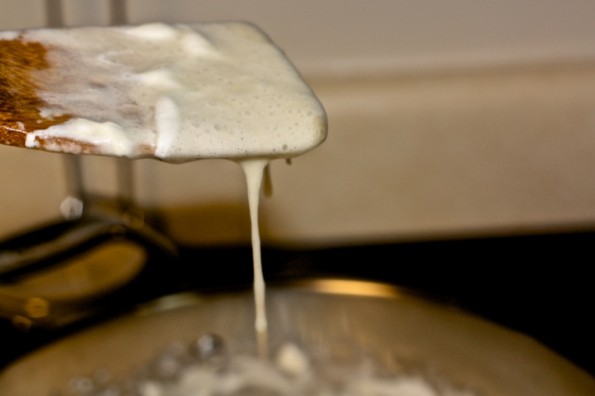
  • Make a syrup from the butter, marshmallows and vanilla by heating them together and stirring in a large saucepan.
making a syrup for popcorn cake

Make it syrup c onsistency.

  • Pour over popcorn.
  • Stir in candy and nuts.
  • With greased hands, firmly press mixture into a well-greased bundt pan.
  • Allow to stand 10 minutes; then loosen and turn out onto cake plate.
  • Carefully cut slices using bread knife. (Servings: 12) *If not using immediately, cool thoroughly and wrap in plastic to store.
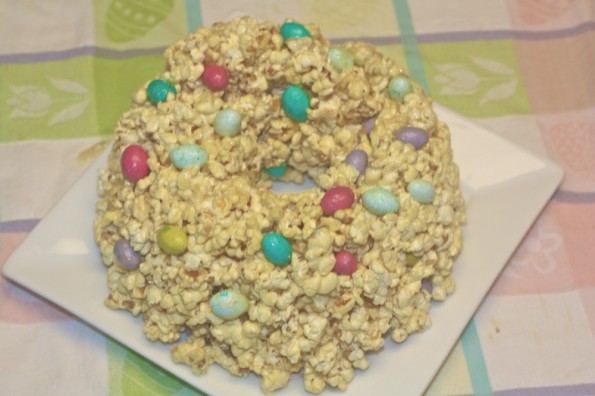
Wahlaaaaa…. Here you have it!

popcorn cake

Oh so delish!


Another yum Easter treat: Chewy Chex Mix

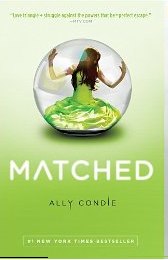
Book Review Time: Matched by Ally Condie

I am an avid reader!  I love love love to read.  In fact, I don’t consider any vacation a very good one unless I have been able to devour 4 to 5 books within the week.  So, basically you could say that I read a lot!  I always have a book I am reading and always have a list of books on my “to read” list, and I AM ALWAYS LOOKING FOR GOOD BOOKS TO READ.

I figured if I come across a book I have really enjoyed I should share it with you and I hope you do the same!

I have had my eye on this book since I first saw it as a #1 New York Times Best Seller.  During a typical raid of my friend’s book shelf, I discovered that she had it!  I took it home and had it  and its sequel read within 4 days.  I loved it!  The third book is due out this November, but is already available for pre-order.

Matched, by Ally Condie is centered around a 17 year old girl living in a the future run by the “Society.”  The Society is basically the government that has complete control of every life decision, from what is eaten each day, your career, your spouse, where you live, even how you spend your free time.

The book starts out with Cassia, our 17 year old heroine, getting ready to find out who the Society has picked to be her Match for the rest of her life.  As Cassia goes about trying to be the perfect citizen, she finds out that her heart may disagree with some of the Societies choices for her and has to make a decision about what she should do about it.

This book has a very Handmaid’s Tale feel to it (another one of my very favorite books).  Basically a government taking to much power and the people learning to live with it or fight against it.

It is incredibly interesting and will have you reaching for the sequal.  I am only to sad to have to wait until November for the 3rd book.

Personalizing Your Thank You Card!

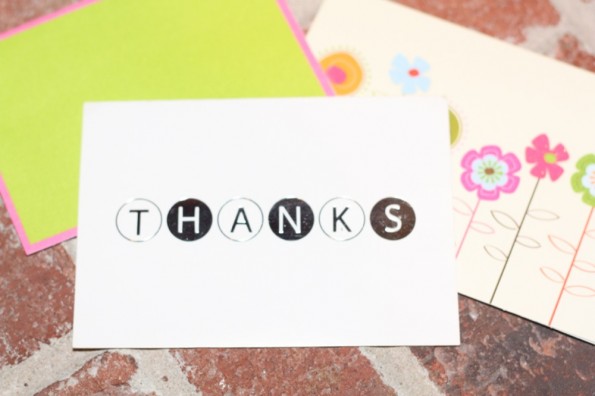
I recently received a thank you email from a friend’s party.  It wasn’t your ordinary thank you card like these:

Thank You card

These cards are nice, but they aren't personalized. Sure, you can say thanks, but can you show it?!?!

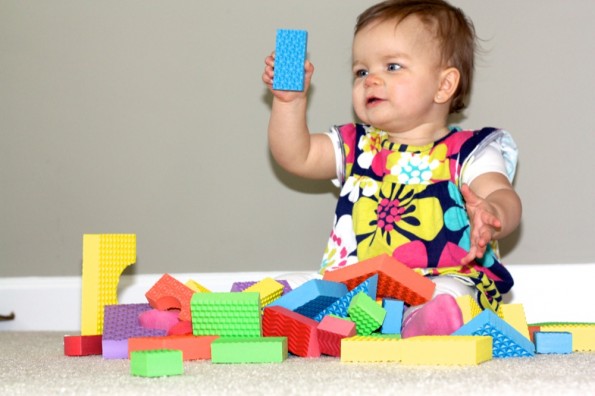
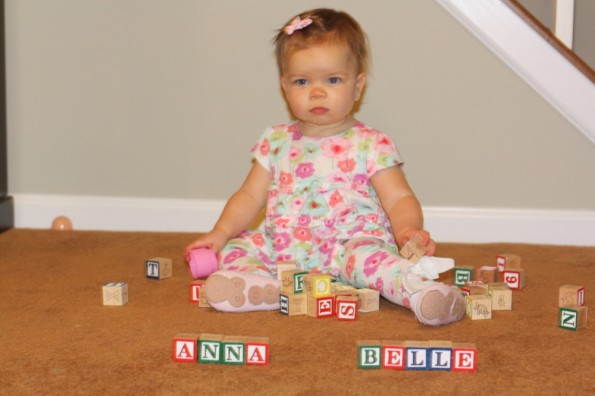
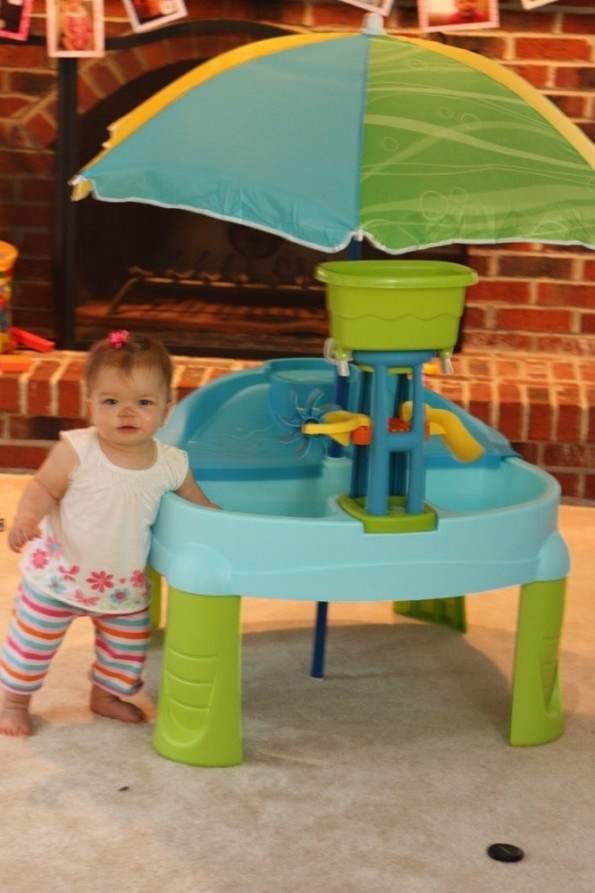
It was an email of her son playing with the toys we got him along with him wearing his outfit!  This takes a little thought, but it really does show the child enjoying their gift.  It makes it special.  I mean face it, most people read the ordinary cards and throw them right in the trash.  It is great and you should send a note of thanks, but adding a personal touch makes it fun.

I recently did this for my daughter’s 1st birthday (a much bigger post on that later).  Here are few thank you’s:

Thanks Jasmine, Roman and Ryker for my edusquares!

thank you card

Thanks Aunt Jane for the blocks!

Thank you Aunt Angela for my splash table!

Thank you to the Hinckley's for my puzzle!

How cute is this?!  It really only takes a moment and it will make your gift giver smile!

Rice Crispy Easter Treats!

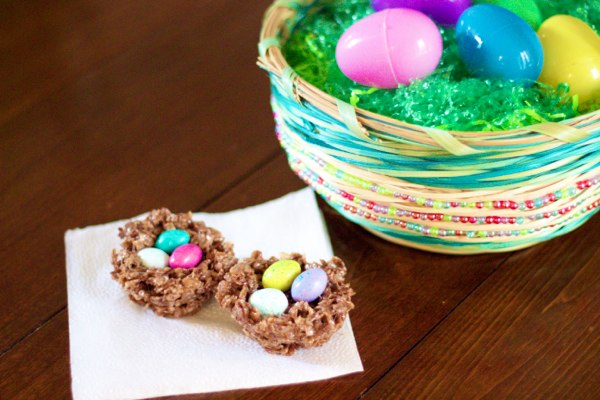
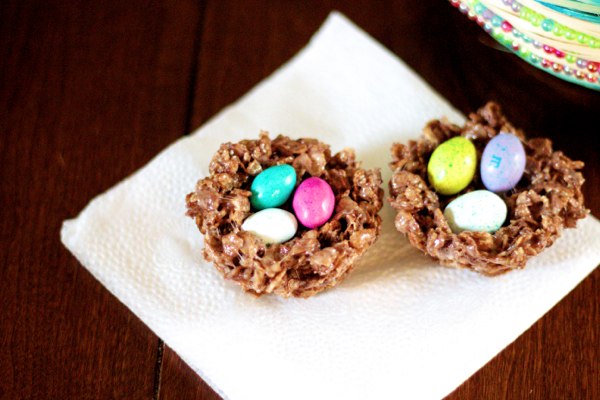
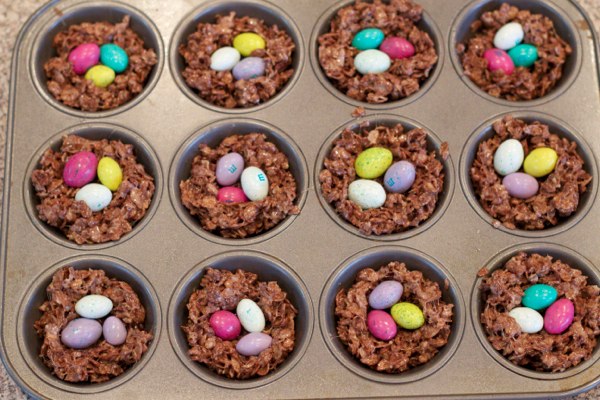
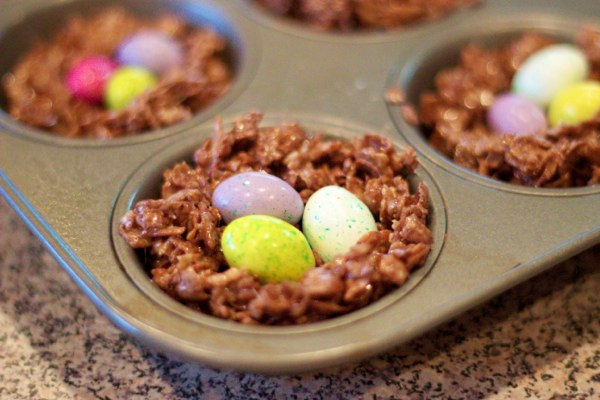
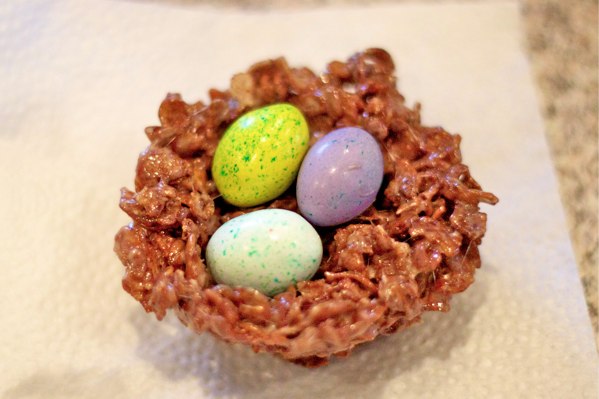
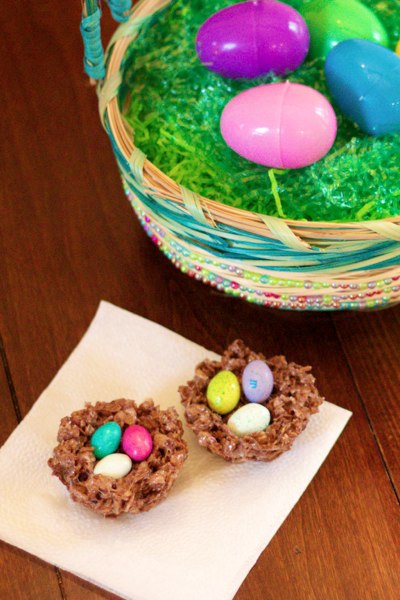
Delicious and adorable Easter treats!  I made these for the kiddos just to get us in the Easter mood.  They are pretty cute I have to say! Nothing to them really.  They are just chocolate rice crispy treats made in cup cake tins with Easter M&M’s in the middle.

I thought about putting some shredded coconut in a little green food coloring to look like grass under the M&M’s, but I forgot to get the coconut!  Oh well… these were still awesome!  We gave a bunch of them to some friends who have three cute kiddos too.  It is always good to have friends to help you eat the goodies!

Enjoy the yumminess and Happy Spring!!!!!!!


Buffalo Chicken in the Crock Pot – Skinny Style

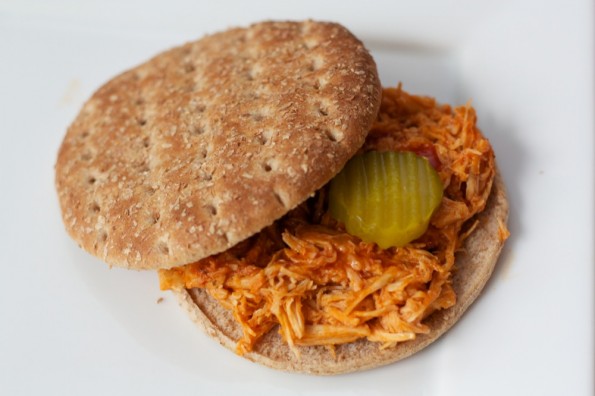
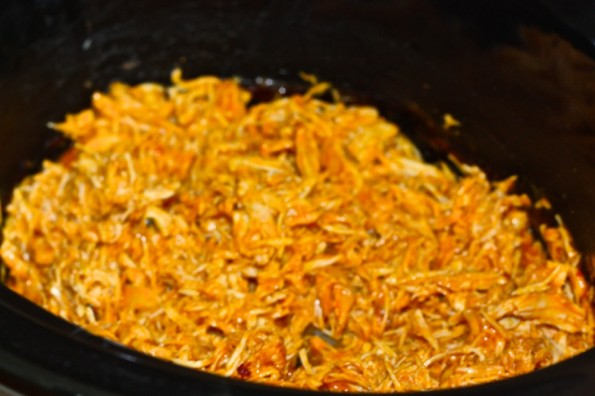
Buffalo chicken in crock pot

I call it skinny style because of the skinny whole wheat bun.

I often go out with some of my friends just to get buffalo wings and sweet potato fries.  I love me some hot stuff .  This also takes literally 5 minutes to prepare in the slow cooker.  Crock pot + hot stuff = mydreammeal.  I got this from allrecipes.com.

All you need is:

slow cooker buffalo chicken

3 chicken breasts split, 2 tablespoons of butter, jar of buffalo wing sauce and a ranch packet

  • 3 chicken breasts cut in half
  • 2 tablespoons of butter
  • ranch packet
  • jar of buffalo wing sauce
Directions
  • Put chicken breast in crock pot along with 3/4 of the jar of hot sauce and ranch packet.
  • Cook on low (7 hrs)
  • Once chicken is cooked, add butter and shred chicken.
  • Keep other 1/4 of hot sauce as extra for your delish sandwiches.
buffalo chicken in crock pot

There you have it!

Wahlaaaaaaaaaa.

Cream Cheese Monkey Bread!


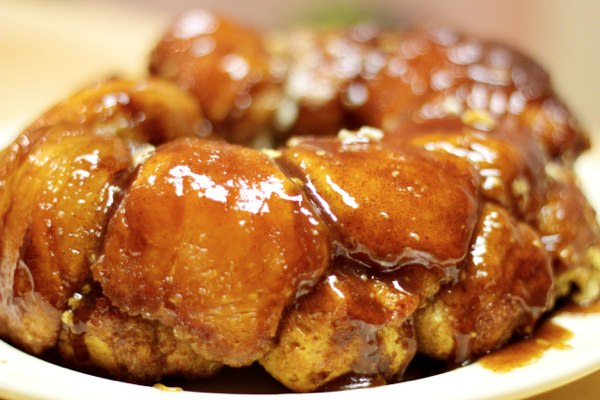
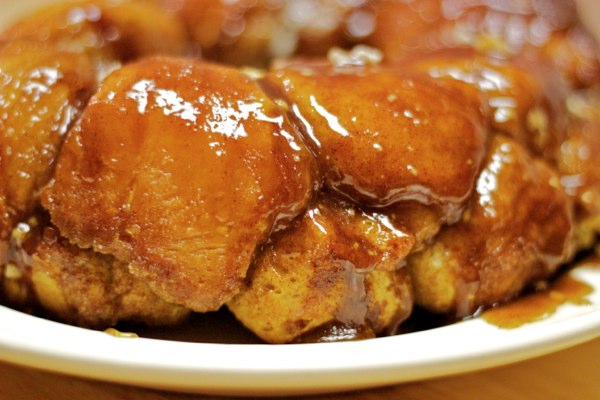
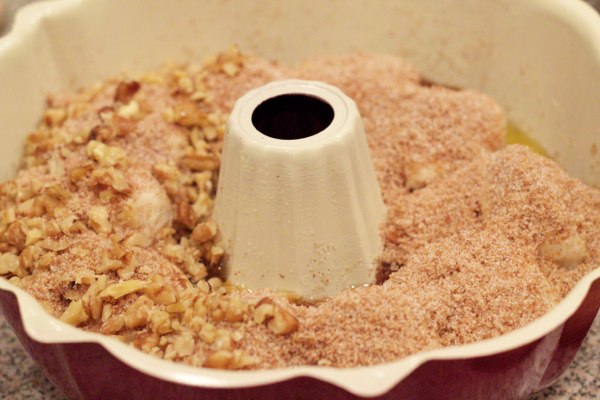
Can you stand it?  Don’t you just want to gobble it up and lick your fingers after?!?!?!  What if I told you the other half had walnuts?  Even better huh!  I have always been a fan of monkey bread ever since I went to my very first slumber party as a kid and my friend’s mom brought it down to us for breakfast!  This is better than monkey bread though… this is like monkey bread on steroids!  This gooey delicious monkey bread is stuffed with delicious cream cheese and topped with chopped walnuts!


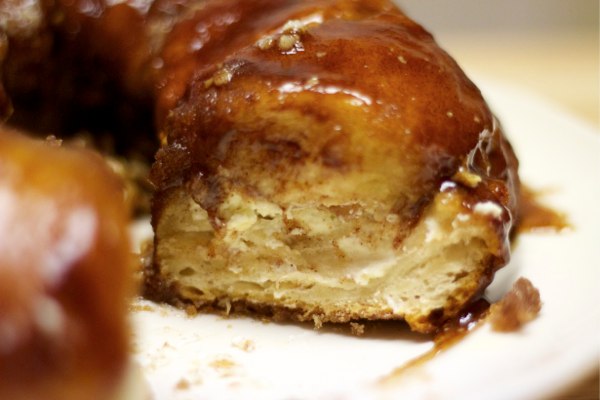
Cream cheese stuffed in the middle! Perfect combination!

About once a month my friends and I plan a girl’s night.  Girl’s night ALWAYS involves good food!  We often go out to dinner, sometimes a movie, or often after dinner just head to one of our houses for some dessert.  This month was my turn to bring the dessert.  I had been saving this recipe from pinterest for a long time… just waiting for the opportunity to make it!

We seriously gobbled this up!  I only put nuts on half of it just in case there were leftovers and my kids wanted some… that idea was wasted!  The side with chopped walnuts was the first to go!  It was delicious and blended in nicely with the cream cheese flavor.

So I will stop rambling now and give you what you really want… the recipe!

CREAM CHEESE MONKEY BREAD
Adapted from pipandebbby.com

2/3 cup brown sugar
2/3 cup granulated sugar
1 Tb cinnamon
2 -12 ounce tubes of refrigerated buttermilk biscuits (make 10 equal sized round discs from each tube)
8 ounce cube of cream cheese (cut into 20 equal cubes)
3/4 cup butter melted
1/2 cup chopped walnuts (optional)

  • Preheat over to 350 degrees and spray bundt pan with cooking spray.
  •  Mix sugars and cinnamon together in a medium bowl.
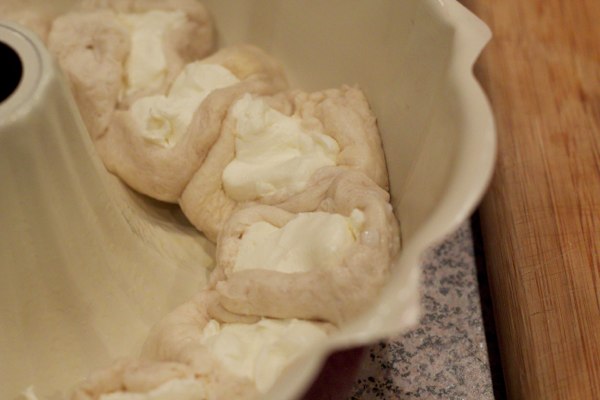
  • Put one cube of cream cheese in each biscuit dough disc and fold the dough around the cream cheese leaving just the top of the cream cheese exposed.
  • Sprinkle have your chopped nuts along the bottom on of the pan
  • Put 10 discs in the bundt pan (on top of the nuts) with cream cheese facing up
  • Dump 1/2 of you melted butter across the dough and sprinkle 1/2 your sugar-cinnamon mixture on top of that
  • Place the last 10 discs in the bundt pan with the cream cheese facing down this time
  • Dump the rest of you melted butter around the dough and then sprinkle the rest of the sugar-cinnamon on the top
  • Top with chopped walnuts (optional)
  • Bake for 40 minutes
  • Invert and serve warm

Place half of your discs around your bundt pan with cream cheese facing up

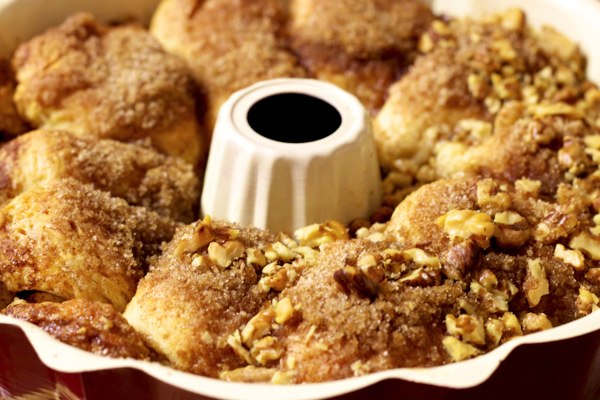
The second set of discs has already been put in face down. This is ready to bake! I only put nuts on half of mine... sometimes my kids can be picky!

Finished baking and ready to invert

The gooey masterpiece! So yummy!

How to Remove Sharpie — Who Knew?!

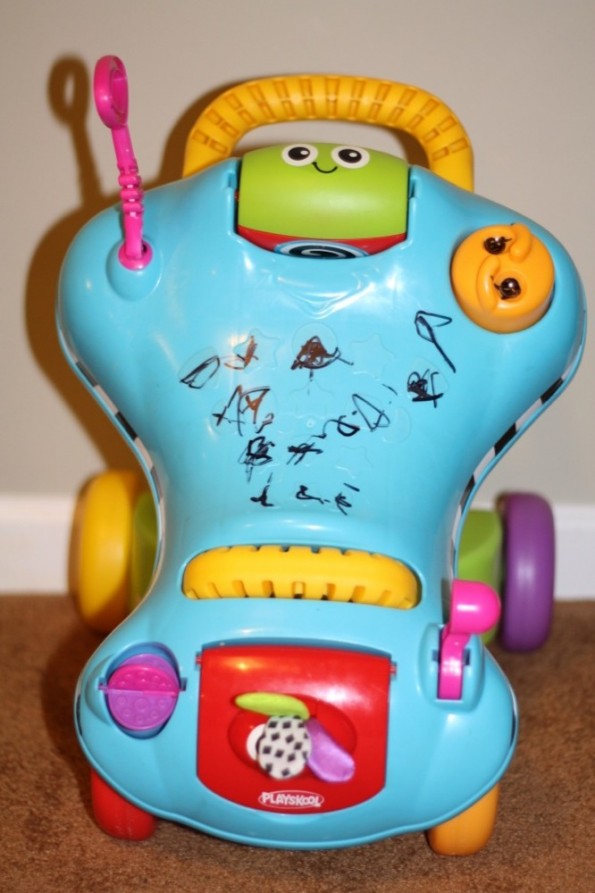
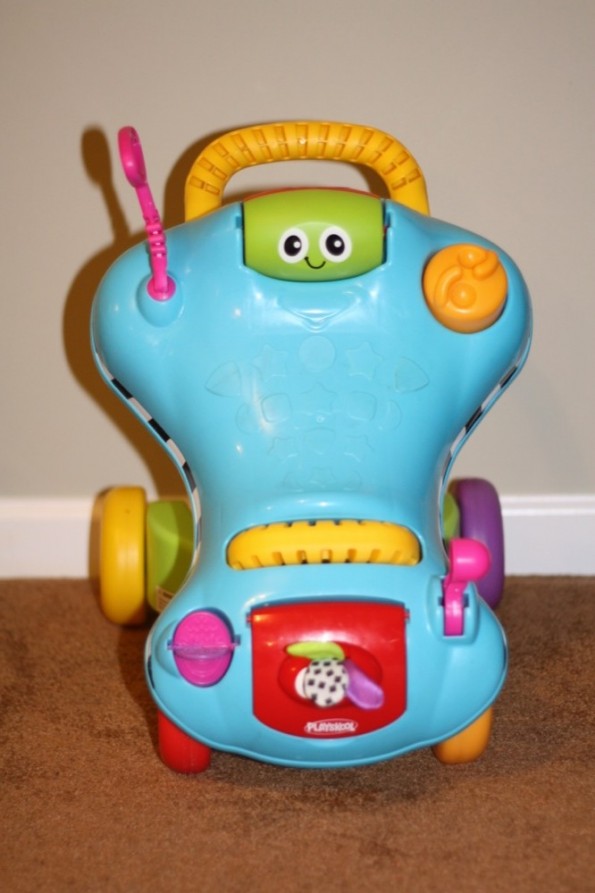
Sharpie all over toy

Those little sneaks!

This past weekend we had some friends over.  They also have a two year old who is very close with my two year old.  The adults were upstairs chillaxin and the kids were playing in the basement.  Yes, them being quiet was too good to be true.  My husband went to check on them and bababababammmmm. They had a little party with my husband’s sharpie they found.  Luckily, it was only on this toy and one other– no carpet.  My genius husband knew how to get sharpie off, so I’m going to share!

What you need:

  • dry erase marker
  • windex
  • paper towels

All you do is:

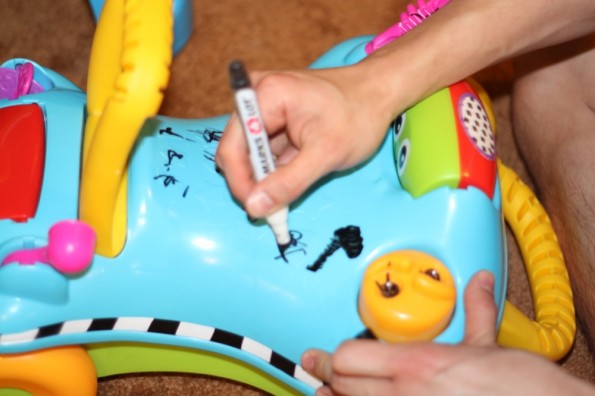
  • Go over sharpie marks with dry erase marker.  Yes, it gets worse before it gets better, don’t worry.
Put dry erase marker

Cover sharpie spots with dry erase marker.

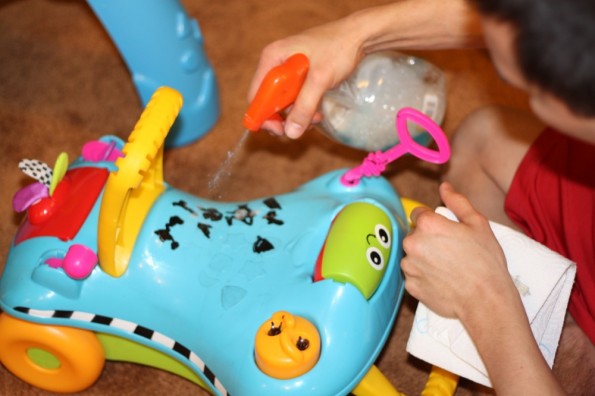
  • Spray toy with windex
removing sharpie from toys

Spray with windex and wipe with paper towels.

  • Wipe over with paper towel.
WAHLAAAAAAAAAA…….
Clean toy from sharpie being on it

Wahlaaaa…. good as new!

There you have it!  Who knew?!?!?!