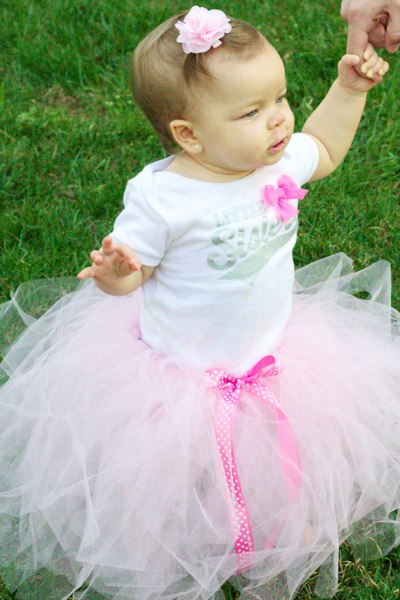
Easy No Sew Tutu Tutorial! A tutu for $3 and an hour of your time!
by Jamie Hinckley on Apr 07, 2012 0
Have I mentioned that I have three boys and NEVER EVER get to do anything girlie? My life is fun and full of sports, bruises, grass stains, dragons, knights, and complete adventure! I love it and am not complaining, but sometimes I dream of a day I can crawl into bed without laying on a match box car or put on my shoes just to find them stuffed with legos and plastic dinosaurs!
Okay, I guess I should just admit that I sometimes watch in wonder as my nieces or friends little girls play sweetly with their dollies while they rock them in their rocking chairs pretending to feed and care for them. I then look over at my boys who are usually smashing their toys together, rough housing, or jumping off the couch to wreck their large block towers…. and well sometimes I just want a moment of frilliness!
I decided that if I ever did have a baby girl she would have to wear a tutu every day of her life!!! With this in mind, I decided I would learn to make tutus!!! So my dear friend (and co-author of this blog) has two little girls and she is really good about humoring me and letting me play dress up with her girlies from time to time so I started with making one for her sweet Anna Belle’s first birthday!
This ended up being so easy… really not sure why anyone would spend money buying one when they are so simple! Let’s start with the supplies!
Supplies:
3 yards of tulle
Ribbon
1 elastic headband
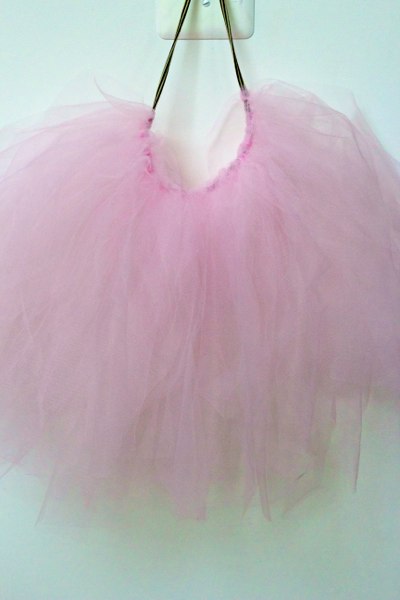
You need 3 yards of tulle. Any color, multiple colors doesn’t matter as long as you have 3 yards total. I found mine for $1.49 a yard at Jo-Ann Fabric and used a 50% off coupon you can get in every weekend paper or online. Add some 50 cent ribbon from the sale rack and you have spent a whopping $2.75. Not bad huh! For the elastic I just used an elastic headband I already had in my collection. You could use regular elastic if you need too, but the head band is really the perfect size already!
Step 1: Cutting your tulle
The easiest way to do this is the roll your fabric up 1 yard at a time, cut the end so it is even and then cut strips every three inches. Then you take each individual strip you cut and cut that exactly in half. Yep… that’s it! Very easy!
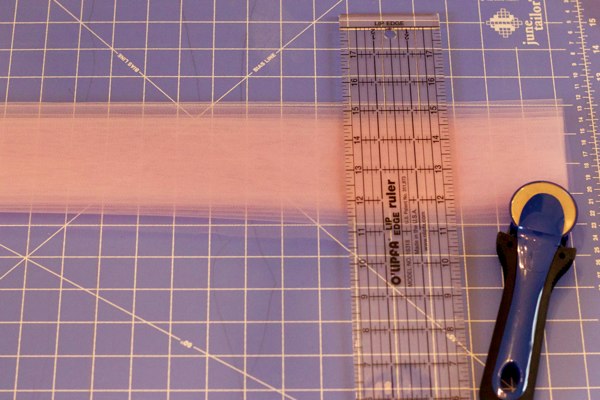
You don't have to use a rotary cutter for this. Scissors would work just the same... It's that simple really.
Step 2: Tie your tulle around your elastic
This is the most time consuming part of the tutu, but it is pretty mindless really. I just sat myself down in front of the tv and tied it all up before the half hour TV show was finished. So, all you do is take a strip of tulle, fold it in half, then pull the ends up around the fabric and through the loop you created by folding it in half. Think of attaching a ski lift pass to your coat when they use to use the bands instead of the metal hooks. Super easy! Here is a good video that demonstrates how to loop tie if you aren’t quite getting it from my description.
That’s it really. You are done. If want to tie a ribbon with bow around it go for it, but it isn’t absolutely necessary. Some people like to put the tutu under something heavy to flatten it out a bit, but personally I love it all frilly and fluffy looking! There are a ton of variations you can do here too. You can use all one color of tulle and lots of different colors. You can also tie strands of ribbon through out the tulle too. 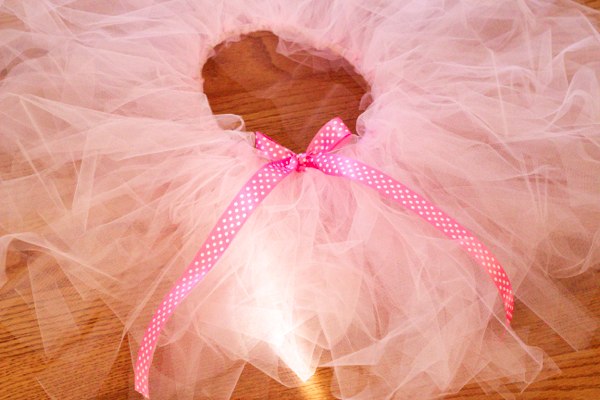
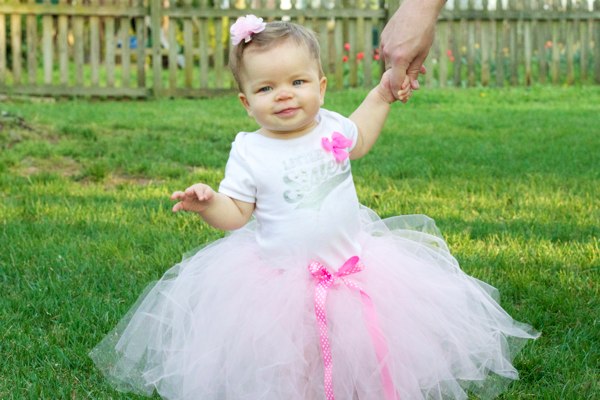
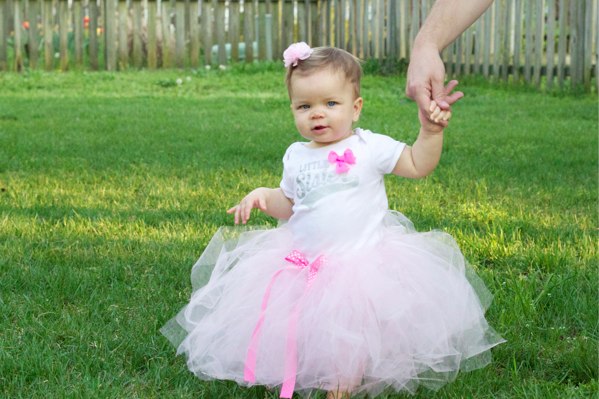
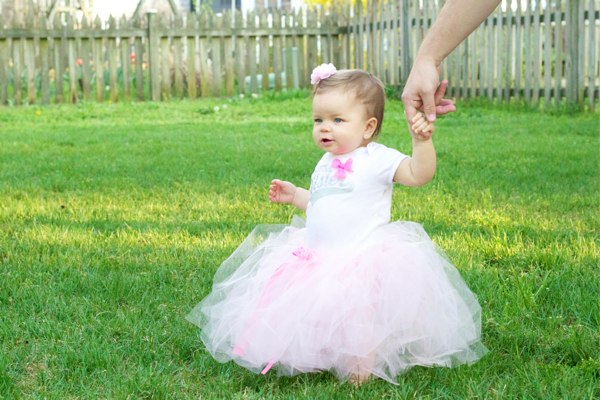
Very easy and very inexpensive! Just look at this little princess… sigh! Isn’t she perfect?! Maybe one day I will have one of my own I can gush over… doubtfully, but hey one can dream!
About Jamie Hinckley
I am a mom of three crazy boys! We love life, play hard, and ALWAYS get messy! Life is busy and full of fun, jumping, crashing, skinned knees, rough housing, torn jeans, scratches, but most of all LOVE. Yes, life is crazy. Actually its completely nuts, but I wouldn't change a thing! We love life and can't wait for our next adventure... and one day, possibly a little girl! Haha!


