


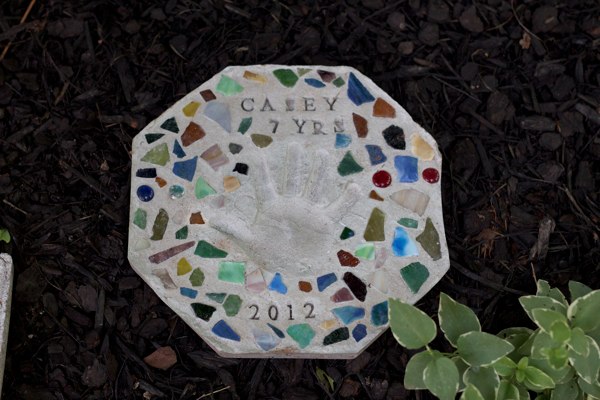
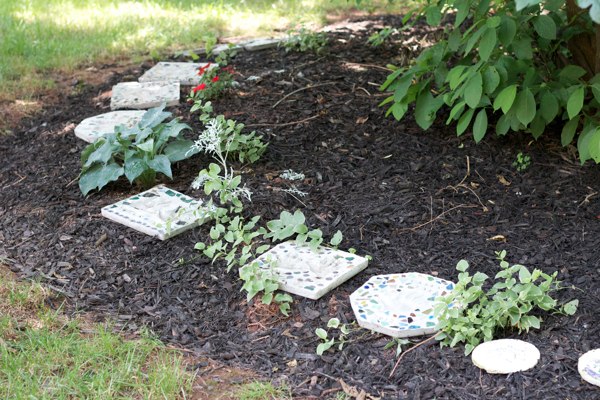
My mom has been making some adjustments to her garden lately. She asked us to make a hand or foot print stepping stone for each of her grandchildren to put in her garden.
These turned out so cute that I had to post about them! They are relatively simple to make and are really sturdy.
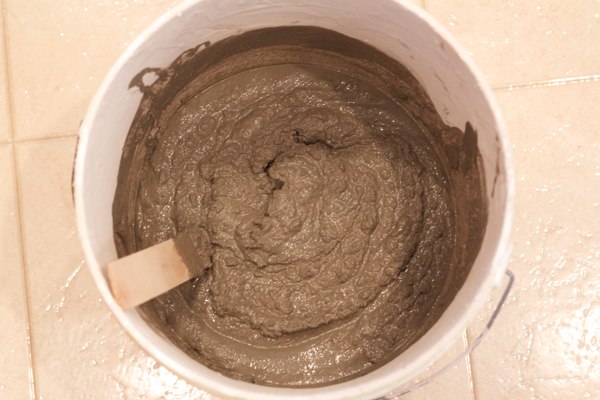
You can buy the kit on amazon. It will come with everything you need except the bucket to mix it in.
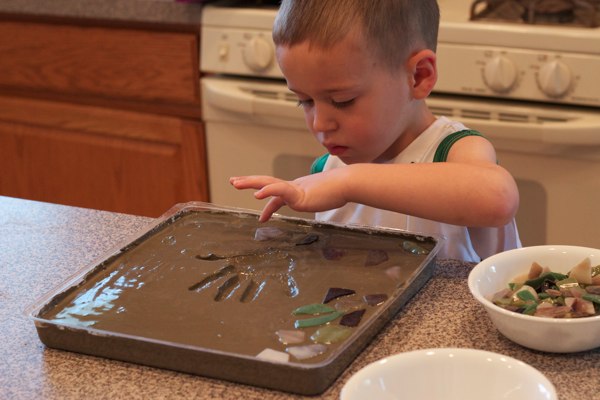
All you do is mix the cement with 3 cups of water and stir it up. Then, pour it into the mold from you kit and wait about 30 minutes. Then you can decorate with the rocks, letter prints, or anything you want.
I made three of these (one for each of my boys) and learned a few tricks as I went.
First, after you have let it sit for 30 minutes, if you can see water pooled on the top you need to soak it up with a paper towel and wait another 15 minutes before trying to make a mold of your hand or anything else. If you dont wait, the hand print will fill with the water and you will have to make your print all over again.
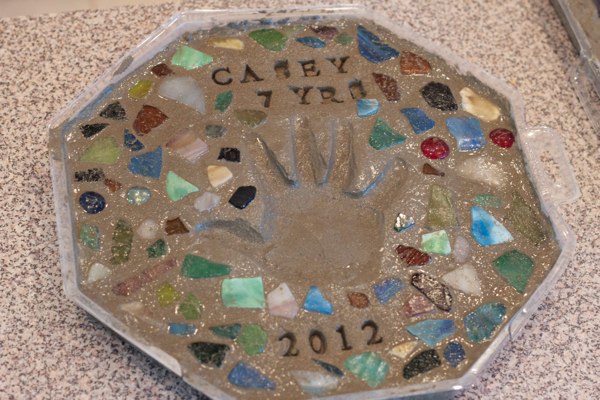
Second, don’t put your stone in the sun to dry. Leave it somewhere it can sit for at least 48hrs at room temperature. You want it to dry slowly. If it dries too fast it will crack.
Finally, once it is done and has dried for at least 48 hrs you can clean it off (I used an old toothbrush to polish it up) and take it out of its mold.
About Jamie Hinckley
I am a mom of three crazy boys! We love life, play hard, and ALWAYS get messy! Life is busy and full of fun, jumping, crashing, skinned knees, rough housing, torn jeans, scratches, but most of all LOVE. Yes, life is crazy. Actually its completely nuts, but I wouldn't change a thing! We love life and can't wait for our next adventure... and one day, possibly a little girl! Haha!
Pingback: Mother's Day Gifts - What Your Mom Or Wife Will Love