Enchanted Mommy

Preschool Letter O Activities

Alright boys and girls! Time to get your creativity caps on and the art supplies handy, because today, we’re learning about the letter O! So many wonderful words start with the letter O, like onion, over, oven, and orange. Even common phrases we read in story books start with O, like “once upon a time.” To help us learn this letter, we’re going to do an arts & crafts project with our favorite animal that starts with O: an octopus in the ocean.

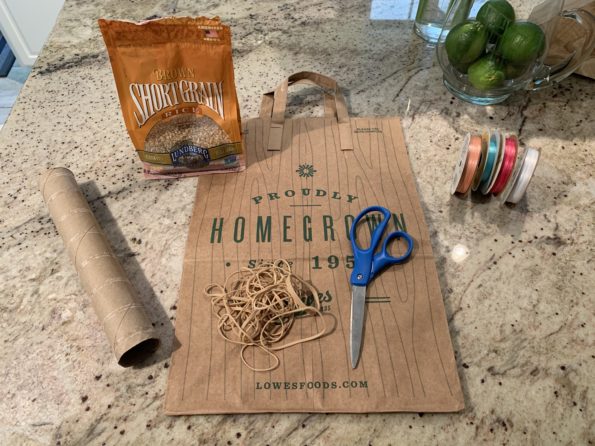
We’re going to learn how to create a toilet paper roll octopus! To get started, here’s the supplies that you’ll need:

  • A toilet paper roll 
  • Acrylic paint or markers
  • Googly eyes
  • A glue stick
  • A scissors
  • A black sharpie

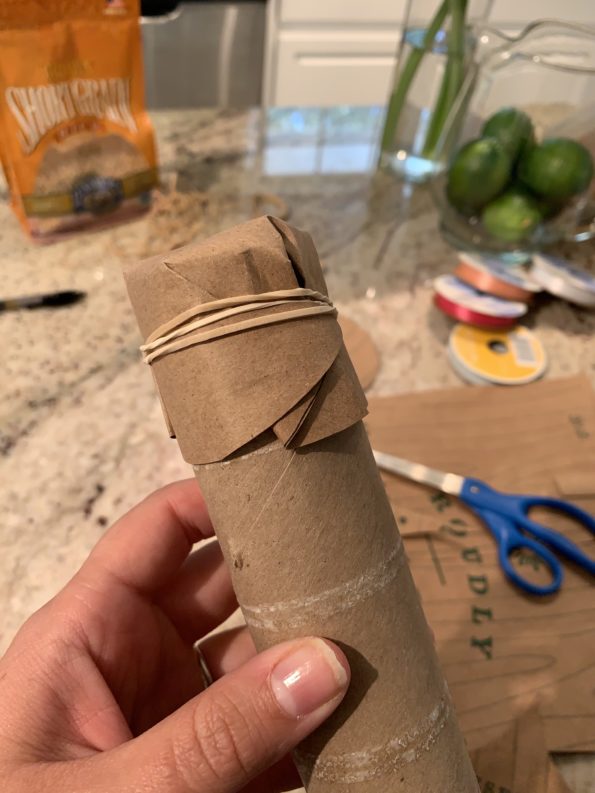
First, start by cutting 1.5 inch long slits at the bottom of the toilet paper roll with your scissors. Then push the roll down on a flat surface, so that the slits spread out like octopus legs. Next, grab your acrylic paint and paint the outside of your octopus a bold color of your choosing. Paint the interior of the roll at the top and underneath the legs a different color for contrast. Then, use a glue stick to stick on some googly eyes or feel free to draw the eyes on with a black sharpie. 

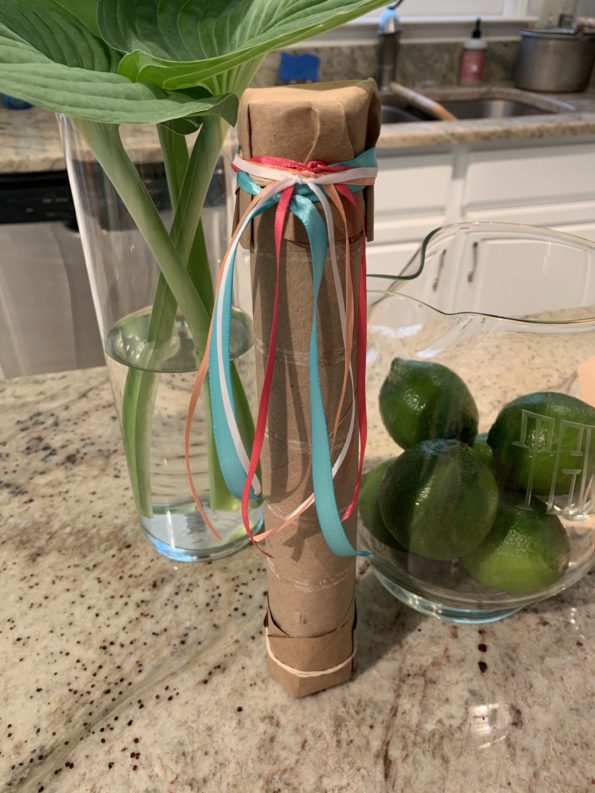
Use a black sharpie to add a happy smile onto that octopus face, because he or she is happy to be alive and in your home! Finally, feel free to add on stickers, gems, or other decorations to your heart’s content! Don’t forget to create 3-4 of these guys so your octopus can have some friends.

These octopuses are taking over the world of Pinterest right now, as parents are starting to get exponentially more creative with keeping their kids stimulated at home. See the photo of Holly Homer’s toilet paper roll octopus to catch a glimpse of the potential here!

Lastly, we’ve created a coloring book illustration of an octopus in his natural habitat. Octopuses are fascinating creatures with three hearts, high intelligence, and the capability to camouflage themselves by changing color. Feel free to print out copies and invite your kids to color this scene! 

Know any other fun preschool activities that start with the letter O? Feel free to share them with us in the comments below!

Preschool Letter P Activities

The letter “P” starts plenty of words that provide perfect activities for your preschool child! Especially these days, when children are home from school, parents are looking for low maintenance, easy to set up activities. This one is great for staying inside on a rainy day, keeping your kids entertained for a bit, and enjoying a fun final product that they can keep!

Additional Letters

Today we will be learning how to make your own puzzle!

All you need for this project is to download and print the picture below! You’ll need a pair of scissors, some markers, crayons, or colored pencils, and one imaginative child. 

Start by having them color a picture on the puzzle image below, anything that they like! Once they’ve completed their masterpiece, either you or your child can carefully cut out the puzzle pieces, mix them up, and try to put the picture together again like a puzzle. 

If you have two kids, all the better! Have each of them make a puzzle, cut it out, and then swap them so the activity lasts even longer. To make it a little bit harder (or buy yourself a few extra minutes of quiet, entertained kids) you could even mix the multiple puzzles together and have your kids try to put their puzzles back together from the one pile.

Some puzzle ideas:

  • Draw your favorite animal.
  • Draw your favorite food.
  • Draw your family.
  • Draw your house.
  • Draw their favorite movie character.
  • Draw their favorite thing to do.
Letter P Activities for Preschool Children

Parents are always looking for new activities for their kids to do, especially when they’re stuck inside! These projects give you double the value since the activity is to create an activity! Your preschooler will be able to create their own puzzle and then put it together, again and again, giving them further entertainment while you take care of whatever you need to do.

Preschool Letter Q Activities

“Qq” is a hard one… there are not a ton of things that start with the letter Q.  There is Queen of course, but since we had just done K is for King I didn’t want to go there.  So instead, we did Q is for “Quack!”  It ended up being a lot of fun!

Additional Letters

During circle time we reviewed our numbers, letters, and letter sounds.  Then we introduced the letter Q by singing “Five Little ducks Went Out to Play.”

Five little ducks went out to play
Over the hills and far away
When old mother duck said, “Quack, quack, quack”
Four little ducks came waddling back

Repeat and count down to one

One little duck went out to play
Over the hills and far away
When old mother duck said, “Quack, quack, quack”
No little ducks came waddling back

But when old Father duck said, “quack, quack, quack, quack, quack!!!!!”
All five ducks came waddling back! 

We made theses cute little paper plate ducks.  The ducks stand up on their own but can also lay flat and slide right into a page protector in their alphabet binders we have been working on.

SUPPLIES:
1 paper plate
yellow paint (or yellow crayon)
orange and yellow construction paper
glue
2 googley eyes

1.  Let the kids paint or color the paper plate yellow.  When the plate is dry fold it in half.
2.  While it is drying, fold a piece of yellow construction paper in half.  Help them trace their hand on the yellow paper.  Having them trace their own hand or their friends hand is a great fine motor activity for little guys!  Plus, they love doing it!
3.  Cut out the traced hands out and make a circle for the ducks head with the left over yellow paper.  Make a beak and duck feet with the orange construction paper.  You want to keep the duck feet connected with a 3 to 4 inch thin rectangle.  Fold in half along the thin rectangle connecting the feet.
4.  Glue the feet to the bottom of the open plate, putting one foot on each side.  Glue on the head, beak, and eyes.  Use the cut out handprints for the ducks tail feathers byt gluing one hand to each side of the paper plate.

Here it is standing up

We also painted with Q-tips.  The kids had fun with this and thought it was great to paint with something other than a paint brush or their fingers.  The pictures turned out pretty cute.  I glued a couple Q-tips to the paper so the kids would remember what they did when they look back at their picture in their alphabet books.

Painting with Q-tips
Even the younger kids enjoyed this activity

Handprint Stepping Stone

My mom has been making some adjustments to her garden lately.  She asked us to make a hand or foot print stepping stone for each of her grandchildren to put in her garden.

These turned out so cute that I had to post about them!  They are relatively simple to make and are really sturdy.

Handprint Stepping Stone
The final product already out in the garden

You can buy the kit on amazon.  It will come with everything you need except the bucket to mix it in.

All you do is mix the cement with 3 cups of water and stir it up.  Then, pour it into the mold from you kit and wait about 30 minutes.  Then you can decorate with the rocks, letter prints, or anything you want.

mixing cement for stepping stone kit
Mixing the cement

I made three of these (one for each of my boys) and learned a few tricks as I went.

First, after you have let it sit for 30 minutes, if you can see water pooled on the top you need to soak it up with a paper towel and wait another 15 minutes before trying to make a mold of your hand or anything else.  If you dont wait, the hand print will fill with the water and you will have to make your print all over again.

making handprint in stepping stone cement
Decorating the stone

Second, don’t put your stone in the sun to dry.  Leave it somewhere it can sit for at least 48hrs at room temperature.  You want it to dry slowly.  If it dries too fast it will crack.

Finally, once it is done and has dried for at least 48 hrs you can clean it off (I used an old toothbrush to polish it up) and take it out of its mold.

Let stepping stone dry
Let it dry for 48hrs at room temperature. Do not move it while it is drying!
Garden with handprint stepping stones
My mom’s stone garden from her grandchildren.  She actually has 14 grandkids and is still waiting on some to finish up their stones.

DIY: How to Paint a Jute Rug!

Okay so I am picking out things for the new house and came across this very reasonably priced handmade natural fiber jute rug.  It looked perfect under my dining rom table… until my dog got sick and puked on it.  Did you know it is IMPOSSIBLE to clean a jute rug???  I didn’t, but found out very quickly!

Mistake number 1 was using carpet cleaner on it.  This just bleached the rug and made it worse.  Sadly, even using a too much water can discolor a jute rug.

Here is the bleached out spots made from carpet cleaner after the dog puked here.

Here is the bleached out spots made from carpet cleaner after the dog puked here.

So the rug was ruined and I had a chance to experiment with it.  I have heard of other people painting rugs and started googling.  I found a lot of good blog posts online where people updated there jute or sisal rugs by painting them..  Apparently it is pretty easy to paint a rug!  It also looks great!  I used the site jimmychoosonthetreadmill.com for my motivation.  I also like this rug painting post on natalme.com.

So easy!  The only supplies your really need are some foam bushes, a gallon of regular latex paint, and some painters tape.  I painted mine right in the house after the kids went to bed.  I just put a tarp underneath it.  This rug has a thick plastic bottom and didn’t even soak through to the tarp, but the tarp made me feel better just in case.

So here is the rug before I did anything to it.  This is a close up of the texture it has.

So here is the rug before I did anything to it. This is a close up of the texture it has.

I decided on a Chevron pattern and made a triangle from construction paper to make sure the chevron strips were exact.  Then I outlined the triangle back and forth with painters tape.

Notice my pink construction paper triangle.  I used this to measure and make sure my chevron strips were uniform.

Notice my pink construction paper triangle. I used this to measure and make sure my chevron strips were uniform.

After I had the design all mapped out on my rug, I painted! I used a soft foam brush and regular indoor latex paint, just like you would use to paint your walls.  Make sure to get a pack of foam brushes as I went through 3 or 4 on this project.

Can You Spray Paint a Jute Rug?

Personally, I decided not to use Spray Paint on my Jute Rug.  There is nothing that would limit you from doing so but I feel it would leave too shinny a finish.  Instead I used regular latex pain.  I got the paint from Walmart.  Did you know that they have pre mixed colors for 50 – 75% off?  It is hit or miss on what colors they have available, but I was happy to find this shade of grey for $4.

I didn’t want to spend a lot of money on this project since it was my first time painting a rug and I wasn’t sure of the outcome.  I am now ready to admit that I like the rug even better than before!  Considering I bought a $4 gallon of paint and a $4 roll of painters tape, I basically redesigned this rug fabulously for less than $10.

After the paint is dry, peel up your painters tape to see the masterpiece!

A close up of the rug after the painters tape was pulled off.

A close up of the rug after the painters tape was pulled off.

Looks awesome right!

Looks awesome right!

Guests come over and are shocked when I tell them the rug didn’t come this way.  It looks great and I feel so talented! ha! I might even want to try this out on another rug!

Some of the other posts I found on this told me to sand my rug with an electric sander when it was done to take away the crispiness the paint can leave.  I did not do this since this is a jute rug and it already has a tough texture anyway.  I can see how this would be a necessary step on a smoother, less textured rug.

Learning the Letter “V”

Letter V is an easy one to draw, but it can be awfully tough mastering how to say it. In fact, most kids won’t learn to properly pronounce this sound until they are 4-5 years old! That being said, you and your little one can still have plenty of fun with letter V.

You can use the included printable to play two simple games that focus on that tricky letter V sound. Download and print the sheet, then carefully cut apart the vegetable cards. Be sure to keep them in a resealable plastic bag in between play sessions so they won’t get lost.

Letter V Activities for preschool children

Game #1: Matching

  • Separate the vegetable cards into two equal sets – one for you, one for your preschooler.
  • Lay your preschooler’s vegetables in a row on the table or floor in front of them.
  • One by one, show a card to your preschooler and ask, “Where is this vegetable?”
  • If they can point to the match, you declare “Victory! V is for Vegetable!”

Game #2: Making Soup

  • Get a small cooking pot and wooden spoon from the kitchen.
  • Explain that you are going to make Letter V soup together. Only things that start with v can be added to the soup!
  • Move through the room together, proposing different items for your soup. First, ask your preschooler about some items that definitely don’t qualify. For example, “Pepper! I like pepper. Does pepper start with v?” (Little people love to call out silly grownups when they get something wrong, so expect some very energetic no’s!)
  • Every few letters, circle back to your pile of vegetable cards. “How about vegetable? Does vegetable start with V?” Add one or two of your cards to the pot.
  • Once you’ve gone through a few rounds of this, stir up your soup and take some pretend bites together.
  • If you have other V-items around, turn them into soup too! A small bottle of vanilla, a toy van, paper valentines, and wild-growing violets from the yard are all great choices.

After playing hard, you may both need a snack. You can learn the shape of letter V by shaping it out of real vegetables. Carrot sticks, celery, and strips of cucumber are all nice, straight shapes that are suitable for making V’s.

Don’t be vexed – verily, a valiant effort will vanquish your troubles with vicious, villainous Letter V!

Hiccup Costume DIY: How to Train Your Dragon Costume

One of our boys favorite dragon movies and book series is How to Train Your Dragon!  Our oldest wanted to be Hiccup for Halloween but the costumes on Amazon for Hiccup were expensive and just didn’t seem to match the character.  So, I sought out to create our very own DIY Hiccup Costume!

Casey’s teacher had really encouraged them to dress like a book character they have been reading about.  He is really into the How to Train Your Dragon series by Cressida Cowell.  If your looking for a good book serious for your little guy, this one is great.  Casey’s 4th grade cousin recommended them to him over the summer and he is now on book 9.

So here is our DIY Hiccup costume to go with his book.  It was very easy to make and very inexpensive.  I made the vest and boot fur using some corse brown felt from the fabric store.  It was quick and easy despite the fact that I had to sew the sides of the vest by hand since my sewing machine wasn’t available.  The belt was made out of the $1 scrap fabric at the fabric store.  I used iron on velcro to secure the belt and the fur around the top of the boots.

DIY Hiccup Costume

Pretty dang cute Hiccup Costume if I say so myself!

He borrowed the boots from his cousin and is wearing his own pair of cargo pants.  If you don’t have a green shirt you can cut, try the $3 rack at Walmart or Target.  I just cute a “V” in the neck and used a simple slip stitch to secure the string on the shirt.  I reinforced the string using a heat gun.  I also cut a slit up the side of the shirt to replicate the real “Hiccup.”  You can probably find the viking hat at the dollar store, but I ordered this one on Amazon for a few dollars.  I don’t really remember Hiccup in armor a lot in the movies so figured the viking helmet was perfect.

A DIY How To Train Your Dragon Halloween Costume

He sort of wants to spray his hair red to match the Hiccup in the book too. We’ll see.  By the way, that is rain on his shirt… it was just starting to sprinkle when I took this.

You could also have them bring along a toothless doll as part of the costume if you want them to go into full character.

Here is the book series that started the fascination with Hiccup.  It is really a great little series, especially for boys.  I it is really easy to get into and I even enjoy listening to him read it aloud.

This series is recommended for grades 3 and up, but you can start them as early as first grade if you have a strong reader (or if you plan to read it with your child).

Maybe next year I’ll make a Toothless costume for his brother and they can trick or treat together.

Learning the Letter “S”

If you’re making your way through the alphabet with your preschooler, it’s easy to get stuck on what seems to be the simplest letters! In trying to find inspiration for the later letters in the alphabet, I realized that so many activities for learning the letter “s” are about snakes. Yikes! I know I hate snakes, and maybe you and your kid do too. What if you want something a little more fun and seasonal? 

For this activity, we’re going to be focused on one of my favorite flowers, and one of my favorite “s” words: sunflowers! This activity is perfect for the spring and summer, which are also great seasons to get your preschooler familiar with the letter “s”. Today, we’re making paper plate sunflowers! This craft is simple, inexpensive, and uses materials you’re likely to already have around your house! 

Here’s what you need: 

  • 1 paper plate
  • 1 craft stick
  • 1 piece of green foam paper
  • Yellow paint
  • Green paint
  • Handful of sunflower seeds
  • Scissors
  • Glue

First, cut small triangles out of the rim of your paper plate. Show your child how to cut on an angle so the gaps look like flower petals. Cut all the way around the plate. Then, paint the craft stick green and the paper plate yellow. Let the paint dry and then begin to glue the sunflower seeds to the middle of the plate. 

At this point you can also cut two small leaves from the green foam paper and glue them to the craft stick. Now you’re ready to glue the craft stick to the back of the paper plate to act as your stem, and your paper plate sunflower is complete! 

Looking for more ways to teach your child the letter “s”? Check out the printable coloring page of a beautiful sunflower field below! 

Letter S Activity for Preschool Children

Learning the Letter “R”

ROOOOOOOAAARRR!

That’s the sound of a lion, and it’s also the sound of today’s featured letter – R!

Many parents and little ones are cooped up inside right now and craving connection with the outdoors, which is why our letter “R” activities are all about nature and the outside world.

Along with letters, animal names and sounds are among preschoolers’ favorite things to learn and explore. How many “R” animals can you think of together? Here are some animal names that begin with R:

  • rabbit
  • rooster
  • rhinoceros
  • raccoon
  • rat
  • rattlesnake
  • reindeer
  • ram

Preschoolers love imaginative play, so a great way to learn this letter is pretending to be “R” animals together! Emphasize the letter “R” as you turn yourselves into rabbits, rattlesnakes, or roosters. For more immersive fun, print and cut out these adorable animal masks to complete your transformation.

Letter R Activity for Preschool Children

Another great “R” word is RAIN! You can enjoy the soothing sound of rainfall even indoors by making a rainstick. Here’s what you’ll need:

  • Pencil
  • Scissors
  • Paper towel roll
  • Aluminum foil
  • Brown paper grocery bag
  • Rubber bands
  • Dry beans or rice
  • Colorful yarn or ribbon (optional)

Your paper towel roll will serve as the body of the rainstick, while the grocery bag will be used to cap the ends. The aluminum foil will be coiled up inside the tube, helping to slow the beans and rice as they fall and creating that familiar rain sound.

Begin by gathering all of your supplies.

Letter R Activity for Preschool Children

Trace the end of the paper towel roll onto the grocery bag.

Letter R Activity for Preschool Children

Then, draw a larger circle around the traced one, leaving about two inches of space between the circles. Do this two times. Cut out your circles and set them aside.

Letter R Activity for Preschool Children

Use the aluminum foil to create a spiral. We recommend making one skinny spiral and one fat one, then nesting one inside the other. This will do the best job of filling up the tube and making your “rain” fall nice and slowly.

Letter R Activity for Preschool Children

Measure out ¼ to ½ cup of rice or beans to go inside the tube.

Now it’s time to put it all together! First, cap one end of the tube by folding a grocery bag circle over the end and securing it with a rubber band. 

Letter R Activity for Preschool Children

Next, insert your foil spiral. After that, you’ll want to carefully pour in the beans and rice. Finally, cap the second end of the tube just as you did the first.

And that’s it! If you want to decorate your rainstick, you can add some pretty ribbon or yarn to cover the rubber bands. If your preschooler wants to color on the tube or decorate it with stickers, it’s best to do this before the rainstick is assembled.

Letter R Activity for Preschool Children

Learning the Letter “N”

Not sure how to teach the necessary letter N? You’ve come to the right place. 

For kids who are preschool aged and who are starting to learn the alphabet, it’s fun to find different activities to help them learn the letters. That way, there’s something to remember the letters by! It’s always fun to start teaching your kids new things, and with different activities, not only will you be able to keep them busy but you’ll also be able to make some memories with them. 

While there are tons of different words starting with the letter “N,” there’s nothing more magical than the starry night sky. 

That’s why we thought it would be fun to teach the letter “N” by creating a beautiful glow in the dark night sky for your child’s bedroom ceiling. Let’s get started. 

Here’s what you’ll need

To get set up to make these glow in the dark stars, you won’t need many materials. You’ll definitely need to supervise your preschooler while you use some spray paint that’s involved, but otherwise, this is a no muss no fuss type of craft! 

These are the materials you’ll need to create your night sky: 

  • Scissors
  • Old cereal boxes 
  • White paint 
  • Glue dots or command strips 
  • Glow in the dark spray paint (you don’t have to use spray paint if you’d like to use a paint you can brush on instead) 

The first step is to outline your constellations and stars on the cereal box. You can use the stencils below for your stars! 

Letter N Activities for preschool children

Your next step is to paint the stars, moons, and other planets of your night sky white. Let them dry completely before moving on to the next step. Step three is to use your glow in the dark paint and coat the night sky stars, moons, and planets with several thin coats of the paint. 

Charge your night sky by leaving it out in the light for 15-20 minutes where the light or the sun can charge the glow in the dark paint. Then you’ll be ready to stick your stars on the ceiling and create a beautiful night sky! 

You need the letter “N”, so here are (n)ine other words that start with “N”: 

  • Nose
  • Nickel
  • Nurse
  • Ninja
  • Necklace
  • Name
  • Noise
  • Nana
  • Noodles