Enchanted Mommy

Learning the Letter “J”

Time to get excited, because today we’re learning the letter “J”! There are so many cool words connected to this letter, but we’re going to focus on jewelry. 

Making jewelry is a fun and creative way for children of all ages to express themselves. Whether it is making friendship bracelets or a pretty beaded necklace for mom, kids can practice independent expression while showing affection for loved ones. Creating jewelry and patterns using colorful objects assists kids in developing fine motor and planning skills. Completing these activities with friends can also help them develop social and communication skills. 

Now, have you ever heard “Diamonds are a girl’s best friend?” Well, today “Snacks are a preschooler’s best friend!” We’re teaching you how to make a cereal and marshmallow rainbow necklace. This craft will double as a fun and tasty craft for your little ones. 

But don’t worry, this cool activity only requires a few materials and it’s hardly messy! 

What you will need:

  • Fruit Loop Cereal
  • Marshmallows
  • Yarn or String 
  • Plastic yarn needle 

First, sort the fruit loop cereal into piles by color. Secondly, color coordinate the fruit loop cereal to pattern a rainbow. Finally, add marshmallows at each end to symbolize the clouds at the end of a rainbow. 

Preschool age kids will need assistance with threading the needle, but afterward they will have so much fun adding the fruit loops and marshmallows. When they’re all done, they can rock their cool new necklace, or have a blast eating it. 

You can also find more details on how to make this necklace here

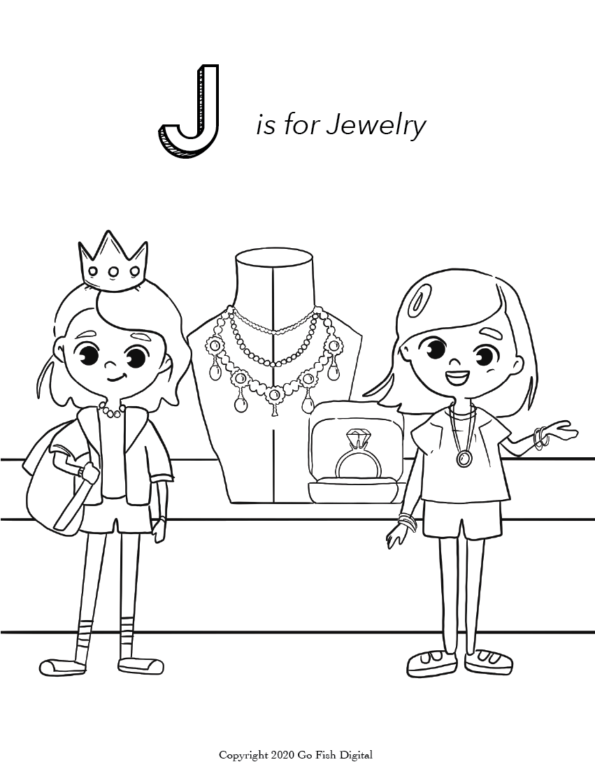
After this activity, have some more creative fun with this jewelry coloring illustration. You can download and print them, and let your preschoolers’ imagination run wild! 

Letter J Activity for Preschool Children

Learning the Letter “G”

The letter “g” is associated with so many fun activities and objects. One in particular that comes to mind is the guitar. 

Music is a fantastic way for children of all ages, from preschool and beyond, to express themselves. Music allows children to dance, sing, and exert energy in an uplifting way. It also can help them learn new things, like memorization and motor skills. 

One of the most popular musical instruments is the guitar. The guitar is a string instrument and comes in two forms: acoustic and electric. Lots of music genres use the guitar, some of these include country, punk rock, pop, metal, jazz, and more.

This letter “g” activity is a fun musical activity that allows preschoolers to be creative and make them feel like a real-life rockstar. While most of us don’t own a guitar, you might be surprised at how easy it is to make one at home with just a few items. This activity requires scissors, so please make sure a parent or guardian is available to help cut.

To make your very own shoebox guitar, you will need the following items: 

  • 1 Shoe Box
  • Cardboard
  • Rubberbands 
  • 1 Pencil 
  • 1 Pen
  • Scissors
  • Tape
  • Stickers (optional) 

Watch this YouTube tutorial below to create your own!

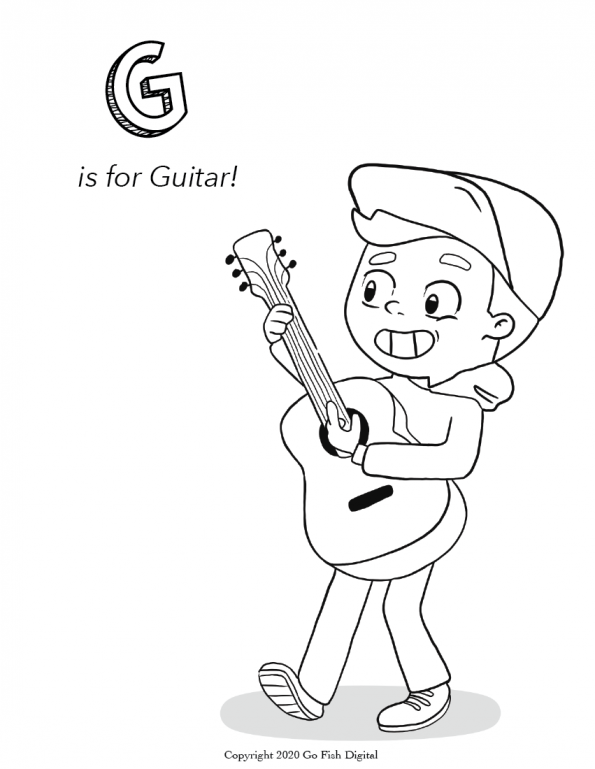
If you don’t have any of the above items readily available at home, there are a few other fun activities you can do instead that involve the instrument. You can listen and sing along to popular songs that use a guitar or you can download, print, and color in the guitar illustration below.

Letter G Activity for Preschool Children

Let us know in the comments below how your shoebox guitar turned out and what songs you played with it!

Learning the Letter “E”

So many exciting and extraordinary words start with the letter E. For preschoolers who are starting to work with the alphabet it’s always fun to mix in new and creative activities that involve the letters of the alphabet. Today we are sharing with you fun activities to do with preschoolers that involve the letter E.

This activity requires very little mess, which also means very little clean up for you, mom. For this activity you’ll just need some colored pencils or crayons and the free to use picture for coloring.

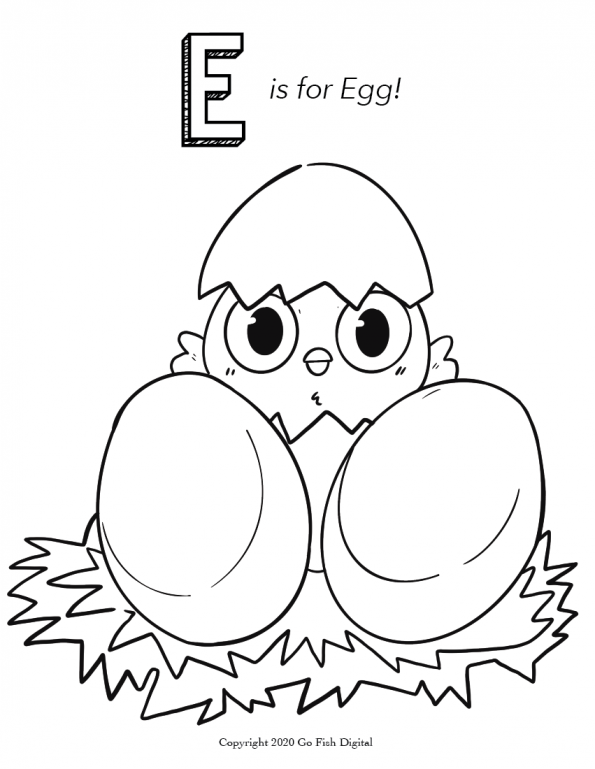
We will be coloring a beautiful majestic elephant and a cute egg. Both of these things start with the letter E.  While sharing them with your preschooler you can help them make the letter E sound and invite them to color in the picture.

Letter E Activities for Preschool Children
Letter “E” Activities for Preschool

While things in the world may not seem so positive right now, elephants are beautiful creatures that symbolize many great things. While your kids are coloring their pictures, take this time to talk with them about elephants and how people believe they symbolize good luck, power, and wisdom – all things that are great to be reminded of.

“Eggs” are great for helping preschoolers learn the letter e because of the many related words that start with E.   When it comes to eggs – you (e)at them, they give you (e)nergy and they are (e)xtra delicious. Make your egg colorful and fun! Something that really shows your personality. 

Letter E Activities for Preschool Children
Letter “E” Activities for Preschool

In the comments below, feel free to share other activities that can help preschoolers learn the letter E.  

(E)ight other fun words that start with E:

  1. Earth
  2. Empathy
  3. Excitement 
  4. Elbow
  5. Engine
  6. Eye
  7. Exit 
  8. Entry

My Fireplace Is Ready For Halloween!

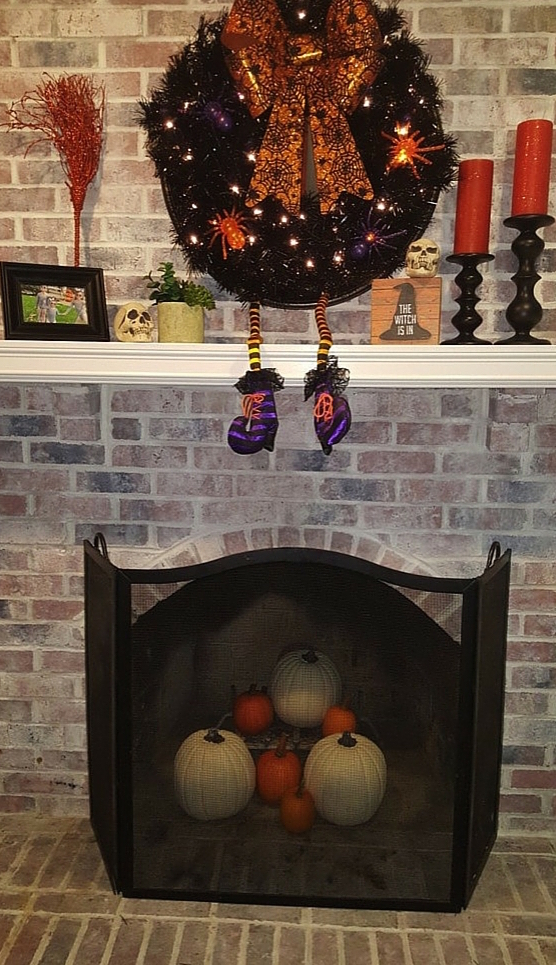
Happy early Halloween!  I’m trying to keep life as on-track as possible for the girls right now.  I’m 39, yes 39, weeks pregnant today. We just had so much fun decorating the fireplace!  In case you don’t remember my fireplace before we white washed it, here is that post.  You might notice that we added a little molding around the old thin mantle (thank you, dad).

halloween-new-wreath-2

Read More

How to Paint and Antique your Kitchen Cabinets

My parents had an accidental house fire recently sparked from their fire place that spread through their living room last fall.  Although the fire damage was minimal, the smoke damage was terrible.  They had to get their entire house scrubbed from top to bottom and repainted.

During this cleaning process their kitchen cabinets were damaged.  The wood finish was stripped in several places.

I decided to be brave and offer to repaint them… I couldn’t make them any worse after all! Ha.  After a lot of research I finally got around to the task a few weeks ago.  They turned out GREAT!  They look brand new and way better than they looked even before the fire.

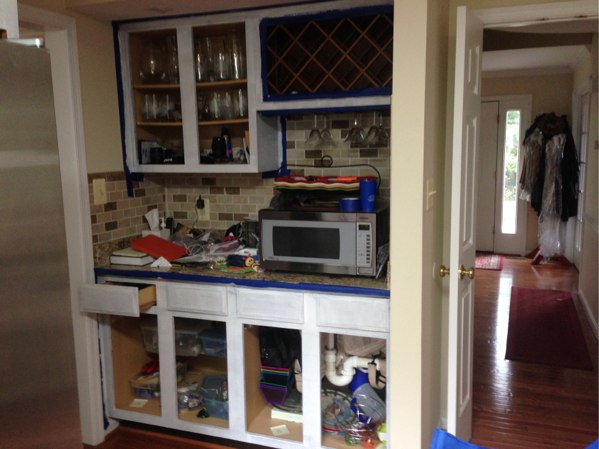
I regret that I forgot to take a picture before the cabinet doors were removed, but here is the before pic with the doors already off.
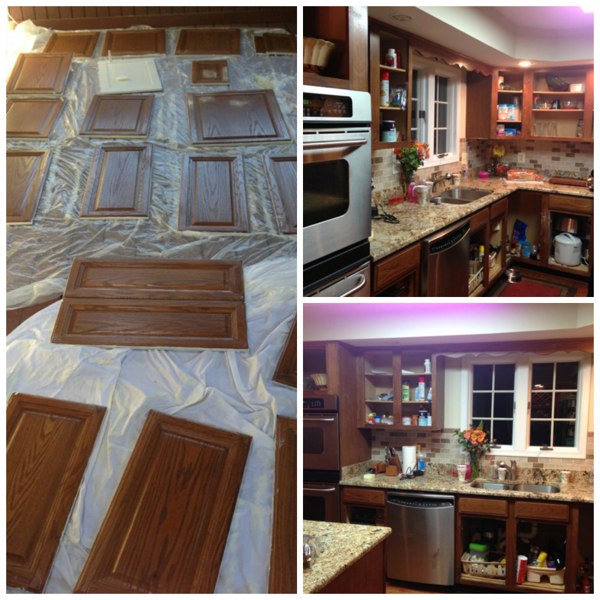
PicMonkey Collage.jpg

And now for a few of the After pics….

IMG_0226


IMG_0220

IMG_0216

Awesome right!  It changes the entire look of the kitchen!  Did I mention that the entire project cost less than $300.  That included all the paint/primer, glaze, supplies, and hardware.

So here are the basics of what I did:

1.  Remove all the cabinet doors and hardware.  I numbered all the doors using post it notes first.  I put one post it note on the back of the cabinet and one with a matching number where the cabinet door was removed.  This saved me from having to puzzle through figuring out where each door went when I was finished.

2.  The hardware was spray painted with a metallic spray paint after we soaked them in vinegar and water to clean them.   It took three coats of spray paint.

3.  I sanded down any visible blemishes and wiped everything clean.  Part of the island and even some of the long sides of the cabinets is not real wood and more like thin particle board.  I sanded this down as well as possible to really get it scuffed up a bit so that the primer would stick better (actually, I delegated this part to my Dad since I hate sanding!).

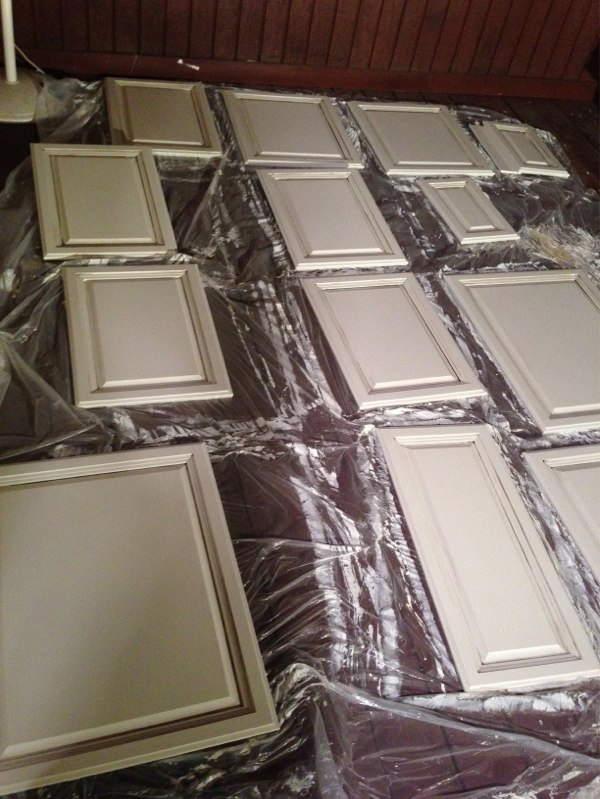
4.  Priming time!  I started with priming the inside of the cabinet doors so that I would be doing the outside part that everyone will see last.  I figured that I would rather have the back scraped from being turned over than the front.  I didn’t work on the front of the cabinets until 24hrs after the back was completely done (primed and painted).  I only did one coat of primer.  I recommend Zinsser Oil based primer with stain blocker.  Just a warning… it is strong smelling!
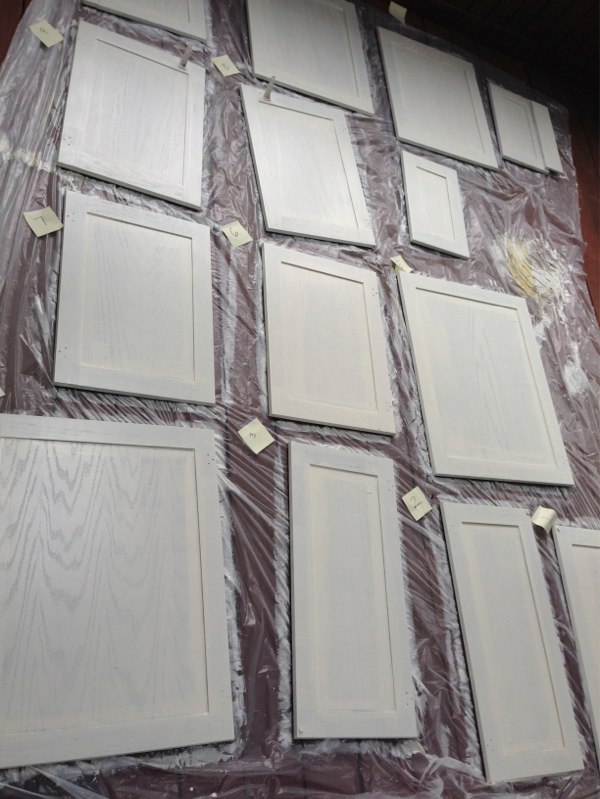
IMG_6825 (1)-1


One coat of primer applied

One coat of primer applied

5.  I then did two coats of paint.  I used an off white color and got the Benjamin Moore Active paint in the satin finish.  Satin so it is easy to clean food and spills and the the Benjamin Moore Active brand because my research showed me that this paint hold ups really well on cabinets and has a really nice finish to it making a poly coat unnecessary.  I was wary of doing a poly coat on white cabinets as it often yellows over time.  After waiting 24hrs from the last paint coat on the back of the cabinet doors I turned them over primed and then painted two coats.  Oh, I almost forgot… I added Floetrol to my paint each time I put pain in the roller pan.  This slows down your drying time which will decrease any brush or roller marks on your cabinets.

6.  After waiting another 24hrs, I used Valsar antiquing glaze to antique the drawers, cabinet doors, and trim.  I use the Valspar gel because it is already mixed and ready; no need to add a thing to it.  This is really the fun part.  Use a foam brush and paint a thin coat over the desired area (I really only focused on the crevices as I wanted it to be a very light antique look), then using a lint free rag, wipe it all off.  Some of the glaze will remain giving it an antique look.  You really can’t screw this one up since you just keep wiping it off if you want less and repeat it if you want it more heavy.  I keep a wet rag nearby also so that I can wipe parts even cleaner if they look smudged.
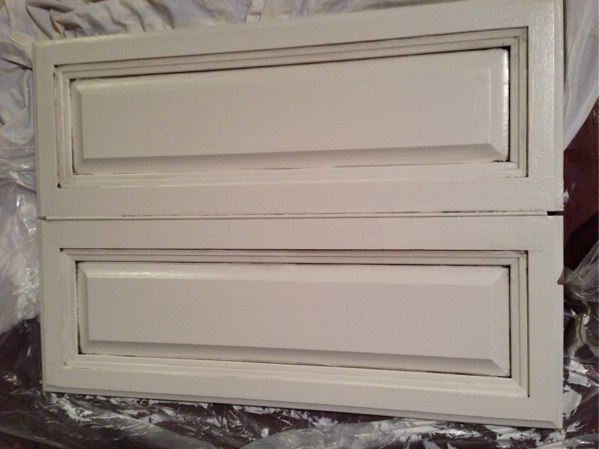
IMG_6851


IMG_6850

7.  I waited another 24hrs before putting the cabinet doors back on and installing the knobs and handles.  The easiest way to install the knobs and handles is to make a template of the corner of the cabinet door and of the shape of your drawers.  Then measure exactly where you want your knobs to go on the template and mark them.  Use this template on each drawer and door so that the knobs and handles are all in the same spot.  I know they sell these templates at home depot, but it was simple enough to make my own out of construction paper.  You will need a power drill and an electric screw driver for this step.
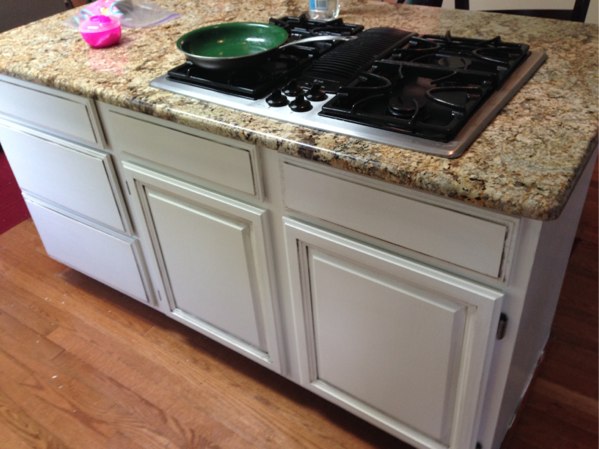
The island without handles/knobs

The island without handles/knobs


The island with handles and knobs

The island with handles and knobs

All done!  This was a very tedious task and cannot be rushed.  If you decide to do this, make sure that you have enough time to give to the task.  I recommend at least a full week.  The more you have to rush each step, the sloppier your work will be.

IMG_0216

IMG_0214

DIY: Easiest Way to Paint Stripes!

I had been wanting to do a striped room for a while, but was too intimated.  My sister-in-law did her nursery in stripes and it finally motivated me enough to give it a try.  It was surprisingly easier than I thought it would be.
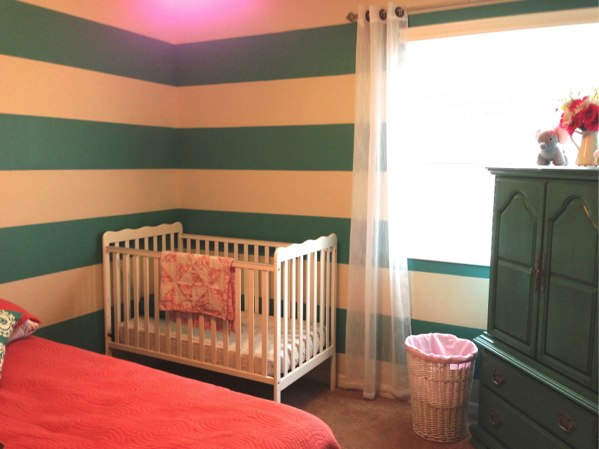
Looks great right!

All done and looks great!  I get so many compliments on it!

All done and looks great! I get so many compliments on it!

Supplies Needed:
Latex paint
Roller/paint brush
Painter’s tape
Chalk line tool
Ruler or measuring tape

I did 12 inch stripes just to make the measuring simple.  The most obnoxious part is the taping.

First I used a 12 inch ruler and marked every 12 inches on both sides of each wall. Then I used a chalk line tool to mark the stripes.

Basically, you put this dry chalk in the tool and shake it up.  Then you use a thumb tac to tac the end of the chalk line to your first 12 inch mark on one side of the wall.  Pull the chalk string out until it is the length of the wall and hold the other end tight at the other 12 inch mark you made on the other side of the wall.  Make sure the chalk line is wound tight.  Then just use your free hand and snap the line up.  It will snap back down and leave an easy to see line across your wall.  Repeat this for all your lines.

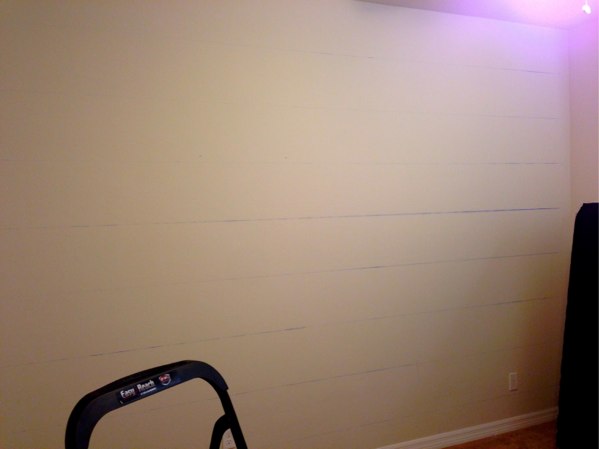
Here is one wall after making chalk lines.

Here is one wall after making chalk lines.

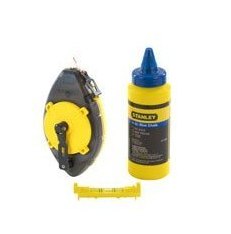
This is what the chalk line tool looks like.  It is sold with the chalk and costs around $10.

This is what the chalk line tool looks like. It is sold with the chalk and costs around $10.

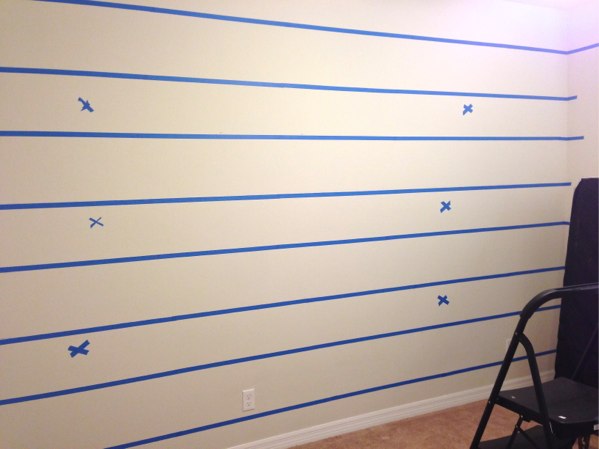
Once I had my chalk lines I put painters tape along the lines, making sure that the stripes I would be painting had the painters tape on the outside of the lines and not the inside.  I also put x marks with painters tape on the stripes that I would not be painting just to make it easier not to make any mistakes.

All taped up and ready to paint!

All taped up and ready to paint!

Painting time!  I was very careful to make sure I used the roller very lightly near the tape so that paint wouldn’t seep under the tape.  You can also push a credit card end along the painters tape to seal it to the wall better before you start painting.  Make sure you peel your painters tape off the wall before your paint is dry.   If you wait until it is too dry be very carefully peeling it off as it can start to tear the dried paint off with it.

All done and looks great!  I get so many compliments on it!

All done and looks great! I get so many compliments on it!


Here is the other side of the room... I know bad lighting. Sorry.

Here is the other side of the room… I know bad lighting in this pic. Sorry.


Refinished Antiqued Night Stand

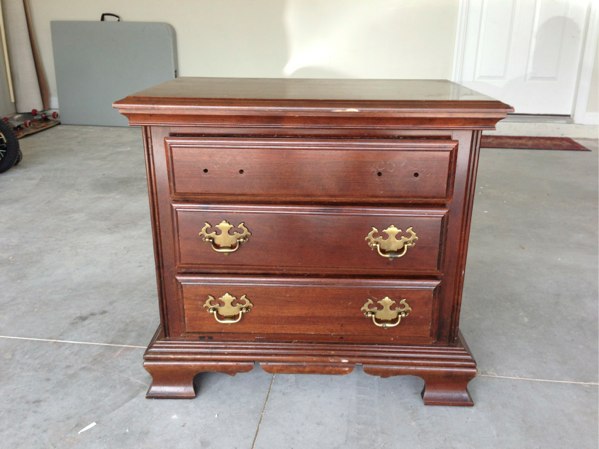
I already took of the handles of the top drawer before remembering to take a picture.

I already took off the handles of the top drawer before remembering to take a picture.

This was a really fun project!  It was one of my first pieces to refinish when we moved to Florida.  I recommend starting with something small to work on for your first project.

night stand

This is my Mother-In-Laws 30plus year old night stand.  They gave it to us several years ago with a matching armoire.  It might look outdated, but it is very good quality and still in great conditions.  I love how it turned out!

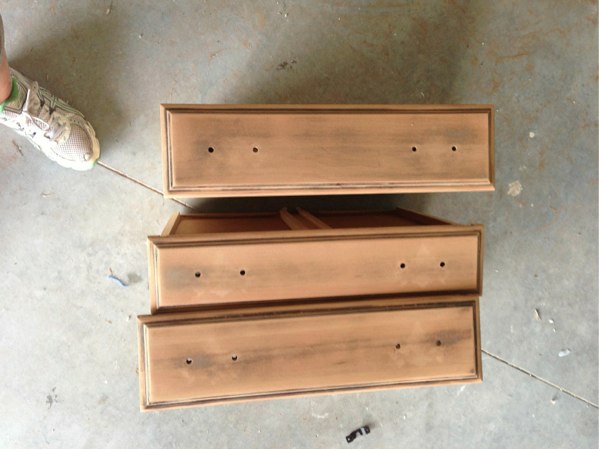
1.  First I sanded the top of the night stand to remove all the finish.  I also sanded down the tops of the drawers and took off their handles.  I painted the bottom  white and technically didn’t need to sand the drawer tops as much as I did, but I wanted it to be nice and smooth.  You really only need to sand places that have scratches or places that you are going to use a wood stain on.  I also spray painted the handles with a silver metallic spray paint.

night stand2

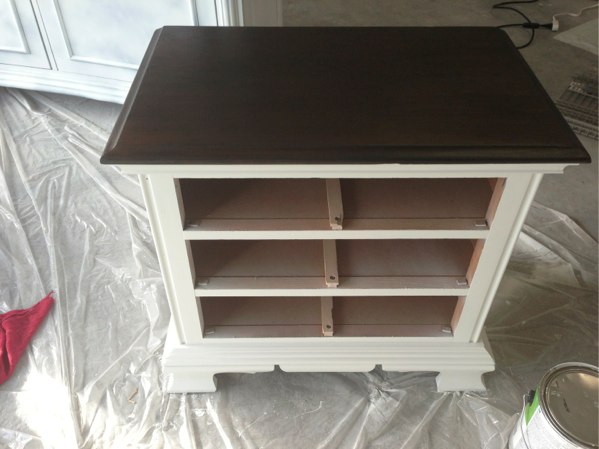
2.  After this, I cleaned off all the dust and put on two coats of primer (I recommend Zinsser oil based primer) to the bottom and started my first coat of stain on the top.  Make sure you wait until everything is completely dry before giving 2nd coats.  I actually did 3 coats of wood stain on the top to get it as dark as I wanted it to be.  I used the stain color called Kona.
night stand3

3.  Next, I put two coats of regular white latex paint.   I also mixed my paint with a little floetrol.  This helps slow down the drying process to decrease the visibility of brush strokes.

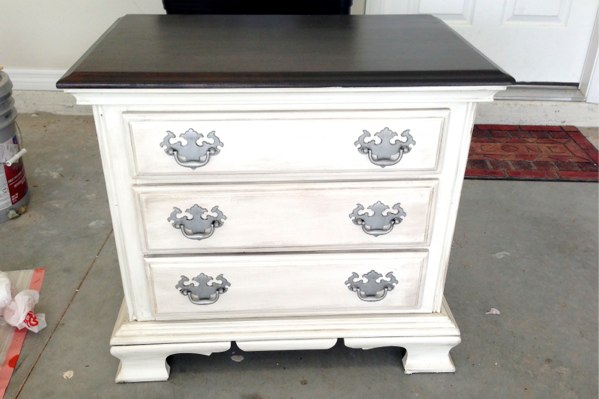
4.  Next was the fun part!  I used Valspar pre mixed antiquing glaze from Lowes.  It is very easy to use.  Paint it on with a foam brush, then use a lint free rag to wipe it off.  I actually used the antiquating glaze on the handles as well.  You can put on as much or as little as you want to get the desired effect you are going for.
5.  Finally, I did three coats of a water based poly (I recommend Minwax  polycrylic).  I also waited a good 24hrs before doing the first poly coat.  It is not recommend to to do more than 2 coats of poly in a 24hr period.

nightstand 4

I also waited 48hrs before putting my nightstand to normal use.

Valentine’s Day Crafts

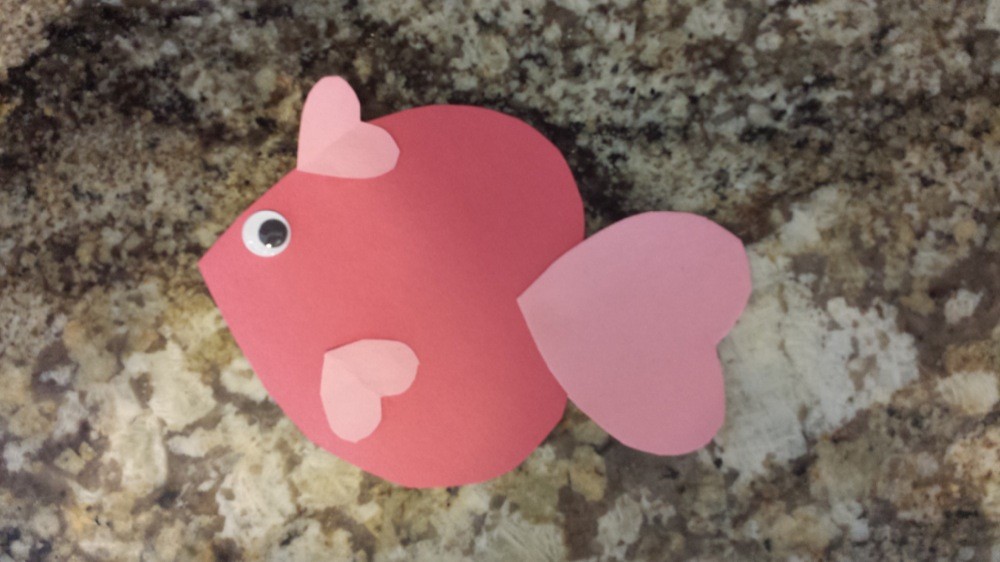
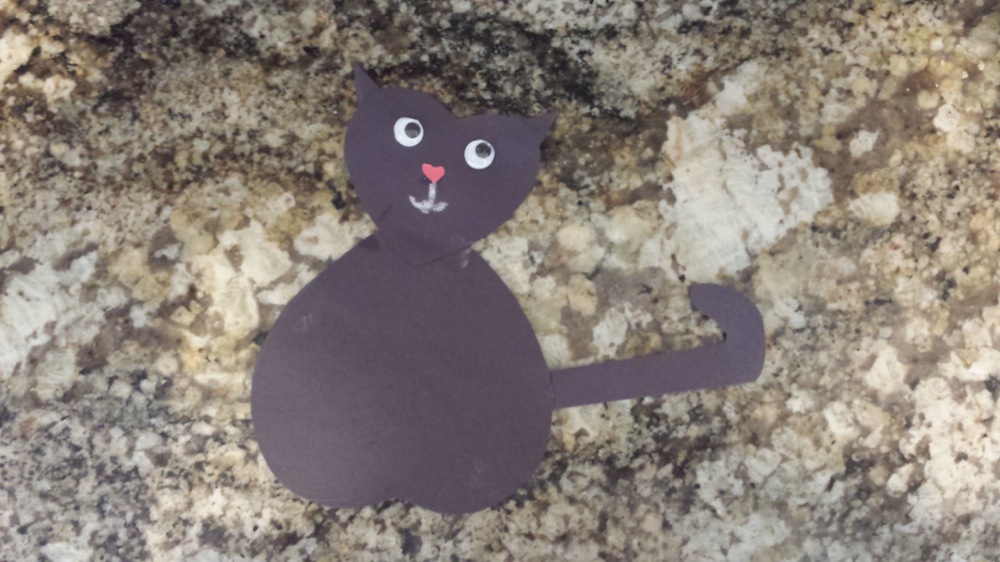
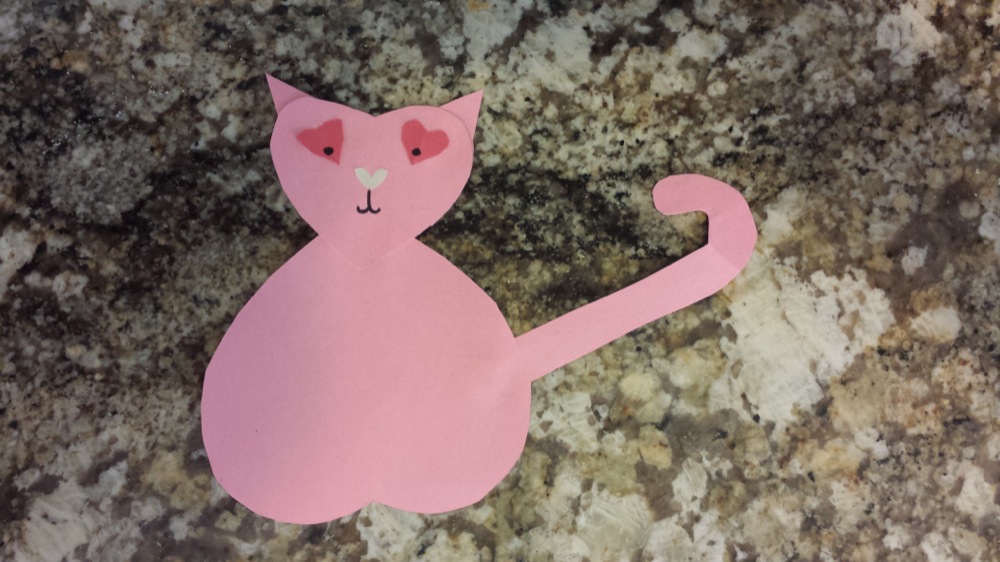
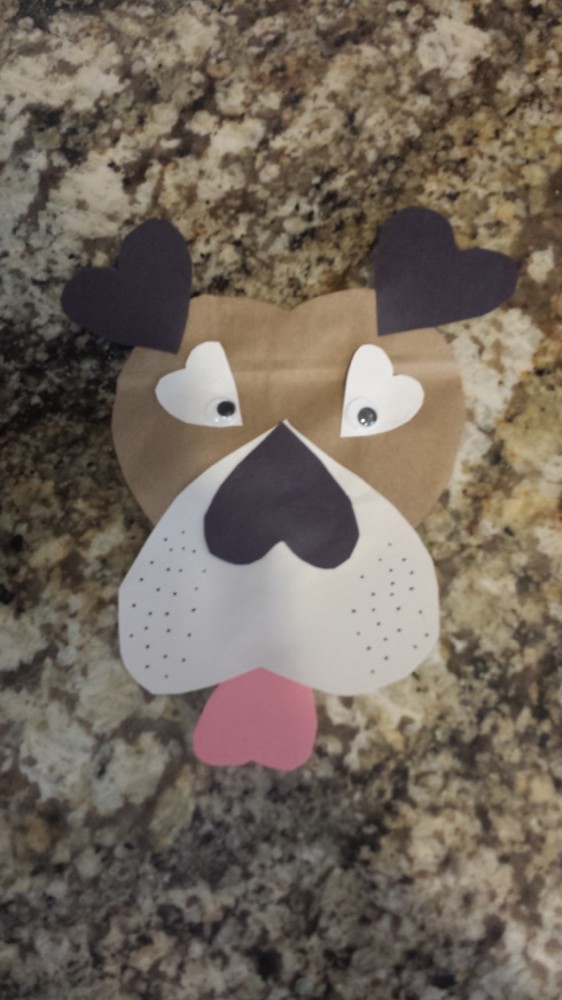
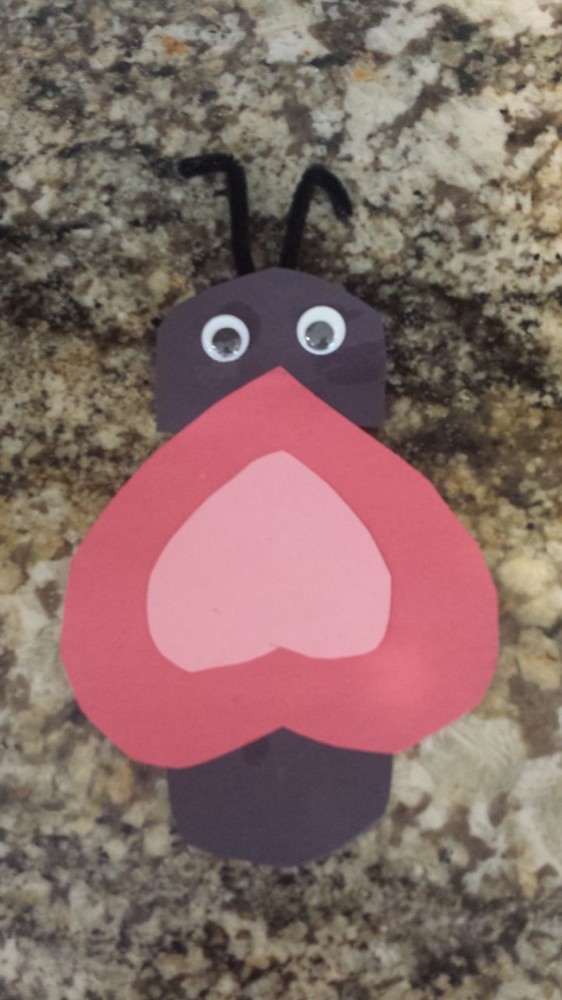
Since we’ve had so much snow and below freezing weather, we’ve been going nuts stir crazy and gotten ourselves into a lot of crafts.  I’ve always loved Valentine’s Day.  So, my 4 year old loves crafts and my 2 year old loves animals so I decided to do a mix of the two.  I found lots of heart crafts that are animals.  I don’t really think I need to do any tutorials because they are all pretty self explanatory.

valentine6

valentine7

valentine8

valentine9

valentine10

We’ve also done a few other crafts:

valentine3

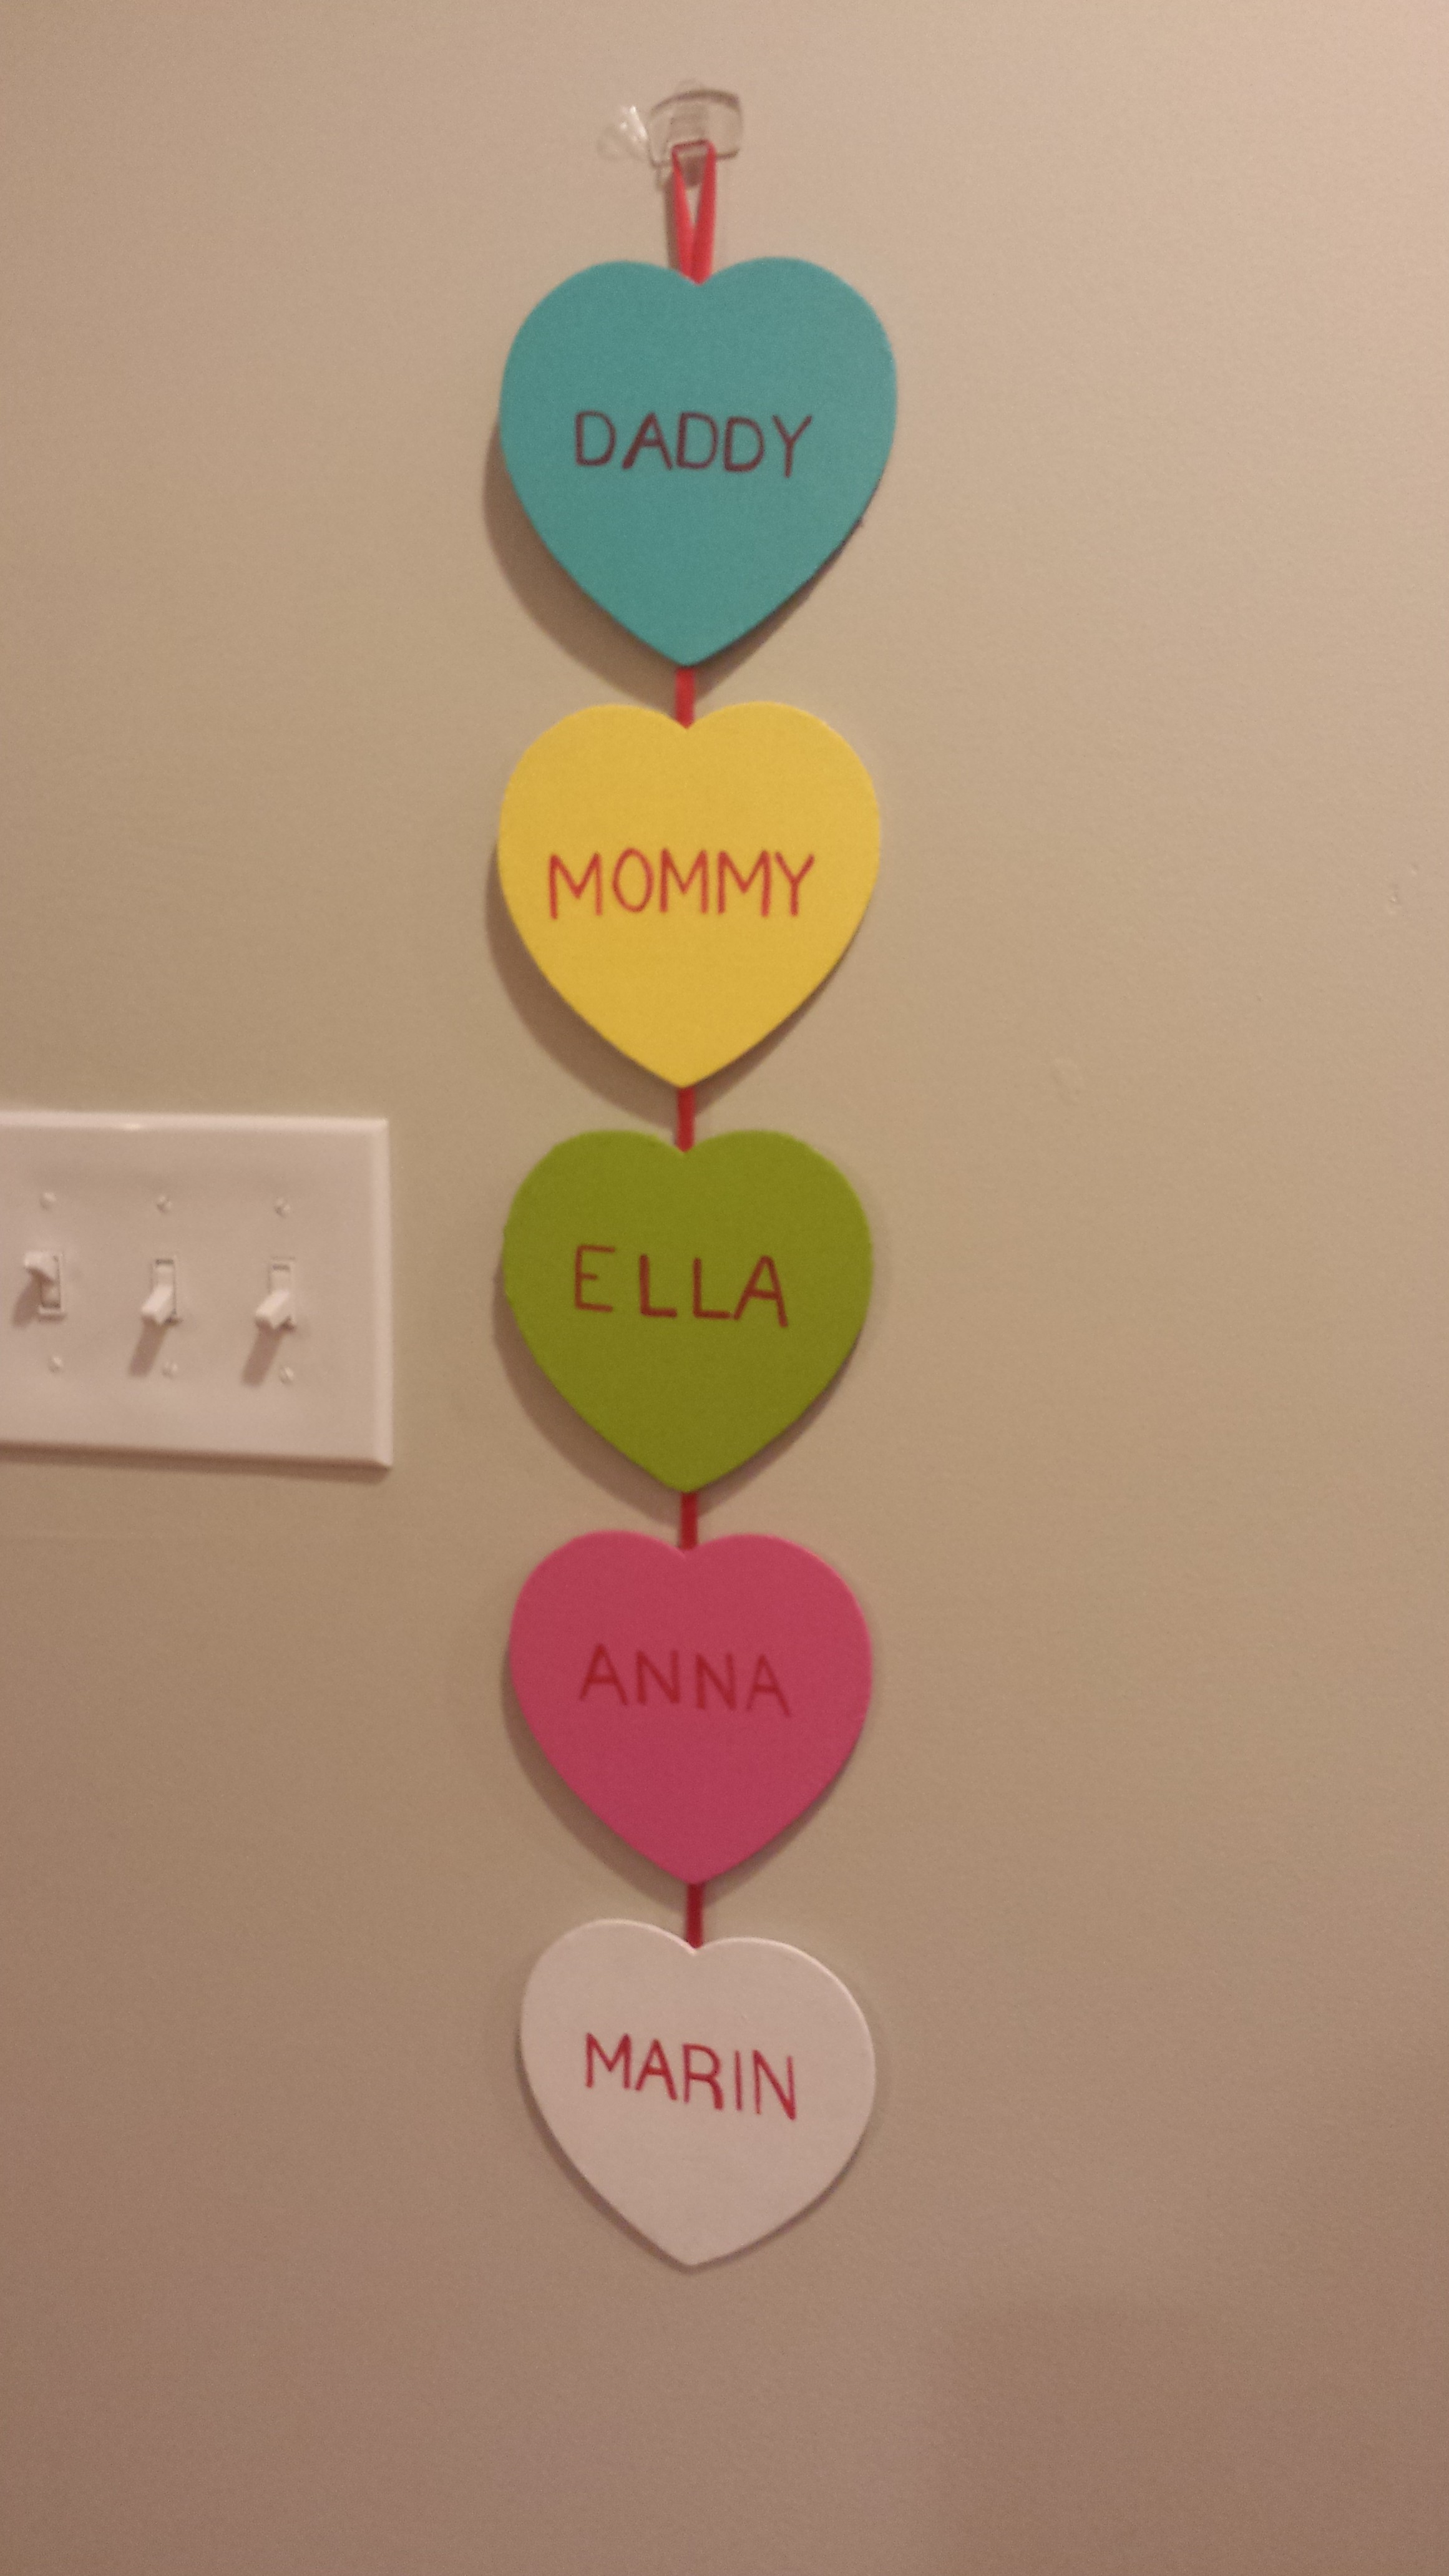
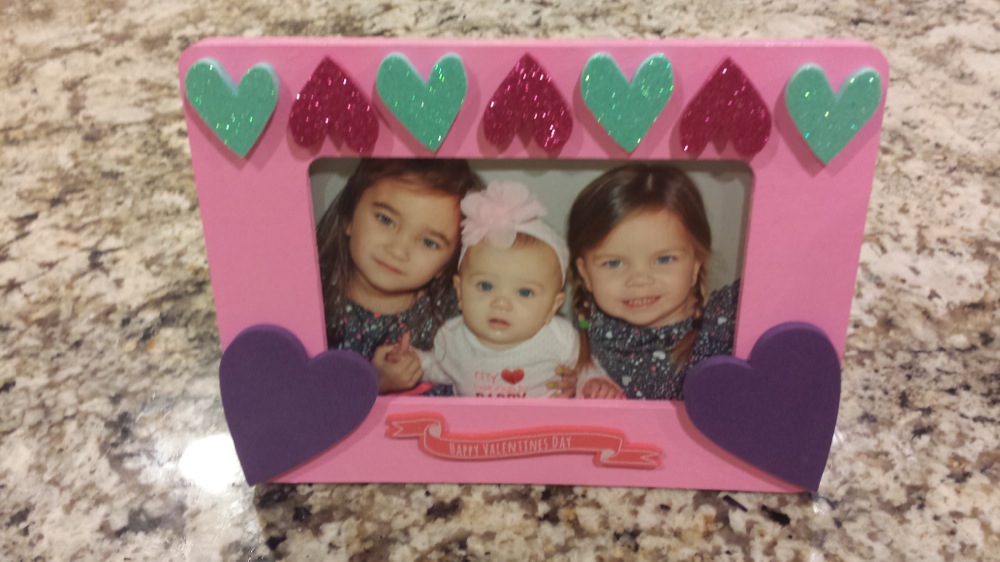
We made frames for each of the grandmas! $1 frames plus heart stickers from Target. They each painted one!

valentine1

They had fun using stickers to write “love” stuff on them!

valentine4

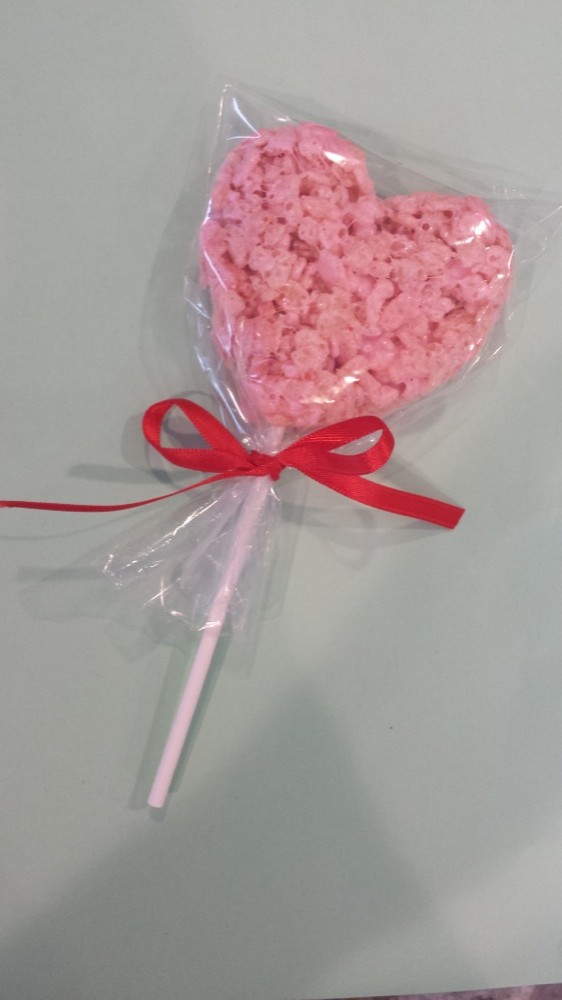
Rice krispie treats with red food coloring and used a heart cookie cutter! Sticks, bags and ribbon were purchased at A.C. Moore.

valentine2

These were wooden hearts for $.39 at A.C. Moore and we just painted them and used red sharpie!

Lastly, I put this on Facebook yesterday.  It seemed to be a big hit!

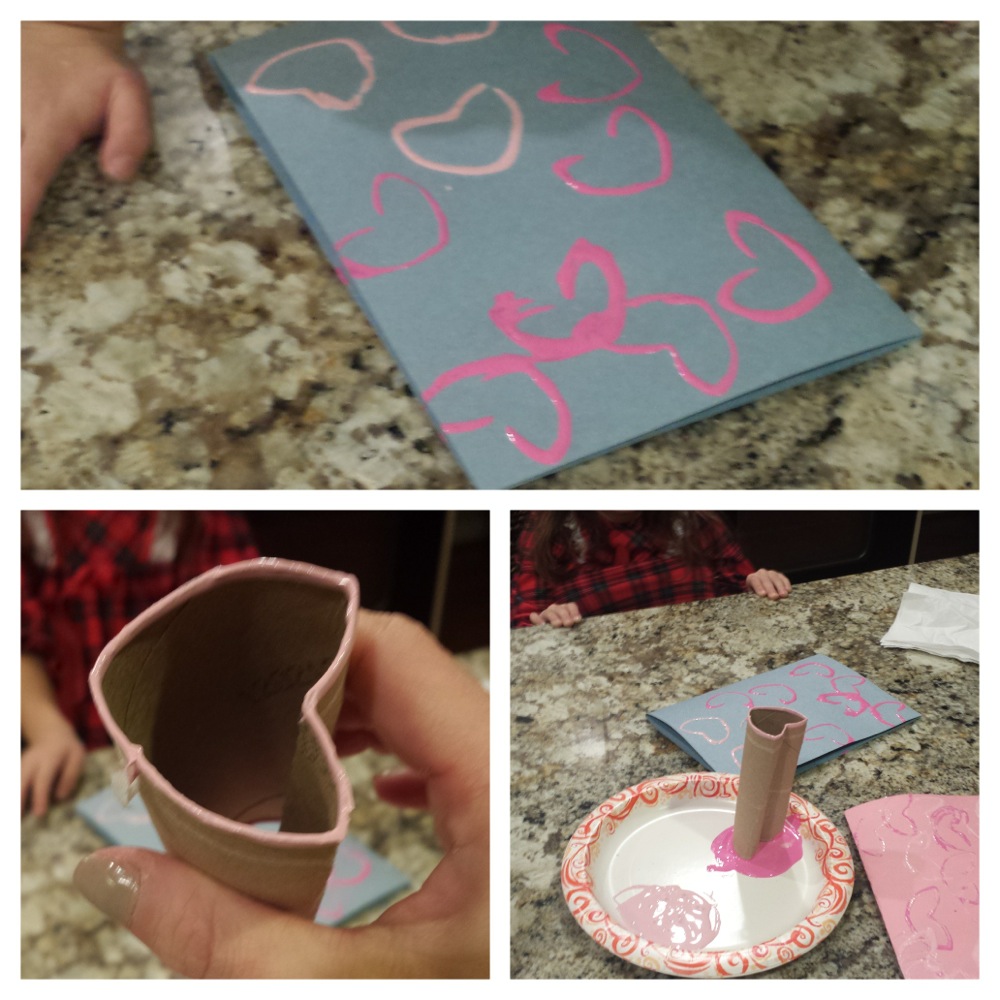
toiletpaperroll

Use a toilet paper roll to make a heart!

Happy Happy Valentine’s Day!

A Fun Valentine Card

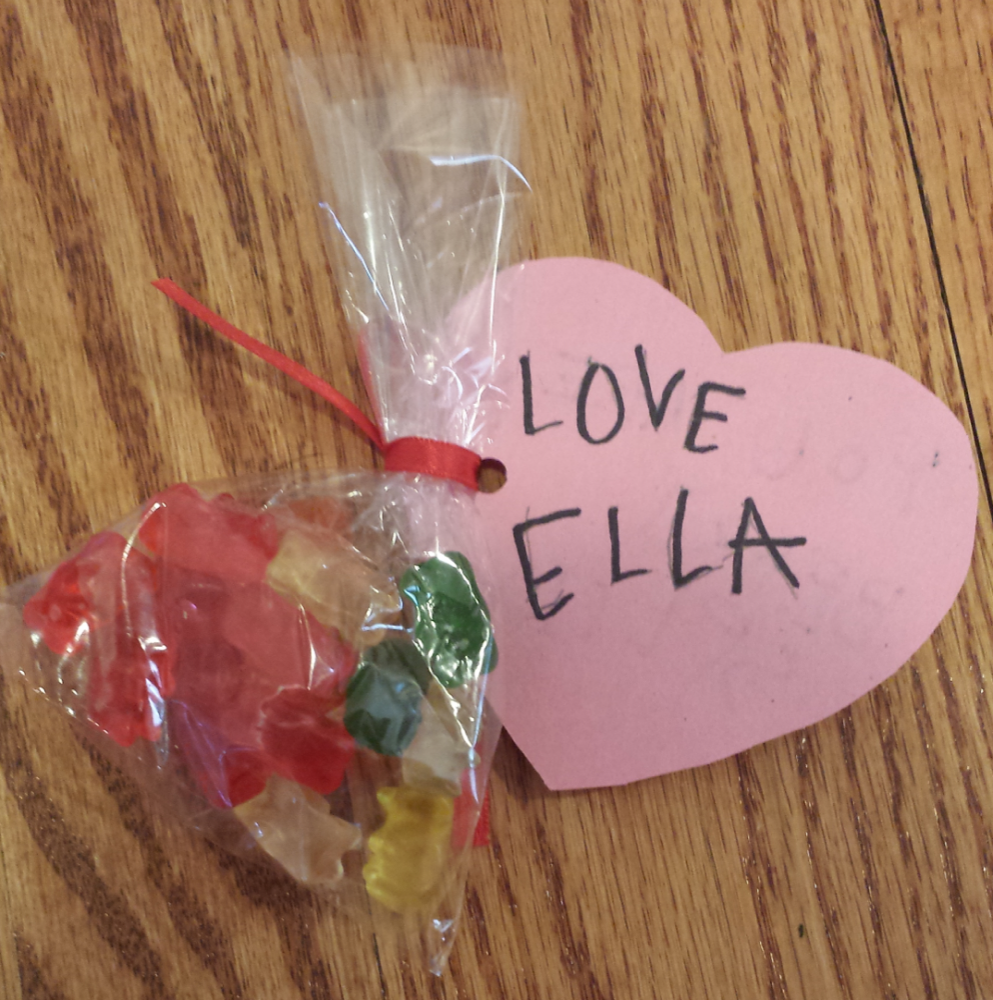
My 4 year old is in the Gummy Bear class.  We went with the “beary special” theme.  She has worked long and hard to make enough for her class.  I think they turned out pretty cute!

valentine1

valentine2

I got the clear wrappers from a craft store in the cake section (they are really for cake pops).

Check out some other great ideas here!

Good Will Steals for DIY projects!

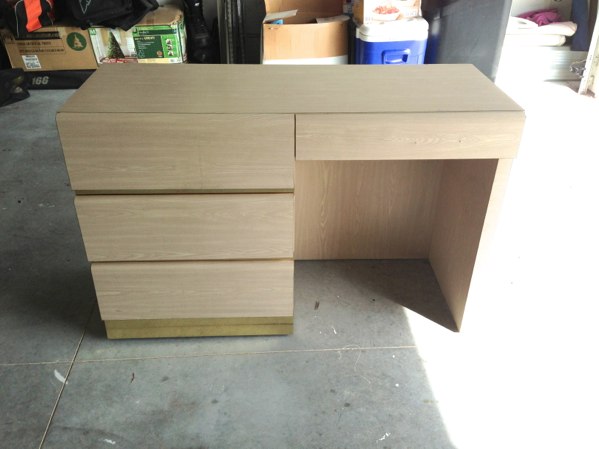
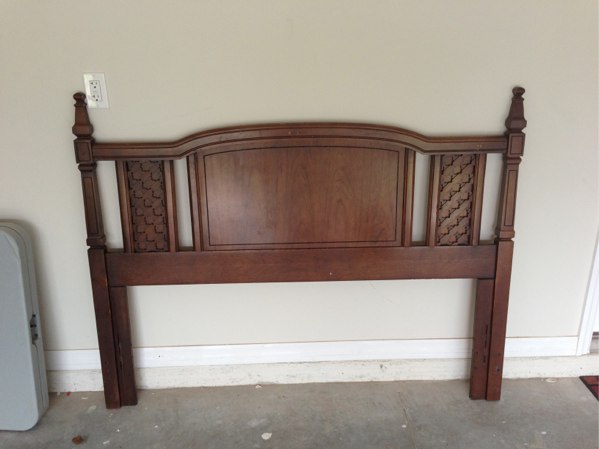
We have a really nice Good Will thrift store near us.  I can usually stop by and find some treasures for really good prices!  I recently found a sturdy desk for $5 and a queen size head board for $5 also.Nice and sturdy desk, but needs a little work!

Nice sturdy desk great for a kids room!  Just needs a little touch up work!

Nice sturdy desk great for a kids room! Just needs a little touch up work!


Here is the $5 head board I found!  Can't beat that price!

Here is the $5 head board I found! Can’t beat that price!


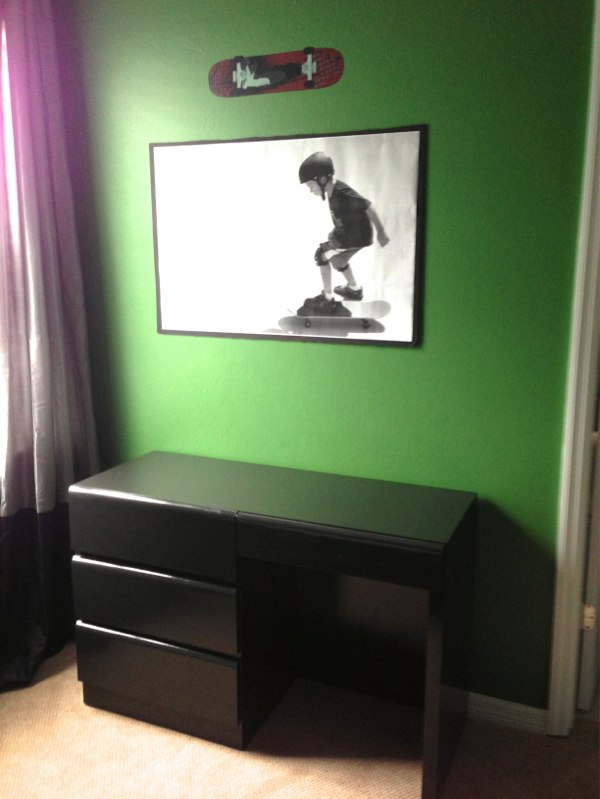
The desk is very sturdy, but was a little beat up on the outside.  I used some Elmer’s wood filler to fill some of the scratches and holes.  Then I used two coats of primer and two coats of paint.  I recommend Zinsser primer.

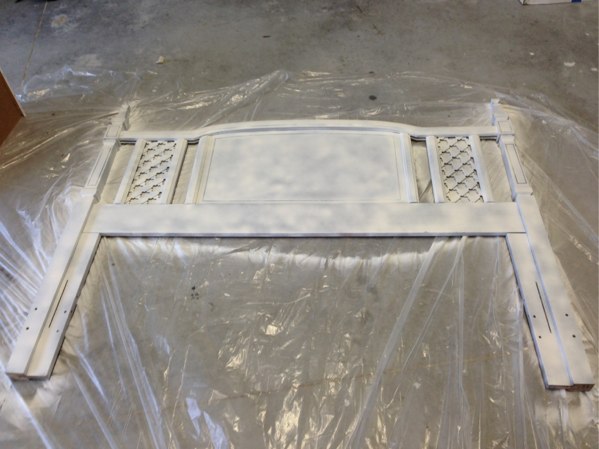
For the head board I had to use a spray paint primer and paint in order to get all the lattice work parts evenly.  Then I used regular latex paint for the smooth parts of the head board.

After the spray paint primer coat.

After the spray paint primer coat.

I used paint and primer I already had so all in all these two projects cost $10 total!  Not bad!

Looks great in my 8yr old's skate board bedroom!

Looks great in my 8yr old’s skate board bedroom!


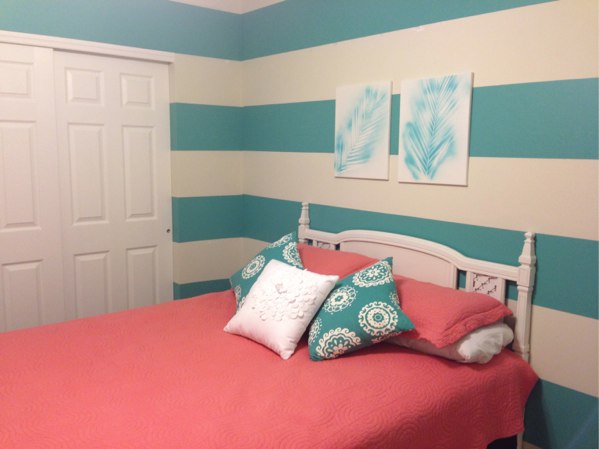
Here is how the head board looks all set up!

Here is how the head board looks all set up!