by Dana Patterson on Dec 18, 2012
Wow, Christmas is fastly approaching! There are so many easy Christmas crafts and cookies that I’ve been doing with Ella. This one was one of her favorites! She even had the neighbor over and they did it together!
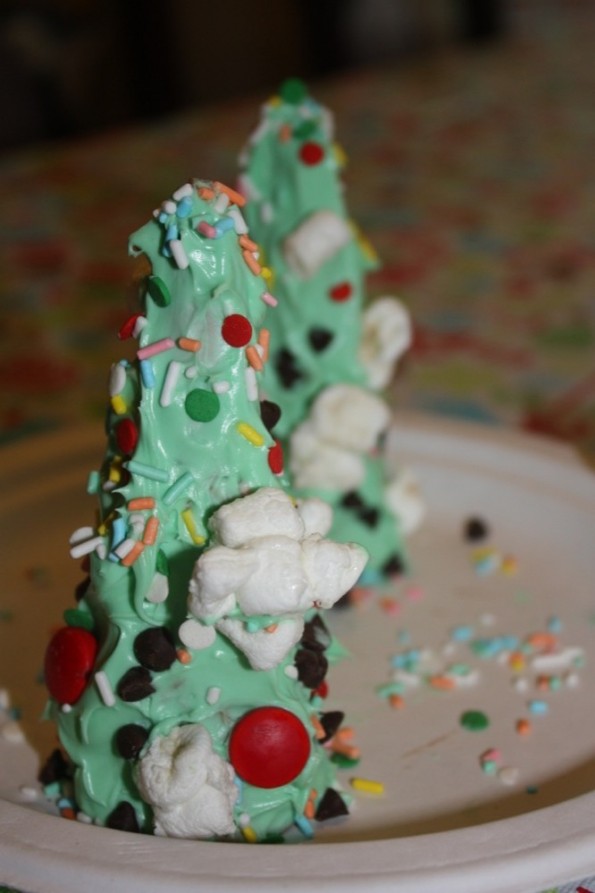
Cute Christmas trees made out of sugar cones and green icing!
I didn’t see the green icing at the store so I just added a few drops of food coloring to white. I pulled out leftover Halloween candy, marshmallows, sprinkles and chocolate chips. They went at it and had so much fun! Our gingerbread house this year was an epic fail and these were so easy and already constructed!
Fun stuff!
by Dana Patterson on Dec 10, 2012
One of my friends (I spent 6 college years with her) invited us to a Christmas craft party! It was so much fun for the kids. Ella was so excited for it and couldn’t wait to go. She had food and four fun crafts for the kids to do. The food was absolutely adorable and the crafts were at the perfect level for the kids. This post may be picture overload, but it’s the best way for me to show all the effort and creative thinking! I took my snowman cupcakes that I just posted about as a little dessert for the kids.
We got there and I admired the food and even the juice boxes.
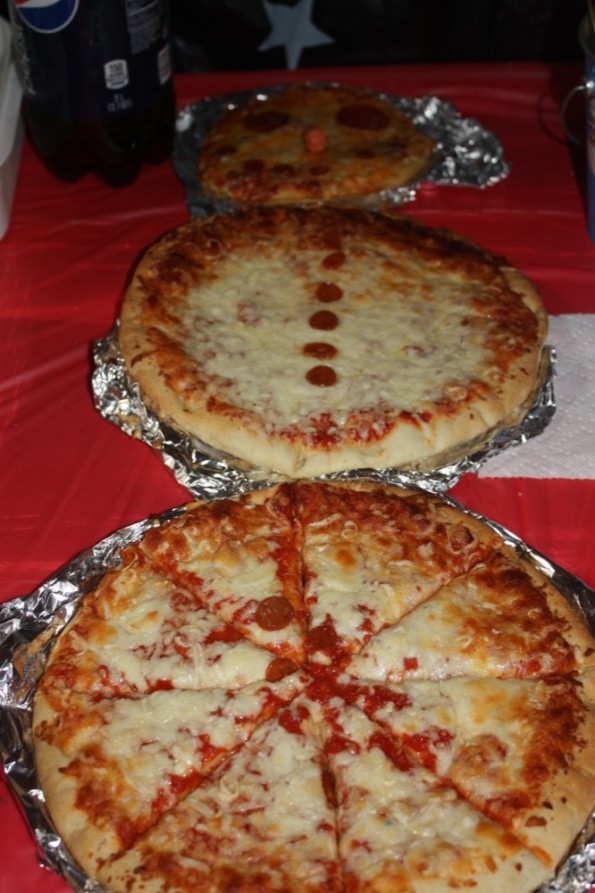
Three pizzas looking like a snowman.
Even the juice boxes were decorated:
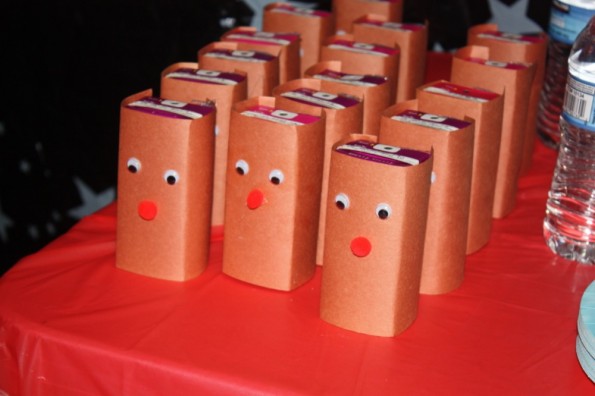
Rudolph juice boxes.
Check out these cute snowmen!
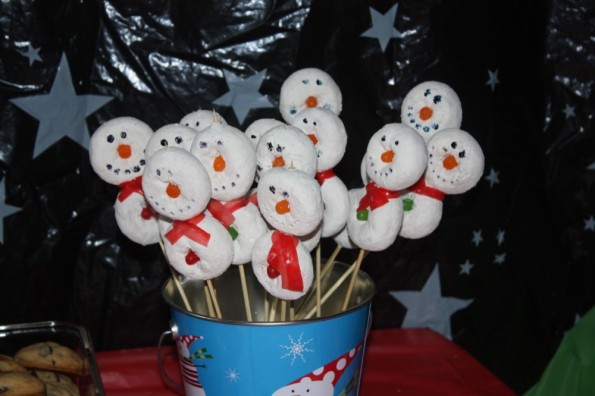
Powdered donuts on a stick!
Ella loved them, can you tell?!
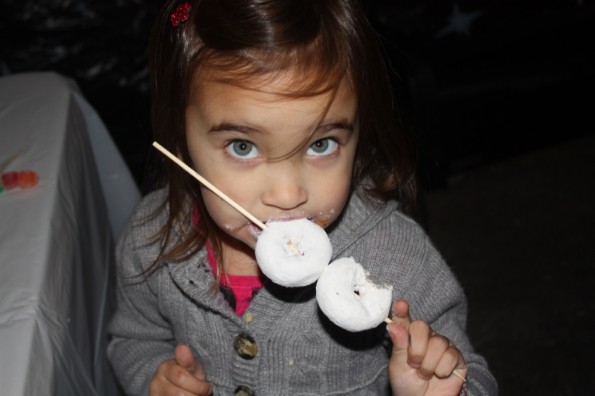
My munchkin loving the powdered donut snowman.
The four crafts included:
Making reindeer dust so the they can find your house.
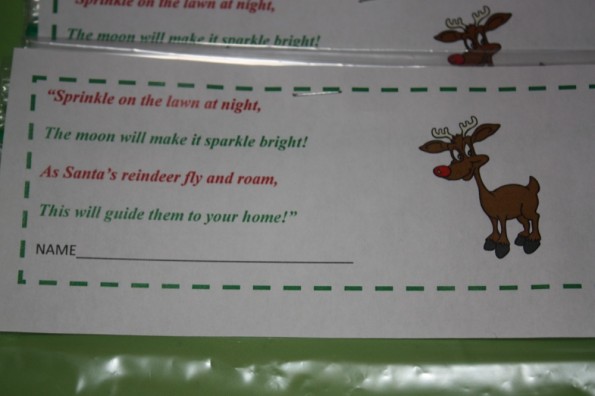
The bag the reindeer dust went in.
In the bag they put:
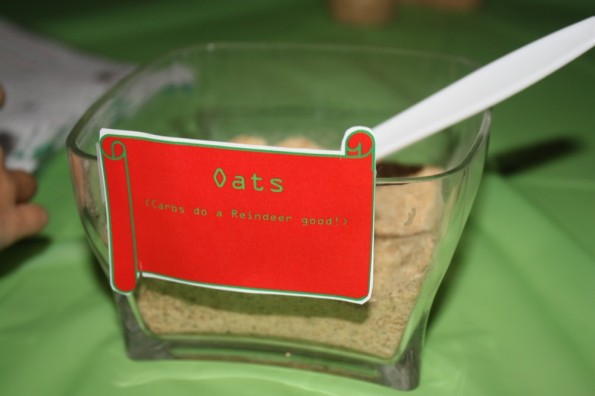
Oats “Carbs Do A Body Good”
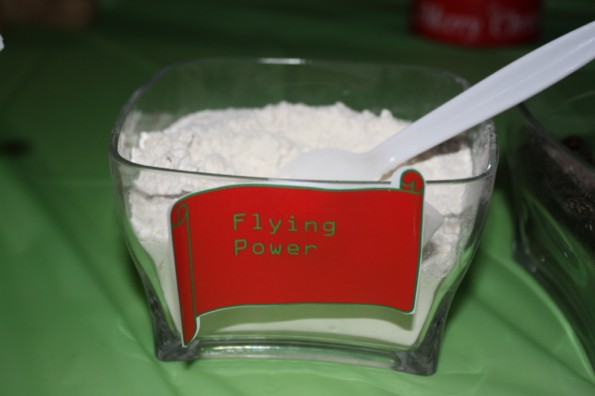
Flour “Flying Powder”
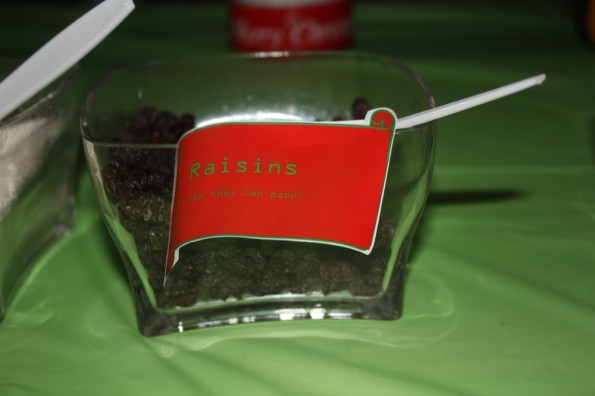
Raisins “So The Reindeer Can Poop”
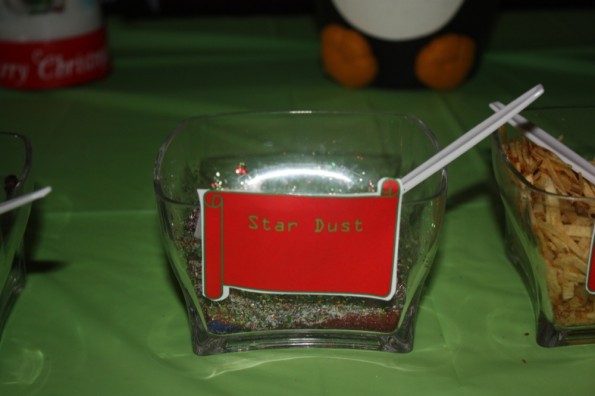
Gitter “Star Dust”
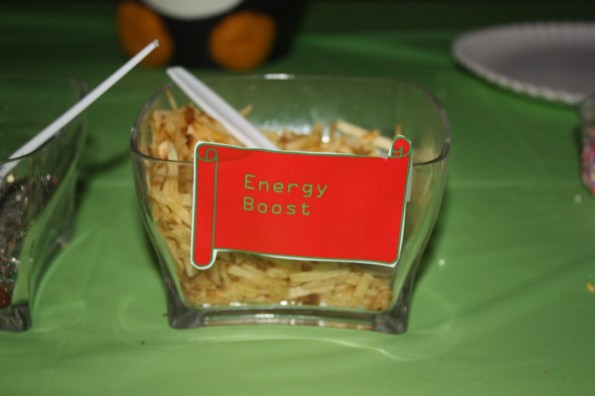
Fry Chips “Energy Boost”
Then, we went and made a bird feeder:
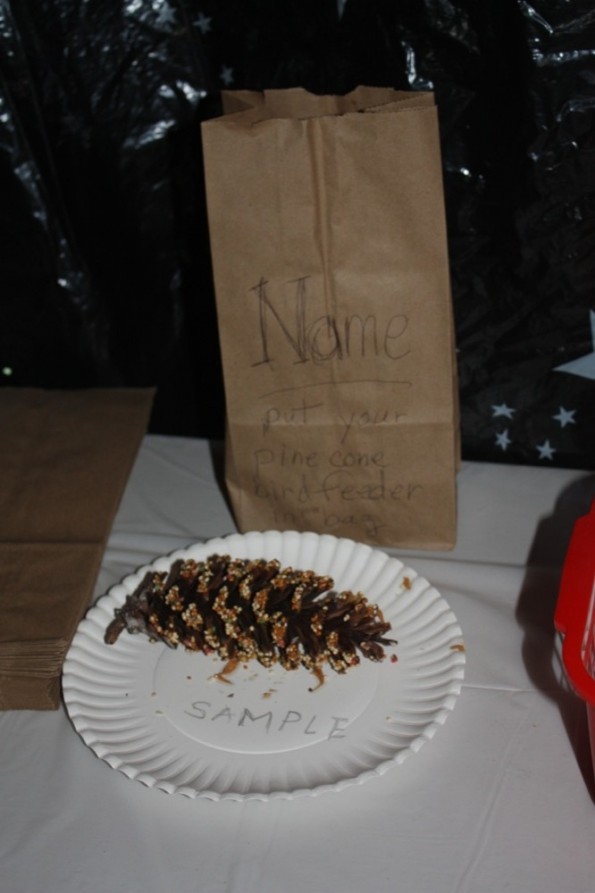
Roll a pine cone in peanut butter and then roll in bird seed. Perfect little bird feeder.
Next, we did a letter to Santa:
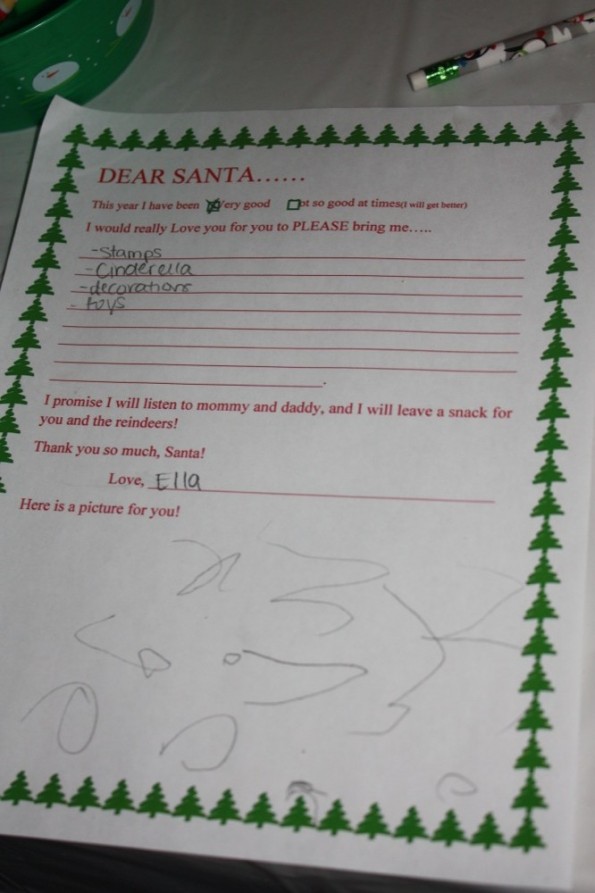
Letter to Santa.
Lastly, we made a gum drop snowflake using toothpicks and gumdrops.
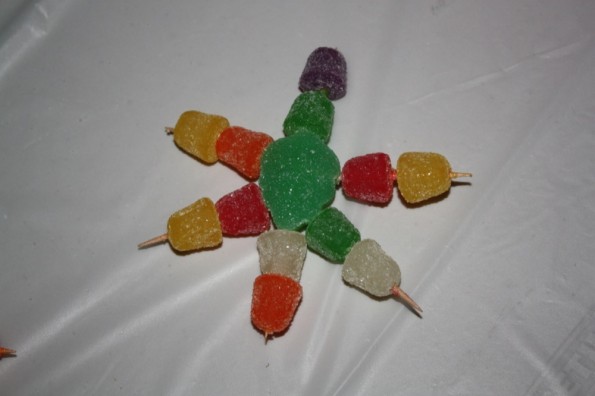
Snowflake made out of gumdrops!
The best part of all…… SANTA showed up!
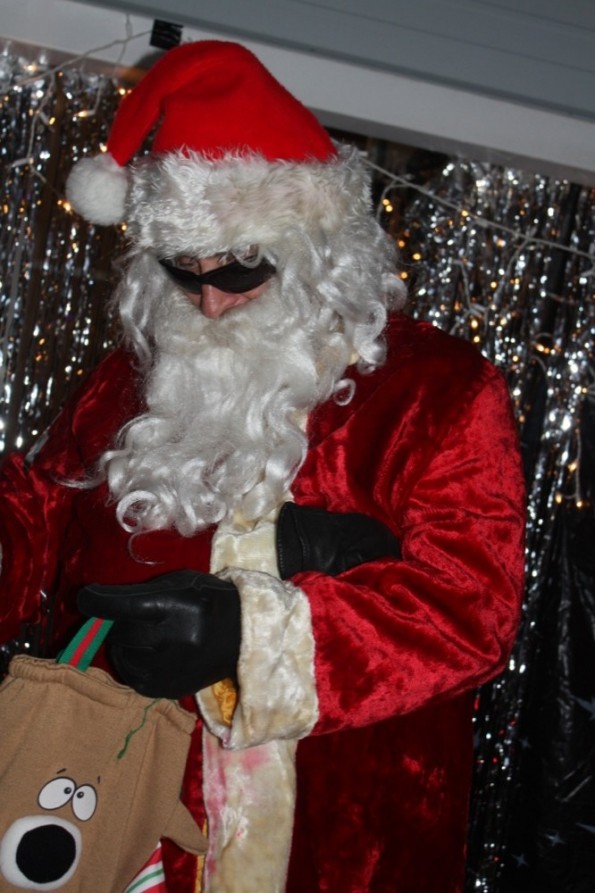
Even a cool Santa arrived!
It was definitely a cool party. Thanks Catherine!!! Maybe one year I’ll get around to doing one!
by Dana Patterson on Dec 03, 2012
I made a promise to myself this holiday season and that was to not let the hustle bussle get to me and actually take time for the season with my kids. Usually the holiday season just passes me by and I did not want my kids to have the same feeling. So, here’s one of our many crafts/recipes that we’ve done so far.
Yes, I know these aren’t the beautiful flowers like Jamie did, but decorating with candy can hide the not so good with icing talent.
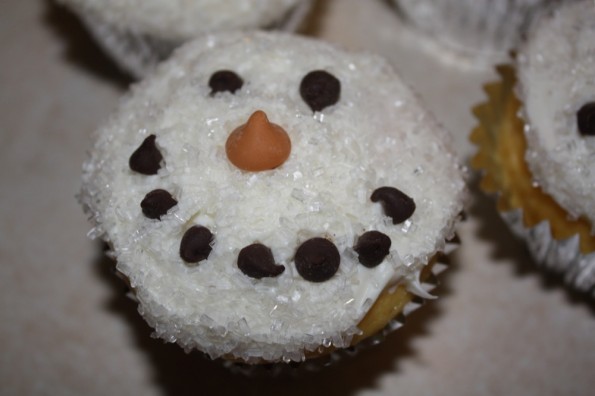
So easy and a huge hit with the kids!
All you need is:
– Yellow cake mix box with the ingredients they have listed (or your flavor of choice)
– White icing (I cheated and used store bought)
– White sugar-like sprinkles
– Mini chocolate chips
– Butterscotch chips
– Aluminum foil cupcake wrappers (or your wrapper of choice)
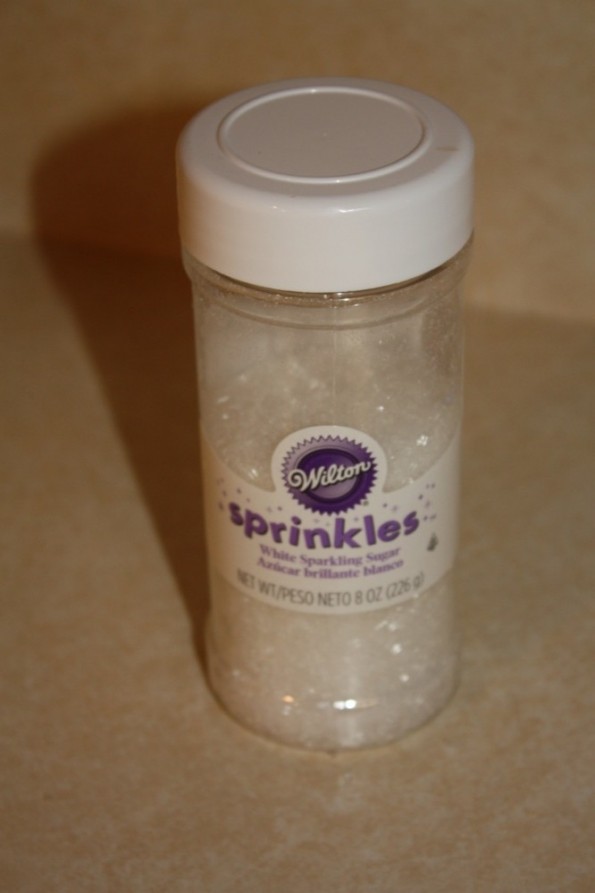
I bought these Wilton sprinkles at Target in the baking section.
All you do is:
Bake cupcakes according to box. Let cool completely. Ice them, turn it upside down and dip into sugar. Decorate with the chocolate and butterscotch chips. So easy, so good, so cute, and so fun!
Here they are all together!
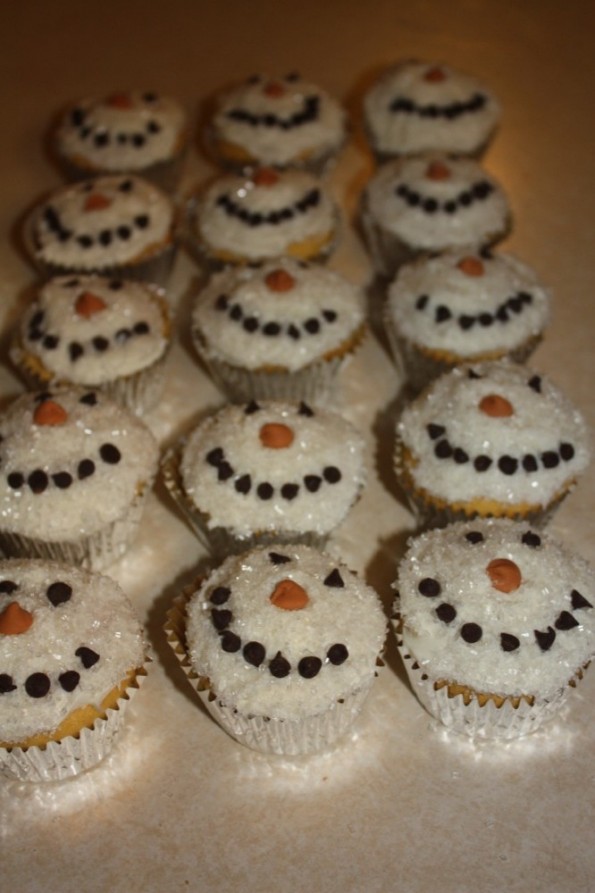
Aren’t they so adorable?!?!
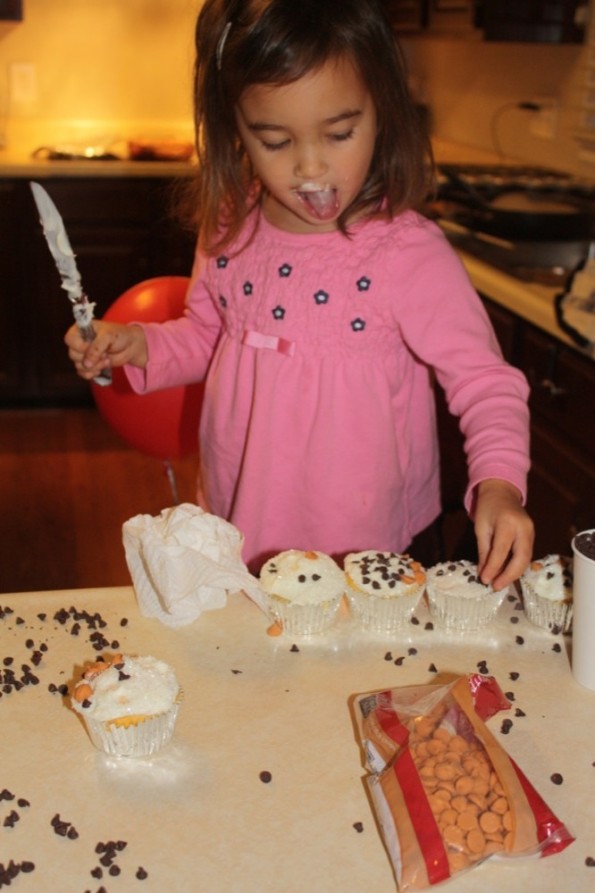
My 3 year old having so much fun!
But please, don’t give me all the credit!!! I got this adorable idea here.
Lastly, remember to enjoy the season!
by Dana Patterson on Nov 26, 2012
I will be the first to admit, I LOVE CHRISTMAS! I love it so much that we have 4 Christmas trees (plus a Charlie Brown one). We have one set up in our family room, living room and in each of the girls rooms AND I will have to get another one by next Christmas for our new Patterson baby addition (no complaints there)! Tonight I made an ornament for the girlie family room Christmas tree.
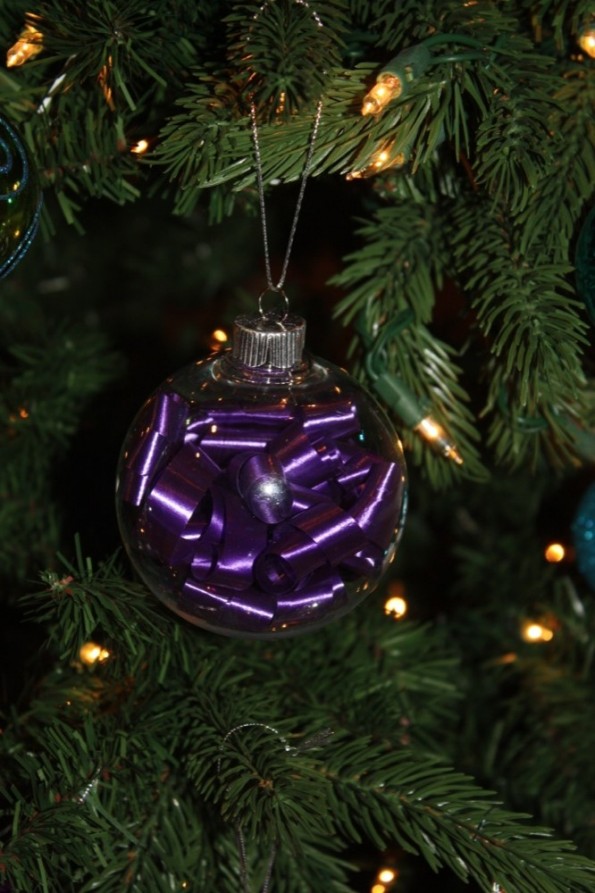
Purple goes with “the girls” tree.
It couldn’t have been easier! I bought the clear fillable and nonbreakable ornament at A.C. Moore.
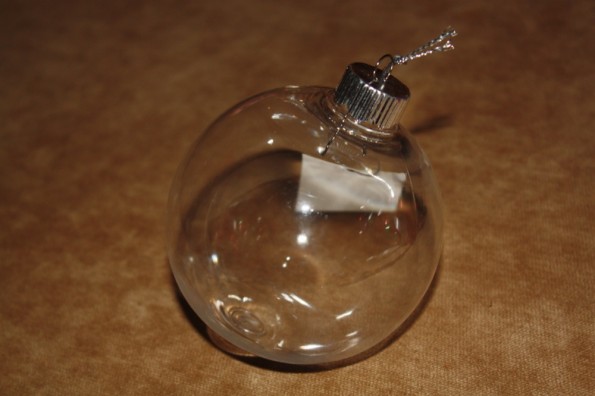
$.50 ornament found at A.C. Moore.
I curled up some ribbon and stuffed away!
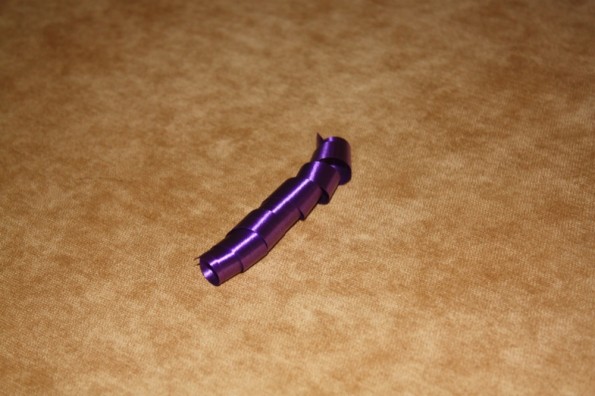
Curl ribbon and stuff it. So simple!!
I think the possibilities with clear ornaments are endless! I see some really cute ones on Etsy that I bet are so easy to make yourself!
Here’s our family room tree… Sorry to my husband in advance for living with 3 girls!
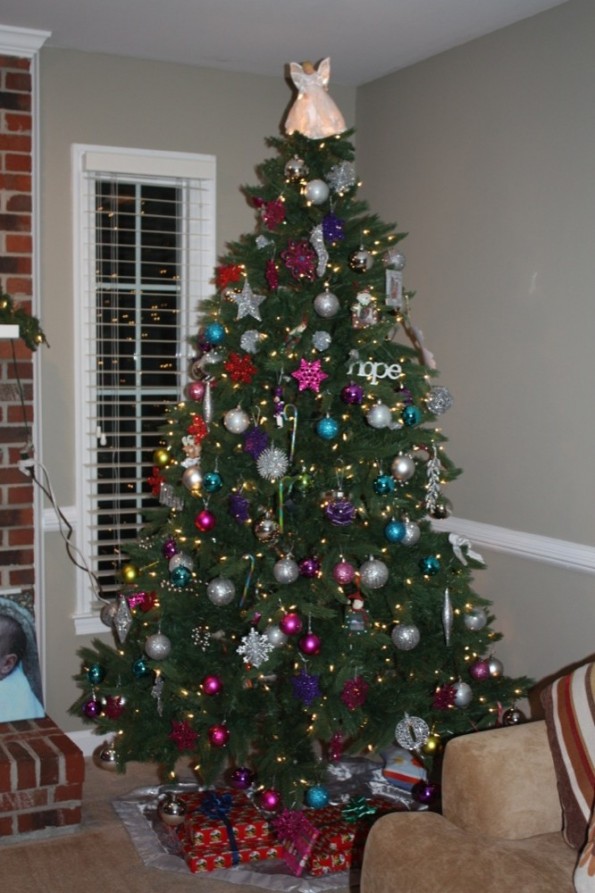
Sorry, Brian… Girls RULE!
by Dana Patterson on Nov 19, 2012
This craft was so fun to make! I found the idea here.
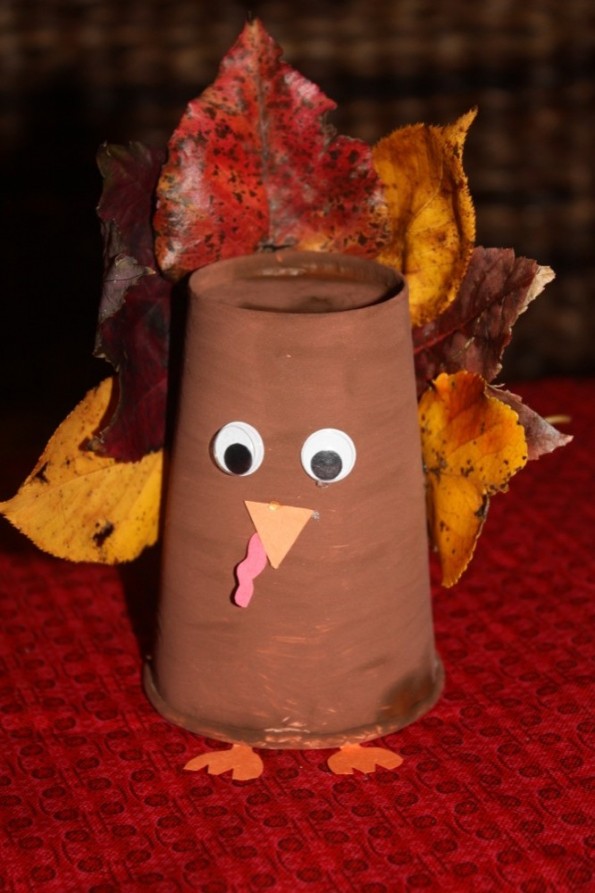
Such a cute turkey craft.
I think what made it so fun was that we got to hunt down some of mother nature at its finest. Fall is so beautiful here in Virginia. We went on a little hunt for all the turkey’s feathers. Ella (3) was really big into fall this year and “all the beautiful leaves”. This craft was so perfect for her.
All you need to do for this craft is to take a white cup or any color and paint it brown:
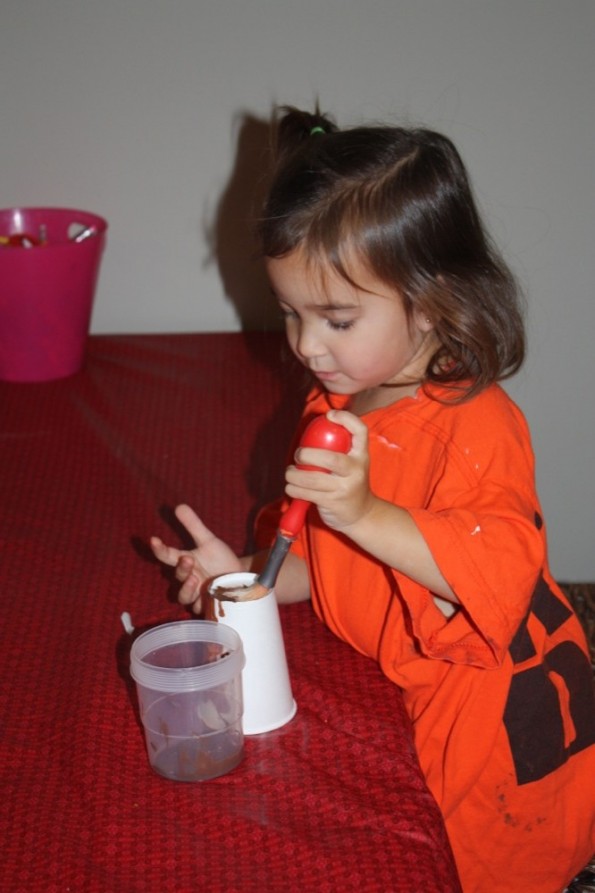
Ella painting her cup. Three year olds love to paint!
Go out and find your leaves while the cup is drying!
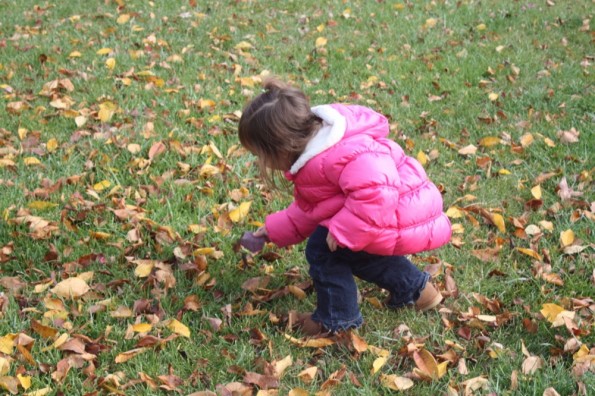
Searching for the perfect leaves!
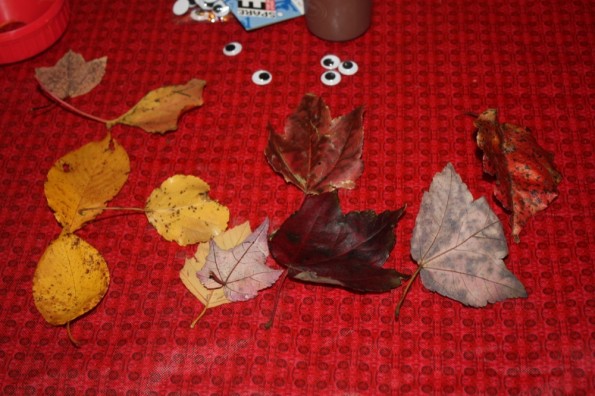
Look at all these beautiful leaves!
Come in and cut up your pieces (you need red and orange construction paper and two googley eyes):
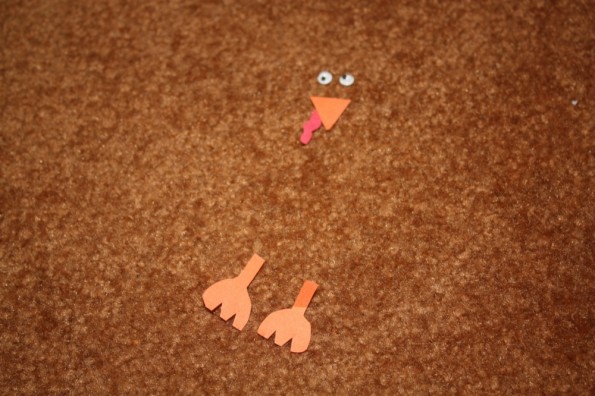
I used googley eyes, but the tutorial I saw used white construction paper with black dots as the eyes.
Glue it on (I used a hot glue gun), and there’s your turkey! I got called “the best mom ever” for this one.
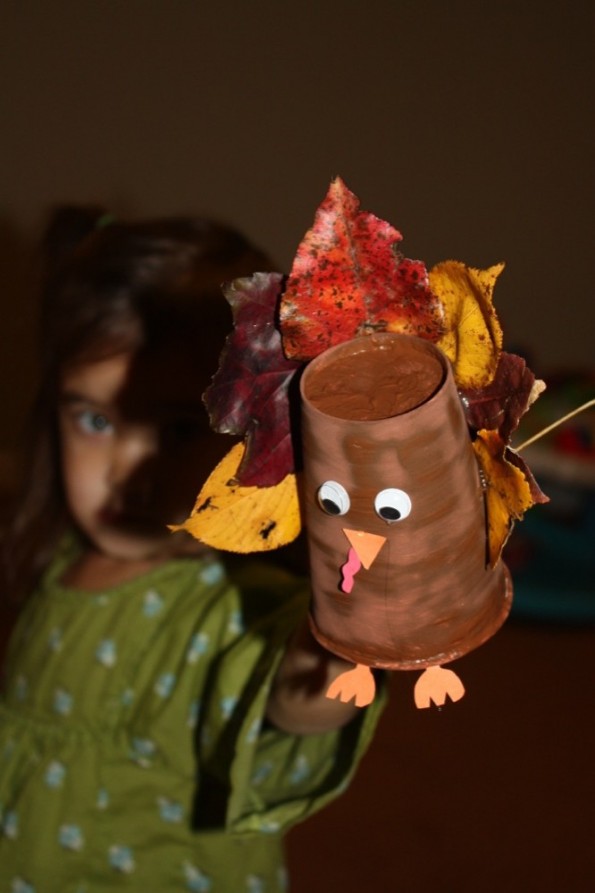
She’s so happy of her accomplishment.
Happy Thanksgiving! Hope you have a great holiday spent with family! Make sure you do this craft before it’s too late!
by Jamie Hinckley on Oct 04, 2012
My life is so crazy busy right now! Those of you out there with three boys during soccer season know exactly what I am talking about! We have four soccer games a week! That makes for a lot of muddy laundry, sunscreen, sweat, and gatorade! I have to say though, I LOVE IT!!!!! Today my little soccer man scored his first goal in a real game. He was giving me a thumbs up as he ran down the field after his goal.
So dang cute! I did experience something new tonight… after my 4 yr old scored his second goal in his game, he didn’t look over to see if I had seen it. What!!!! I was so sad… Silly of me I know, but I just love when my boys still wave and give me a thumbs up during the game. Not the second time around though, he just ran on by and high-fived his teammates! How dare he not want/need his mommy’s praise anymore! Ha! It is bad enough that my seven year old has grown out of this, but now my little four year old too! Doesn’t seem right in my opinion (says the mom who can’t let go!). Good thing I still have the three year old to blow me kisses from across the playground!
Anyway, I was at my youngest nephew’s birthday party on Saturday and loved their adorable monster cupcakes. You can get the monster leg cupcake holder at any craft store. First take a # 12 tip and make a hershey kiss sized glob on the top of the cup cake. Then use your a 133 icing tip to make the “monster fuzz” on the top of the cupcake by stringing the frosting from the bottom of the cupcake to the top of the hershey kiss. Work your way around the hershey kiss making the frosting evenly distributed around it. If you use too much on one side you risk a lopsided cupcake that could tip over in the monster shoe base. She used oreos and licorice to make the face.
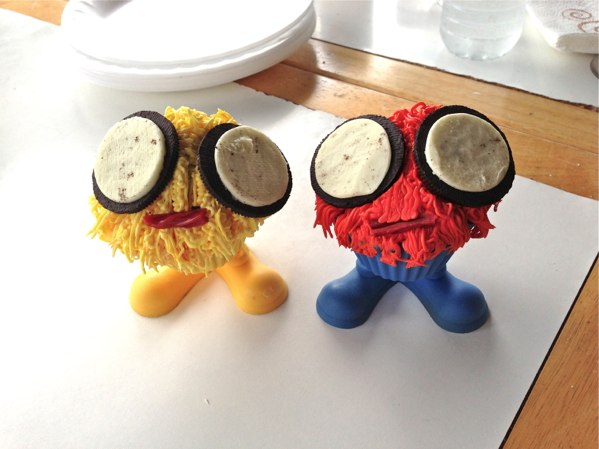
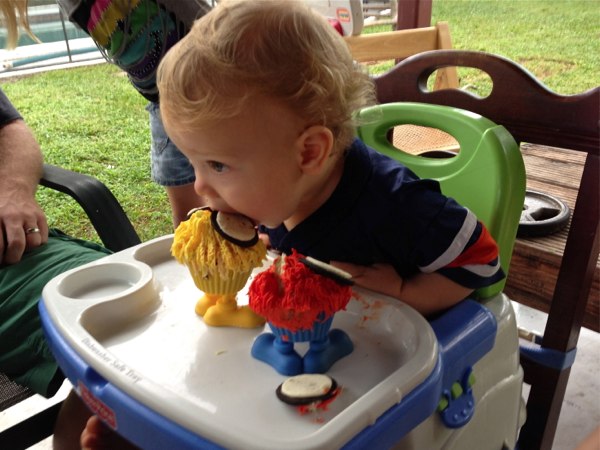
This is how a one year old Birthday boy eats a monster cupcake!!!!!
by Jamie Hinckley on Sep 14, 2012
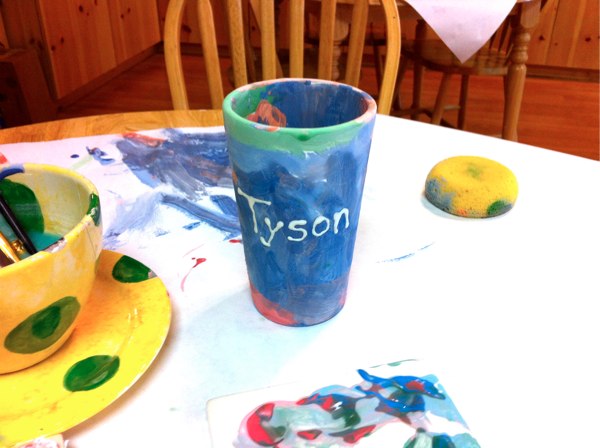
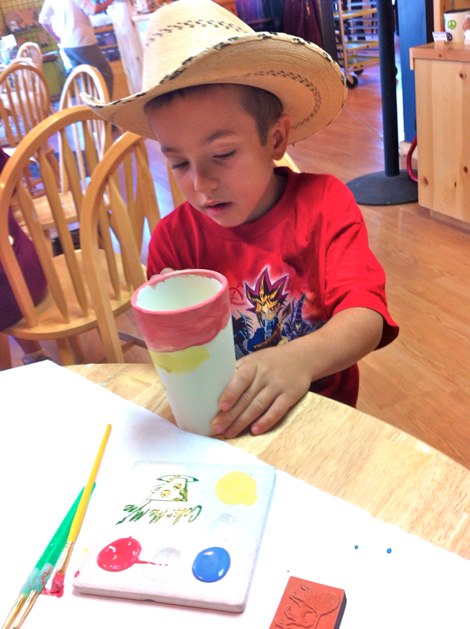
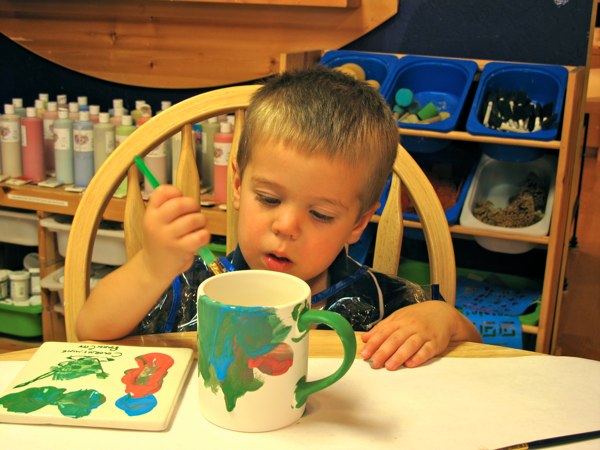
We had so much fun at Color Me Mine. I had always thought it looked fun, but am cheap frugal. While we were out visiting grandparents they wanted to take the boys to make their own cups to have at their house.
What fun we had! The boys loved it! It was even fun for my two year old. Was it Pricey? A bit. We paid $12 for each cup. They also have a sitting fee, but luckily we went when they were having a buy one get one free special.
So basically you show up, no appointment necessary and pick an item to paint. They have all kinds of stuff from cups and mugs to cute little animals and cars. Then you get a paint tray and put the colors you want on them (there are hundreds to choose from).
You finish painting and just leave it right on the table. No clean up necessary (my favorite part!). It takes about a week for them to put in their ovens and finish it up, but they really turned out great. Very good quality.
I really want to go back and paint a cute lizard to put on my back patio. So fun!
Anyway, if you have been thinking of doing this you should give it a try. We had a great time. I would definitely call ahead and try to go when they are having specials.

by Dana Patterson on Sep 11, 2012
So, I recently saw something like this on Pinterest, but it kept linking to an error/site that could give a virus. So I would give credit, but I can’t this time. Look at what I made!
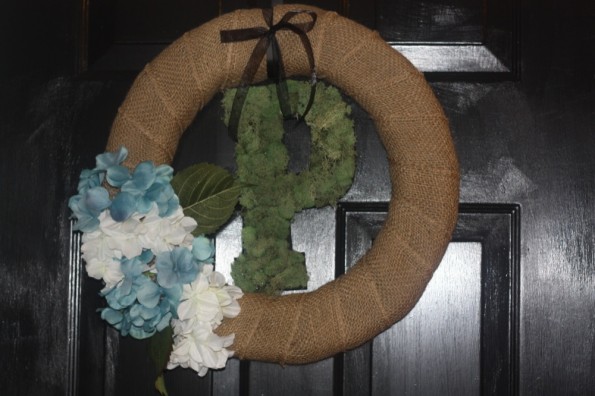
Isn’t this adorable!
I went to Michael’s and got all of my supplies! This is what you need:
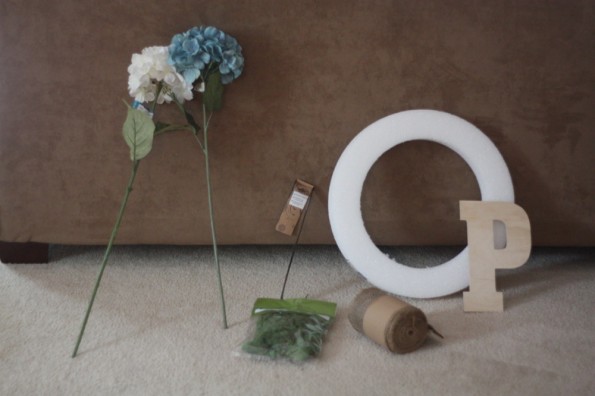
This is all you need!
Pick your favorite flowers, the letter you want, wreath, some burlap, moss and hook for the door.
All you do is:
Just wrap the burlap around the wreath, hot gluing it occasionally.
Glue Moss to the letter. (I actually painted my letter black before putting the moss on only because I would rather black show through than wood color).
Cut flowers and stick them into the wreath and also hot glue them.
Wahlaa, you have an adorable wreath for about $35!!!!!
by Jamie Hinckley on Aug 30, 2012
Okay so this was way too funny not to post. Check out these before pics of my niece and nephew’s bedroom! Hilarious!
My sister is way more chill than I am… I am too ashamed to even put how I would react if my children ever did something like this to any spot in my house. You know what they say, “Nothing stikes fear like the site of a toddler holding a open sharpie!”
Anyway, for whatever reason my sister thought it would be fun to let her kids color and paint anywhere they wanted in their own bedrooms. The kids had a blast and so did any of their friends that came over (as evident by all the different friend signatures on the wall).


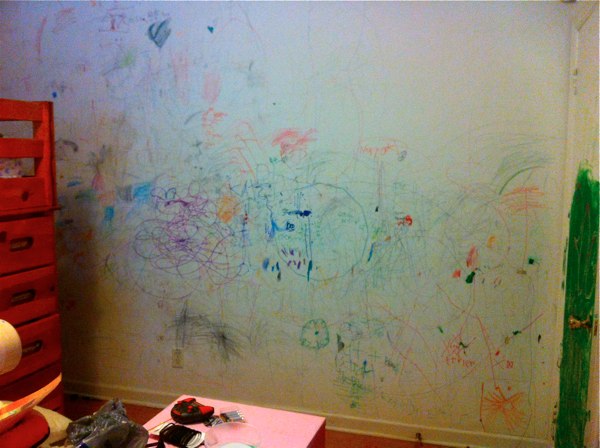
Anyway, after a couple years of this they were really ready to clean it up! Ha! So this is our before and after of the clean up job. It is not finished just yet and could use some curtains and cute little bedspreads, but even still, the difference is night and day.
The kids were sad to lose their “masterpiece,” but LOVE the new room!
We learned some very valuable lessons while cleaning this up…
1. An oil based primer must be used to get off any permanent marker and dark paint spots. The paint and primer in one was not strong enough and after it had dried the marker would still seep through… yep then we had to go over the marker spots again with the primer and then with the green paint.
2. They have an oil based spray paint primer that blends in on white ceilings nicely… this came in handy so we didn’t have to paint the entire ceiling, just sprayed the few spots they somehow were able to color on from standing on their bunk beds.
3. The paint in primer worked wonderfully on the furniture without doing any sanding, but did take longer to dry than the walls. Even when it felt dry on the surface it was still wet underneath the first layer. It took a full 24 hrs to be completely dry where we could put the mattresses back on the beds.
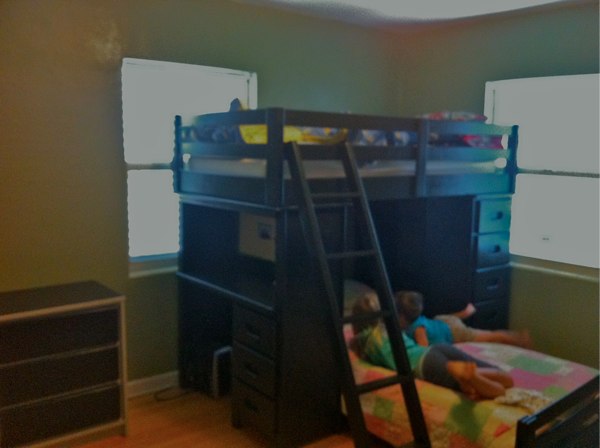
It is hard to see in this lighting, but the room is now a nice sage green color.
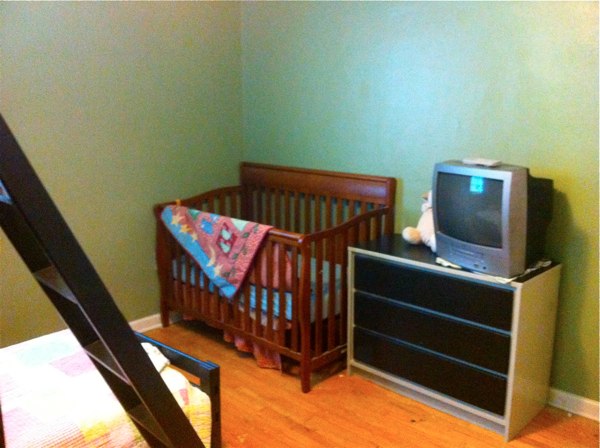
I love the way the dresser turned out with the grey trim.
Related Posts:
How to Remove Sharpie — Who knew?!
by Dana Patterson on Aug 15, 2012
Ella and I had a great time learning the letter A! She loves all the crafts that come along with the learning.
The first thing we did was take A-pple Jacks and create an A.
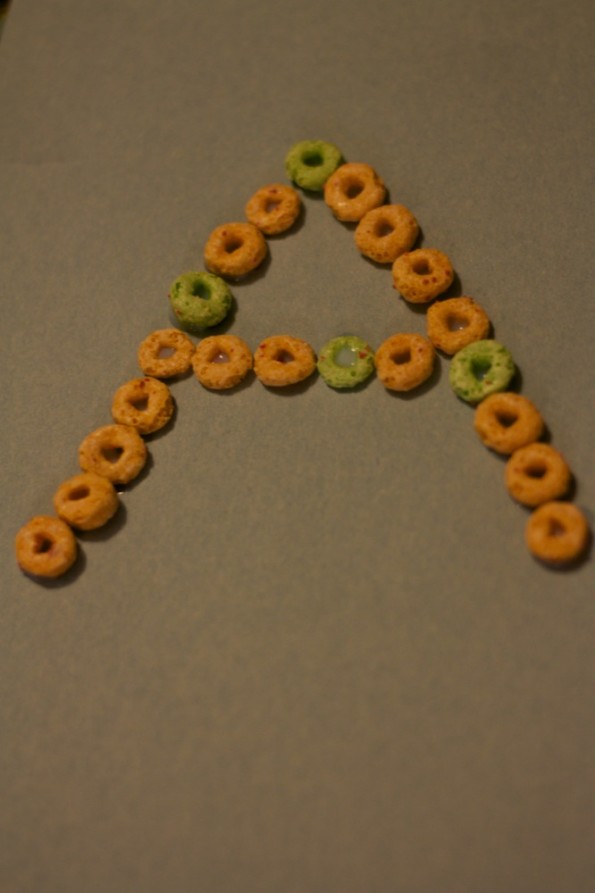
Used Apple Jacks to create an A.
Next, was my favorite part! We created an alligator “A” that I learned from this cute blog! All you need is green, white and another color paper and some googly eyes. That’s it!
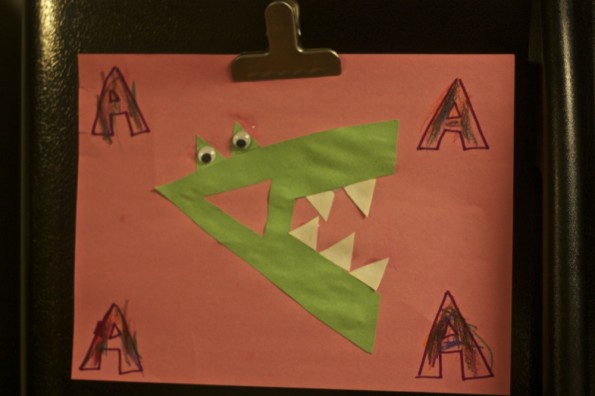
Our alligator "A"
Here she is working on it!
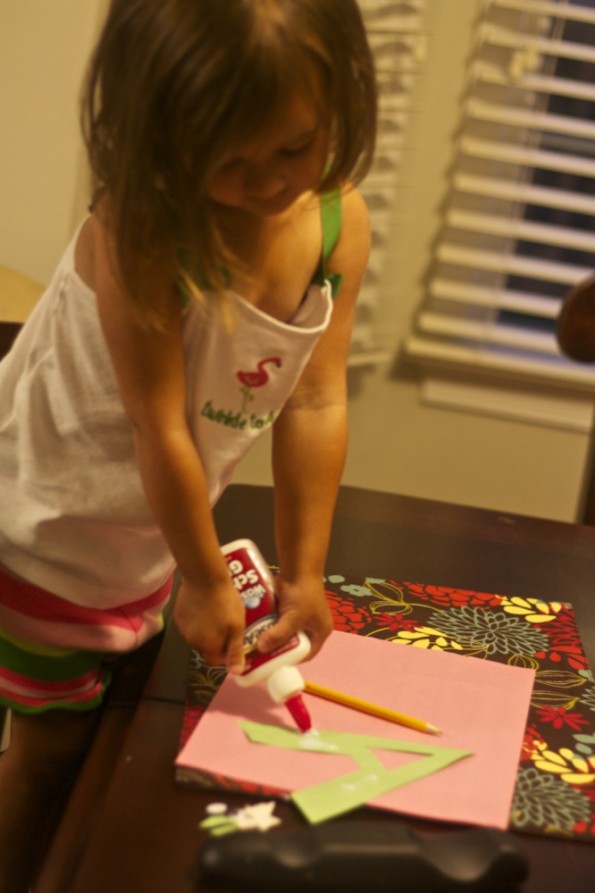
Ella working on her alligator.
Next, Ella did a great job practicing writing the letter A on her aquadoodle. I think EVERY kid needs one of these. They never get old. Here is the one we have.
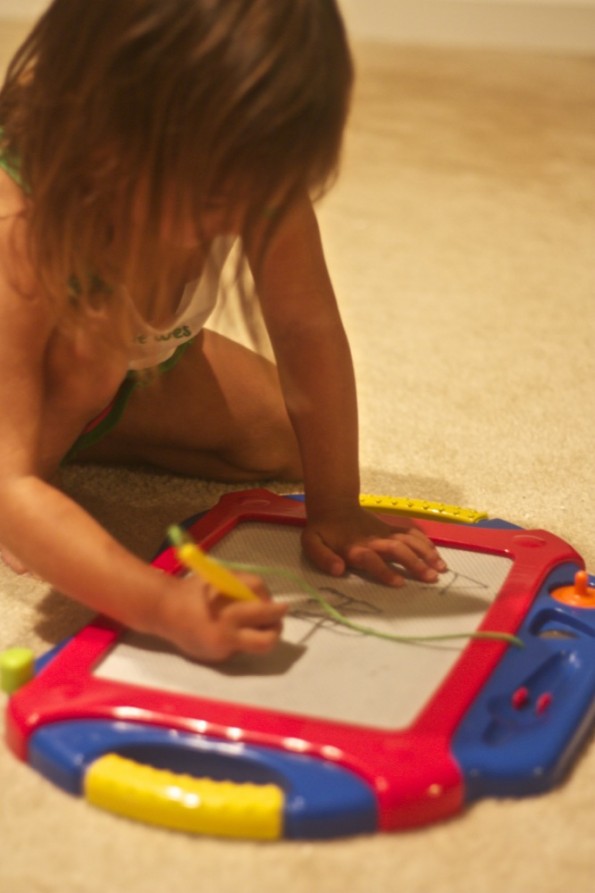
Using her A-quadoodle to make an A.
Lastly, we read Aladdin! She loved it!
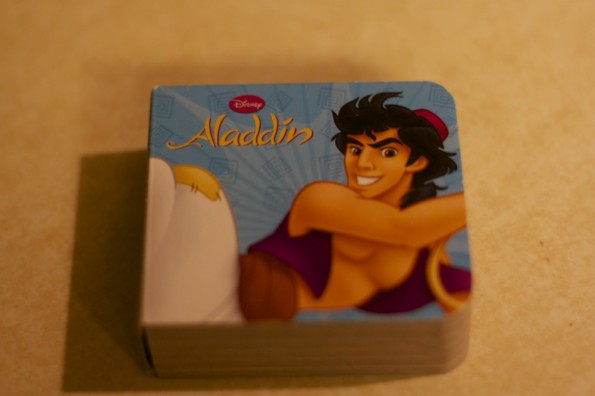
We read Aladdin.
It was a great day and we had an awesome time!!
Check out how we taught our kids all the other letters!
Letter B | Letter C | Letter D | Letter F | Letter H | Letter I | Letter K | Letter L | Letter M | Letter Q | Letter R | Letter W | Letter X

