Enchanted Mommy

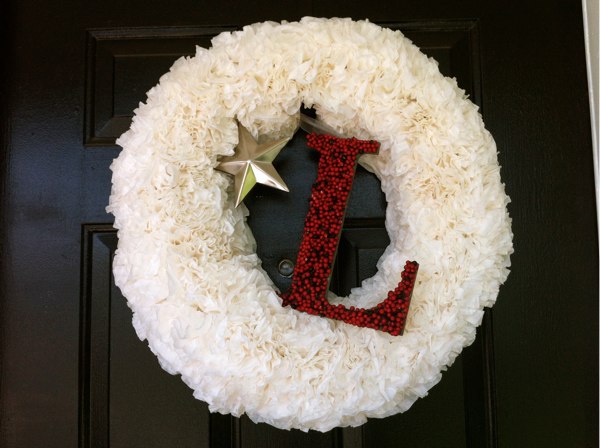
Cute Personalized Wreath

So I have this very, very talented friend.  The kind that makes all five of her kids halloween costumes herself every year… the kind that can sew extravagant Easter dresses for her little girls… seriously she can do pretty much everything.  Did I mention that she also, plays the flute, the piano, sings, and is an amazing photographer?

Anyway, I love this very talented friend of mine and got to visit her for the first time in two years… sadly we live 2000 miles apart.  I noticed the adorable wreath on her door.

“Hey that is cute, where did you get it?”

“Oh duh… of course you made it.”

I love looking through her house to get ideas on what to do with my empty walls.

Oh yeah… back to the wreath.

She made this using one of the straw wreaths shown on Amazon here and a bunch of coffee filters.  You just scrunch up the coffee filters and glue them on all around your wreath.  Then add any accessory you want to go with it.  She said you could also use a foam wreath to make it.

I love the personalization!  It is good to have a friend so talented!  I hope I can get her out to Florida to help me pick out some stuff for my new house…  if I ever get one that is!  🙂  I am only a little anxious to get moving on the house hunting.

A few other cute DIY wreaths you might like:
Adorable spring Wreath

Front door wreaths

Preschool: Introducing The Letter D

Even though Ella was a little under the weather today, she still had a lot of fun learning the letter “D.”  You say craft and that girl comes running with bells on!  Here are a few cute things we did.

First we started by making a letter D and turning it into a dinosaur.

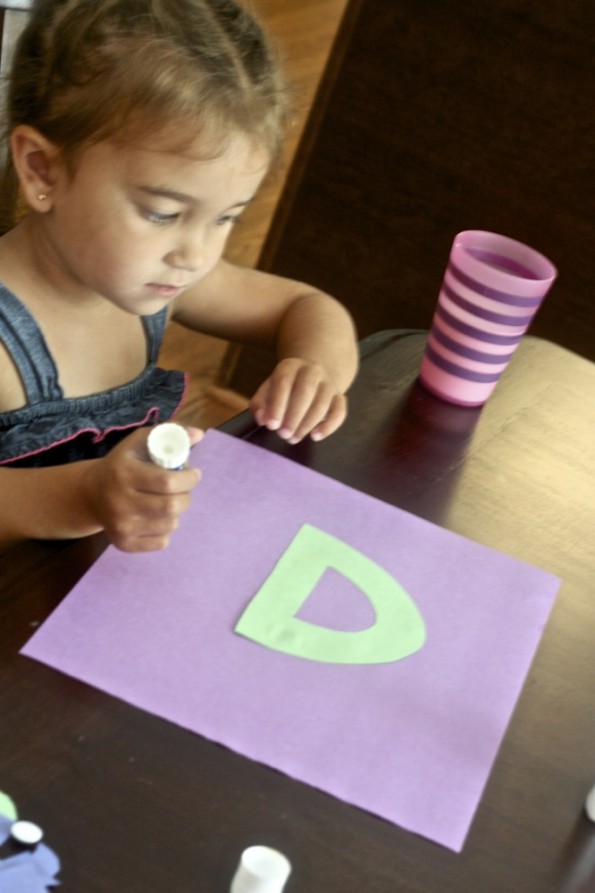
Here’s the beginning:

Learning the letter D.

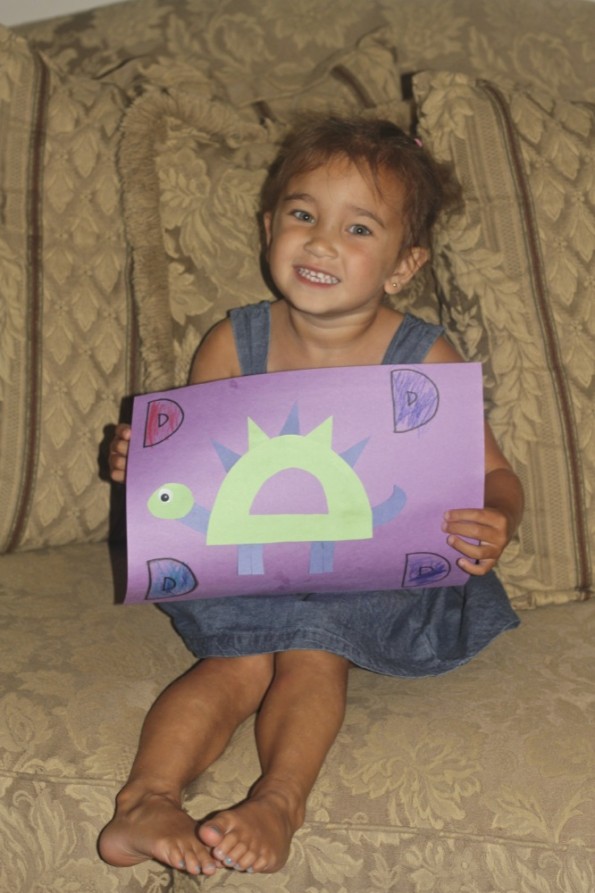
….and the end!

Ella's dinosaur "D". This was REALLY easy. Just cut out a letter D, five triangles, tail, neck, head and legs. Put a googly eye on and you're golden!

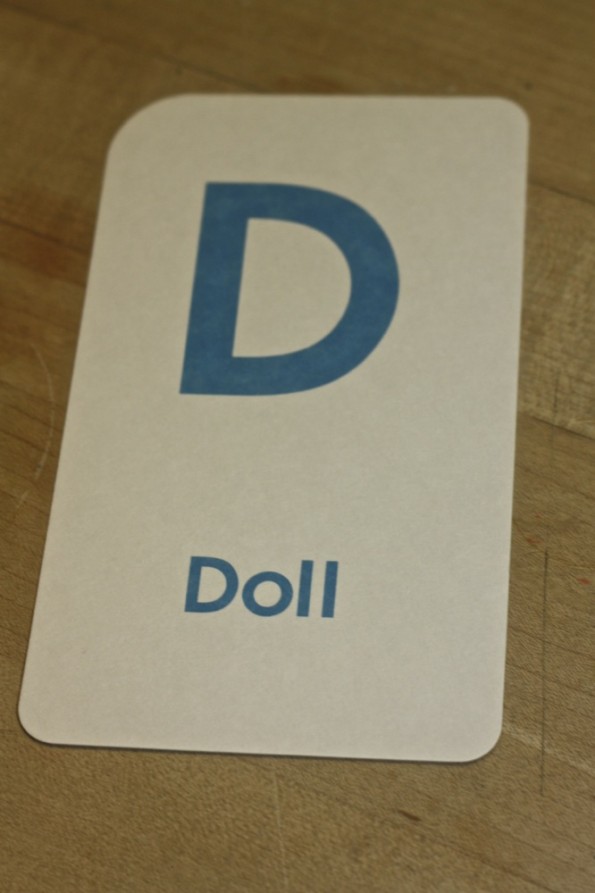
Then, we added the “D” card to her flash card “completed” pile!  These flashcards have really come in handy!  You can order them here.  I’ve found that they are really helpful and I make learning her letters into a game!

d flashcard

D flashcard

Recently, we attended a wedding with a D-olphin show.  The girls didn’t go with us, so we took a video for them!  Here is the video she got to watch.

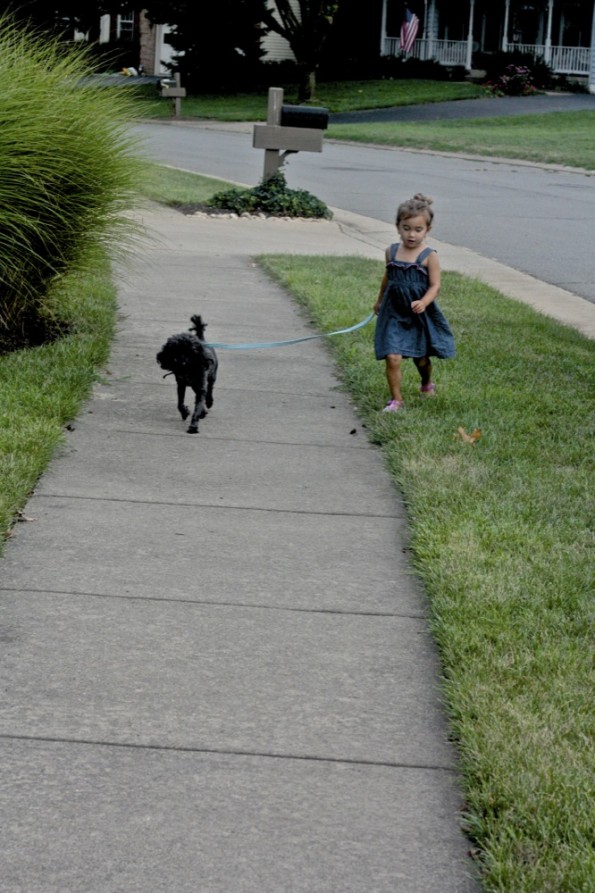
Lastly we took the D-og for a walk.

girl walking dog

Ella walking the dog.

By the end of the night, she could tell us what “D” sounded like and several things that started with “D.”  She even came up with d-octor on her own.  Kids just love it when you spend time with them and love crafts.


Check out our other preschool letters!

Letter B | Letter C | Letter F Letter H |  Letter I  |  Letter K |  Letter L  | Letter MLetter Q  |  Letter R  |  Letter W | Letter X

Pom Pom Tutorial

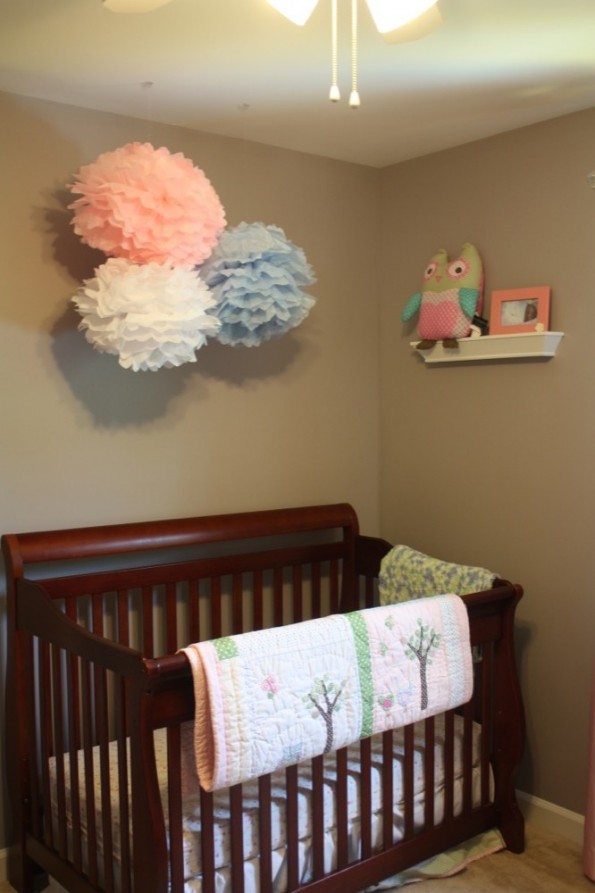
I don’t know what it is about me and my girls’ rooms, but I kind of choose odd or should I say different colors than you would expect for a girl.  I knew I wanted Anna’s room gray and pink and I wanted Ella’s room blue with pink accents (post on that later).  We recently moved into this house and this is the first chance I had at decorating her nursery even though she’s 15 months old now!  My friend came over a couple weeks ago and showed me how to make the pom poms over Anna’s bed.  It was just what I needed for that blank space.  I’m real simple, I just wanted a few to hang over her bed.

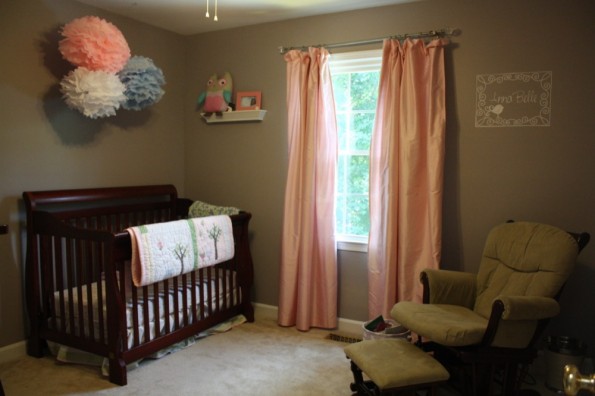
owl nursery

Most of her room! I needed something over her bed and this was perfect!

So, I bet you’re wondering how it’s done.  It’s SO simple that I’m almost embarrassed to tell you!

What you need is:
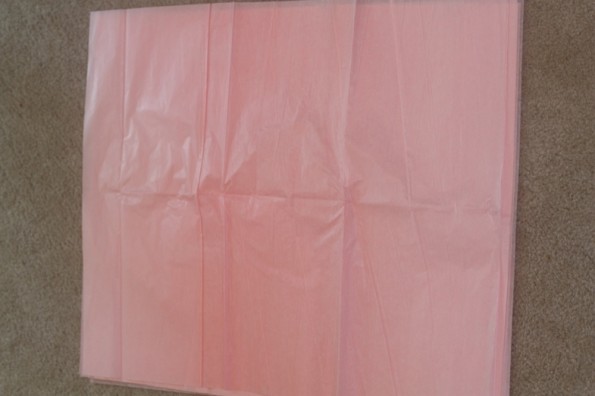
12 pieces of tissue paper times the number of pom poms you want to make
stapler
scissors
fishing line
hooks for ceiling that won’t show — like the ones here

All you do is:

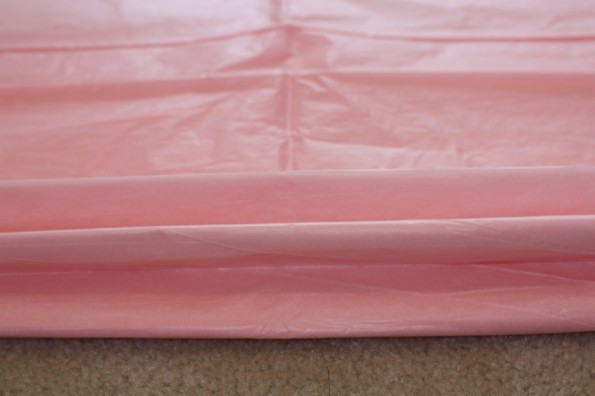
1.  Lay your tissue paper out flat on the floor.

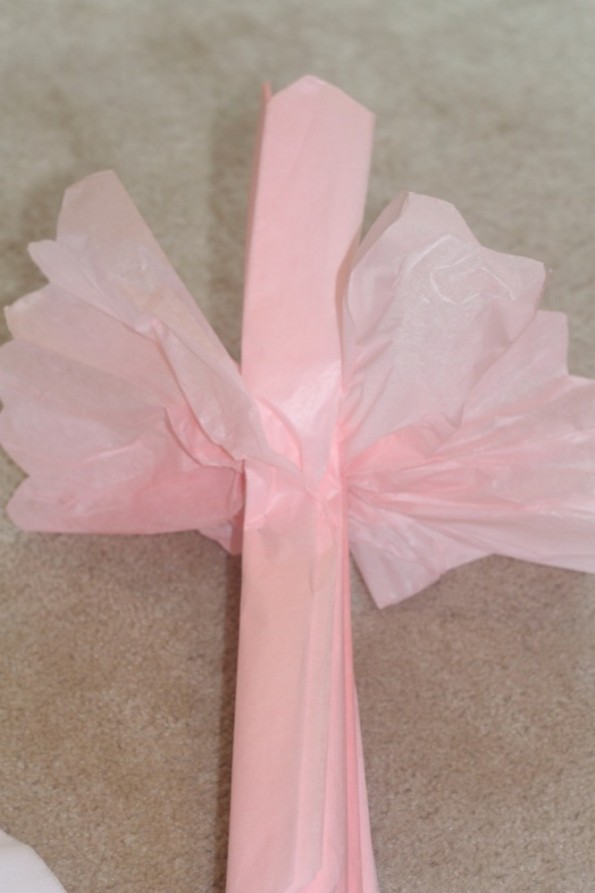
pom pom tutorial

Choose 12 pieces of tissue paper.

2. Start folding about 1″ over, under, over, under, etc.

pom pom tutorial

Fold accordion style. I do mine about an inch wide.

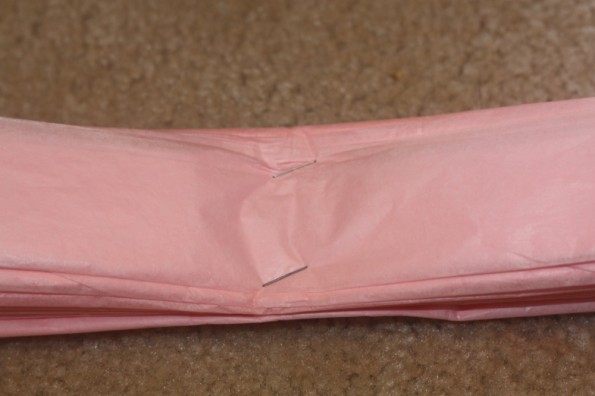
3.  Fold it in half and put two staples, you can do more if you feel like it isn’t going all the way through.

pom pom tutorial

Staple it a couple times in the middle.

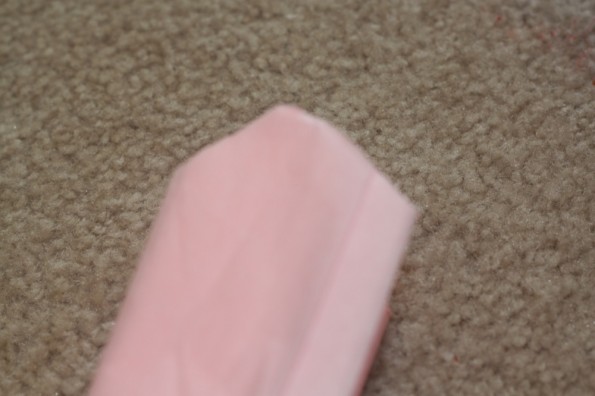
4.  Cut the outside edges in almost a point.  You want to make sure sides are even, if not cut the longer side to match up.

pom pom tutorial

Cut on each side like this or however you want your tips to look.

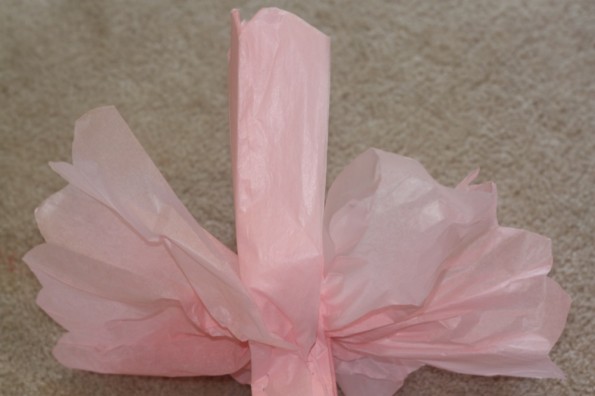
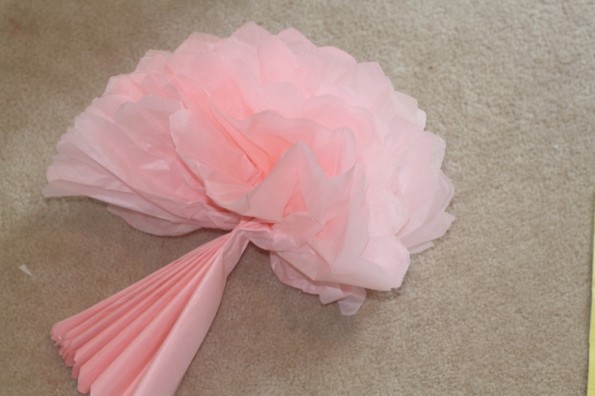
5.  Here begins the fun part!  Starting with one half, pull the outside piece of tissue paper out, then repeat on other side.  Then, keep pulling from one side then the other.

pom pom tutorial

Start pulling apart from each side.

My friend's advice was to start pulling one piece from each side. She said not to pull all one side then the other.

pom pom tutorial

Half of the pom pom done!

6.  Repeat on other half!

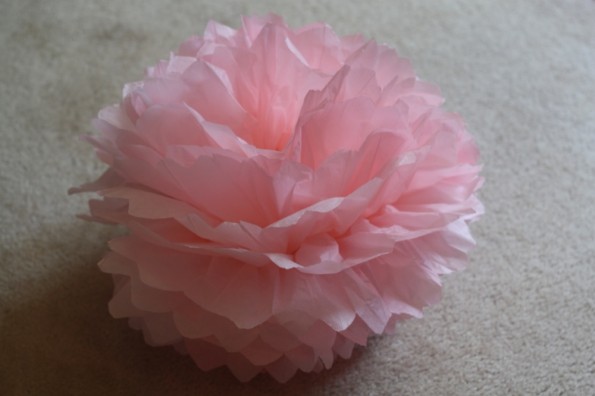
pom pom for nursery

One pom pom complete!

Make as many as you want for your sweet one!  My friend said she made some for one of her friends baby shower and anothers bachelorette party.  Keep playing with it if it isn’t perfect at first!  You will get it!

Now, just hang some fishing twine, or ribbon if you prefer, from it and hang it!  So fun and so cute!!!

girl owl nursery

Finished product!

So sweet!

****  In case you’re wondering, bedding is from Pottery Barn Kids, wall decal is from this shop on Etsy!

Father’s Day Questionnaire

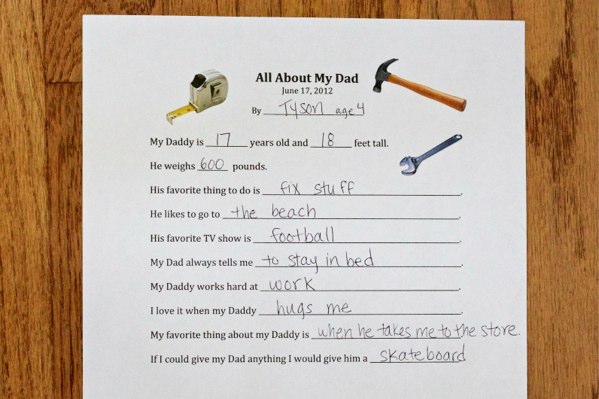
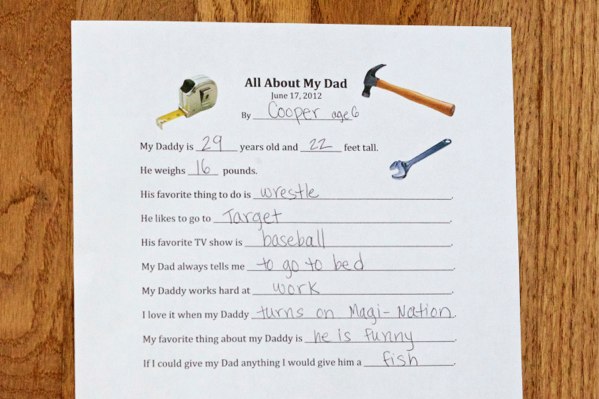
Father’s Day is so fun!  I make it a point to do something fun and creative for father’s Day.  This year I asked each of the kids a few questions about their Dad and wrote them down for them.  Some of the answers were pretty cute!


A fun picture idea to attach to your questionnaire


Love these little guys!


If you are interested in my template for the questionnaire, email Jamie@encahntedmommy.com and I can forward it to you.


Science Soap Clouds: An Easy Experiment to Do With Your Kids

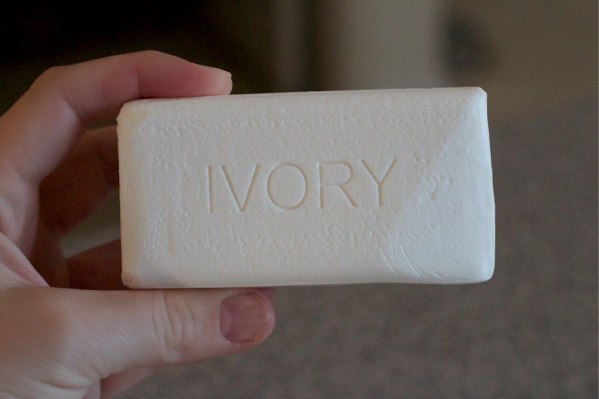
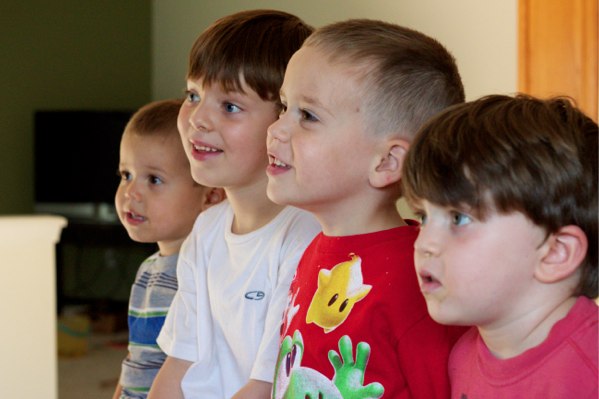
Awesome science activity… all you need is a bar of Ivory soap.  Yep, that’s it!  Turn some Ivory soap into a fun fluffy soap cloud!  The kids will love this… trust me!  I did this today with 4 little boys and they were mesmerized!

Step 1:  Get your Ivory soap

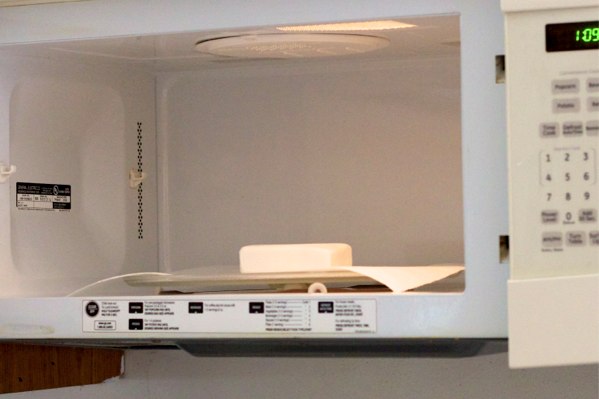
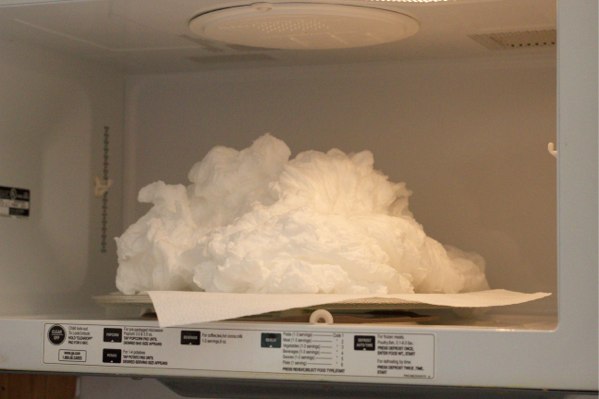
Step 2:  Put it in the microwave on a paper towel or wax paper and microwave for a couple minutes.  Let the kids watch as it slowly fluffs in to a large poofy cloud!


Some very mesmerized boys watched as the soap transformed in the microwave!

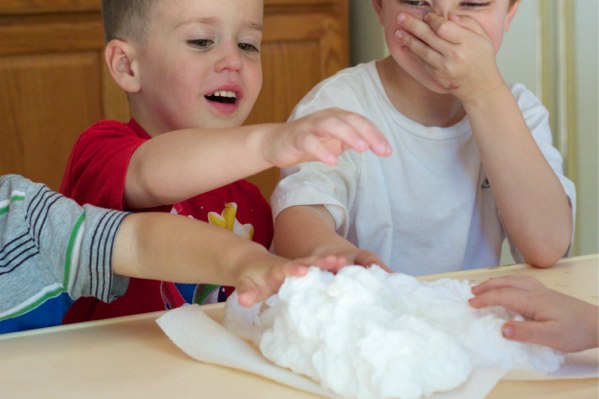
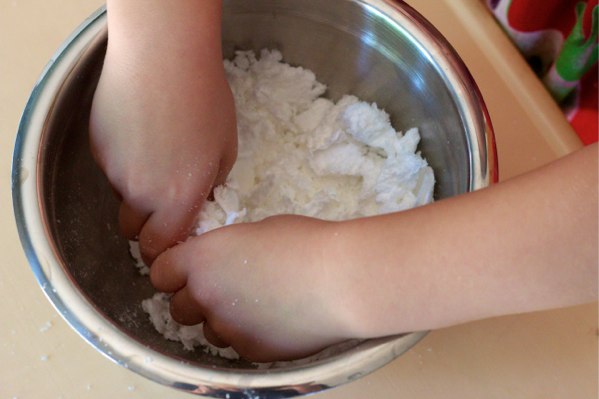
Step 3:  Let the kids play!  This is a great sensory activity!  Have the children describe what it feels like and smells like!  Warning:  I wouldn’t let them crumble it up until you have it in a bowl.  It might look soft and squishy, but it is actually very crumbly and flaky when you brake it apart.

Don’t worry this is not wasteful, you can still use the soap when you are done!  You can throw the whole fluffy cloud in the bath tub with them or mold your own smaller soaps from the foam and use those!  I personally like letting my kids use the cloud to soap up the slip’n slide in the backyard!  It makes for some seriously slippery fun!

Tyson declared, “This smells like a bath!!!!”


Crumble it into soap snow flakes and have the kids describe the texture


Add some food coloring and a tiny bit of water to your flakes to mold into your own soap shapes!


A little clean up advice:  Vacuum or wipe up flakes with a dry paper towel or cloth.  Do not try to wipe with anything wet or you will have a much bigger, soapier mess to clean up.
Looking for more sensory activities?  Check out these links for more ideas.

Handprint Butterflies

Spaghetti Sensory

Turkeys 

Pinecone Turkey

Reindeer

Painting with Ice 

Cotten ball Bunny


Preschool: Introducing The Letter M
The letter M was an easier letter to do because of all the fun possibilities!  My 2 year old loves baking and doing little tasks that make it seem like she’s a big help.  She had such a great time!  Here are just a few fun ways to learn the letter M.

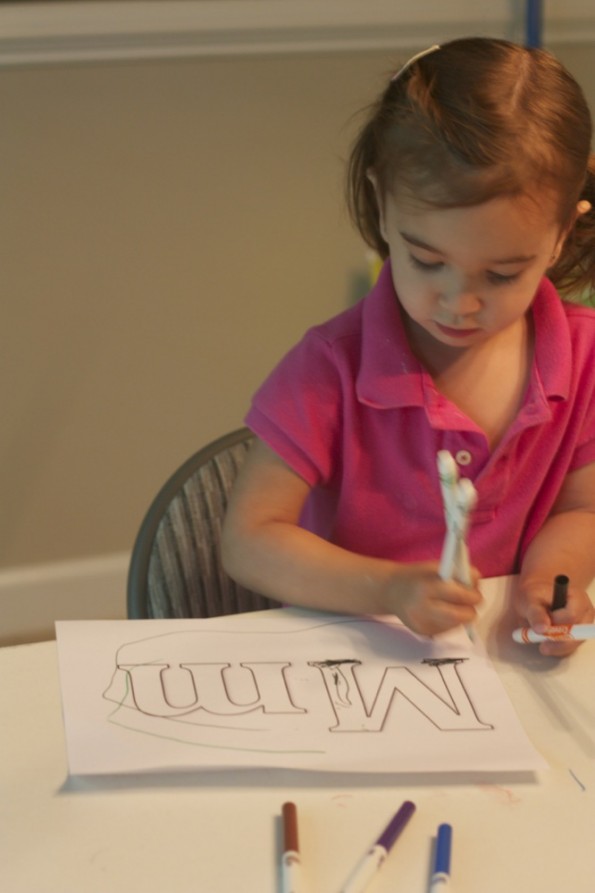
Ella started learning the letter M by using Markers to fill in the letter M, template here.

Coloring the letter M with markers.

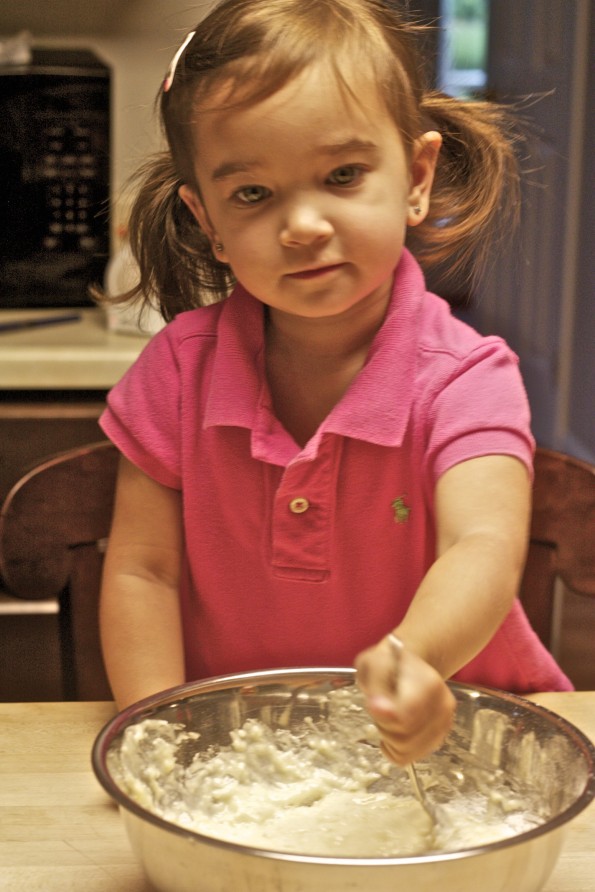
We also made {and ate} Muffins!

Learning the letter M

Making her Muffins

girl eating muffin by learning letter m

Eating her mmmmmuffin.

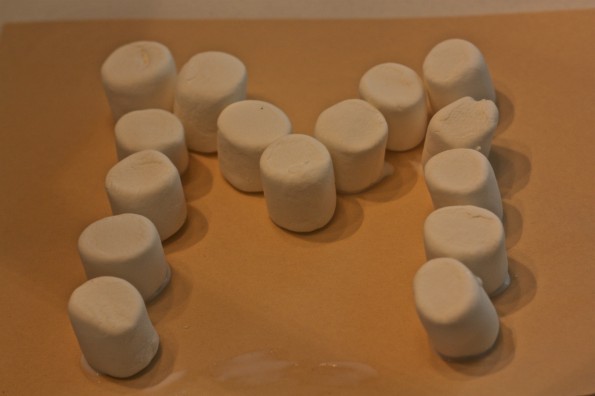
Using Marshmallows to create the letter M was another fun and edible learning tool!

Making the letter M with marshmallows.

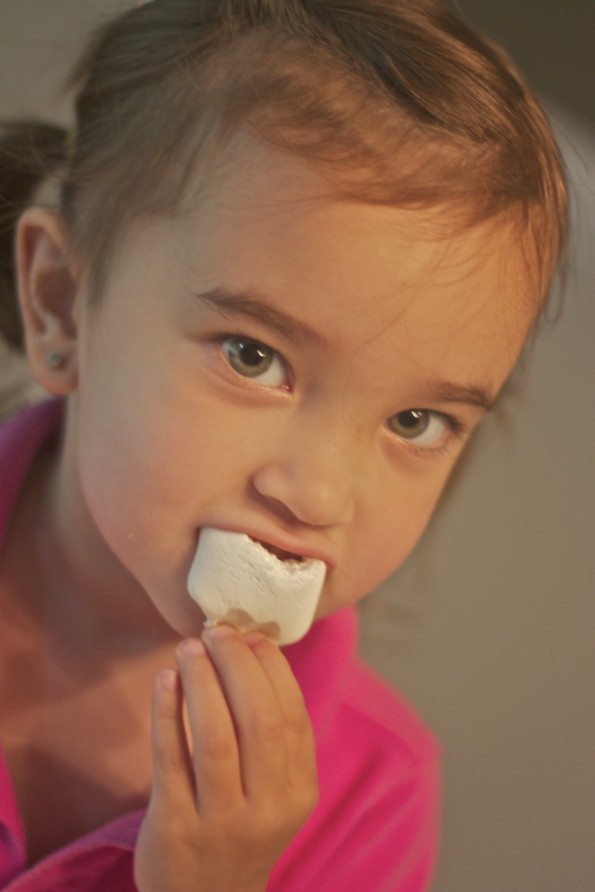
girl eating marshmallows

You always have to eat what you make!

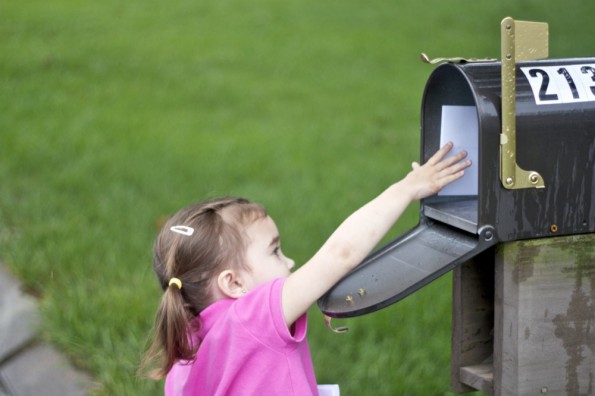
She also went and put her birthday invitations into the Mailbox.

learning the letter m

She's putting her party invitations in the mmmmmmailbox.

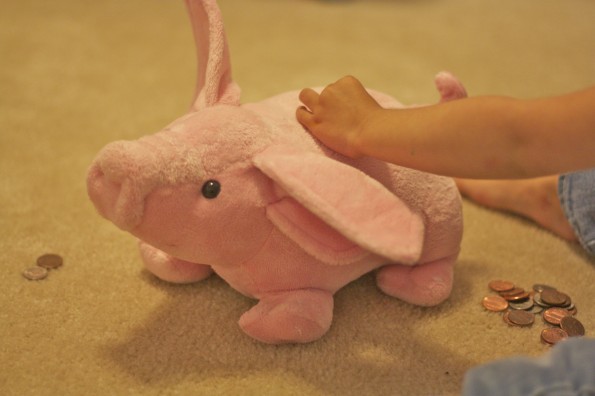
Ella loves counting her Money and putting it into her piggy bank!

learning the letter m

We also put mmmmmmmoney in the piggy bank.

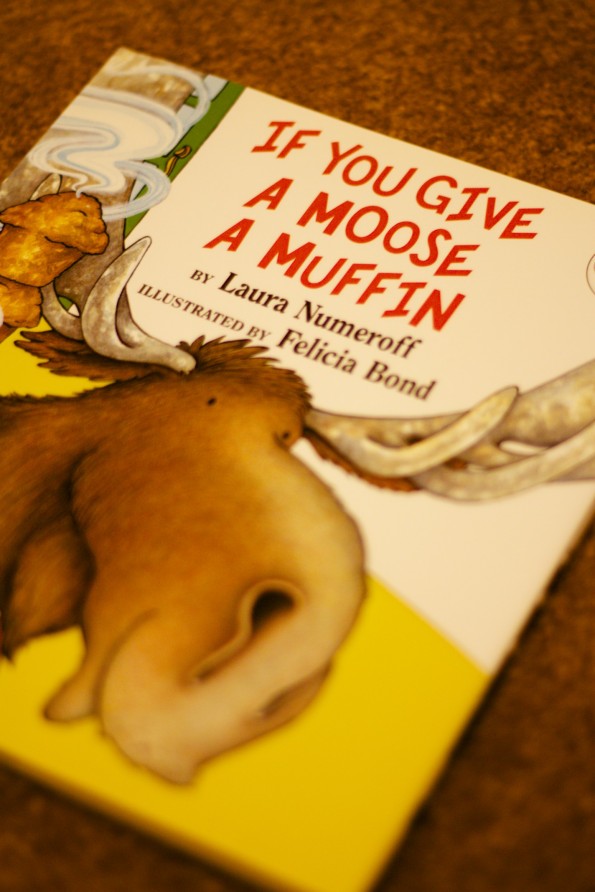
Lastly, we read “If You Give a Moose a Muffin”

If you give a moose a muffin

We read "If You Give a Moose a Muffin".

Learning letters and making out the sounds are great preschool activities.  Check out all of our other letters too!

Letter B | Letter C | Letter F Letter H |  Letter I  |  Letter K |  Letter L  |  Letter Q  |  Letter R  |  Letter W | Letter X


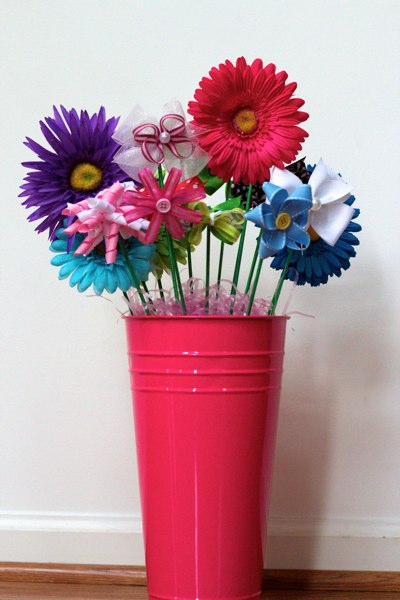
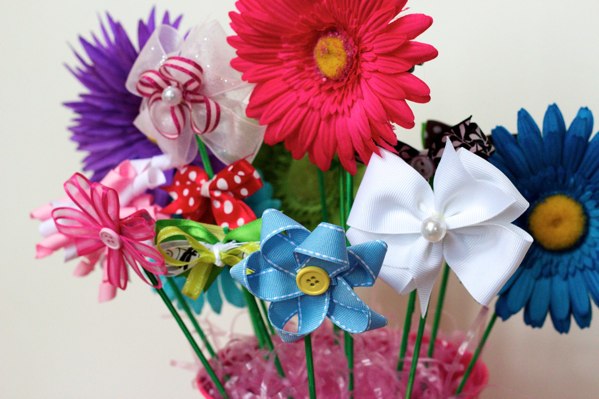
Hair Bow Bouquet!

Today I guest posted on another great blog, www.supernovamom.com.  That is another fun site you should check out when you have the chance!

Anyway, I made this adorable flower bouquet of all kinds of different hair bows for an upcoming baby shower.  Check out the link above to see the details on how to make some of the bows.  You’ll love it.

It will make a great center piece at the shower as well as a cute present for the new mommy!


Check out our other hair bow posts!

Daisy Pinwheel Hair Bow

Korker Hair Bow

Regular Daisy Hair Bow


Cute Mother’s Day Craft!

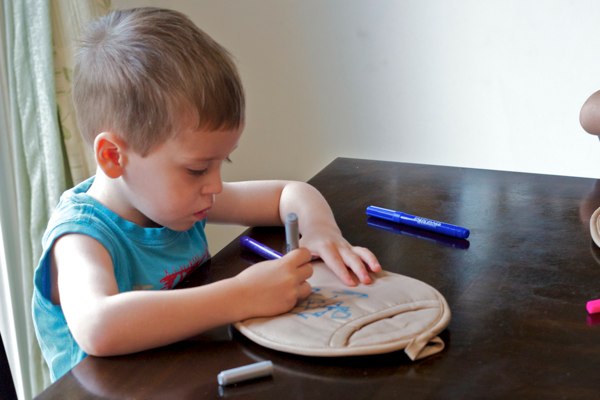
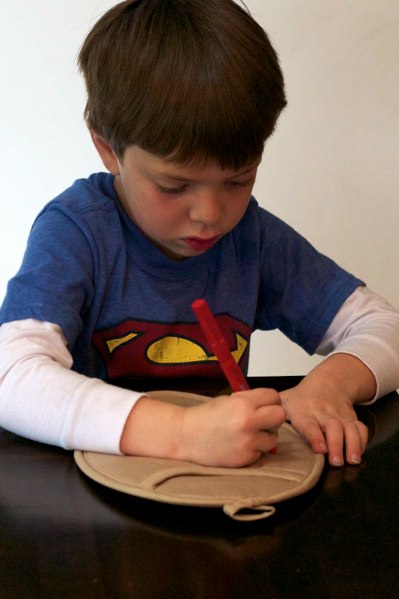
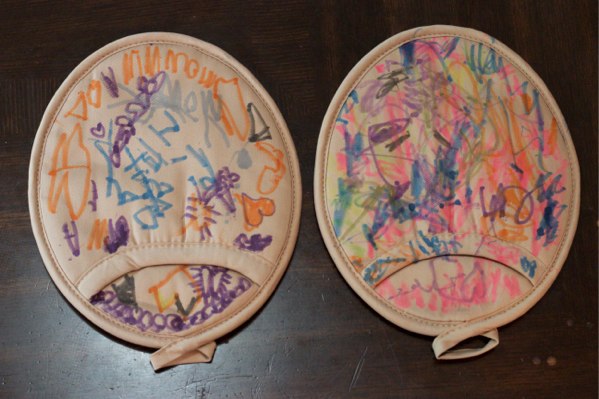
I babysit full time and trade off teaching preschool so each year I am always searching for a cute Mother’s Day craft the kiddos can do.  I decided to have the kids do hot pads this year as they will go nicely with the aprons we did a few years back.

These are really cute and really easy.  You can order the hot pads on oreientaltrading.com or you can buy any light colored hot pad.  You will also need some fabric markers and/or fabric paint to decorate them with.

Mothers and grandmothers everywhere will love these!


Adorable Spring/Summer Wreath!

I tutor a couple evenings a week.  One night after one of my students came over he told me how he almost forgot where I lived and then remembered that I still had my clover wreath up on my door and was able to find my house.  Ha!  Yes, my clover wreath from St. Patricks Day in March.

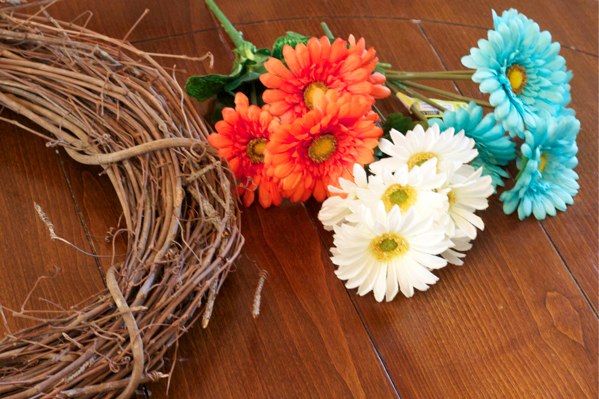
Wow, I am a slacker.  So I set out to fix that asap.  I got a few suplies from Michael’s and was ready to go.

The stick wreath part was $4.99 and each of the three colors of flowers were on sale for $1.29 each.  I also had a 50% off one item coupon.  So basically I made the entire wreath for under $7.  The premade wreaths in this style are selling for $30 – $60 so I feel pretty good.

I love finding a good deal.  I use to say that I am cheap, but my mother-in-law has since taught me that its not being cheap it is being frugal!  Frugal sounds so much nicer!

All you have to do is pull your flowers and leafs off the stems and arrange them anyway you like on your wreath.  Then use a hot glue gun to glue it all together.  You can hang it to your wreath hanger using any ribbon or string.

This was so easy and turned out so cute I think I will make another for my mom for Mother’s Day.

Preschool: Introducing the Letter F

I’ve been working on the alphabet with my two year old!  Today, we focused on the letter F.  I am going to share all of our fun activities we did with the letter F.

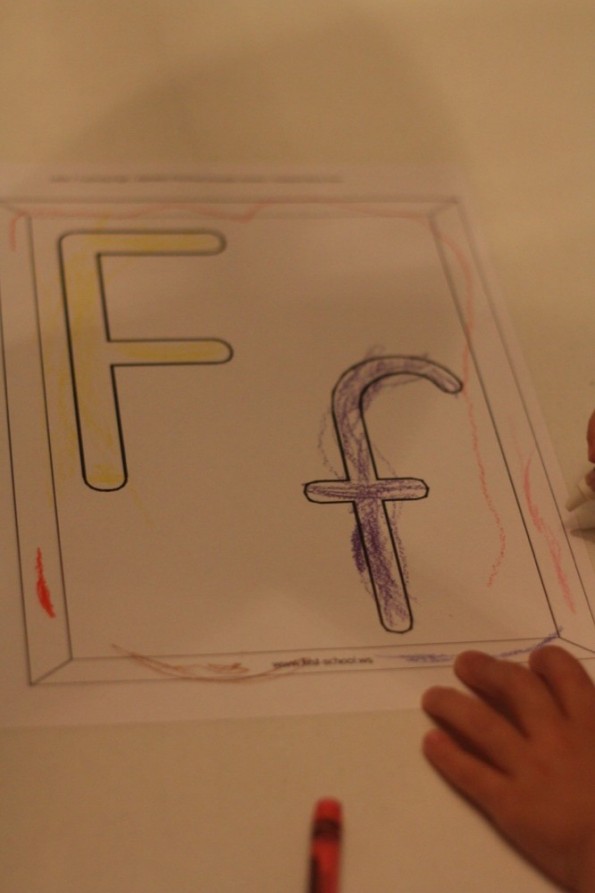
First, we colored the uppercase and lowercase F which I got the template here.

learning the letter F

Coloring her "F"

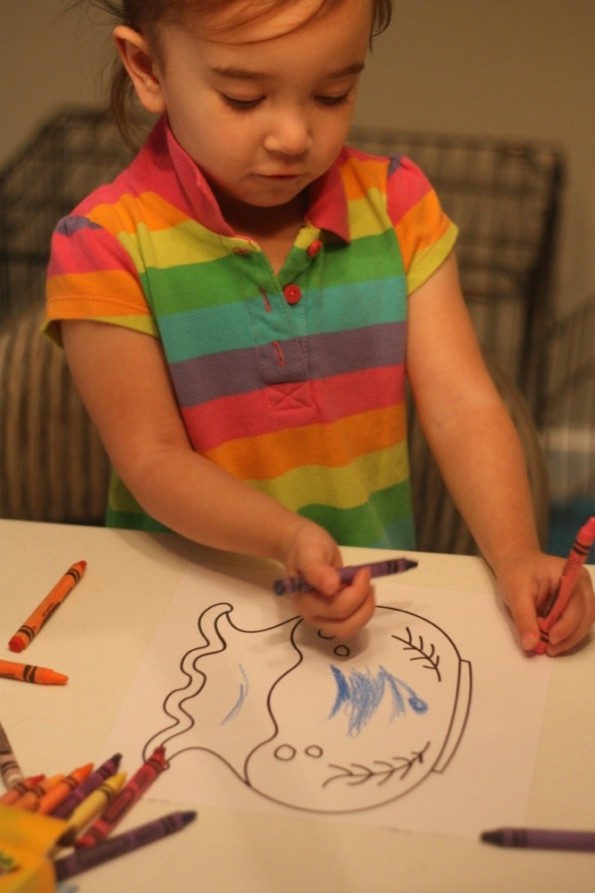
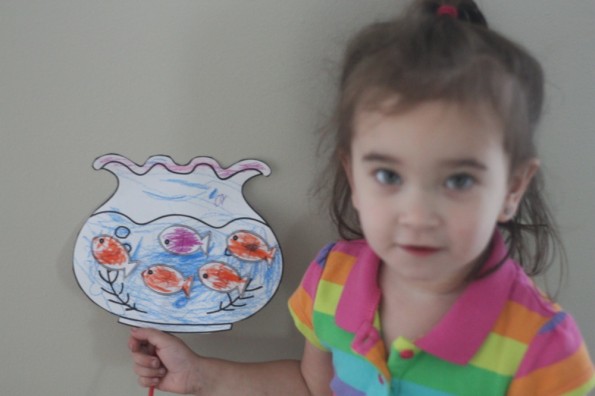
Next, we colored a fish bowl and colored the fish, template found here.

learning the letter F

Coloring her fish bowl.

learning the letter F

She's proud of her fish bowl!

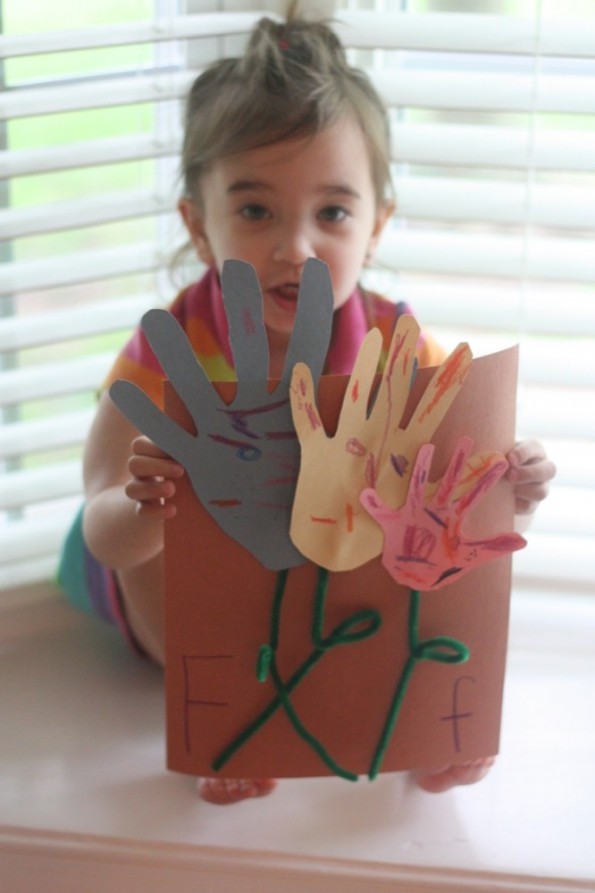
We (mommy, daddy and Ella) also used our hands to make Flowers!

leaning the letter "F"

She also made flowers out of hands.

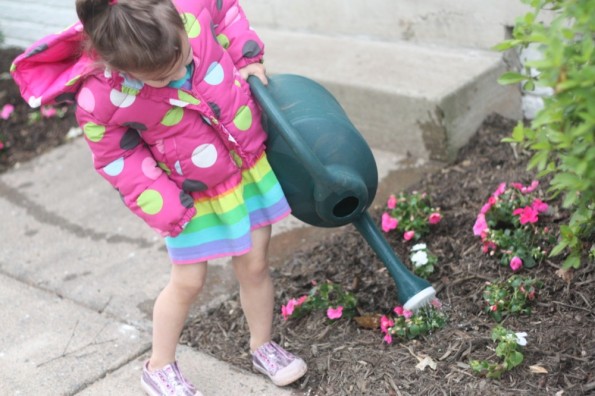
She even helped mommy water her Flowers.

learning the letter f

Ella helped water flowers.

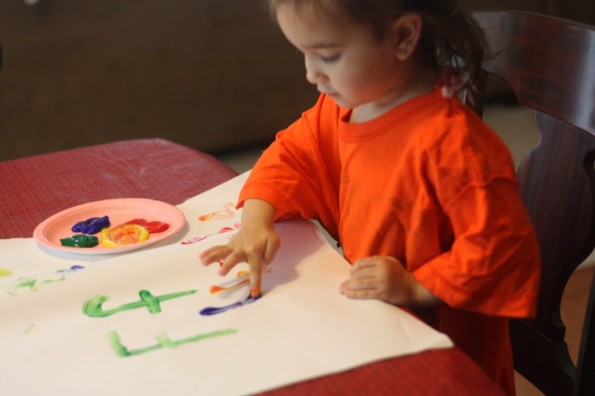
We used finger paint to incorporate the letter F.

She also painted with her fingers.

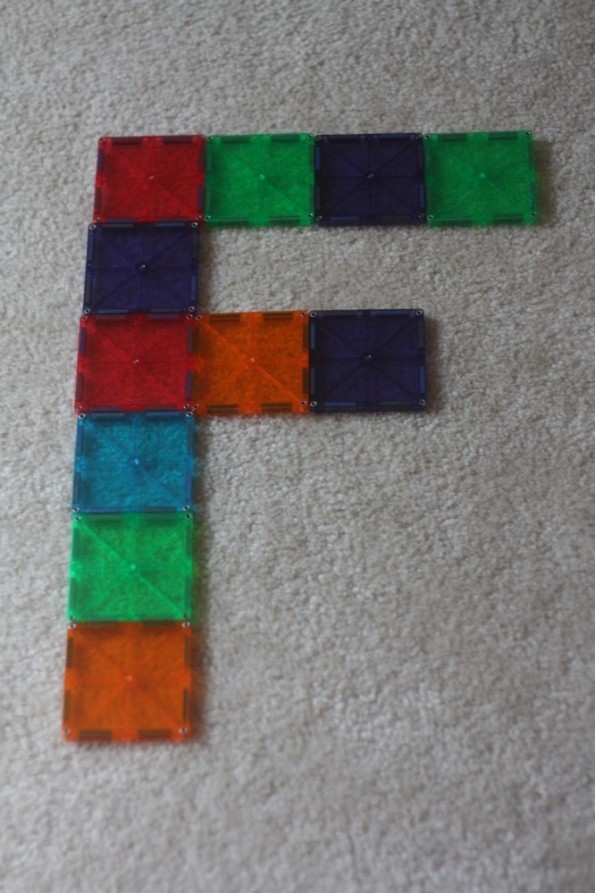
Lastly, we used our magna-tiles to create the letter F.

learning the letter F

We made an F with the magna-tiles.

Each letter has so many ways to learn it!  Check out some of the other letters on this site!

Letter B | Letter C | Letter H |  Letter I  |  Letter K |  Letter L  |  Letter Q  |  Letter R  |  Letter W | Letter X