Because I have two girls, I’m an accessory addict! I just love them matching. However, even before I had my first daughter (but knew she was a girl), I was making different types of hair bows for her. This style is a newer design, but I think it is so cute!
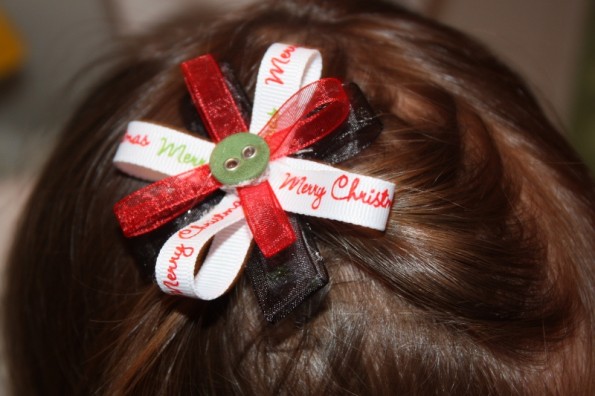
Bow in my 2 year old's hair
First, I take the alligator clip and wrap it with ribbon all the way around it. This helps with it staying in fine hair (which most little girls have) and it makes it so the silver doesn’t show.
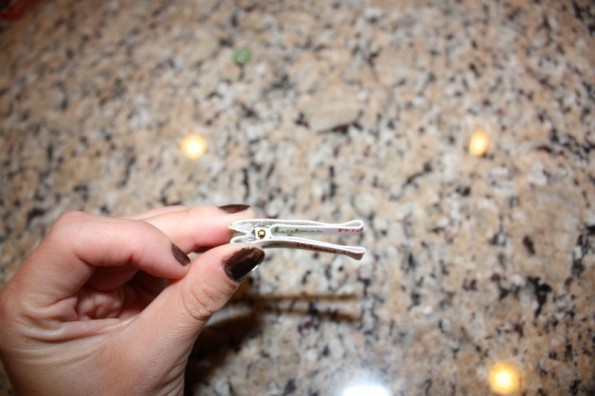
wrap one of the ribbons all the way around the alligator clip
Next, I take three different types of ribbon and cut it into about 6 inch pieces
**you can choose the length, just remember the width of your bow will be about half of the length you cut the ribbon.
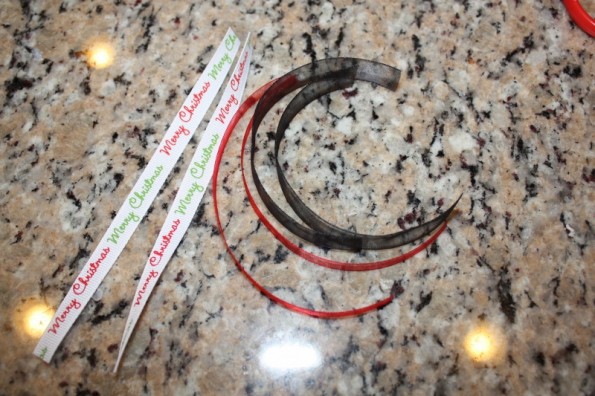
my 6 pieces of ribbon
Then, you fold the ribbon in half (so you know where the center is) and you put glue across the fold.
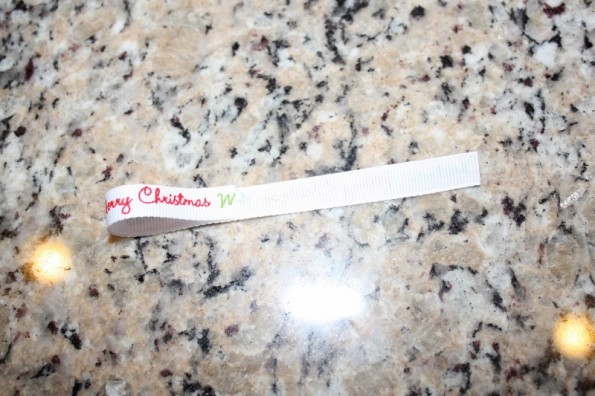
fold ribbon to halfway and glue it down
Repeat with the other side.
Fold and glue all of your ribbons.
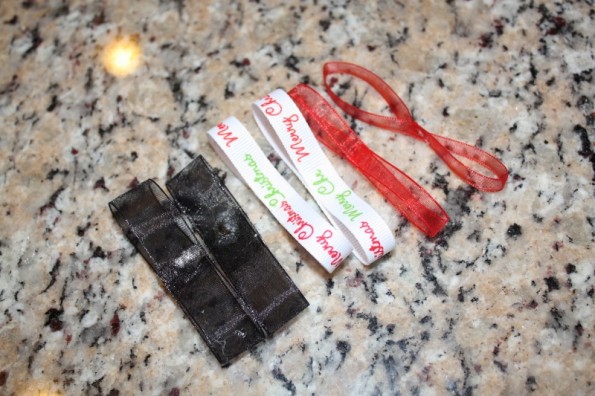
*all of the ribbons glued in the middle
Next, I glued the black ribbons in an x-shape and then the Merry Christmas ribbon and then the red. I put them on top of each other with the button on top and glue the bottom ribbon to the alligator clip and wahlaaaaa, we have ourselves a bow.
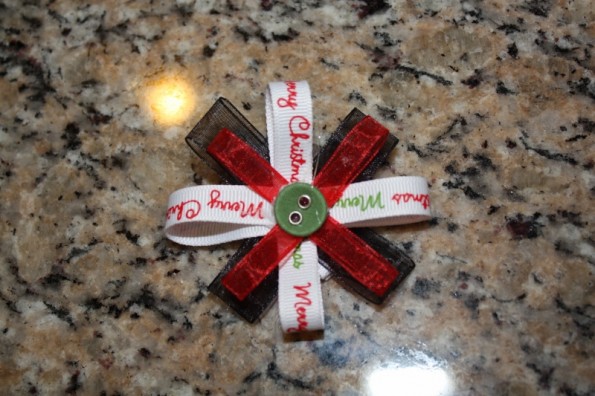
Finished bow!
Here are some of the others I have done for the girls!
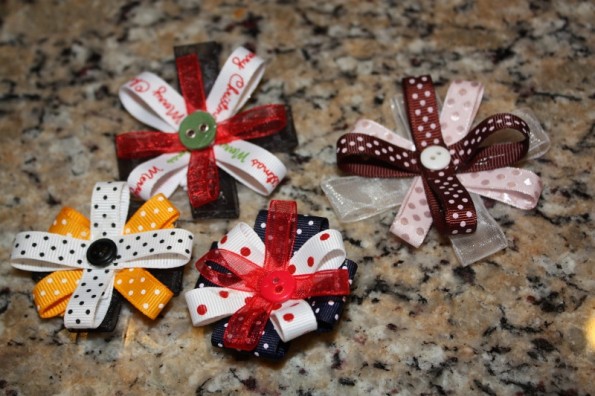
A few of the Daisy bows that I have made
Couple of side notes:
- You can get all of the supplies at any craft store.
- You can use all types of ribbon for this bow.
- Sometimes I use thicker ribbon on the bottom.
- Play with different designs!
- Save your extra buttons from clothes!!
About Dana Patterson
I'm an energetic SAHM of two fun little girls! It's never a dull moment with kids 21 months apart. I love life and enjoy cooking, working out and just hanging with my family.

Pingback: Korker Hair Bow Tutorial! « Enchanted Mommy
Pingback: A Fun Way To Organize All Of Your Girlie Hair Clips!
Pingback: New Daisy Hair Bow Tutorial
Pingback: Hair Bow Bouquet!