by Jamie Hinckley on May 08, 2012
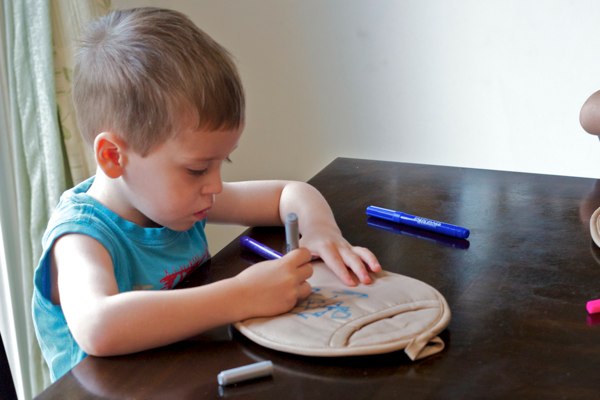
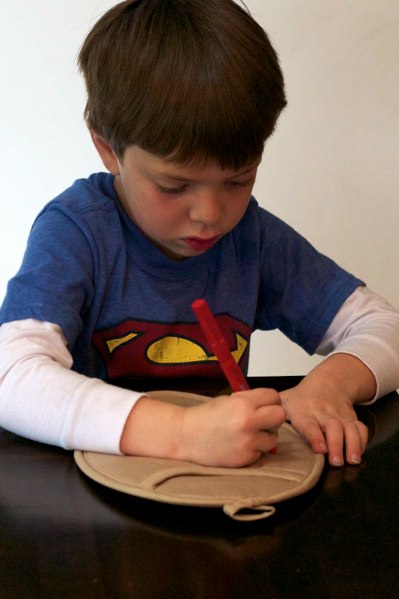
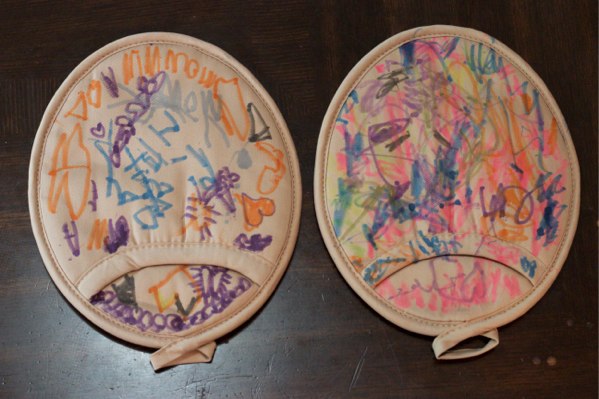
I babysit full time and trade off teaching preschool so each year I am always searching for a cute Mother’s Day craft the kiddos can do. I decided to have the kids do hot pads this year as they will go nicely with the aprons we did a few years back.
These are really cute and really easy. You can order the hot pads on oreientaltrading.com or you can buy any light colored hot pad. You will also need some fabric markers and/or fabric paint to decorate them with.
Mothers and grandmothers everywhere will love these!
by Dana Patterson on May 08, 2012
@EnchantedMamas
We finally moved up in the world! Follow and tweet us!!!!
by Dana Patterson on May 07, 2012
Yes, we’re still on the Paleo kick. How could you not be with a meal that looks this delish?!
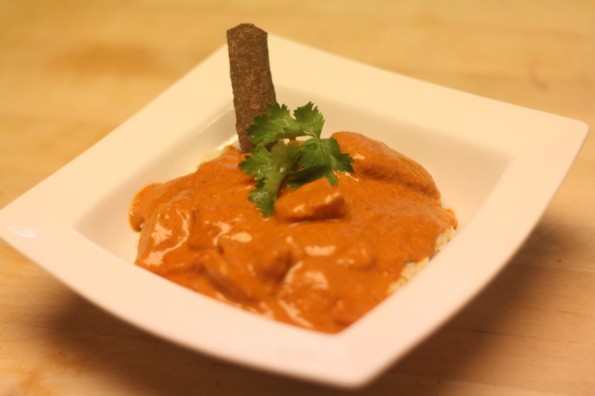
Very healthy and delicious!
My New Year’s Resolution was to get a little more “creative” in my cooking. The only meat I used to buy was chicken breasts and ground beef. Well, it’s May and I have finally realized it isn’t that hard to be more creative. I actually found all the spices at the Asian grocery store, literally right across the street from my house. You should try a Global Food, all of their produce and spices are a lot cheaper than the regular grocery stores.
I love butter chicken and I found this Paleo chicken butter chicken recipe here.
This is what you need:
- 2 x 2 tbsp of pastured, grass-fed butter
- About 1 Kg chicken cut in chunks
- 2 tsp garam masala
- 2 tsp paprika
- 2 tsp ground coriander
- 1 tbsp grated fresh ginger
- 1/4 tsp chili powder (adjust to taste)
- 1 cinnamon stick
- 6 bruised cardamon pods
- 1 can of tomato puree
- 3/4 cup coconut milk
- 1 tbsp fresh lemon juice
- splenda to taste (optional… I used this because I wanted it a little more sweet)
Here is a pic of the cardamon pods in case you’re lost like I was:
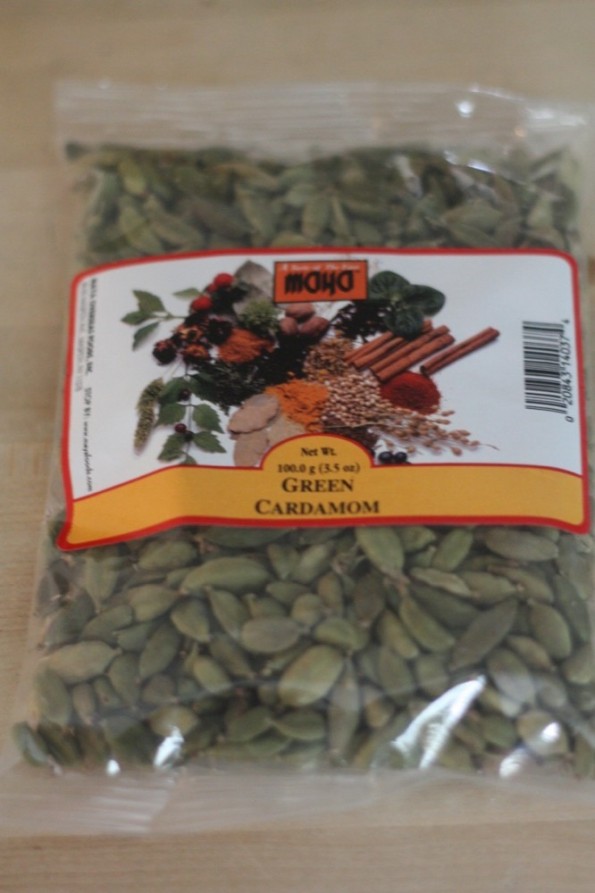
Cardamom pods picture. What to look for at the store.
Here is how you create the butter chicken!
- Heat a pan, add the first 2 tbsp of butter and stir-fry the chicken chunks.
- Remove the chicken from the pan.
- Put the second 2 tbsp of butter and slowly heat the spices for a minute or two until you can smell the aroma.
- Put the chicken back in the pan and stir so you mix in all the spices with the chicken.
- At this point, add the tomatoes and simmer for about 15 minutes. Stir from time to time.
- Add the coconut milk and lemon juice and let it simmer for another 5 minutes.
- Taste and add splenda if needed.
- Enjoy a healthy meal!
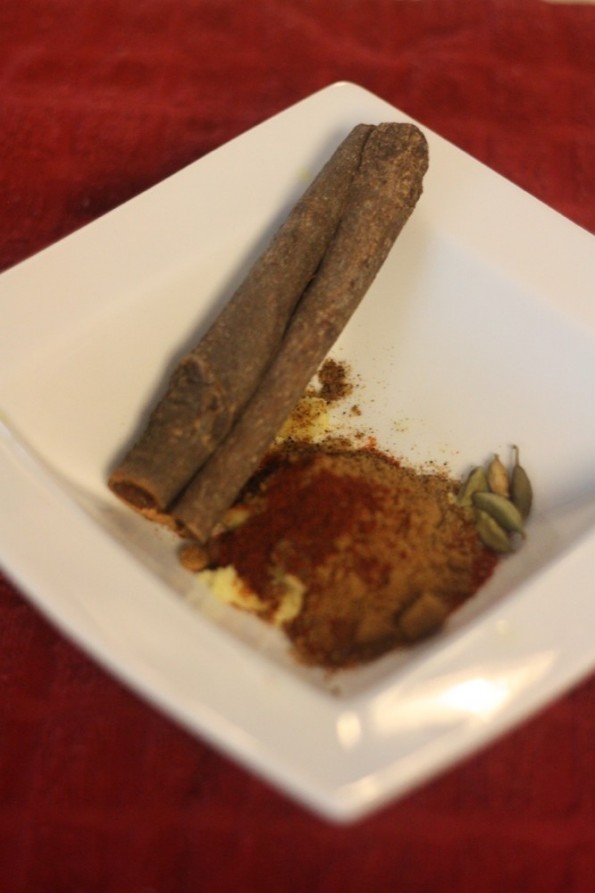
The spices mixed together.
Enjoy this fancy meal! We enjoyed it over cauliflower rice, recipe here. Yum yum yum.
Also, enjoy a Paleo smoothie with it!
by Jamie Hinckley on May 04, 2012
I tutor a couple evenings a week. One night after one of my students came over he told me how he almost forgot where I lived and then remembered that I still had my clover wreath up on my door and was able to find my house. Ha! Yes, my clover wreath from St. Patricks Day in March.
Wow, I am a slacker. So I set out to fix that asap. I got a few suplies from Michael’s and was ready to go.
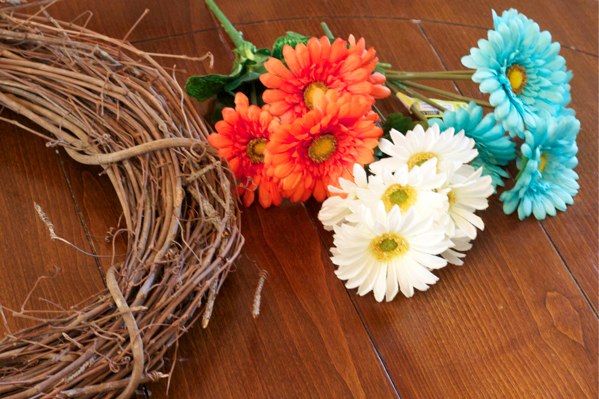
The stick wreath part was $4.99 and each of the three colors of flowers were on sale for $1.29 each. I also had a 50% off one item coupon. So basically I made the entire wreath for under $7. The premade wreaths in this style are selling for $30 – $60 so I feel pretty good.
I love finding a good deal. I use to say that I am cheap, but my mother-in-law has since taught me that its not being cheap it is being frugal! Frugal sounds so much nicer!
All you have to do is pull your flowers and leafs off the stems and arrange them anyway you like on your wreath. Then use a hot glue gun to glue it all together. You can hang it to your wreath hanger using any ribbon or string.
This was so easy and turned out so cute I think I will make another for my mom for Mother’s Day.

by Dana Patterson on May 04, 2012
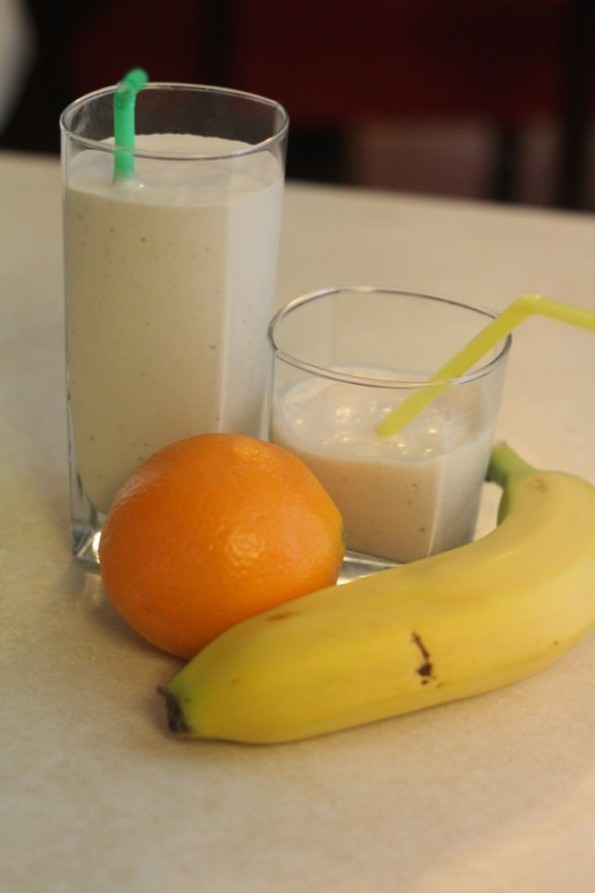
A delicious coconut fruit smoothie! Yes, please!
I love smoothies. Period. I’ve always visioned myself being that trendy stay at home mom walking into the smoothie shop everyday and getting myself and my daughters smoothies. I quickly woke up and realized that can’t happen. I would literally hate myself if I spent $12 everyday on drinks.
So, I forced myself to learn how to make them. I also needed to make it Paleo style. Sorry Smoothie King, Robeks and Tropical Smoothie Cafe… you’re not really all that healthy nor do you qualify my needs for Paleo. I, okay my husband, came up with this delish smoothie. All you need is…..
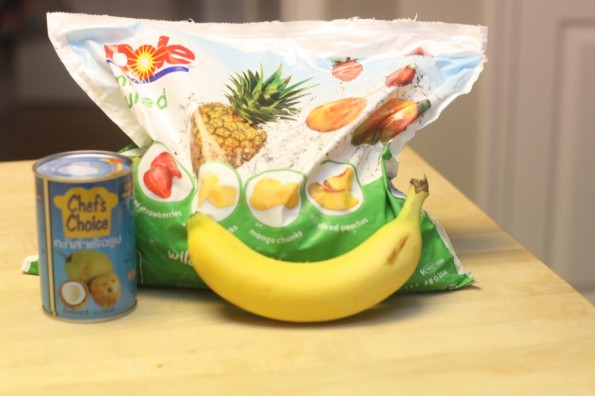
All you need for your smoothie!
- 1/2 can coconut milk (I bought this brand because the only ingredients are coconut milk and water)
- banana
- mixed frozen fruit (or frozen fruit of choice)
Put it in your magic bullet cup:
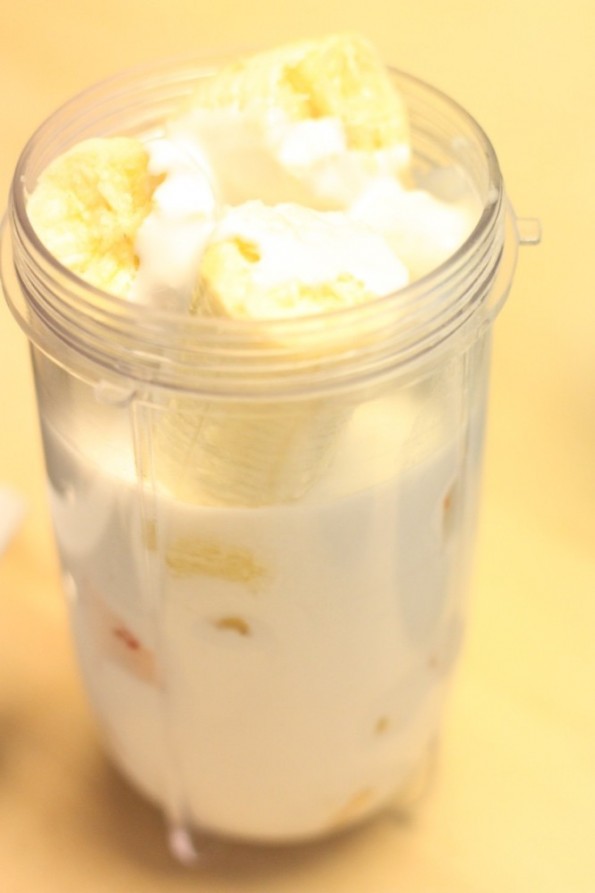
Fill the cup up with your favorite ingredients
Mix away!
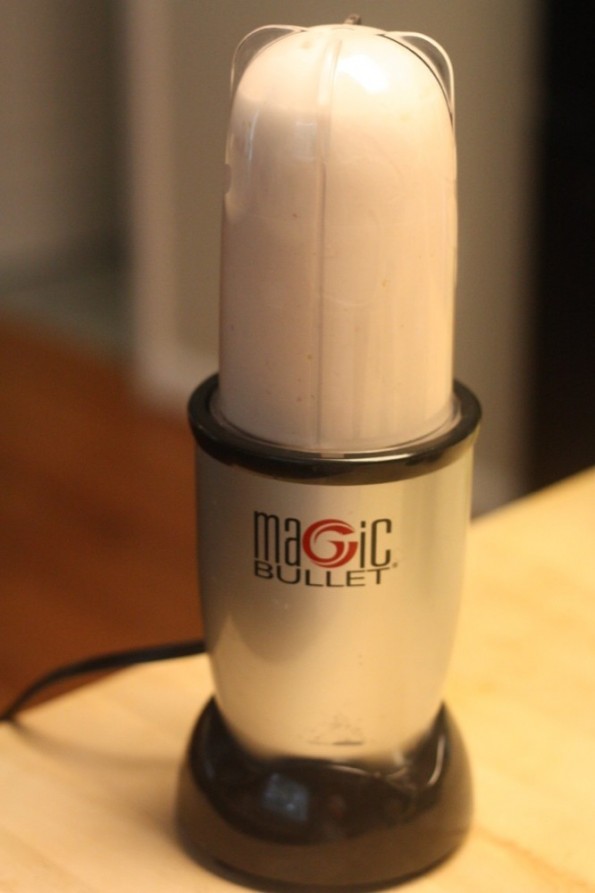
Getting all smooth....
Seriously, the magic bullet has to be one of my favorite kitchen gadgets. It’s amazing and it is reasonably priced. It makes smoothies so convenient and easy.
Now, look at it finished.
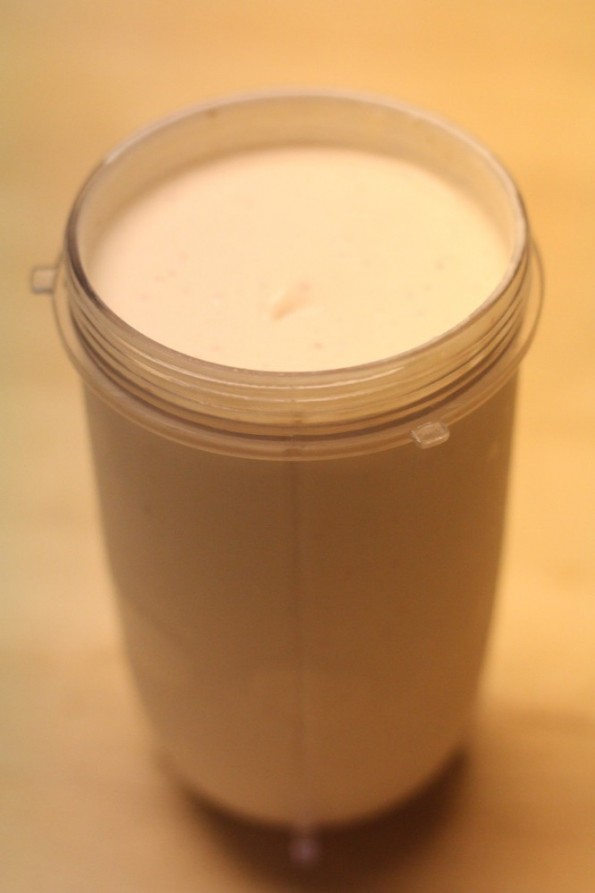
After the bullet....
Cheers!
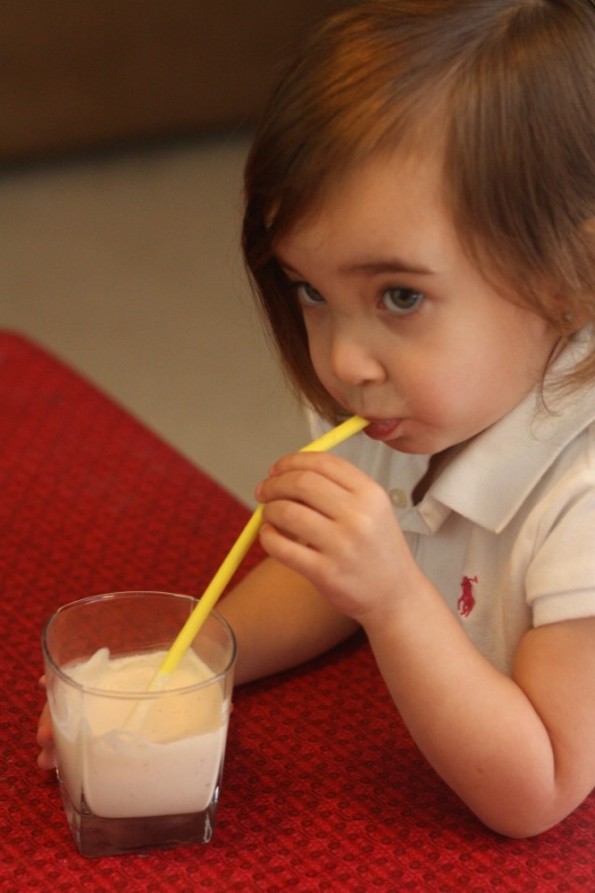
She loves them!
My 2 year old begs for me to make them everyday and my 1 year old loves them too. You can easily sneak some other stuff into them also. Happy smoothie making. You really should try it, they are delicious and healthy!
Check out the baby food I made in the bullet:
Vegetables
Fruit
by Dana Patterson on May 02, 2012
So, I couldn’t help to take a picture of this. We recently moved and I have to say my neighbors are awesome. This just made them a little more awesome.
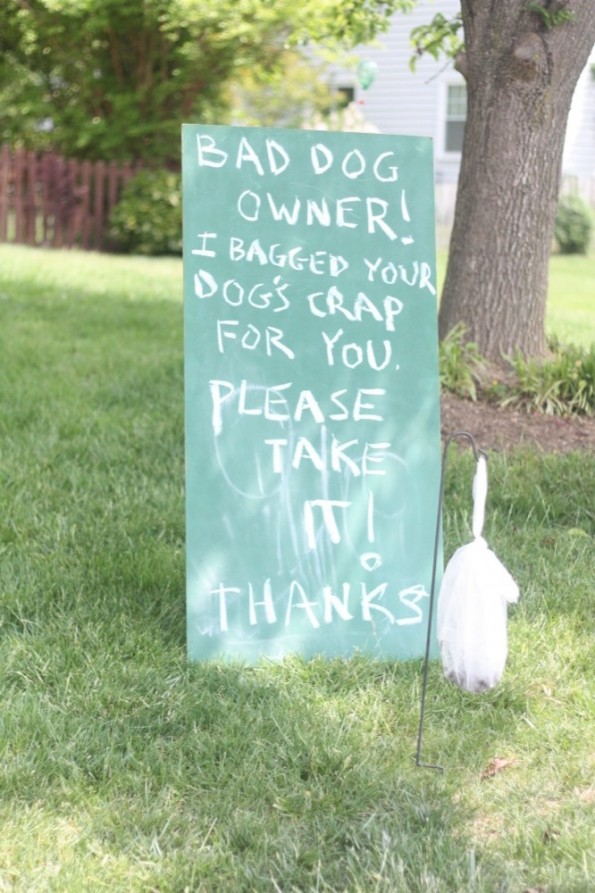
Pick up your dog poo people.
by Jamie Hinckley on May 01, 2012
The weather is getting warmer and that means barbecue season! The warm weather always gets me in the mood to grill. This yummy avocado salad will go perfect with your next barbecue.
It’s healthy, fresh, and tasty!
Don’t be afraid of the avocados! Avocados have almost 20 essential nutrients, including fiber, potassium, Vitamin E, B-vitamins and folic acid. Avocados have both mono-saturated and polyunsaturated fat and by eating these “good” fats (in moderation) in place of saturated or trans fat can reduce blood cholesterol levels and decrease the risk of heart disease. Check out avocado.org for more information.
The truth is, this salad would be even more awesome if it had chunks of fresh mozzarella cheese and bacon in it as well. Since the hubs and I are really focusing on being healthy we left it out this time. Don’t worry though… it was still awesome!
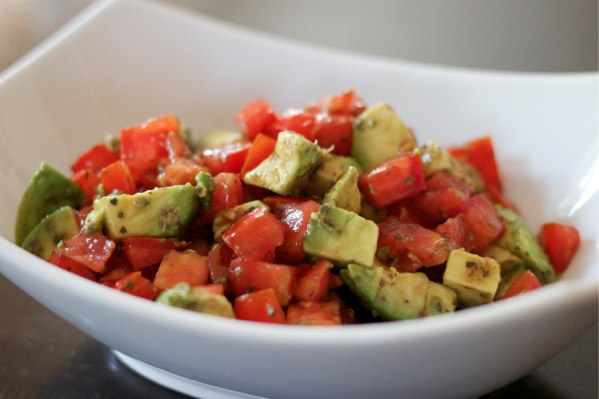
Ingredients:
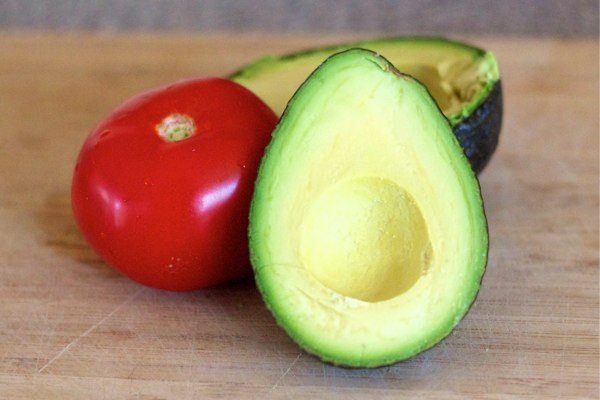
2 tomatoes, diced
1 avocado, diced
1 Tb balsamic vinaigrette.
1 Tb basil
***Mix the tomatoes, vinegar and basil together. Gently stir in avocado chunks so that they do not mush together.
VARIATIONS:
bacon
fresh mozzarella cheese, cubed
black beans
corn
red peppers
by Dana Patterson on Apr 30, 2012
I’ve been working on the alphabet with my two year old! Today, we focused on the letter F. I am going to share all of our fun activities we did with the letter F.
First, we colored the uppercase and lowercase F which I got the template here.
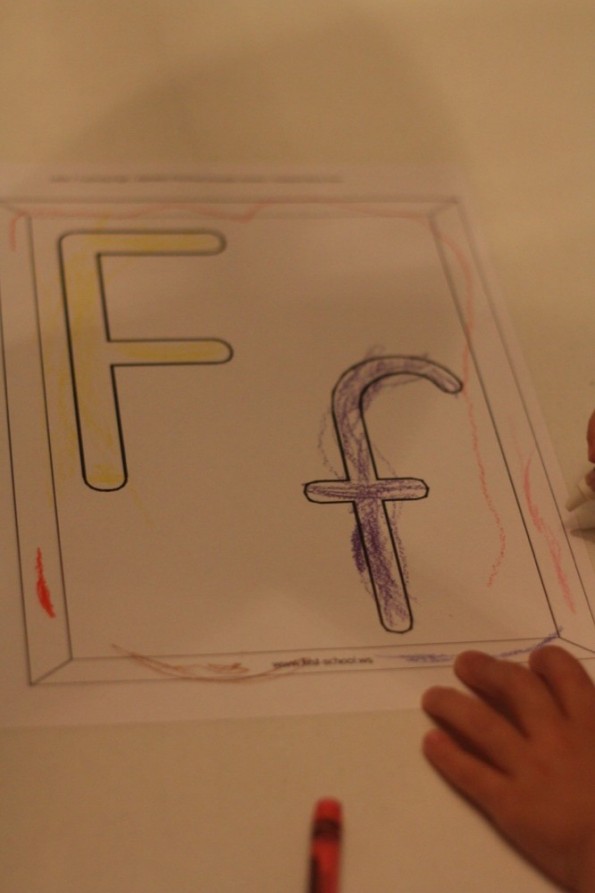
Coloring her "F"
Next, we colored a fish bowl and colored the fish, template found here.
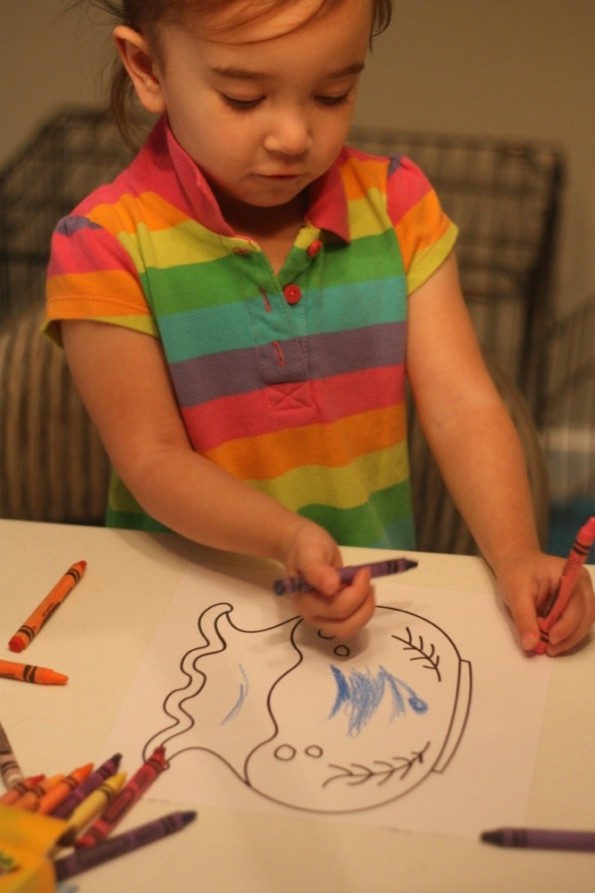
Coloring her fish bowl.
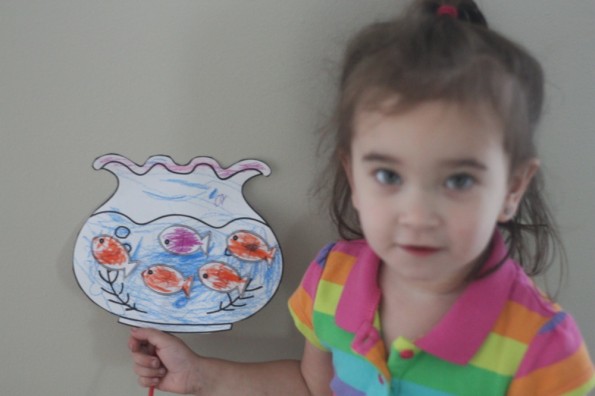
She's proud of her fish bowl!
We (mommy, daddy and Ella) also used our hands to make Flowers!
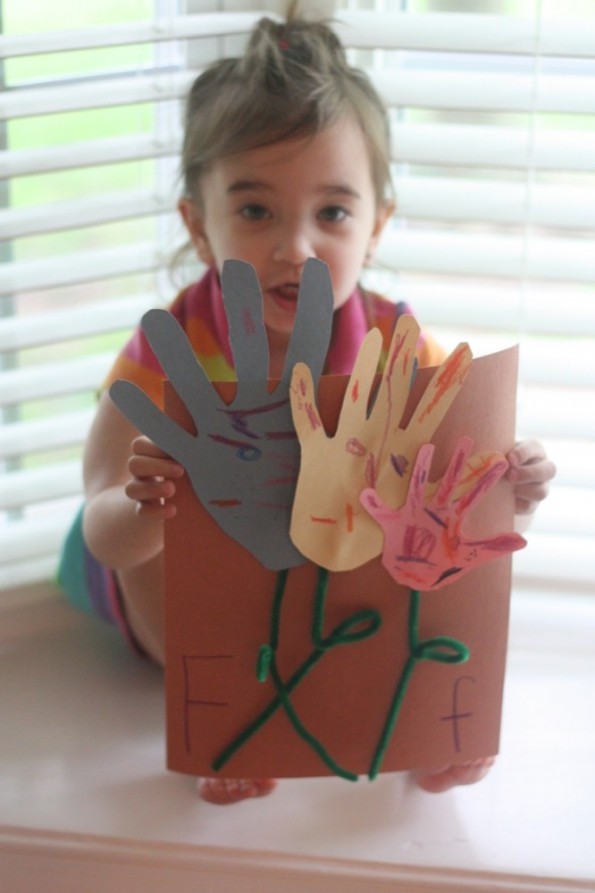
She also made flowers out of hands.
She even helped mommy water her Flowers.
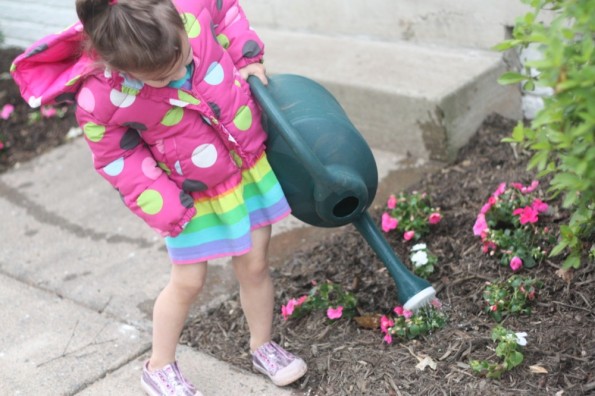
Ella helped water flowers.
We used finger paint to incorporate the letter F.
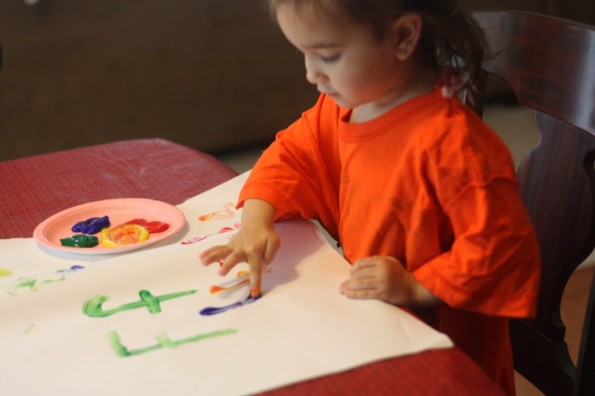
She also painted with her fingers.
Lastly, we used our magna-tiles to create the letter F.
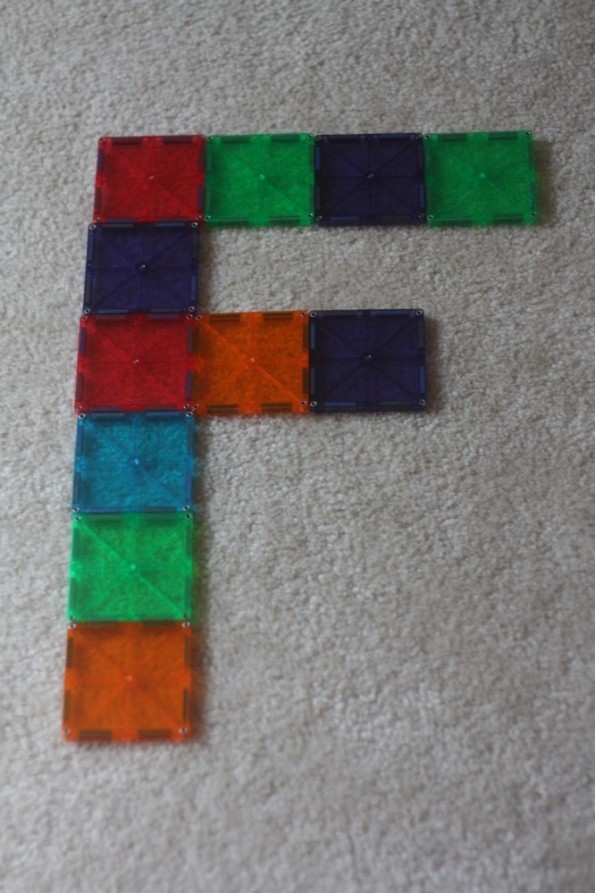
We made an F with the magna-tiles.
Each letter has so many ways to learn it! Check out some of the other letters on this site!
Letter B | Letter C | Letter H | Letter I | Letter K | Letter L | Letter Q | Letter R | Letter W | Letter X
by Jamie Hinckley on Apr 27, 2012
Letter X is the hardest! There are just not that many words that start with X to help your child figure this one out! I was kind of bummed that letter X fell on my week to teach preschool, but now I am glad! We did a lot of fun activities to emphasize the letter X with the kids and it was really fun to watch the kids enthusiasm!
Circle time was a little different. I reviewed past letters as usual and then introduced the letter X. I told them that there were not very many words that start with this letter, but there a lot of words that end with the letter X. I wrote down different words that end in the letter X one at a time (Box, Fox, Ox, Mix, Six, etc…) and had the kids sound them out with me while really emphasizing the X sound at the end.
I did find an old x-ray of my shoulder from a snow boarding injury and taught them what an x-ray is and how/why they are used. They were surprisingly interested. Ha!
We also played Tick-Tack-Toe during circle time. We played teacher vs. kids. The kids loved it! I held up a number flash card and had one of the kids tell me what number it was. When they answered the question correctly they got to come up and draw their X on the chalk board as their team’s move. We played a few games having them trade off being X’s and O’s so that they would have the chance to practice writing both.
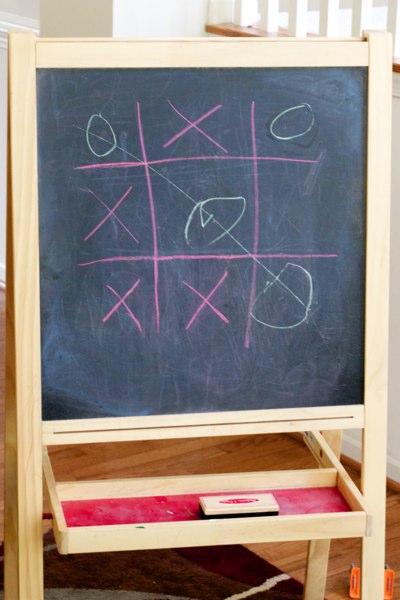
The kids loved bragging about how they beat me!
For our Art activity we painted X‘s that had been cut from cardboard. I planned on using the finished X’s in a treasure hunt later on (you know… X marks the spot), but we never got to it with all the other things we did.

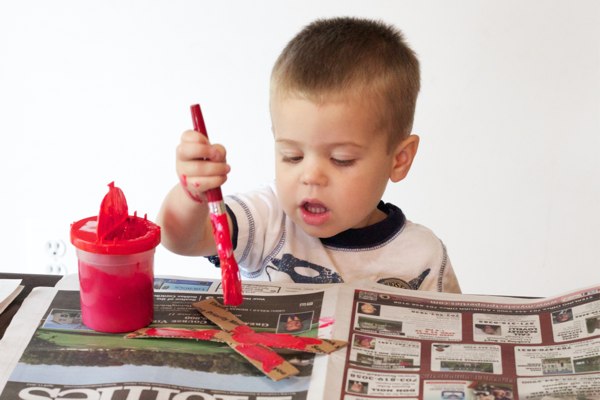
Great activity for the younger kids too!

These would have been fun to use in a treasure hunt!
We also made painter’s tape X‘s. All you have to do for this is put an X on each paper with painter’s tape. Then let the kids paint all over the paper however they want. After the paint is dry, pull the painters tape up revealing a nice clean X. This was pretty cool, but if I were to do it again I would reinforce the back of the paper using packaging tape so that the paper would be sturdier as there were a few little rips when pulling the tape off.


Another great activity we did was making a giant X in the driveway with sidewalk chalk. The kids got to help color the X and then walk along it.

Coloring the X with sidewalk chalk!
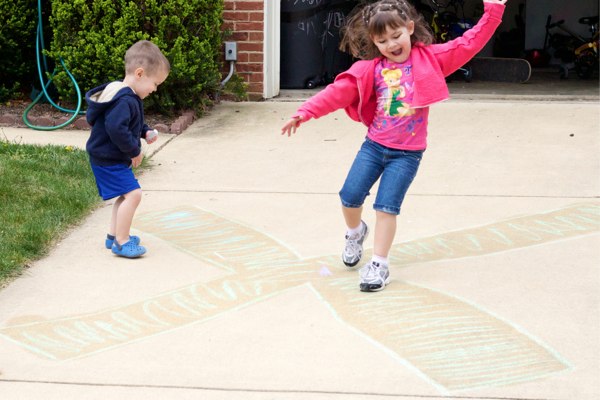
Walking, dancing, and skipping down the X!
Here are few more letter X ideas you might also like:
Glue toothpicks on a paper in the shape of X’s
Make a treasure map/Scavenger hunt (X marks the spot!)
Have the kids form the letter X using their bodies
Bean bag Toss: put X’s and O’s on the floor and let the kids try to hit the X’s
Make and decorate sugar cookies in the shape of X’s
Letter B | Letter C | Letter H | Letter I | Letter K | Letter L | Letter Q | Letter R | Letter W
by Dana Patterson on Apr 26, 2012
As you know from my previous daisy and korker bow tutorial, I love making my girls bows! People ask so often where I got them and they are completely surprised that I make them. Here is a new one I tried and I loved it!
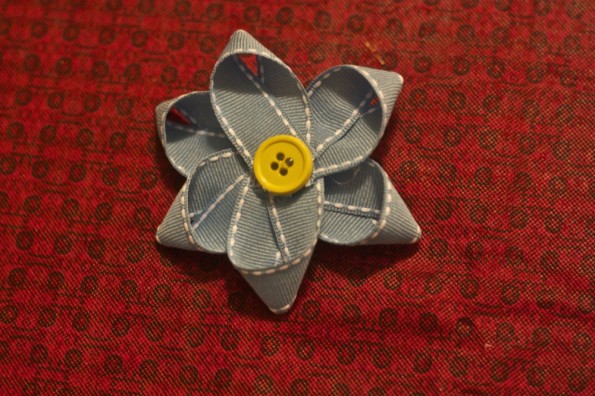
Isn’t the bow so adorable?!?!
The steps cannot be easier! All you need is an alligator clip, 5/8″ ribbon of choice, button of choice, hot glue gun, and 3/8″ ribbon to cover clip!
Step 1: Cover your alligator clip.
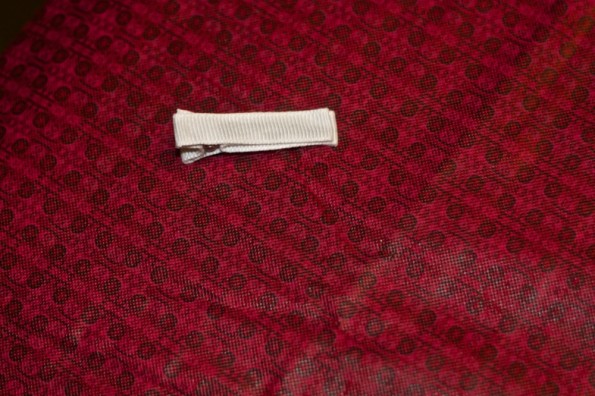
hot glue ribbon all around it
Step 2: Cut your 5/8″ ribbon into 6 equal parts and glue them.
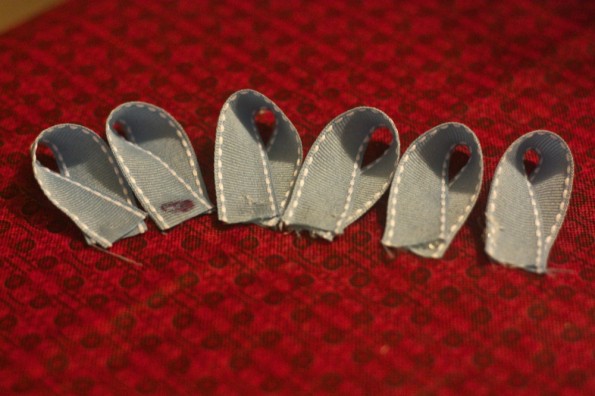
cut strips equally and make sure you cut them double the width you want the bow (they are basically folded in half)
Step 3: Glue strips around into the shape of a flower and glue button in the middle. Then, glue bow onto covered alligator clip.

Cute daisy bow in my daughter’s hair
Okay, I couldn’t leave my other sweet babe out! Here is the most simple clip ever! All you do is step 1 and glue buttons on it!

Here’s another clip that is so easy. Just repeat step one and glue buttons on it!
Perfect clip for her outfit. It cost around 10 cents!


