Enchanted Mommy

The Best Way to Clean Walls!

So I have to consider myself an expert in wall cleaning… mostly because I have 3 crazy boys and babysit 2 more boys full time (this equals a lot of fingerprints!!!!), but also because I have moved A LOT.

We are just getting ready to move again this week (to Florida this time Yahooo!) and this will be our 11th move in the almost ten years we have been married.  Crazy right!  I should tell you that the first 6 moves happened before we had kids .

Anyway, I have gotten pretty good at doing my move out check list and have discovered the best overall way to clean walls.  It will keep even your white walls looking perfect (even when you have 5 crazy boys running around your house like I do!).

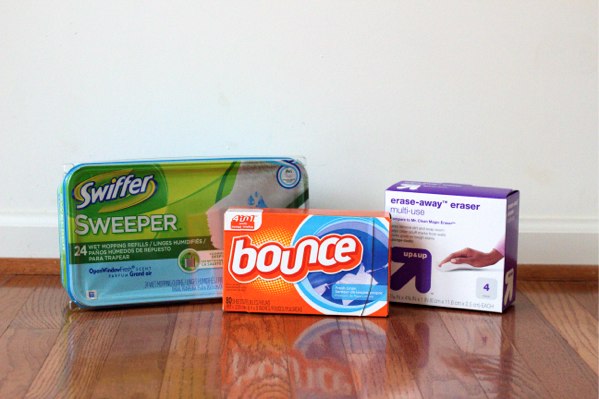
The only supplies you need!

1.  So the first step to cleaning your walls is to dust them.  Sounds silly I know, but if you start cleaning your walls when there is dust on them already you end up smearing the dust across the wall and giving yourself a bigger mess to clean.

2.  After you dust, go over all the spots that stand out with a magic eraser.  Those things are golden!  I practically buy target out of the generic version every time I move. Ha!  They clean pretty much anything (crayon, marker, scuffs, you name it).  Soak your magic eraser in water, squeeze it out, and just start scrubbing.  The magic eraser can often leave a water dripping marks down the wall, but don’t worry about this just yet.

3.  Now  get a box of wet Swiffer’s Sweepers and wipe down the whole wall.  The Swiffers really work awesome and make your walls smell nice and fresh!  You can always just fill up a bucket with a multipurpose cleaner and use a wash rag to wipe down the wall too.  I use the Swiffers because it is so fast and easy… makes an obnoxious job up a cinch!  This will clean up any water marks left from the magic erasers.

4.  Last step is to use some bounce dryer sheets to dust the base boards.  I just started using the dryer sheets and I can tell you it makes all the difference!  The dryer sheets don’t just clean your baseboards, but they prevent dust and hair from getting stuck to them in the future.  Win!  Then you rarely even have to clean your baseboards.  (The dryer sheets also work great on the bottom of your stair railings and prevent build up there as well).

There you go… some moving advice from a moving professional!  Ha!

My Mother’s Day Gifts – – Reviewed!

I’m not writing this post to put out there my gifts, in fact I personally hate it when people do that.   I’m reviewing my gifts for you because I think they are two things that are great for moms or women in general.

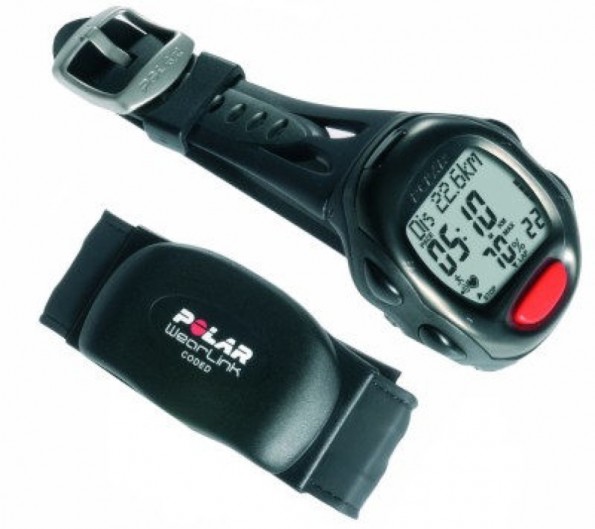
I go to the gym, so what if it’s partly to get a break from the girls/life.  I have been eyeing  heart rate monitors for some time.  I wanted one.  I was talking to husband about it for months.  I sent him pics of posters at the gym that had different models on it.  I thought they looked cool on people and the instructors actually interacted with the women that wore them.  I was talking to one girl at the gym and she said hers was $200 something.  Ha, I knew I wouldn’t get one that nice for sure.  So…. I told my husband that I didn’t care about the GPS, I just wanted a good reviewed watch that could tell me my heart rate along with the calories that I burned during the workout!  This is the one I got:

heart rate monitor

Polar RS100 Heart Rate Monitor

It sells for $81.73 on Amazon (way better than the $200 something price).  It has 4/5 stars with 125 reviews.  My husband is big on reviews and usually buys something less expensive with better reviews.  I’m completely happy with it.  I for sure thought I would feel the band around my chest, but I don’t at all when it is placed under the elastic of my sports bra.  I did notice that it calculated A LOT LESS calories than the machines actually calculate for me.  Boooooo.  It was surprisingly about half the amount.  Dagger.  At least now, I know the exact amount and can plug it into my daily calculations.

So, I’d say if you’re in the market for a heart rate monitor and don’t care much about the GPS (I could care less about that because I hate hate hate running) or MP3 player, this is a great one.  I really think it’s worth the money and it helps you motivate yourself during workouts.

On to gift Number 2.

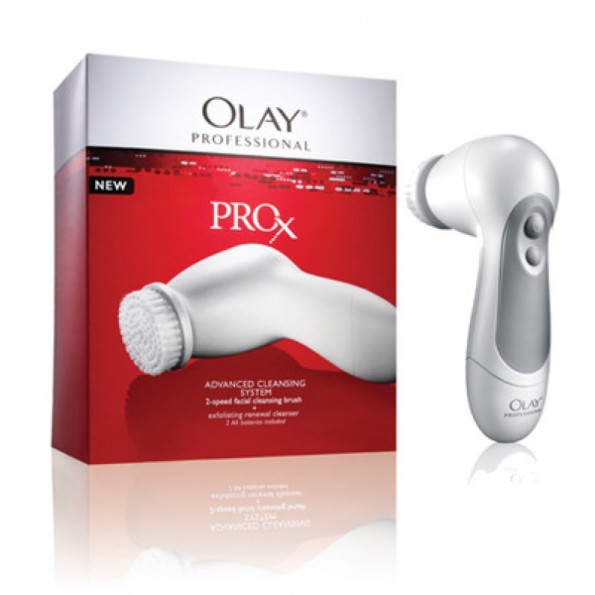
Maybe I’m the only one that notices women at the sink at the gym.  I secretly watch them putting on make-up (possibly because I’m not that good at it) or what kind of round brush they use.  Yes, call me a weirdo.  A few months back I noticed this lady scrubbing her face this this brush-like thing.  It was almost like my electric toothbrush, but for her face.  Of course, I wanted one and then began to notice them all over commercials.  I was telling my husband about it, with no hints, just that I thought they were cool.  I was actually talking about it at a wedding I was in not too long ago and one of the girls was talking about the brand she had.  I definitely didn’t remember, but I think it was expensive.  So, from the girls he got me this one:

Oil of Olay ProX

It is $21.97 on Amazon and I LOVE it!  My face feels so smooth every night.  I would definitely recommend this to everyone.  This one had 4/5 stars with 620 reviews.  There were several people saying that they had a more expensive one before and this one did just as great of a job.  It comes with a little tube of wash to get you started.  If you have the $22, seriously order it right now.  You won’t be disappointed.

I guess my gifts weren’t the sappy or some piece of jewelry (that I would probably NEVER wear), but they are something that I use almost every single day.

Thanks Brian for making me a Mama.  Love you!

Two Week Work Out Challenge: Drop one size!

I have been seeing all these work out challenges on pinterest lately and decided to try one out.  After all, my little brother is getting married this summer and why wouldn’t I want to shrink a size for the wedding!?!?!

So I decided to go with the science tested 2 week cardio and strength program from Prevention.com published last November.  It basically has you trade off walking 30 minutes one day and interval walking the next (Changing up the speed you walk to higher, lower, and moderate intensity throughout your walk) with 5 different strength exercises each day.  I figured, it would be a hard two weeks, but I can commit to anything for a two week period!  So I promised myself to follow it through and record my results.

It worked!  I lost 1 .5 inches from my waist and 1 inch from my hips along with 10 pounds of weight loss in 2 weeks!

I was down a size and the smaller size fit loosely!  I hope to continue this program for another few weeks.

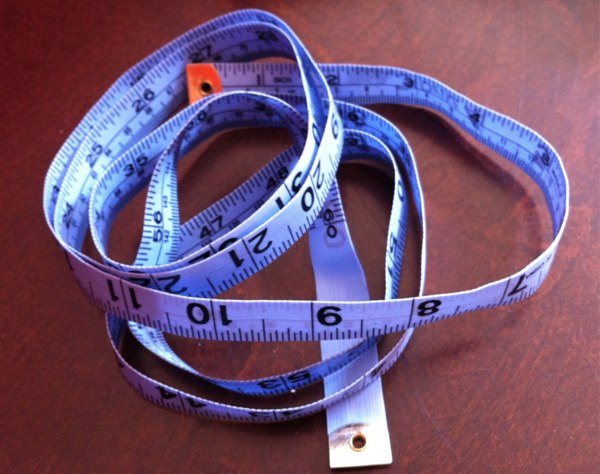
Don't forget to take your measurements once a week! It makes all the hard work worth it!

The success in this program comes from doing slower repetitions in your strength exercises.  Each exercise is done while counting 6 to 8 slow seconds.  The slower reps make your muscles work harder and therefor increases your strength twice as fast.  As your strength increases your muscles help you burn calories faster.

I loved that this program did not take a long time out of my day and that it wasn’t overly strenuous.  You also dont need a lot of equipement to do it… in fact, all you need are some hand weights.  You only walk or interval walk for 30 minutes and it takes about 15 minutes to do the strength activities.  You also rest one day a week.

So here is the run down:

Day 1:  Walk for 30 minutes, Strength plan A (mostly core work)

Day 2:  Interval walk for 30 minutes, Strength plan B (mostly a lot of different squats with arms)

Repeat through day 6 and rest on day 7.

Start over for the 2nd week, only try to work harder by doing more reps, or pushing yourself harder on your interval walks.

So what do you eat?  I didn’t do anything special for my diet during the two weeks.  I just tried to make healthy choices and focus on choosing more fruits and veggies during the day.  I admit that I even had chips and guacamole a couple times.

I did push myself hard during the workouts.  The regular 30 minute walk was a 30 minute jog for me and the interval walk was a more of a sprint, walk, sprint walk interval.  I was really busy playing outside with the boys one day and didn’t find time to officially do  my strength workout so I just  did the squat workouts (strength plan B) without hand weights while I was outside watching the boys slip’n slide.

Anyway, check out the site here to see the detailed instructions of the strength plans.


Preschool: Introducing the Letter F

I’ve been working on the alphabet with my two year old!  Today, we focused on the letter F.  I am going to share all of our fun activities we did with the letter F.

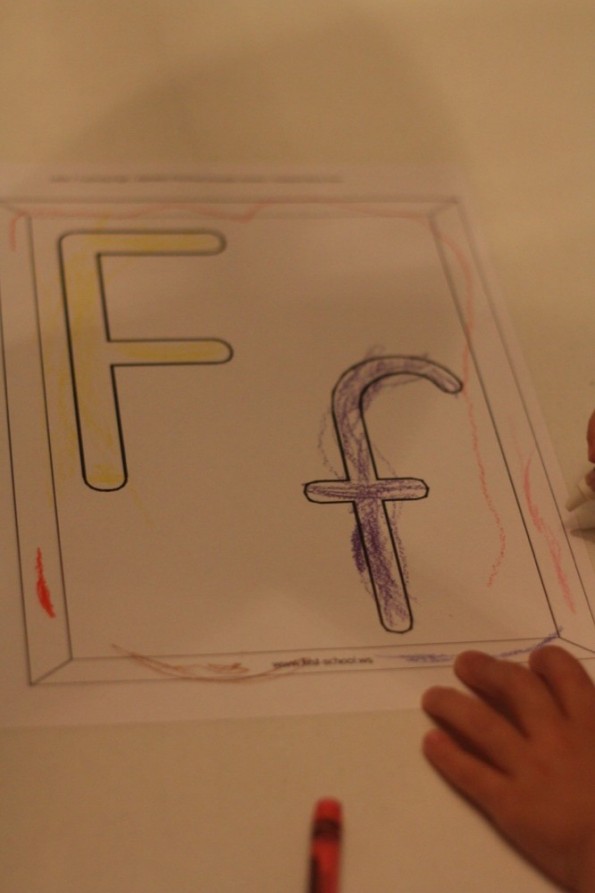
First, we colored the uppercase and lowercase F which I got the template here.

learning the letter F

Coloring her "F"

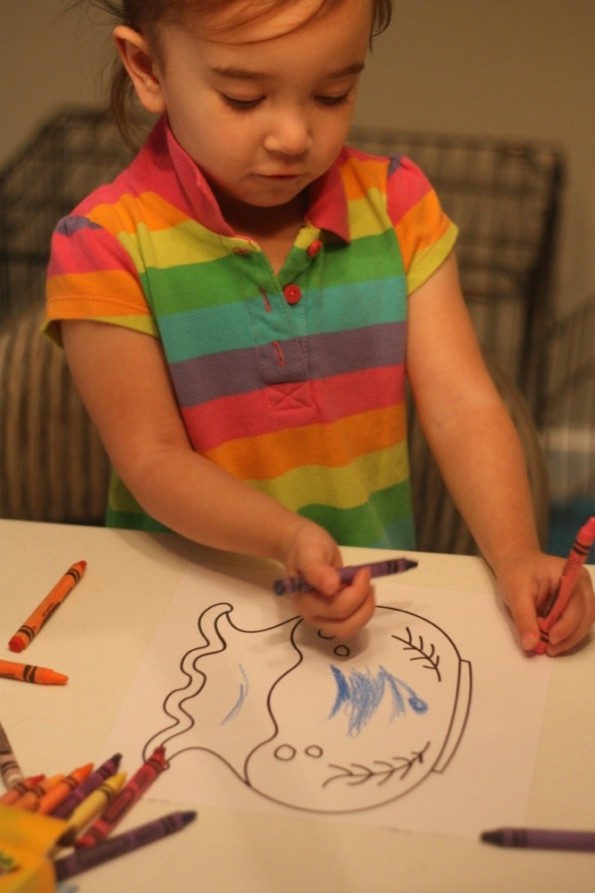
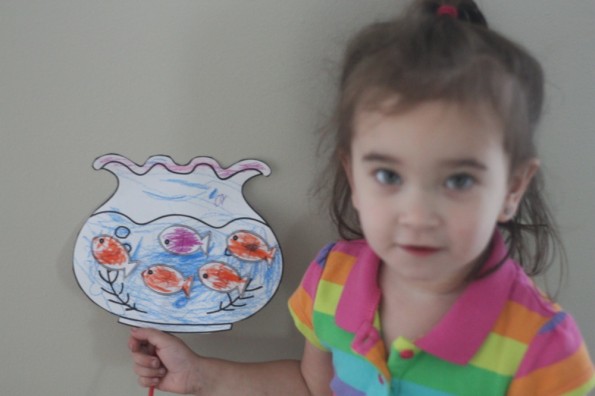
Next, we colored a fish bowl and colored the fish, template found here.

learning the letter F

Coloring her fish bowl.

learning the letter F

She's proud of her fish bowl!

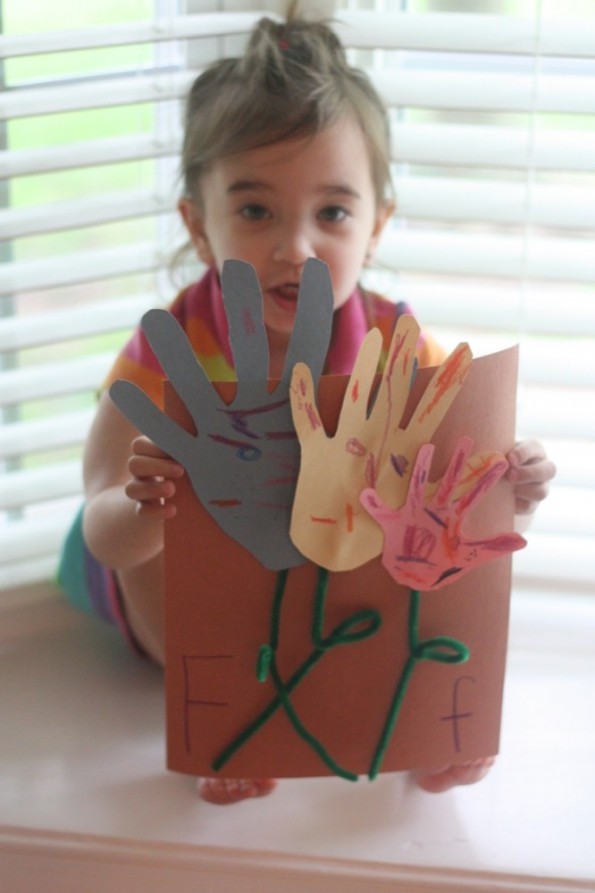
We (mommy, daddy and Ella) also used our hands to make Flowers!

leaning the letter "F"

She also made flowers out of hands.

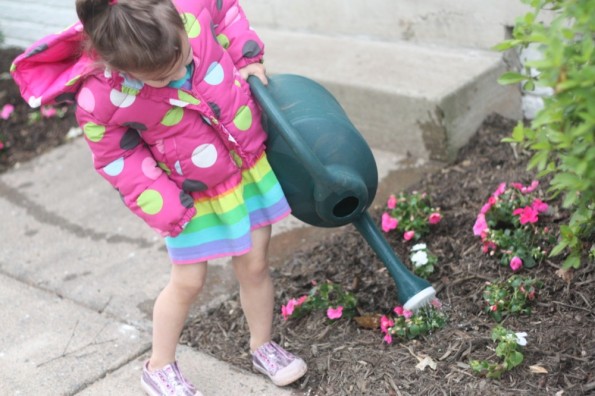
She even helped mommy water her Flowers.

learning the letter f

Ella helped water flowers.

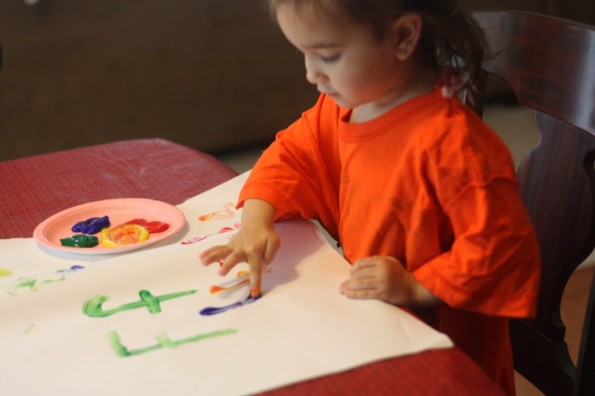
We used finger paint to incorporate the letter F.

She also painted with her fingers.

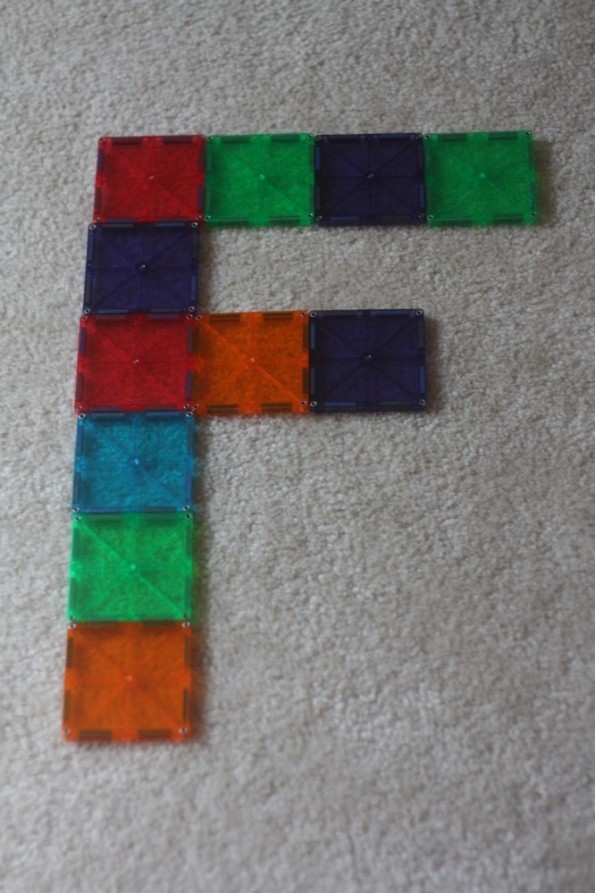
Lastly, we used our magna-tiles to create the letter F.

learning the letter F

We made an F with the magna-tiles.

Each letter has so many ways to learn it!  Check out some of the other letters on this site!

Letter B | Letter C | Letter H |  Letter I  |  Letter K |  Letter L  |  Letter Q  |  Letter R  |  Letter W | Letter X

What To Do When It Rains!

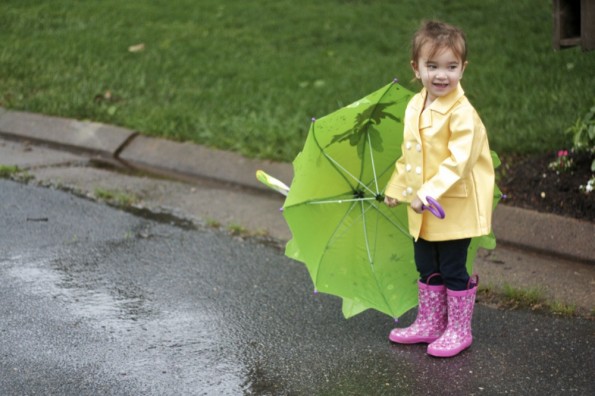
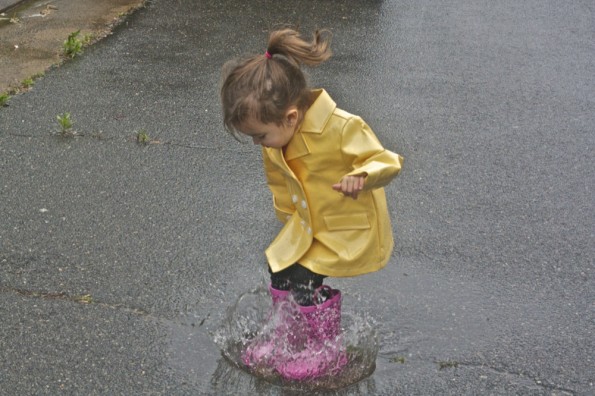
Cute girl playing in rain

It is also a great picture idea!

I often thought that my two (almost 3) year old would enjoy playing in the rain.  Boy did she ever!  She had so much fun that she cried when she had to come in.  You know… that thing called my little sibling just woke up from a nap screaming.  She was soaked head to toe by the time we came in, but I repeat, she had so much fun.

Loving the rainy weather.

One of the most fun things she's ever done.

I encourage everyone to let their kids play in the rain.  It will definitely be a memory.  It also makes that dreary day seem fun.  My daughter couldn’t wait for her dad to come home and tell him how much fun she had!

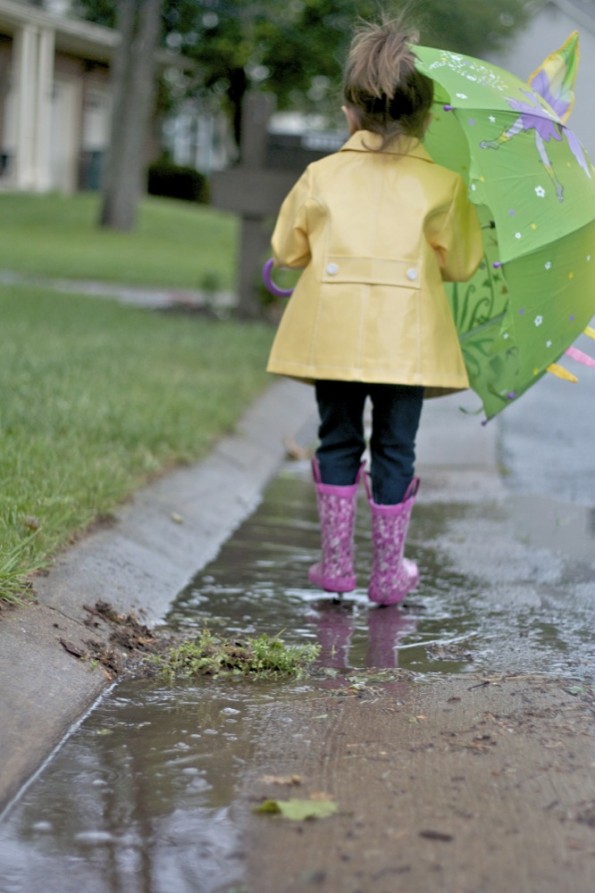
Playing in the rain

Just a little puddle jumping!

Then, they have to come inside and take a bath.  Make that a fun experience too!

Seven Uses for Plastic Easter Eggs After Easter

(Note from Dana: My sister in-law sent me a text stating she had some great uses for leftover Easter eggs and wanted to guest post.  I was like for sure!!!!  Read the post and check out her own blog here!)

Well the Easter bunny has done it again. I’m not quite sure how it happens. Especially since I am very close with the Easter bunny and monitor her spending habits very closely. It seems at some point in the preparation of Easter baskets, the Easter bunny placed a “bunny” blessing on our plastic eggs because they seem to be multiplying faster than bunnies do.

Just when I think I’ve tracked down every last plastic egg, I find another one in a couch cushion or my shoe. This wouldn’t be so annoying except for the fact that it’s usually not an entire egg: just half.

As a mother of three preschoolers, we accumulate a lot of plastic eggs. In addition to the Easter bunny, we have church egg hunts, family egg hunts and preschool egg hunts. This amounts to roughly 5,000 plastic eggs (maybe I’m exaggerating, but only by a little).

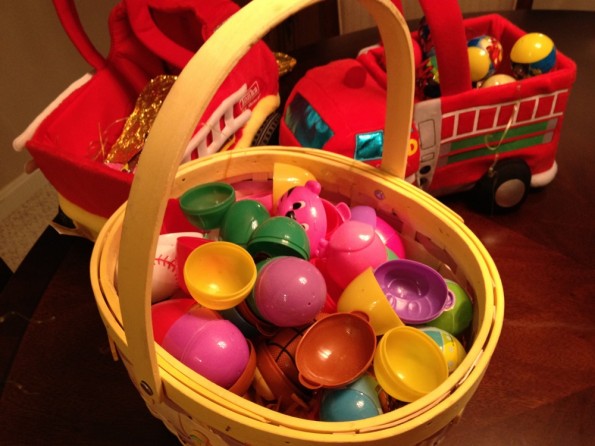
What to do with leftover Easter eggs

My kids' leftover eggs!

In the past, I’ve saved the plastic eggs for the following year. In five years, I’ve accumulated quite a stash of eggs. There is no need to keep new ones this year. Instead of throwing them away, I’ve found several uses for the plastic eggs.

  • Use them as bath toys. Most eggs have a little hole in the bottom of the egg. My kids love to fill them up with water and watch the water drain out.
  • Make an Easter egg wreath. There are a million ways to make these and they are all over Pinterest. This is a perfect time to make an Easter wreath because any additional accessories you might need (i.e. ribbons, additional flare, etc.) will be on sale.
  • Make a set of “play” eggs. The next time you buy real eggs, save the container and fill it with plastic eggs. Your kids will love this new addition to the play kitchen.
  • Use them to teach your child to read. Check out this recent post that uses eggs to help new readers learn new words.
  • Use them as prize incentives. One thing I love about plastic eggs is their size; they perfectly hold a temporary tattoo or sticker. My kids love rewards and they love surprises. Keeping some eggs year-round to fill with little treats is a great way to motivate your kids.
  • Donate them to your local Humane Society. Apparently, cats love to chase around plastic eggs filled with food. This helps with their mental stimulation and development. Not all Human societies collect plastic eggs so make sure you call before you show up with your bag full of eggs.
  • Give them back. If you attended any community egg hunts, you might be able to donate your eggs back after Easter. Not all organizations want to store the eggs for a whole year but some might. It takes a lot of eggs to host a community egg hunt, so if they are accepting eggs this is an easy way to get rid of your entire stash.

Having trouble deciding which one to choose? And this list is just a start. There are a ton of craft ideas that use plastic eggs. The good news is you probably have enough eggs to do them all. Twice.

Tips to Navigate the Magic Kingdom at Disney World!

Planning a Disney trip this year?  We just got back from Orlando and I wanted to share some tips on how to navigate the Magic Kingdom.   We had so much fun even though we went during one of the busiest weeks of the year… spring break!

It was crowded, but I was really impressed with how well Disney manages such a large crowd.  I did talk to one of the employees on the tram back to the parking lot and he told me that the best time to come is late september and October.  He said that spring break, summer, and the month of December will have the biggest crowds there.

1.  Get there early!  Plan to be there at least 30 minutes before the park opens.  The parking lot is very intense and it will take you that long to get to the gate.  You have to first take a tram from the parking lot to the kiosks.  There you can buy your tickets and then hop aboard a ferry boat or a train that will take you to the entrance of the Magic Kingdom.  If you get in the park right as they open all the Disney characters are right there doing a welcome song and dance as you walk in.  It is pretty cool to see, plus you can get a lot of your pictures done first thing without having to hunt for the characters through out your day.

2.  Let them take your picture!  They will hand you a card when they take your picture at the entrance.  You can use this same card the entire day each time you want a family picture.  You just hand them your card and they scan it, take the picture, and hand it back.  After you get home there is a website on the photo card (disneyphotopass.com) you can go log in and view, share, or order any of the pictures you want.  There are employees all over the place and they do not mind taking pics for you from your camera or iphone either.

3.  Bring lots of snacks and drinks!  Besides glass bottles, you can pretty much bring in whatever you want.  I packed a backpack full of bottled water and snacks and passed them out to the kids while whenever we were in line somewhere.  It kept the kids busy while waiting in line, plus it kept them full and we avoided buying food at the park.  If you want to buy a meal at the park I would suggest doing it around 345pm.  The dinner prices start at 4pm so that is your last chance to get a big meal for the lunch price.  It is late enough that you can make it the rest of the day with just the snacks you packed.

4.  If you need to bring a stroller make sure you distinguish it somehow.  There are gazillions of strollers in the stroller parking area and sometimes the disney employees even move them around a bit to keep them organized.  Our stroller was not always in the same spot we left it when coming back from a ride.  We got some bright orange ribbon for 75 cents at the craft store and tied a bow around the handle to make it stand out.  Some people bought balloons and tied that to their strollers too.  The last thing you want to do is spend 10 minutes looking for your stroller in the crowd of strollers!
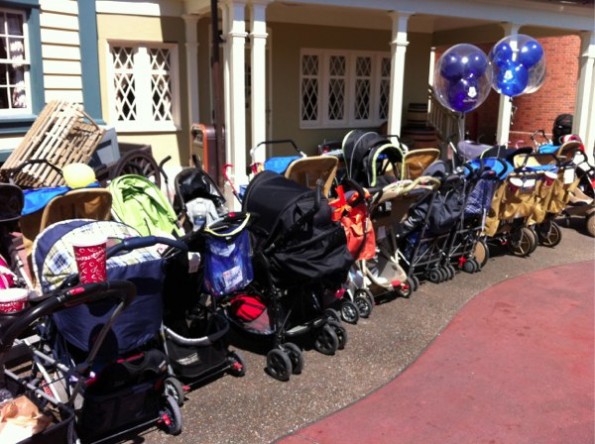
This is actually one of the smaller stroller park areas we used near the Haunted Mansion. Ours is the stroller with the orange ribbon tied to it. You can easily see how useful this was!

5.  Use the fast passes!  Here is how the fast passes work.  In front of the major rides there is a fast pass kiosk.  You put your admission ticket in and it prints out a ticket with a time printed on it of when you need to come back.  Come back during this time and you enter a fast pass line that is dramatically different then the regular line.  For example:  We used a pass on Space Mountain.  The regular wait time was 85 minutes and we only waited 12 minutes using the fast pass line.  Don’t waste your fast passes though…  once you have printed a fast pass you cannot get another for a couple hours so pick the rides you want to use them on wisely.  I would suggest using them on the mountain rides (Splash, Space, and Thunder mountains).
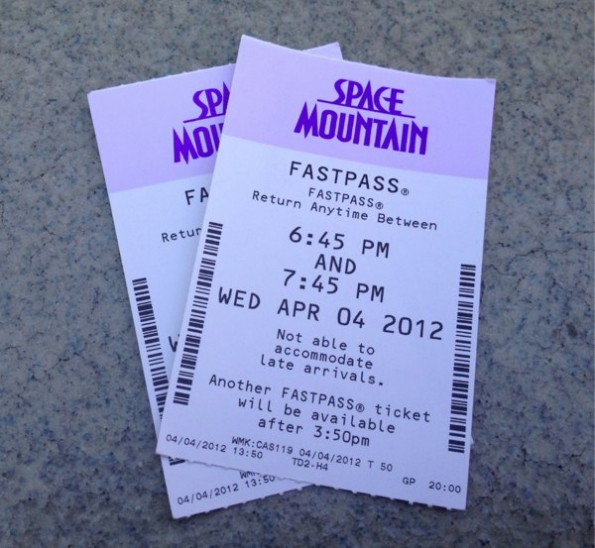
This was our 2nd round of fast passes to Space Mountain. As you can see, we got the tickets at 1:50pm and were not able to get any more fast passes until 350pm

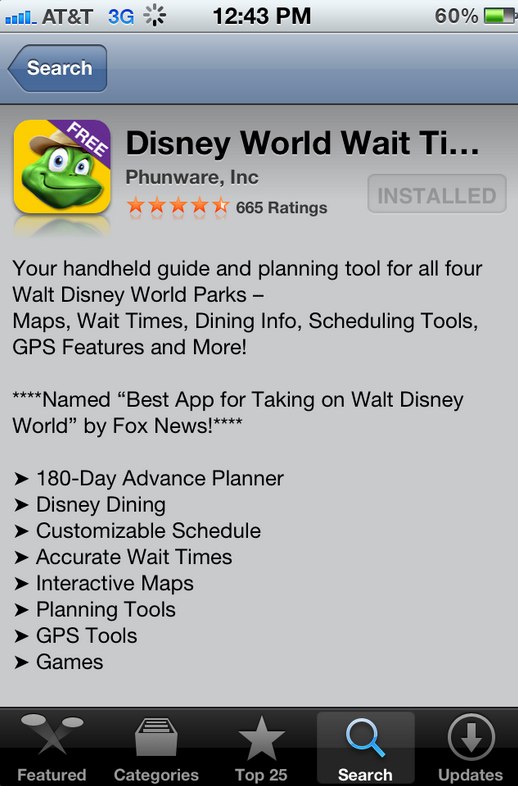
6.  Use the free Disney app to estimate wait times.  This was incredibly useful and helped us decide which rides to go on and when.  We used the Disney World Wait Times app (has a picture of a frog on it).  It was easy to use and also has a map of the park on it.  You can also make lunch or dinner reservations and find where you favorite disney character is using the app.
6.  I strongly recommend hitting up the classic rides in Fantasyland first.  These are the famous Mad Tea Party,  Flying Dumbo, Winnie the Pooh, Railroad, Prince Charming’s Carrousel, etc..  If you dont do them first thing then you may not get to later on.  They are very popular and the lines get pretty long later in the day.  With all the other rides at the park I didn’t want to wait 40 minutes just to ride the tea cups if you know what I mean.  Plus it gives you something to do while you wait to use your fast pass to nearby Space Mountain.  🙂

7.  Stay for the parade and fire works.  It makes for a long day, but you wont be disappointed.  They really put on a great show.  Dont underestimate the day time shows either.  They give you a time to sit and relax for a bit and they really are well done.  We went to the Monsters, Inc. Laugh Floor Show.  It was pretty funny.  I think I enjoyed it as much as the kids.  You can text a joke into them on your way in to the theater and they  really do try to use them in their act.
 

My Sweet Girl’s 1st Birthday!

I love celebrating my girls birthdays!  I always say that the next birthday will be more simple and less crazy on my end, but I truly do love it.  We do everything ourselves, so I try being creative when I’m putting the party together.  We did celebrate Anna’s 1st birthday twice by doing a shared family party for her and my great nephew  (there are 35 people in mine and my husband’s family) and a friend party.  Here are some of the fun things I did to make Anna and my guests enjoy the time.
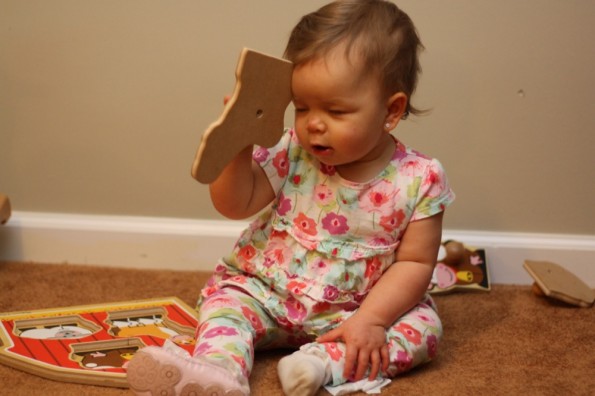
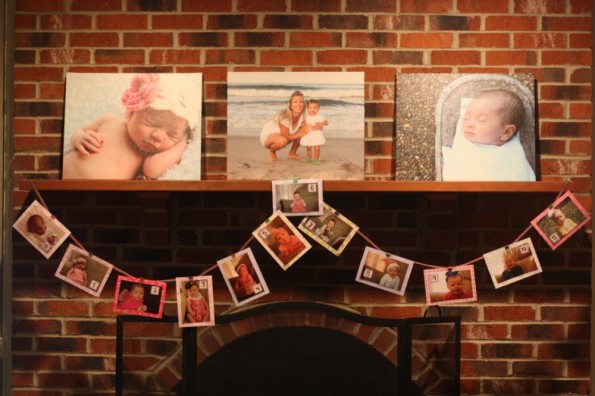
month birthdays

I took a picture on each of her month birthdays and created this!

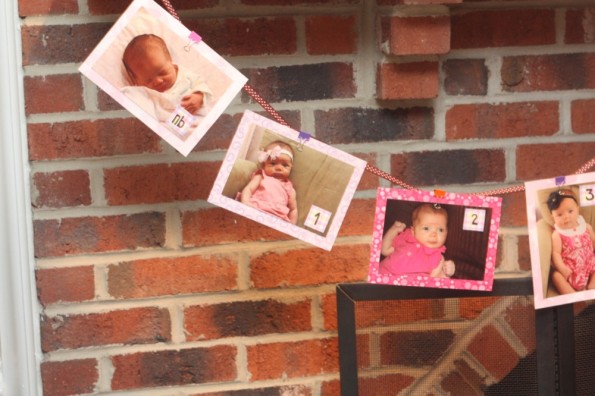
1st birthday party idea

Here is a close up of Anna's first 3 months. A fun and cute idea to see how much your baby has changed in one year!

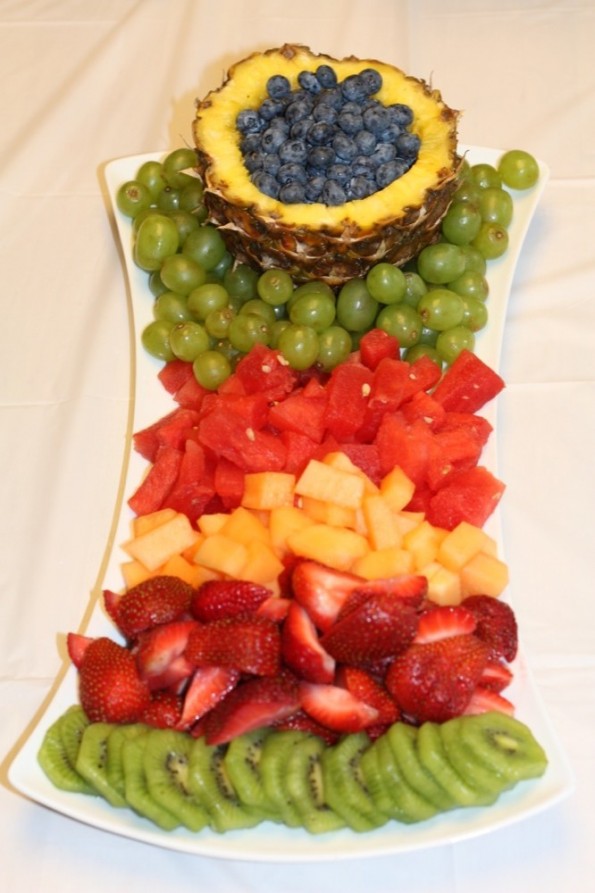
FOOD FOOD FOOD!

Remember, people eat with their eyes.

Fruit tray

My husband did this fruit platter for our sweet girl!

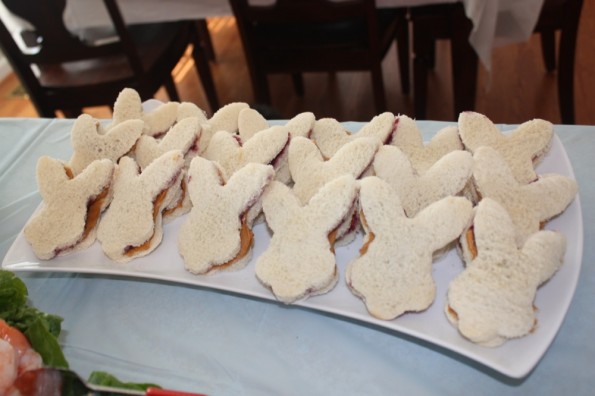
Even the kids, make sure you  make things that they will enjoy.  I just used a bunny cookie cutter for this since it was close to Easter.  I’ve seen people also use cookie cutter letters that spell out things.

Peanut bunny and jelly sandwiches.

Always remember to do cute things that the kids will eat!

CAKE CAKE CAKE!

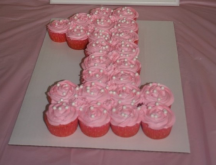
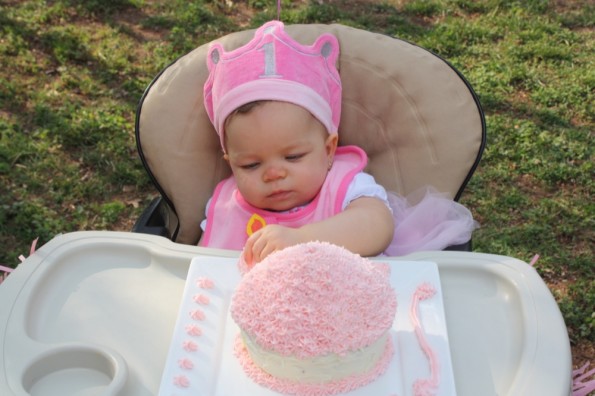
For the family party, I did the smash cake (my mother in-law iced it because I was running out of time).  I love the big cupcake cake for smash cakes.

1 year old smash cake

Perfect for a smash cake and so easy!

I also did a cute smash cake for my other daughter’s 2nd birthday.  Check it out here.

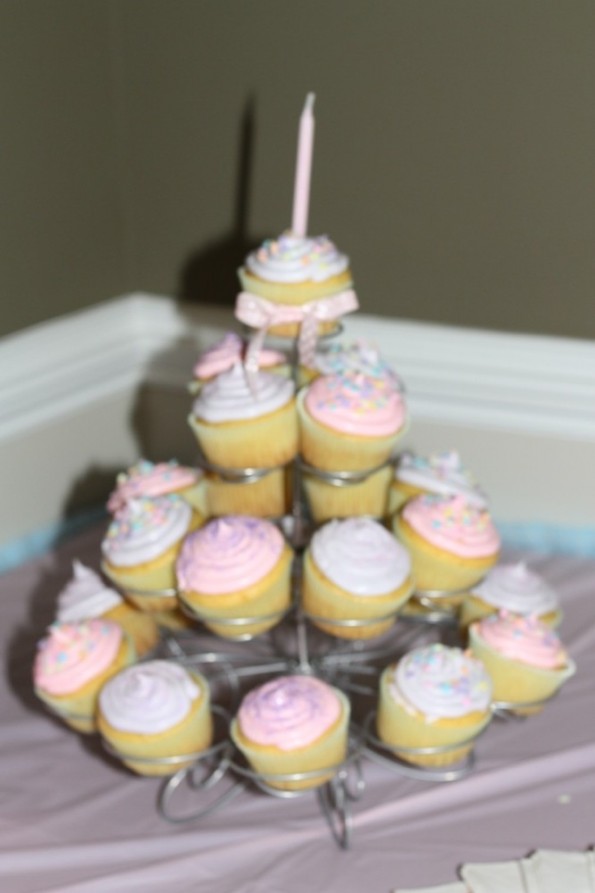
I made cupcakes for her friend party.

Sorry for the blurry picture, but I made all of these for $5 and it was so simple.

FUN FUN FUN!

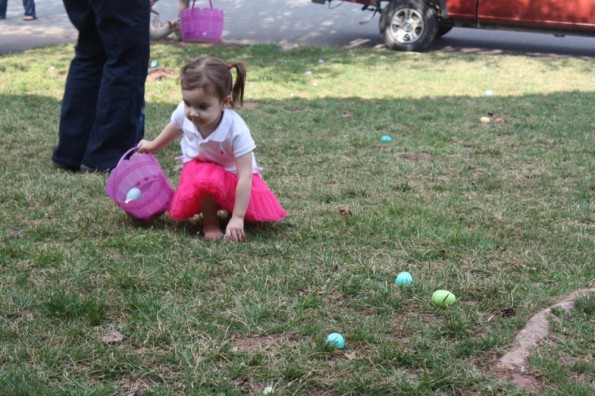
The parties were so fun!  Even if it is a 1st birthday, remember all of the kids that are there too!  We did an Easter Egg Hunt at both parties because it was close to Easter, but heck, kids like hunts any time of the year.  You could even just throw candy in the grass and send the kids out to find it (in wrappers of course).  

My 2 year old, Ella, doing the egg hunt!

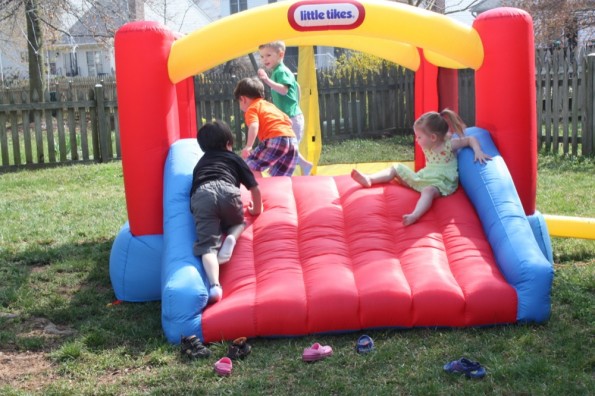
We also invested in a bounce house last year for my daughter’s 2nd birthday that we bring outside for parties.  They are kind of pricey, but we keep it in our basement when we don’t have guests over.  The girls jump in it down there almost every night.  

bounce house

Definitely worth the money when hosting a party! It was the hit at the party.

I cannot believe it’s been a year!  Happy Birthday, sweet Anna Belle!

Eat it up girl!

 Happy Birthday Party Planning!


Personalizing Your Thank You Card!

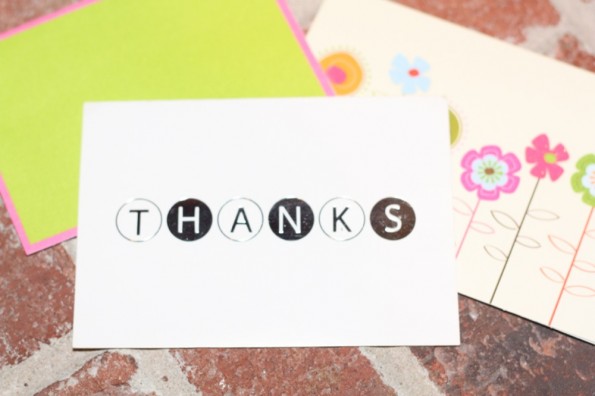
I recently received a thank you email from a friend’s party.  It wasn’t your ordinary thank you card like these:

Thank You card

These cards are nice, but they aren't personalized. Sure, you can say thanks, but can you show it?!?!

It was an email of her son playing with the toys we got him along with him wearing his outfit!  This takes a little thought, but it really does show the child enjoying their gift.  It makes it special.  I mean face it, most people read the ordinary cards and throw them right in the trash.  It is great and you should send a note of thanks, but adding a personal touch makes it fun.

I recently did this for my daughter’s 1st birthday (a much bigger post on that later).  Here are few thank you’s:

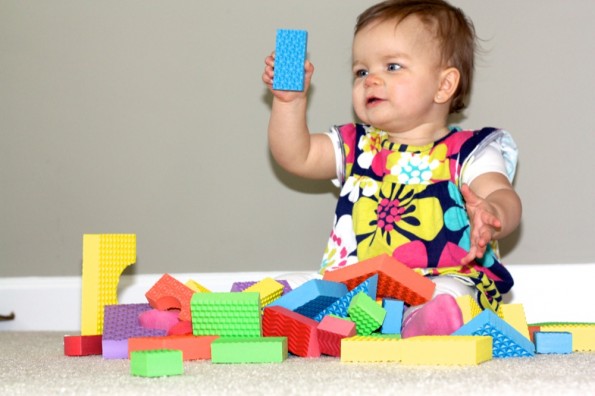
Thanks Jasmine, Roman and Ryker for my edusquares!

thank you card

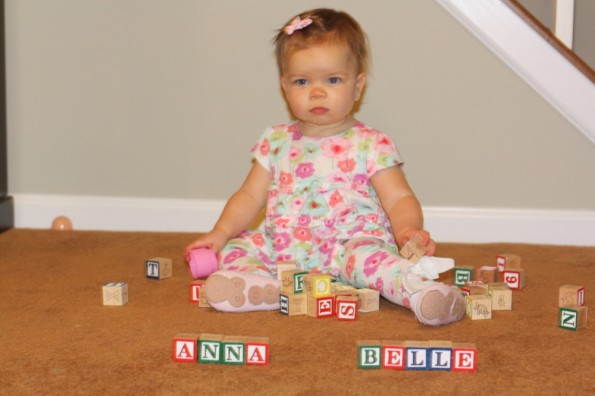
Thanks Aunt Jane for the blocks!

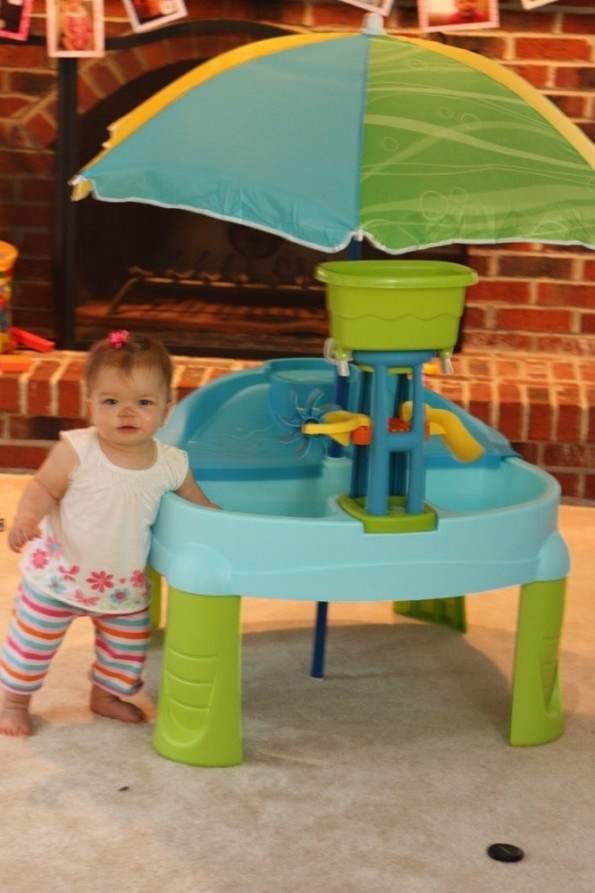
Thank you Aunt Angela for my splash table!

Thank you to the Hinckley's for my puzzle!

How cute is this?!  It really only takes a moment and it will make your gift giver smile!