Enchanted Mommy

How to Remove Sharpie — Who Knew?!

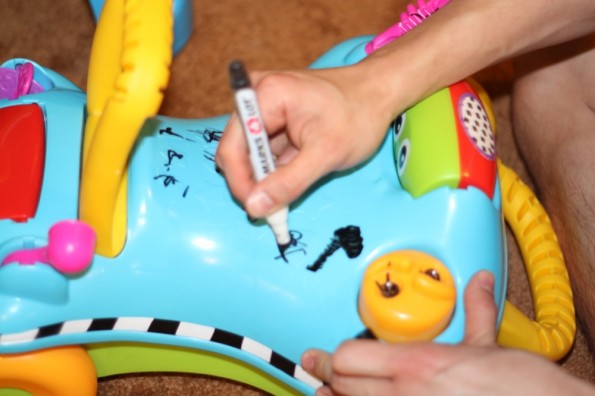
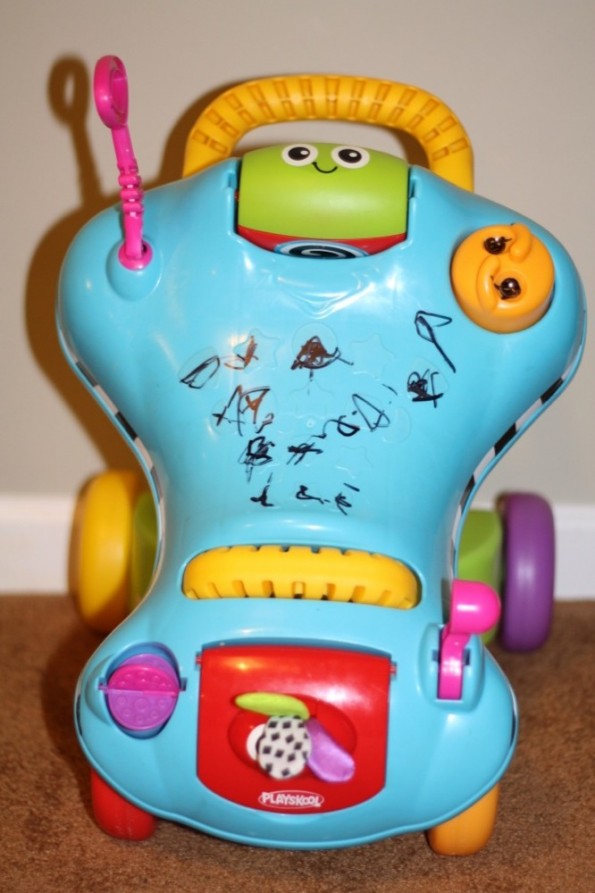
Sharpie all over toy

Those little sneaks!

This past weekend we had some friends over.  They also have a two year old who is very close with my two year old.  The adults were upstairs chillaxin and the kids were playing in the basement.  Yes, them being quiet was too good to be true.  My husband went to check on them and bababababammmmm. They had a little party with my husband’s sharpie they found.  Luckily, it was only on this toy and one other– no carpet.  My genius husband knew how to get sharpie off, so I’m going to share!

What you need:

  • dry erase marker
  • windex
  • paper towels

All you do is:

  • Go over sharpie marks with dry erase marker.  Yes, it gets worse before it gets better, don’t worry.
Put dry erase marker

Cover sharpie spots with dry erase marker.

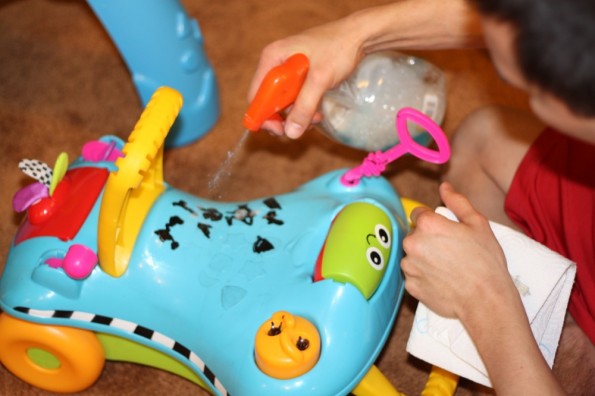
  • Spray toy with windex
removing sharpie from toys

Spray with windex and wipe with paper towels.

  • Wipe over with paper towel.
WAHLAAAAAAAAAA…….
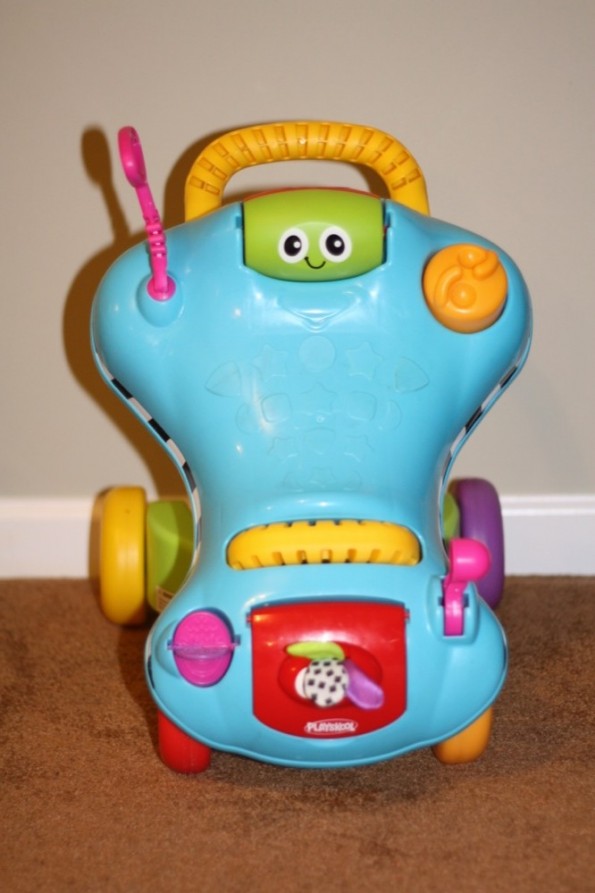
Clean toy from sharpie being on it

Wahlaaaa…. good as new!

There you have it!  Who knew?!?!?!

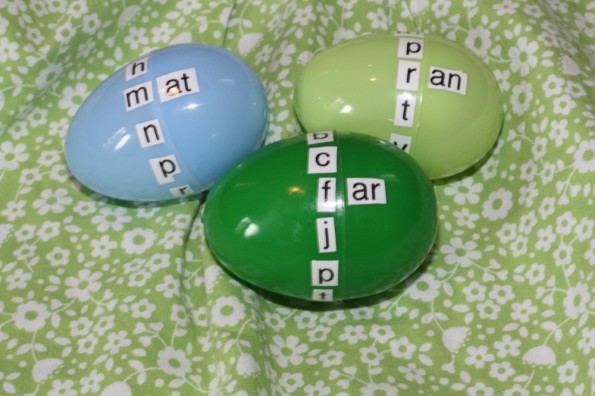
Learning Words With Plastic Easter Eggs!

Easter Egg Words

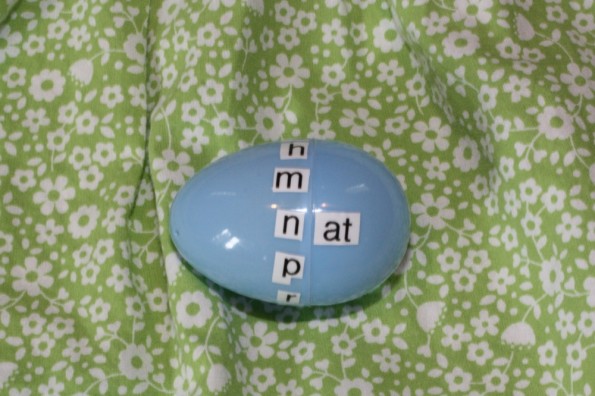
I started with using words that ended in -at, -an and -ar.

Keep those Easter eggs!!!!!  This is an awesome way for your little ones to learn their words!

All you need is:

  • plastic Easter eggs
  • label maker (that is the one I have and a favorite mama item)
It’s so easy and can really help with learning!  I found this on good ‘ol pinterest here.  Twist the egg around and there you have it, several different words!  Happy egg making!
Learning words with eggs

There are endless possibilities with this!

What a Cute Idea During Pregnancy!

My cute husband found this video and I had to share.  What a GREAT idea.  I just love how he kisses her belly.  It will be awesome for them to show Amelie when she gets older!

Share this with all of your newly pregnant friends.

My Top 10 Favorite Baby Items

Of course these are my opinions, but I would swear that these are the best out there!  I will explain each one.

1. Huggies Baby Wipes
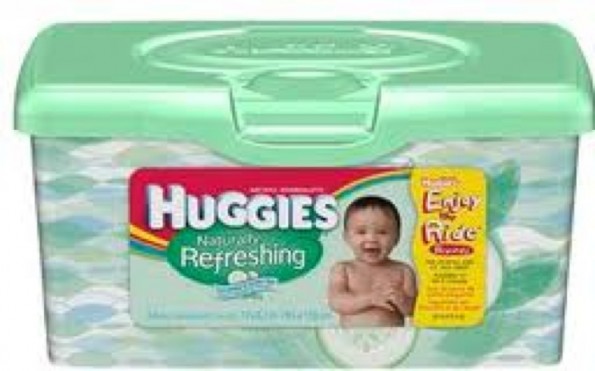
Huggies Wipes

Huggies Wipes

I’ve tried Huggies, Pampers, Sam’s Club brand, Parent’s Choice, Target brand and Wegmans brand.  These are by far my favorite for a few reasons.  They are thick, so they get all the poopie off with one or two.  I also LOVE the way they come out of the dispenser.  You can rip one off at the time.  I also love the cucumber scent.  LOVE THESE!  I’ve found the best price at Sam’s Club.


2. Vick’s Warm Mist Humidifier
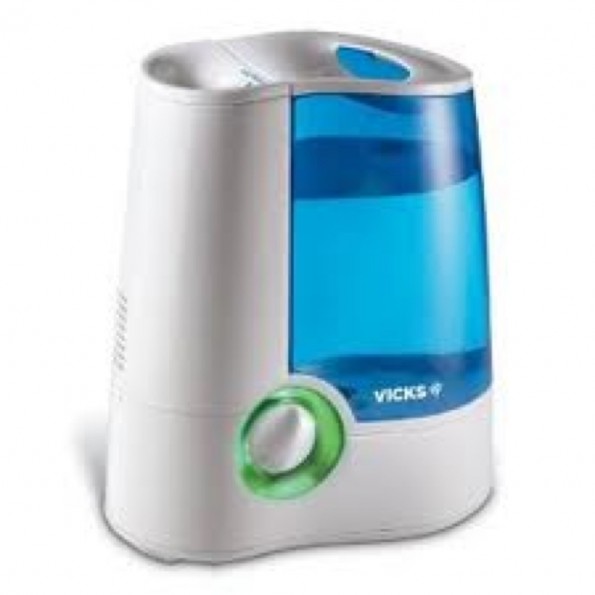
good for colds

Vick's Warm Mist Humidifier

Every mom must own a humidifier.  I use mine all the time, especially in the winter.  This one is my favorite.  I’ve also tried the frog one (they also make a cow and a duck I believe), didn’t do it for me.


3.  Pampers Baby Dry Diapers
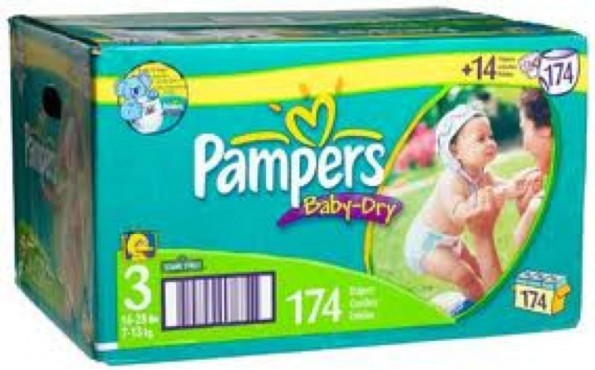
Pampers Baby Dry Diapers

Best Diapers!

I use these once they grow out of the swaddlers– use those for sure at first.  I’ve tried just about every kind of diaper out there.  I am not a diaper snob by all means.  My first daughter did okay with some different kinds of diapers, but not my second.  I even somehow (how I don’t know) washed one of these and it came out totally fine, none of the little beads busted out.


4.  Desitin Butt Cream
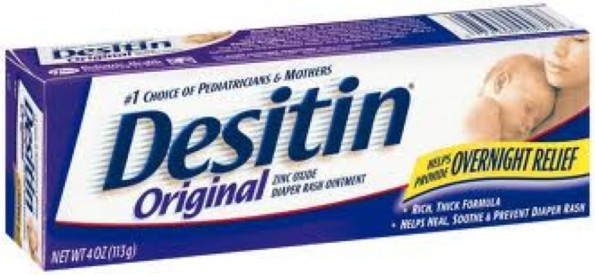
Desitin

Desitin

My favorite butt cream is desitin original.  I’ve tried them all (A&D, balmex, butt paste, petroleum jelly).  For some reason my kids are BIG poopers, it even goes all the way up their back (tmi right???).  This has worked the best for me.


5. Travel Swing
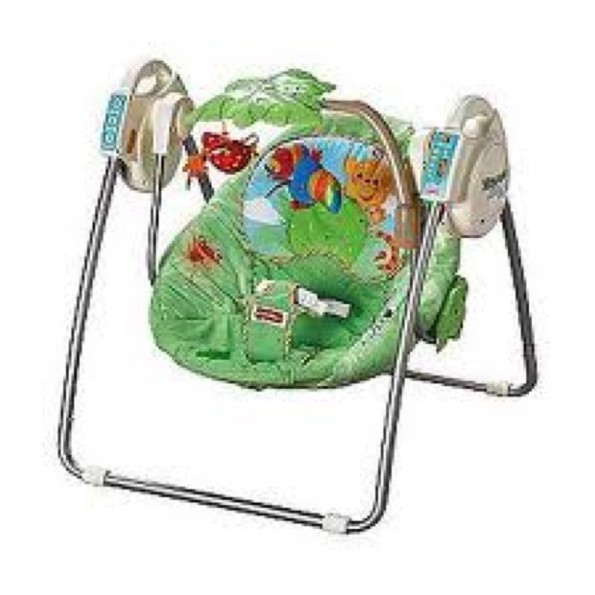
Travel Swing

Travel Swing

These are a must!  You can easily take it anywhere you go or even keep it on a different level of the house.  I kept this in our bedroom and the bigger one in the family room.  Definite lifesaver.  I could shower!


6.  Carters Sleepers
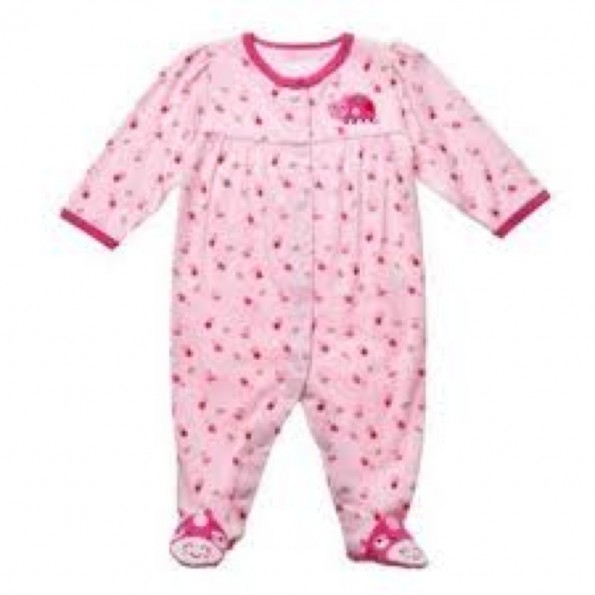
Carters Sleeper

So soft!

Carter’s makes awesome and soft sleepers.  It’s so weird to me to see any baby under 6 weeks in anything else.  These are so comfy for them and very inexpensive.  Remember, newborns aren’t made to show style yet!  I chose this image because my girls wore this same one!!

7.  Avent Bottles
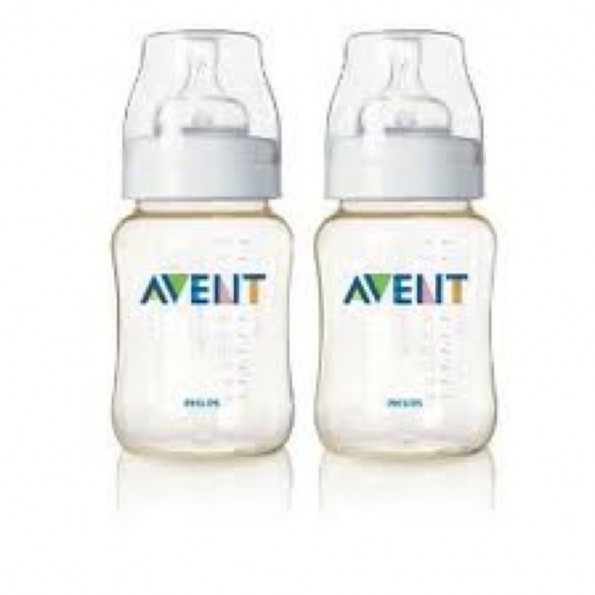
Avent Bottles

Avent Bottles

I am an advocate of breastfeeding, but sometimes it doesn’t work out (I only lasted 6 weeks with my first).  I like these bottles because there aren’t a kagillion parts and they are good quality.  You can also buy handles for them later on when you are teaching your baby to hold them.

8.  Halo SleepSack
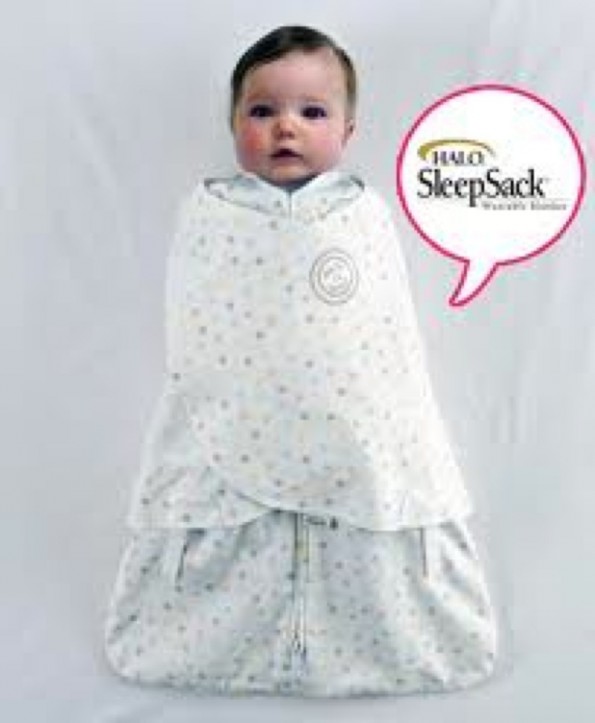
Halo SleepSack

Halo SleepSack

I used to be a big fan of the kiddopotamus sleepsacks, but once I heard it didn’t help with hip dysplasia, I moved to these.  They are a little pricey, but they help your baby feel warm and swaddled like they are in the womb.  My advice is to get 3 for washing purposes!

9.  Lasinoh Lanolin Cream
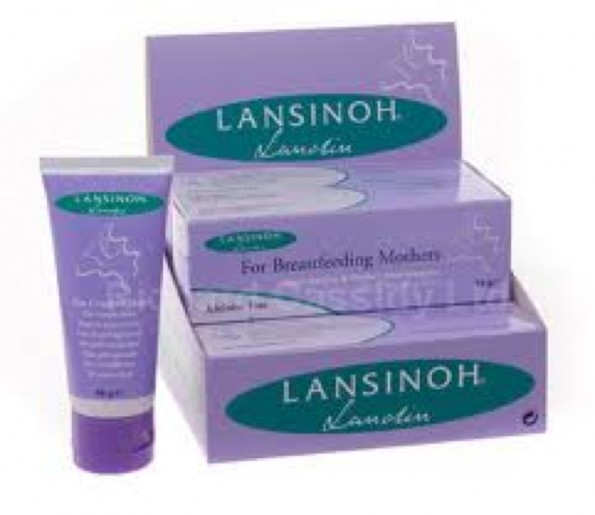
Lasinoh

Lasinoh Cream

Okay, this was a lifesaver for me.  It totally helped with cracking while breastfeeding.  Use this EVERY single time after you breastfeed for the first two weeks and you will not crack or bleed.  Trust me on this.  Some people even use it before having the baby so your nipples are softer and ready to feed.

10.  Jumperoo
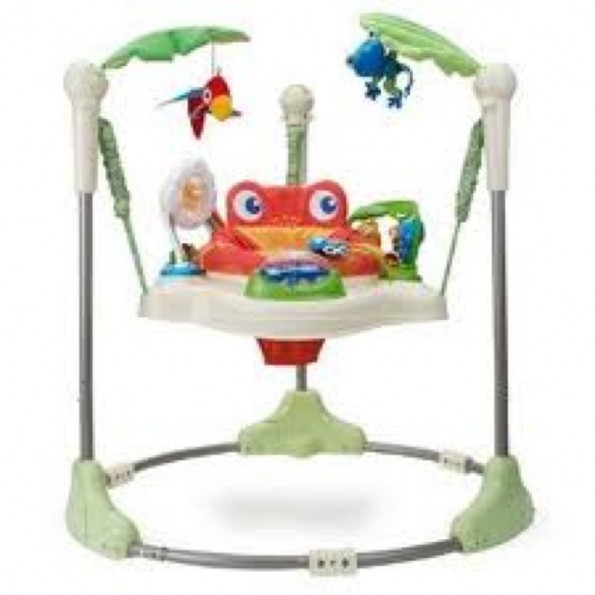
Rainforest Jumperoo

Jumperoo

Both of my girls loved this.  I could spend 30 minutes getting things done while they jumped.  I also believe it really helps with leg strength.  Talk about awesome!


Now, I wish I was Oprah and could give each of you my favorite things.  Bummer.  At least you can register for all of these!  Happy babies make happy Mamas!
Find Fun Things To Do In The Winter

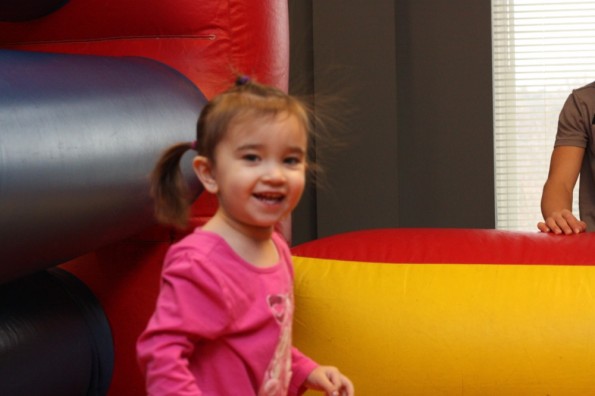
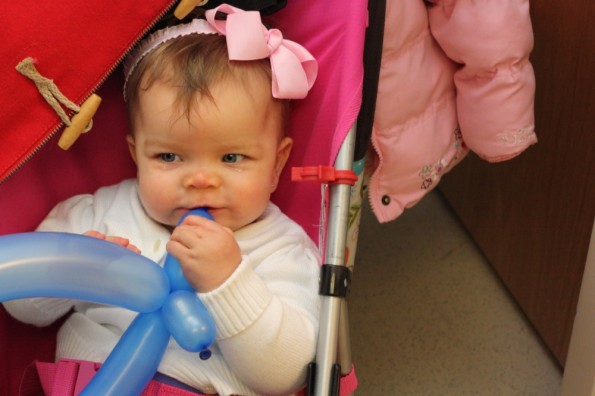
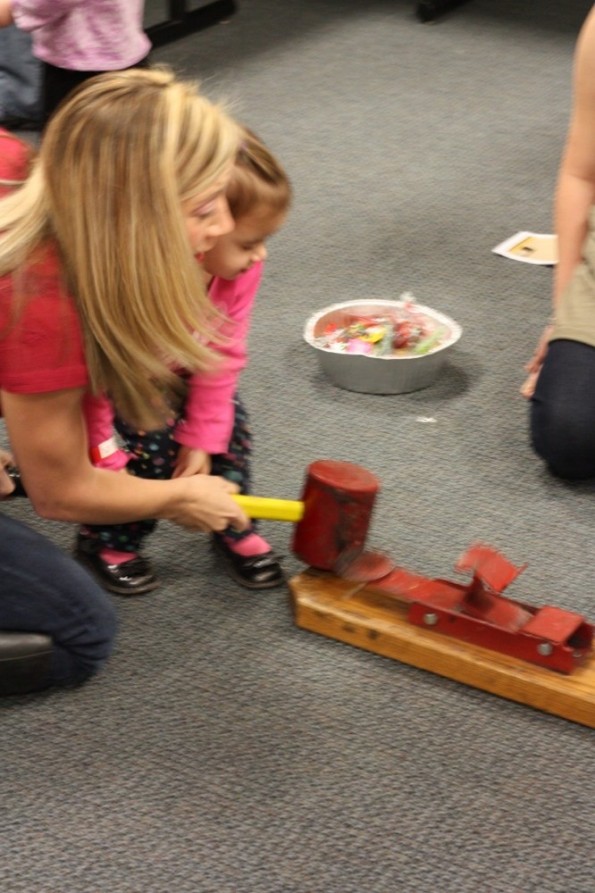
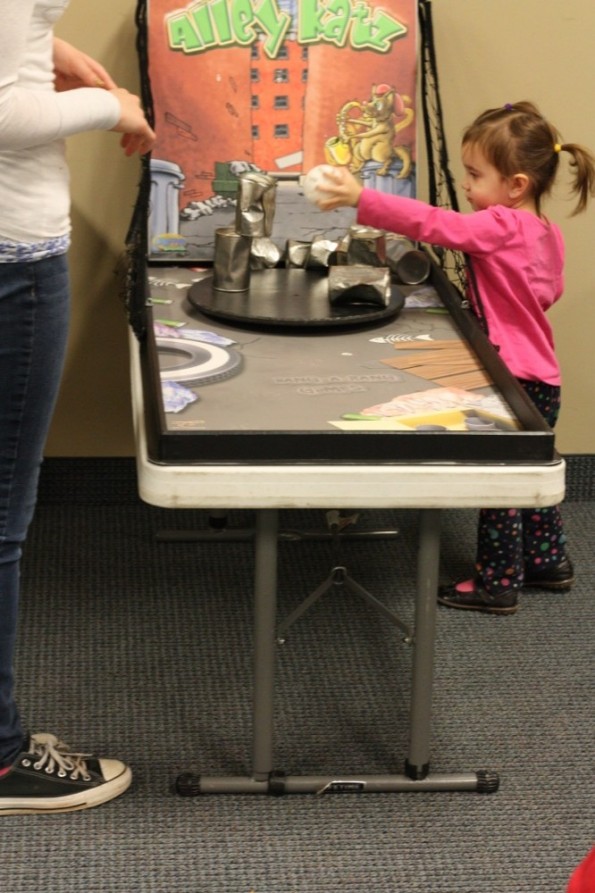
If you think winter is hard on you, imagine being an active kid.  I’m always looking for things to do with my over-the-top energetic 2 year old.  It’s almost impossible to take her outside in the winter while also having a 10 month old.  So, we try to find things to do inside.  Last weekend we took the girls to a chocolate festival at a church.  My girls had a lot of fun!  I feel like churches are always advertising fun things they do to reach out to the community.  This event was raising money for a missions trip and it cost only $5 for each child.  This included balloon animals, 2 bounce houses, lots of games and candy.  They also tried raising money by selling baked goods and served lunch, but you could just get away with the $5 per child.  So cheap and such a great outing.

bounce house

Having fun in the bounce house!

Balloon with baby

They even had balloons!
Games at a winter activity

Even the parents helped!
2 year old at church function

Having fun playing a game.

My advice is to get out and see what the community has to offer.  Most of the time it’s very affordable and your kids will be worn out for that AWESOME afternoon nap.

Bad Days Are Inevitable

I get a kick out of people’s Facebook posts.  Some are always stating how perfect their kids and life are.  Ain’t that some bull.  I actually pity them for feeling like they need to cover up the hard days of motherhood.  It’s not always easy…. remember that.  Being a stay at home mom is especially hard sometimes because you don’t get a break.

Some days consist of your kids throwing tantrums, not listening, crying for no reason, skipping naps, fighting with siblings, spilling drinks or just wanting to be held all day.  Trust me, the list goes on and on….. and on.

I recently read a post that I could actually relate to and it was real:

there are magical days when the baby wakes up in a good mood, everyone is smiling, games are played, crafts are made, things get done around the house, and there are even a few moments of “me time” to do whatever I want…

today is not one of those days.

I loved the punch line.  It’s so true.

Here’s my advice: Once the kids are in bed and you’ve gained your sanity back, go check on them.  That’s what I do.  Trust me, your difficult day is suddenly refreshed.  I did this the other day and look what I found:

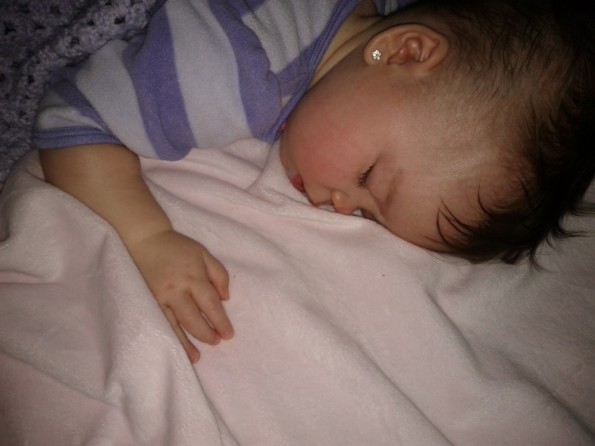
10 month old sleeping

My 10 month old sleeping.

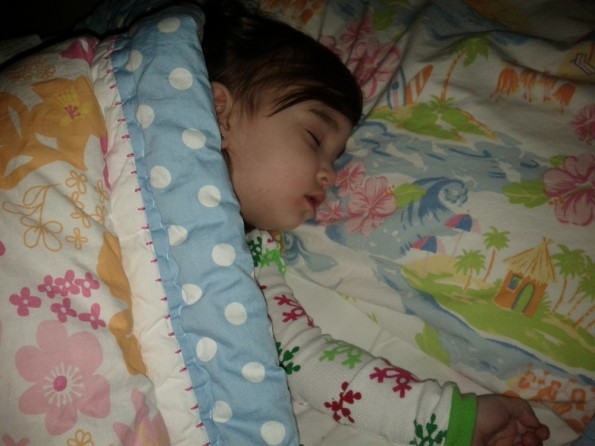
two year old sleeping

My energetic two year old sleeping.

Heck, you will probably look back when they’re grown and wish you had those bad days all over again.


Making Wall Art Around 5 Things on a Wall

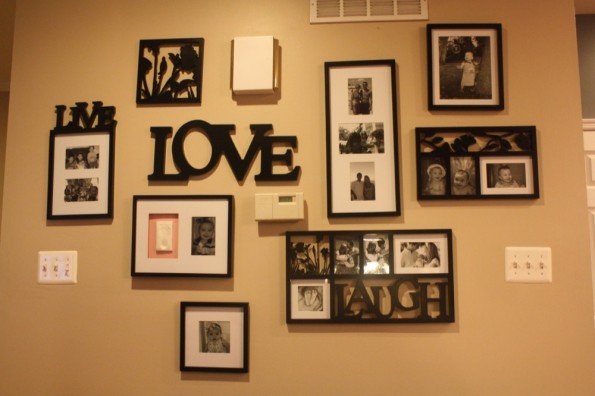
This wall was blank for a while.  I had a sofa table on the wall with a lamp and picture frames on it.  The thermostat and ugly door bell stood out .  Why would the builder seriously do something so stupid?  We couldn’t move anything around, so we had to figure out a way to make it work.  So, I began to see picture collages and my husband sent me a link a while back (it was like 3 years ago, definitely don’t know where credit is due) of a wall collage.  It was a great idea and it hid all the needed switches, door bell, thermostat and vent.  It is also a focal point in between two rooms and a great way to cherish moments.

My neighbor had the same stuff on her wall.  She went and did the same thing!

picture wall

Okay... find the thermostat, door bell, two light switches and vent.

HAPPY MONDAY!


Battling Hip Dysplasia

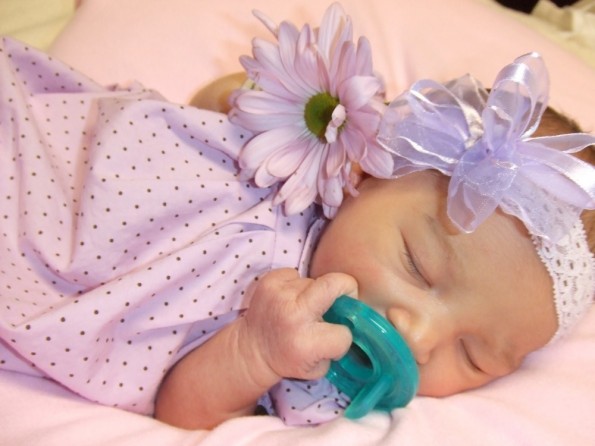
I gave birth to the most perfect and beautiful baby ever.  She came out looking just like my husband and was everything I had always imagined.  We named her Ella Bree!  She was ours, all ours.

perfect newborn baby with hip dysplasia

Look at how beautiful she is!

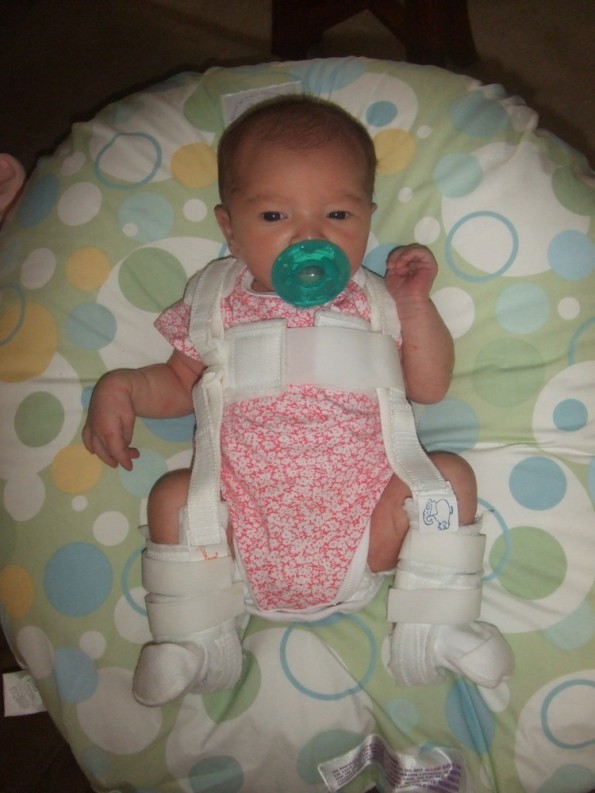
Before a newborn is discharged from the hospital, their pediatrician needs to give the okay for them to leave.  All was going well until the doctor put her legs together, pushed her knees up and the spread them apart.  Her hips were completely displaced.  There wasn’t even a real click, they just easily came out of socket and her legs practically fell to each side.  Of course we had never heard of hip dysplasia, so we asked a lot of questions.  It is most common in first born girls because of the conflicting hormones of baby and mom (don’t ask because I’m not exactly sure why).  They said she would have to wear a harness that goes on the outside of her diaper for probably 2 weeks.  HEARTBREAKING.  My perfect babe had to wear a Pavlik harness just four days after she was born.  I had so many thoughts going through my head– “people are going to think there is something seriously wrong with my baby”, “I’m going to have to explain this to everyone”, “why me and us”.  Here is what her Pavlik harness looked like:

pavlik harness

She was placed in the Pavlik Harness for 6 weeks.

She was so tiny, only 6 lbs when she got the harness!  Oh man, the day she got the brace, my hormones were raging.  I cried over anything and everything and I was so sore from having a csection.  This just added so much more fuel to the fire.  Life has to go on and you live with each challenge.  Well two weeks with her in the brace, turned into a long six.  Seemed like the longest six weeks of my life, but they were over!  She was checked out and ready to live the nonbrace life!

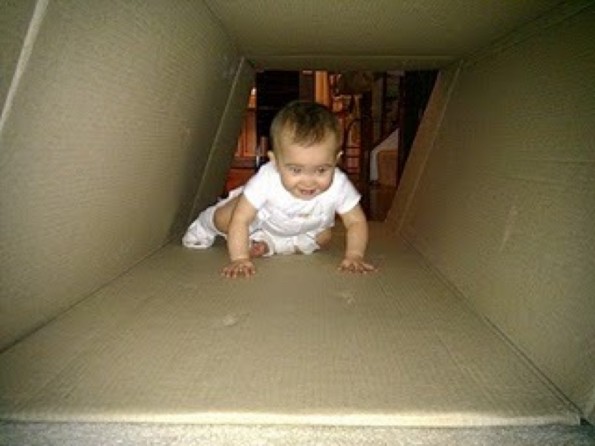
She went for her three and six month check-up at her pediatrician, no hip clicking.  Thank God!  Then, we went for her nine month well visit.  The doctor felt a click in her hip.  Brian and I were so devastated.  I think I cried for four straight hours.  How could this be happening again?  She was already mobile and pulling up– she would have been walking in no time.  I called her pediatric orthopedist (Dr. McHale located in Annandale, VA) and was able to get an appointment the next day.  Dr. McHale said Ella could have the surgery where she had to wear a body cast for six weeks, but she felt like she needed to go back into harness to see if that would help and then move into another brace called the hip abduction brace. What?!  The harness that covers her whole body.  How would she crawl?  Well, she learned and adapted fast:

crawling in Pavlik harness

She adapted to this so fast!

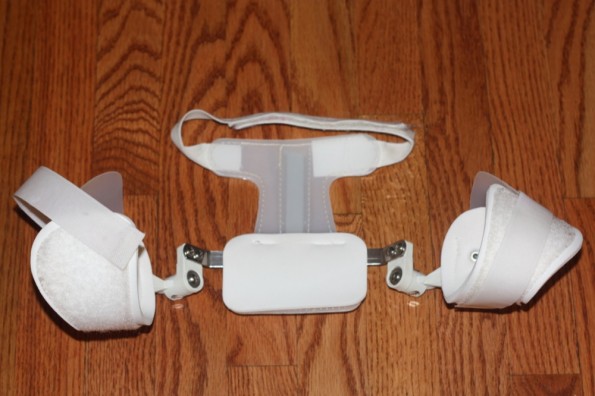
This was just a couple of days after she was put back into the brace.  Meanwhile, the doctor ordered Ella to have an MRI.  If you know much about MRIs, you have to be completely still = baby needs to be put under.  So, my poor sweet 11 month old at the time, had to have anesthesia to get an MRI.  Thankfully, the MRI came out to show that she did have cartilage there, it would just take a while to turn into bone.  This means she needs to wear the hip abduction brace (which Dr. McHale found from Germany) for a while.  Here is what the hip abduction brace looks like:

hip abduction brace

Hip abduction brace.

Of course Ella’s issue is so small compared to so many other children, but I still had meltdowns every so often seeing that my baby wasn’t “normal”.  She went to the doctor every month to six weeks and got x-rays.  We got the same response every time “she’s winning and I really don’t think she will need the surgery” and “I wish I had a magic ball to tell you how long she would need the brace”.  Thankfully, Ella did not need the surgery AND she learned to walk in the brace.  She walked at one year and one day.  Check out the video.  It will seriously melt your heart.

Pretty sweet huh?

She started wearing the brace at night only when she turned two.  Ella still goes back to the doctor every 3 months and still has to wear the brace at night.  She said Ella will have to wear it at night until she’s three.  My husband said we are taking everyone cake in the orthopedist office when she has her last hoorah at age three.  They have all been so sweet.  They know Ella every time we go in there.  They even tell other patients all about her and how she’s been there since birth.  Even the doctor, who is SO busy (seriously the busiest doctor’s office I’ve ever seen) knows her and said she wanted to publish an article about her case.  I could seriously rant and rave forever on Dr. McHale’s office.  They have all been so awesome.

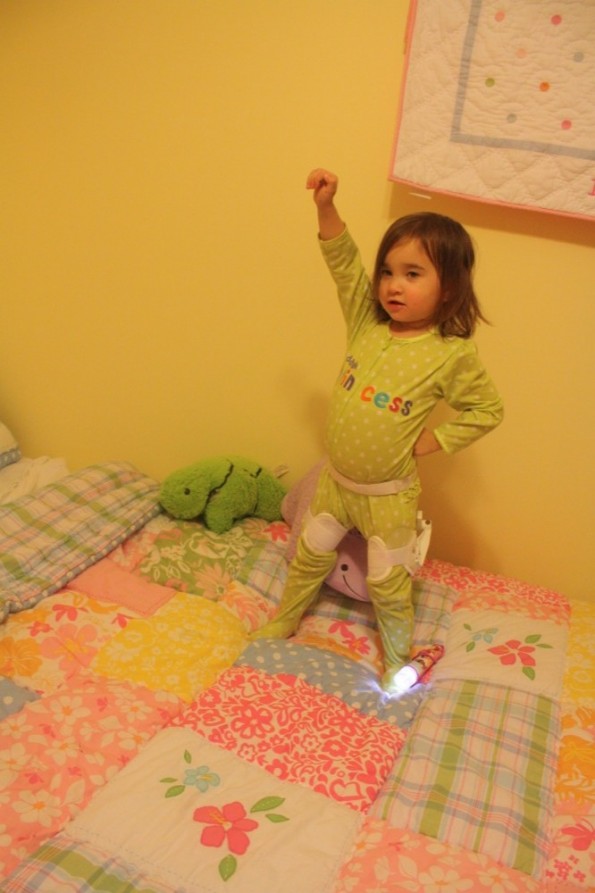
Lastly, here’s my girl now in her brace:

hip abduction brace

Age 2 1/2 in her brace.

This girl doesn’t skip a beat.  She is one of the most energetic and outgoing kids I know.  Kids do adapt to everything.  I’ve learned to seriously count my blessings.  Now, she even asks for her brace at night.  She’s used to sleeping in it.  I do thank God everyday that she was able to be fixed without surgery and long term side effects.

Please ask if you have any questions.  I love talking with other people about it!

How to Make a Korker Hair Bow!

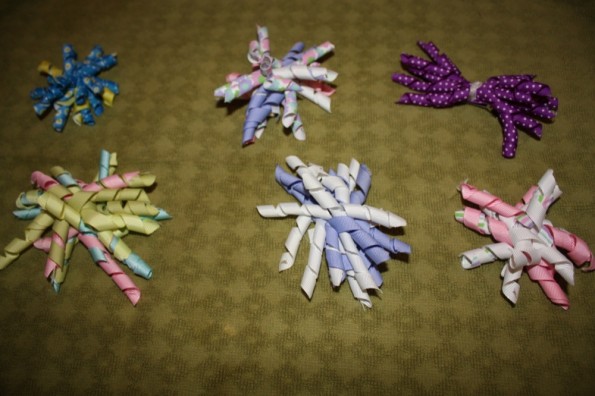
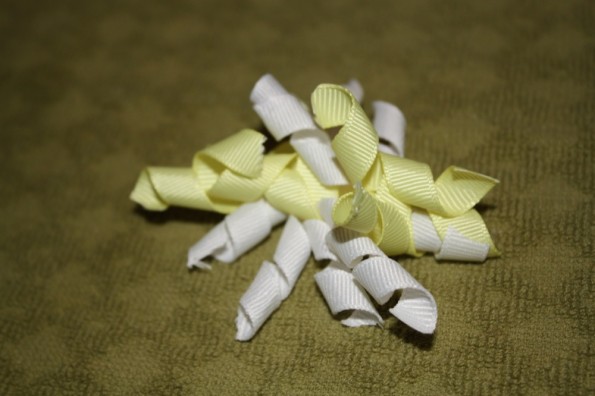
Korker Hair Bows

Aren't these just so adorable?! They are so simple to make!

This is an easy tutorial on how to make korker bows for your little lady!  They are so easy to make, so now you never have to buy another!

First, here is what you need:

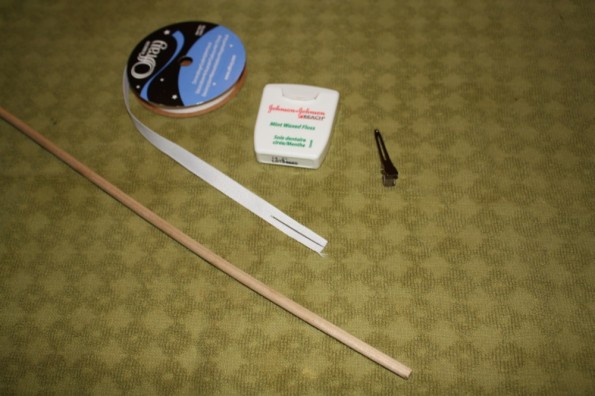
korker bow

Ribbon (not satin and 3/8 inch works best), alligator clip, wooden dowel, dental floss, needle

Ribbon (not satin and 3/8 inch works best)
Alligator Clip
Wooden Dowel (I bought mine at Home Depot, so easy to find and I took a handsaw to make it shorter)
Dental Floss
Needle
Hot Glue Gun (not pictured)
Several Clothes Pins (not pictured)


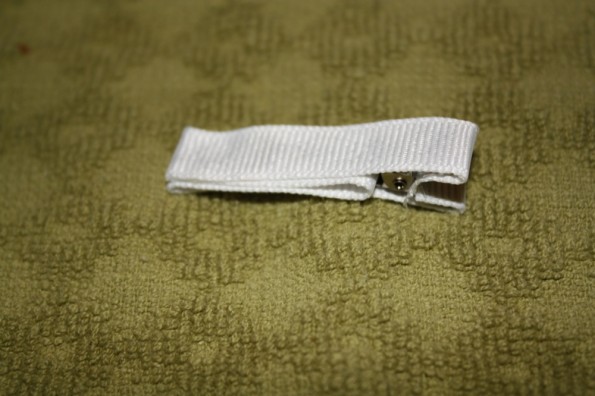
First, preheat oven to 250 degrees.  Then, cover your alligator clip by glueing ribbon around entire clip (these are sold at any craft store or I bought mine at hair-hardware dot com):

alligator clip

Make sure you wrap entire alligator clip with ribbon. It will help stay secure.

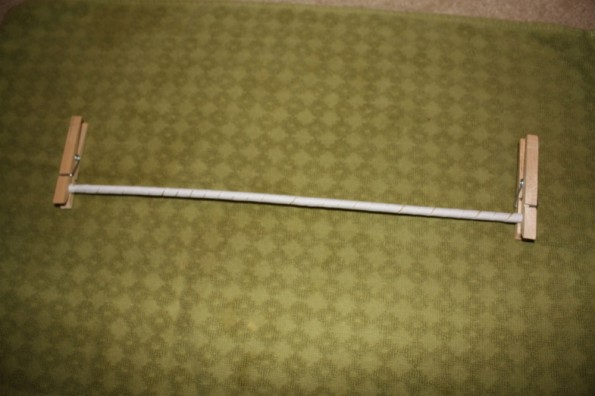
Next wrap your ribbon around wooden dowel and put a clothes pin on each end:

ribbon on wooden dowel

This is what it looks like before putting it in the oven!

Place wooden dowels (as many as you want) on a baking sheet and put in oven for 25 minutes.

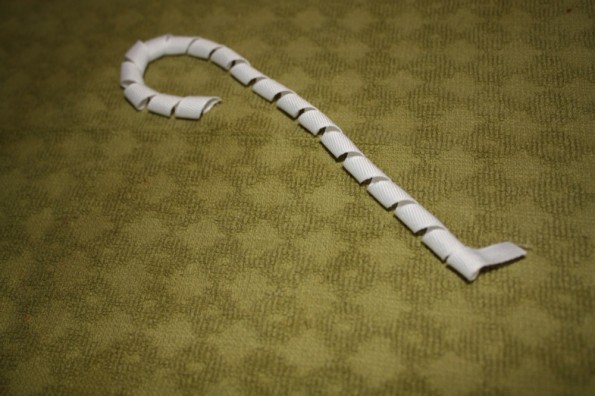
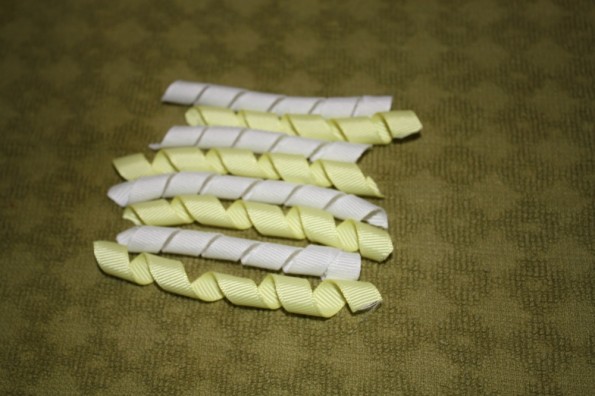
When it comes out, it should look like this:

curled piece of ribbon

After the ribbon is curled it should look like this!

Next cut your ribbon to desired length that you want for the total width of your bow.  The younger the child, the smaller the width should be (unless you want the bow to consume your child’s head).  For my baby, I would do about three inches and maybe add an inch or two for anyone older than a year.

curled ribbon

Make sure they are all the same length!

Next is the easy easy easy sewing part.  All you do is thread the dental floss through the needle and stick through the middle of each piece of ribbon.  Then, come back through each piece of ribbon and then tie the bottom end and top end of the dental floss together.  You don’t want the ribbon all facing the same way because it will look too perfect.  Lastly glue the bottom of your bow to your alligator clip and WAHHHLAAA!  Super easy bow!

korker hair

So adorable in little girls hair!

Another optional thing to do is to take a lighter of some sort and burn each edge of the ribbon.  That helps keep it from fraying at the end.  Make sure you don’t put the fire too close because it will burn it and make a brown mark.

Also, you can do so much with the korker ribbon and make several different styles of bows.  Play with it!  I would love to see some of your newly made bows!!

Remember my Daisy Hair Bow Tutorial???  If not, check it out and make that adorable bow too!


Remember to Give Your Babe Their Medicine!

So, if you’re like a crazy frazzled woman me, you forget a lot.  This includes things like: Did I turn the stove off from making eggs? or Crap, did I leave my straightening iron on?, or Did I feed the dog?  Yes I did, no I didn’t, maybe I did?!?!  Women have 1001 things on their mind and are always thinking about the next thing to get done and not always about what they are doing that second.  Don’t worry, you’re normal!

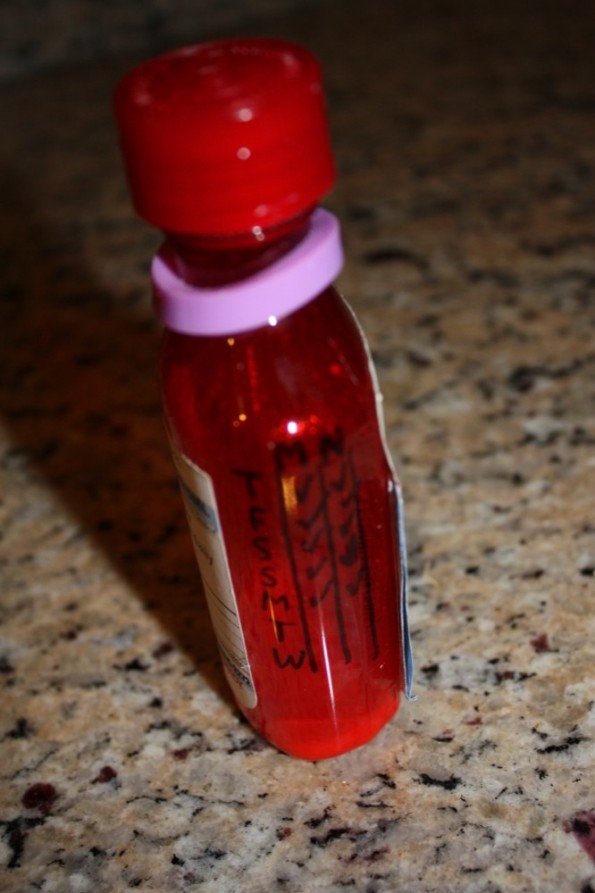
My sweet sweet Anna has basically been living on antibiotics due to her tear duct being stopped up and getting infected.  I saw this idea on pinterest and I thought it was a PERFECT way for me to remember if I gave the medicine to her or if I still needed to.  I don’t know about you, but I definitely need helpful reminders and it’s one less thing to stress over or have to think about!  All you need is a sharpie!

a way to remember taking medicine

A great way to remember taking medicine!