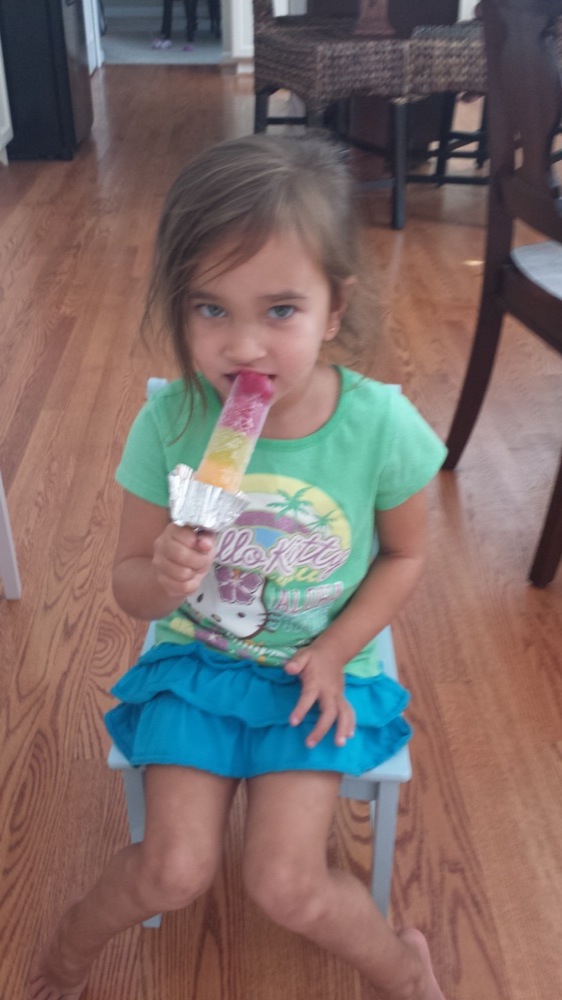
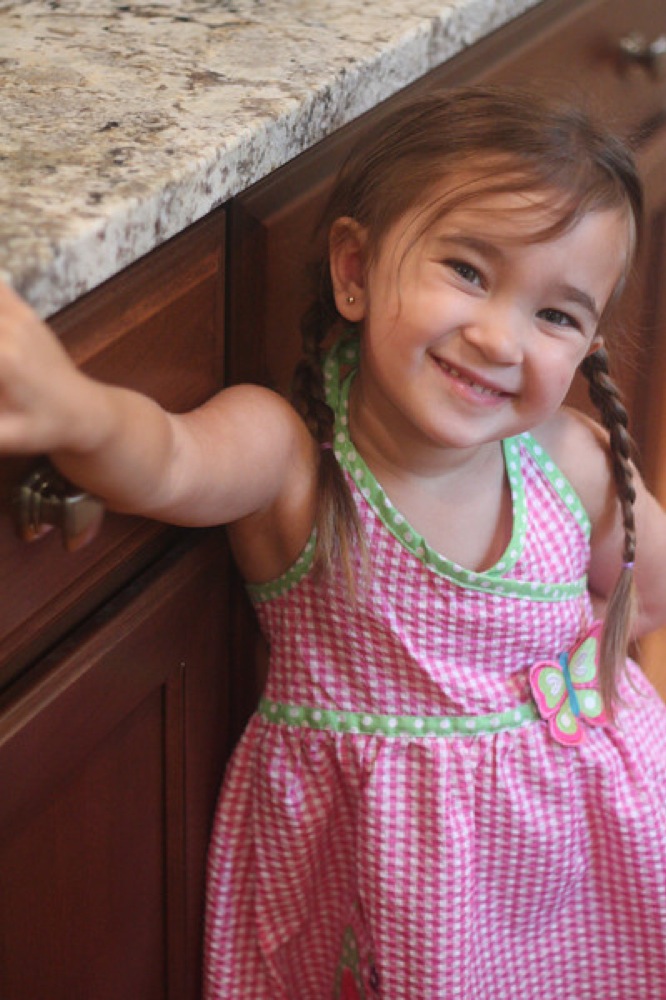
I was so sad that it rained on Ella’s party day. We have this awesome water slide that I wanted to use along with so many other outdoor fun stuff. We were literally scrambling the day of to move the party inside and find fun things for the kids to do. It all ended up great BECAUSE I made it simple, oh so simple! If you recall, last year we did a pancake and pajama party (awesome theme!) for her. This year, I went with the outdoor fun theme, but she insisted on pony plates and a cupcake piñata. I did it on a Tuesday afternoon because I live in NoVa and everyone here is so busy on the weekends and only had stay at home mom friends and their kids. Because of this, it was so chill and so much fun for all the kids. Here’s my little princess ready for her party!
She could not WAIT for her friends to get here.
Husband, the balloon maker, did balloons for all the kids when they arrived! They also jumped in the bounce house and played with toys in the basement until everyone arrived and got settled in.
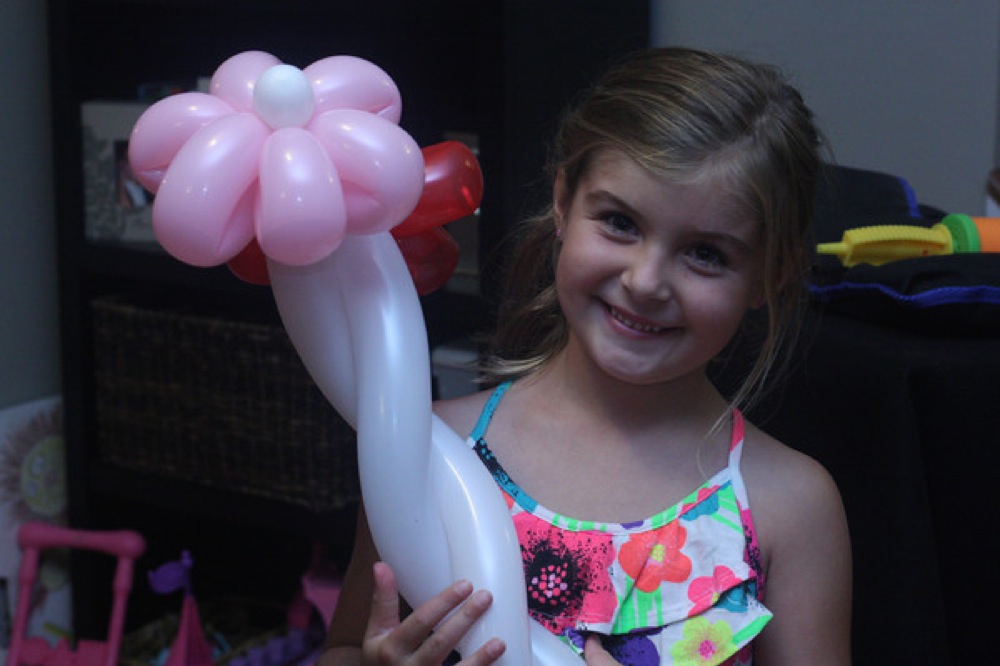
A party guest with her balloon!
Luckily I had a game leftover from her party last year that we didn’t use, so I brought it out. It was pin the heart on the necklace.
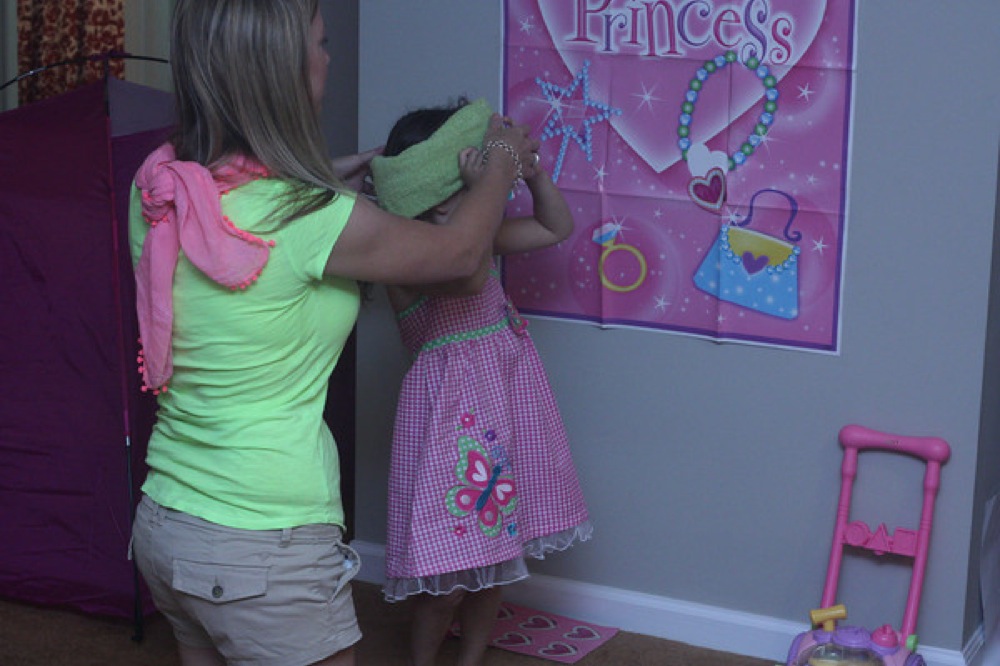
Ella’s putting her heart on.
I also had bought this little fun face kit for Anna’s party that we didn’t use, so I brought it out too. These are my nephews and niece!
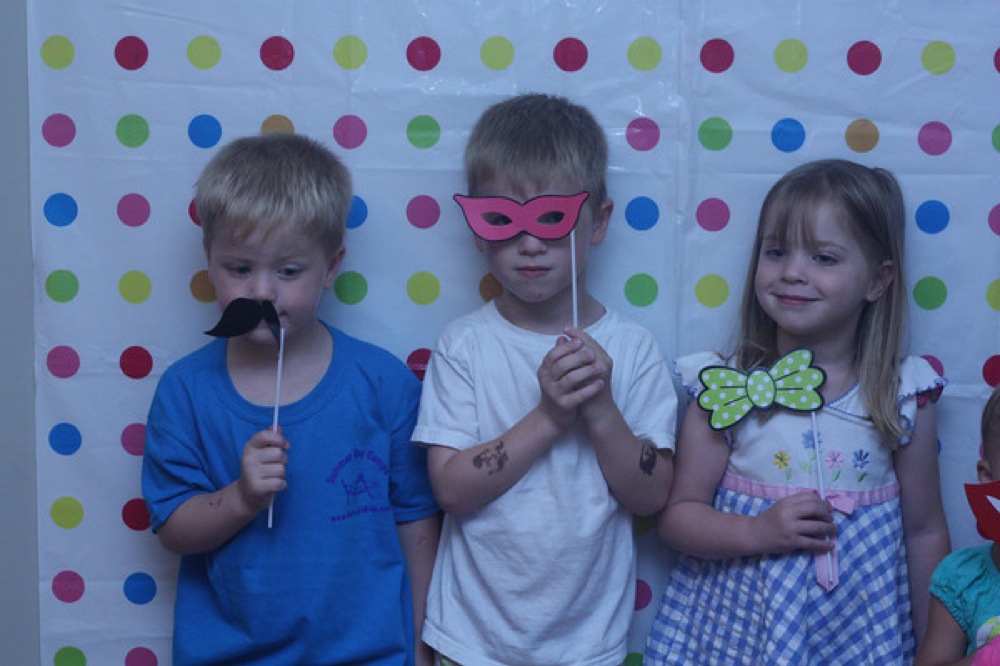
This was fun!
Next, we went upstairs for food and cake! I got pizza, watermelon, gogurts, capri suns, animal crackers and goldfish. There were 14 kids inside my house, but it really couldn’t have gone any smoother. Luckily, all the moms are my friends too so they all helped with serving food. As a host, I ALWAYS suggest feeding the parents that come. They take time out of their day to bring their child to your party as well as buying the gift. I also always serve a meal or at least a semi-meal. For me, it’s party throwing etiquette. Kids shouldn’t leave parties hungry. Of course, I convinced Ella to get a cookie cake. Oh so delicious. It was from Sam’s Club ($16 !).
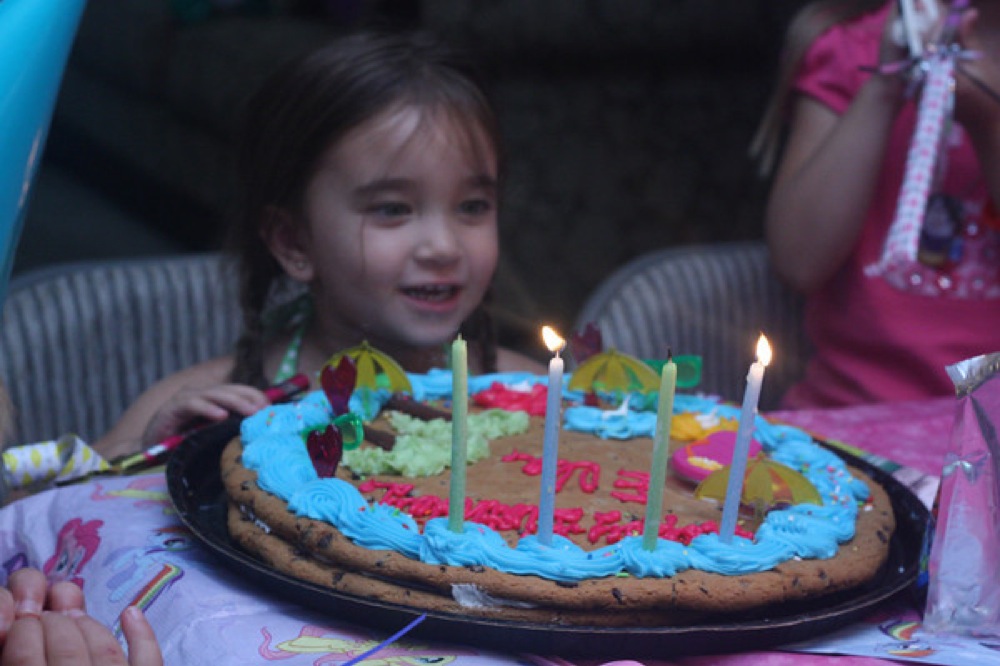
Ella blowing out her candles. Notice her outdoor themed cake. Boo.
Oh, since I made a last minute trip to Wal-Mart for any party ideas, I bought these blow things for $1 and some change. The kids LOVED them!
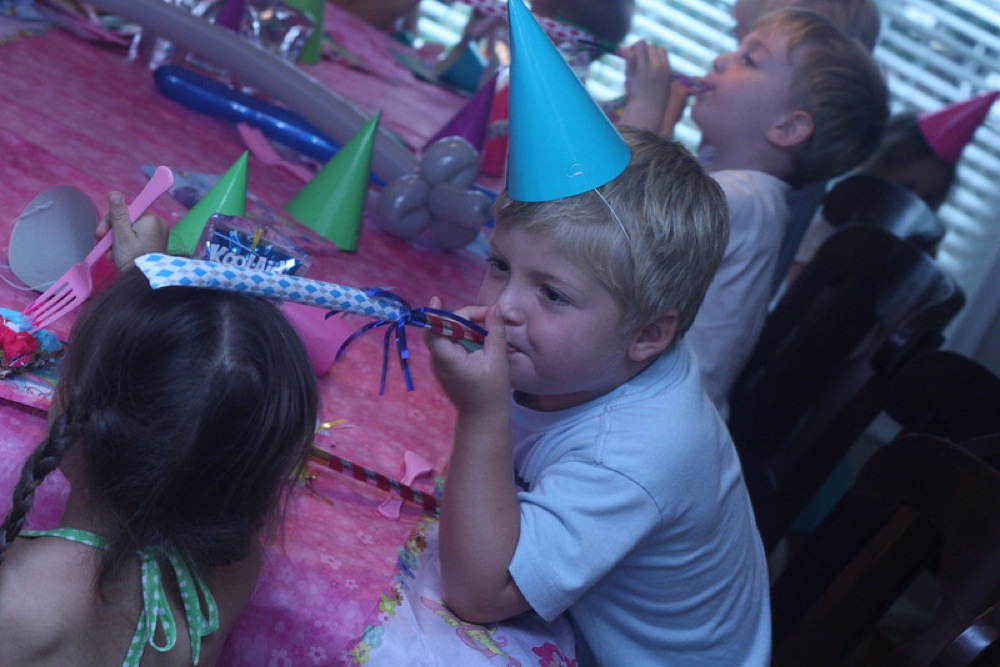
After cake, blow toy!
After cake, we went to our garage and did the piñata. I hope piñatas never get old. The kids LOOOOOOOVE them. Trust me on this one.
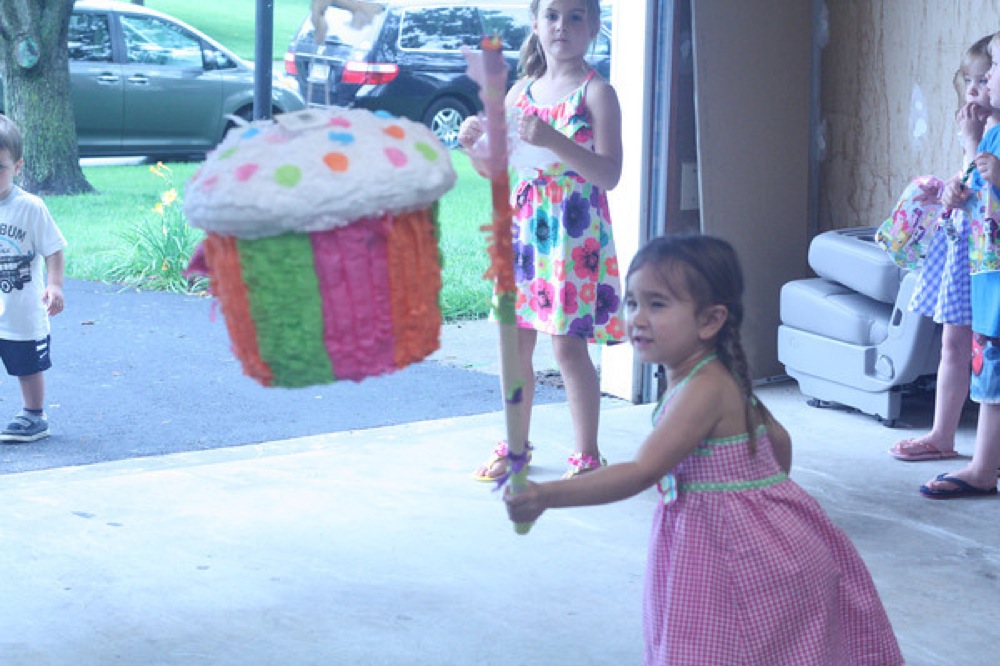
Best party item.
Lastly, and I’m SO mad, I bought each of the kids a bubble wand as a favor and my phone somehow deleted the pics or maybe I did it. Okay, the wand was $1 and it was PERRRRRFECT. They all opened them at the party and played with them in the driveway because of course it stopped thundering at the end of her party. They had so much fun with the bubbles. Do it at your next party, trust me on that one. That and for sure a piñata.
A few tips:
These kids are 4. They love the cheapo things such as party hats, blow things and bubbles.
Piñatas are always a hit. They do cost a bit (approx. $20 for piñata and $20 for candy)
Don’t clean your house before a kid party. Of course pick up, but be ready to do a deep cleaning afterwards. No one cares, trust me.
Try to have help. I’m telling you, my friends were beyond amazing. They all chipped in and helped so much.
Why not do a play date?! It was great that so many people could come and I bet it would have been a lot harder on a weekend.
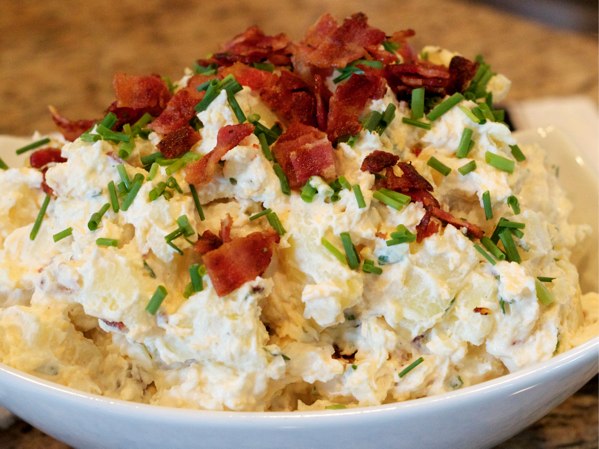
Try Sam’s Clubs cookie cakes… Bwhahahahaha. SODANGGOOD!
This was another successful party! Love her!