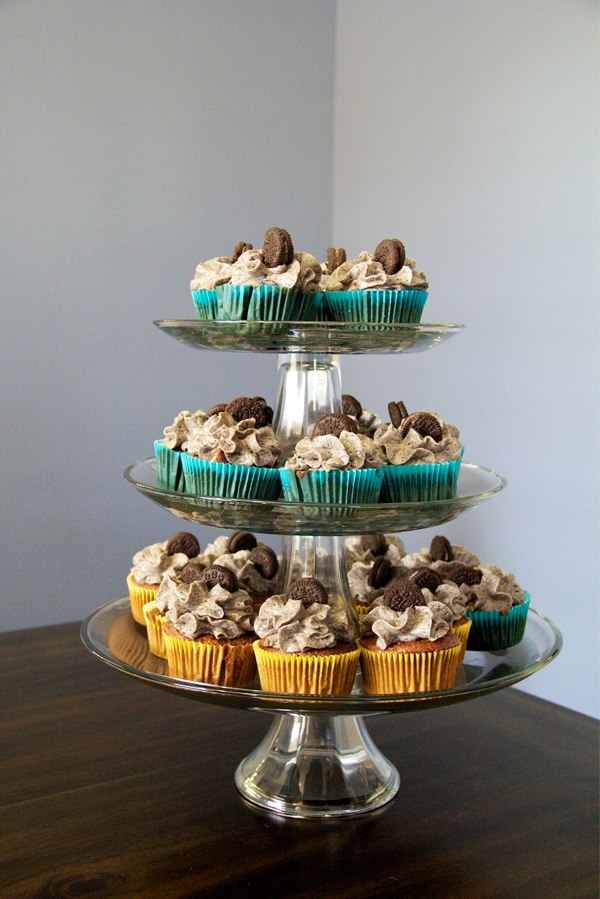
I made these delicious cupcakes for my baby brother’s birthday. I say baby brother since he is the youngest of us 7 kids, but he actually just turned 22. 🙂 Once the baby brother, always the baby brother!
He is so much the cool bachelor that I can only lure him to hang out with us with delicious goodness! I found this simple recipe at keyingredient.com and made these awesome oreo cupcakes. Then I texted a picture of them to my little brother and he came over within the hour with a couple of his buddies.
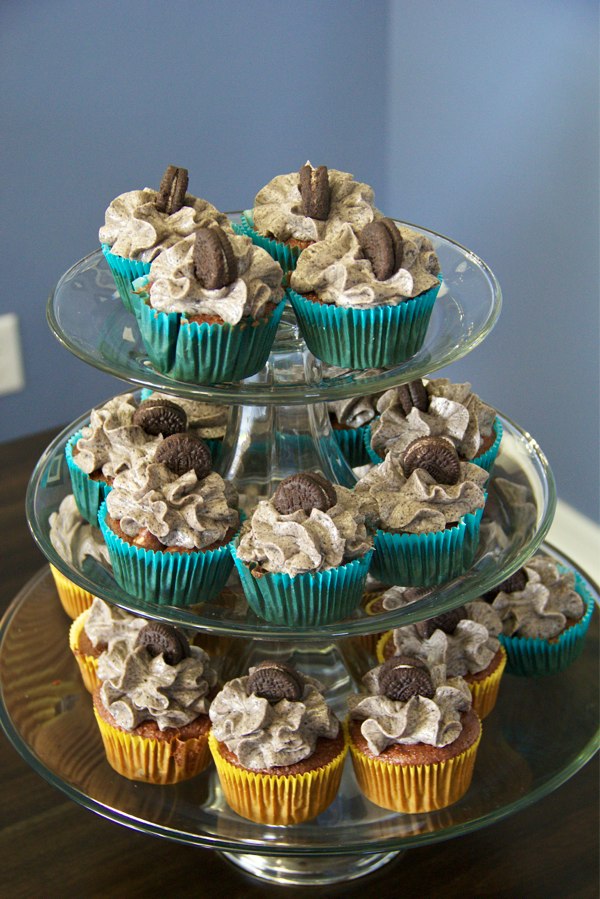
Pre heat oven to 350 degrees. Mix cupcake batter according to directions on the box. Take ½ of the regular oreos and crumble them into your cake batter. Fill cupcake liners in cupcake pan with the batter and bake for 15 minutes.
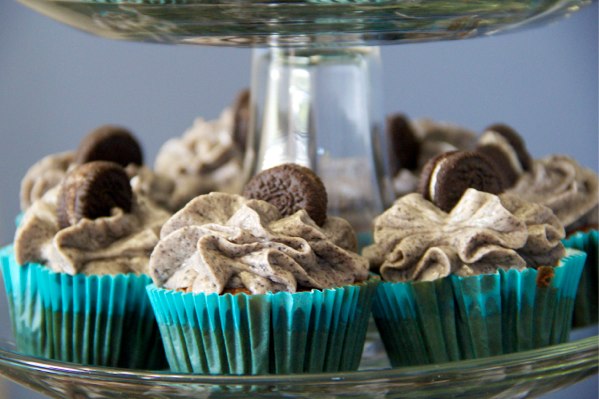
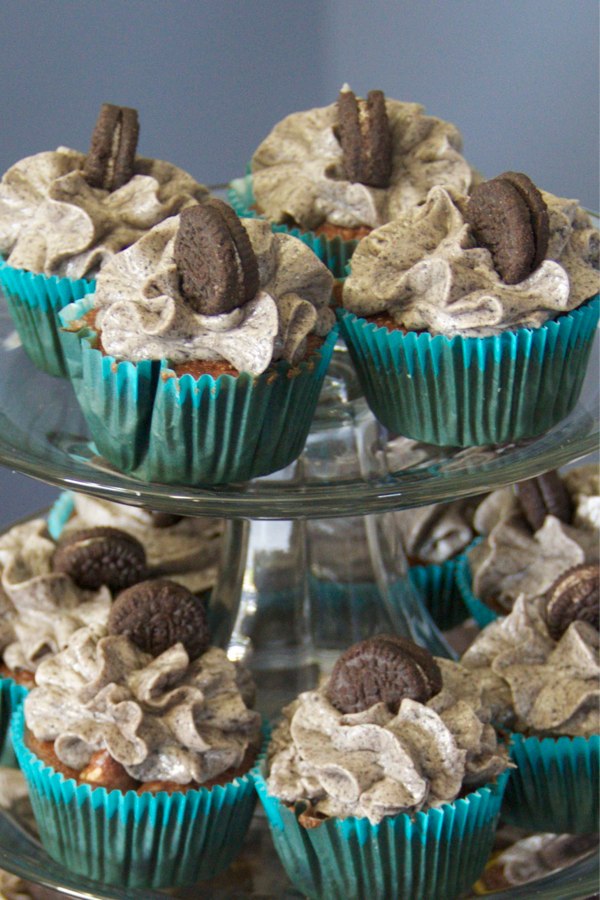
For the frosting: Mix the butter and cream cheese together. Add vanilla and slowly stir in powdered sugar. Crumble the rest of the oreos and mix them in. I used a blender for this. Use your favorite cupcake icing tip to frost cupcakes once they have cooled and decorate them with the mini oreos.
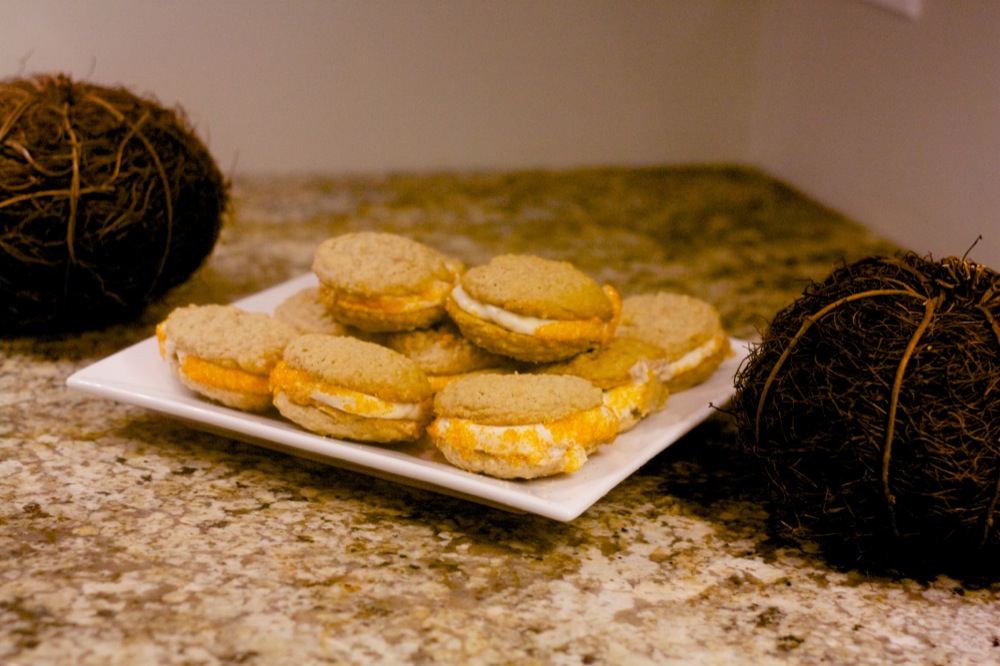
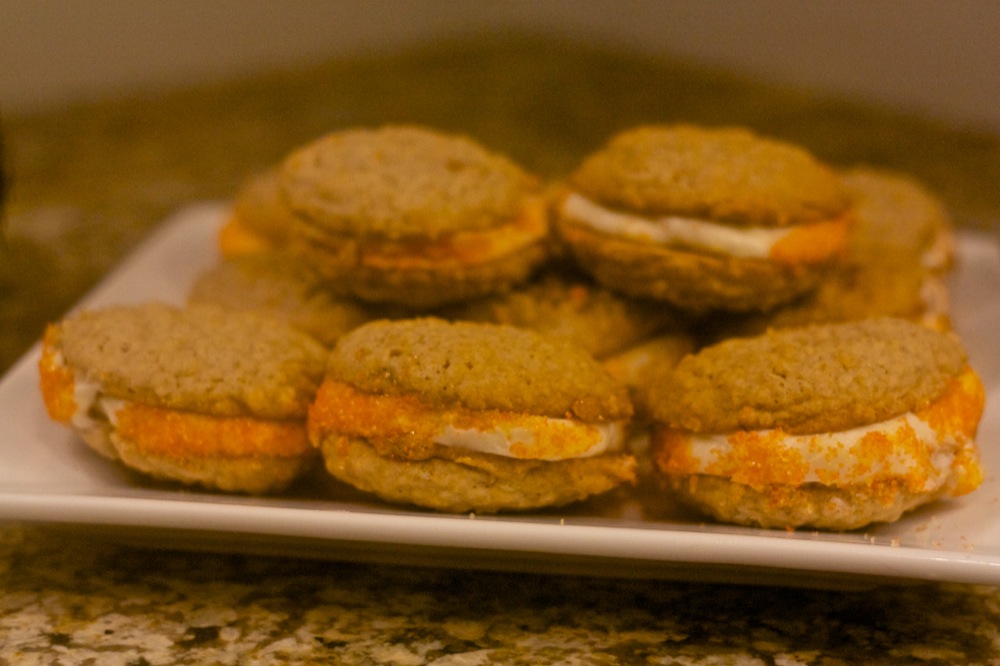
I grew up with Little Debbie cakes and pies. My mom would let me get one box per week for my lunch box. Most of the time I chose oatmeal cream pies (nutty buddy’s and swiss cake rolls are pretty dang good too!). I recently came across this recipe on Pinterest, so I thought I would try them and I loved them. The icing, especially, was amazing.
I also added a little orange sprinkles for our Halloween dessert!
All you need for the cookie part is:
1 1/4 c. butter, softened
1 c. brown sugar
1/2 c. white sugar
1 1/2 c. flour (I was advised to use closer to 2 cups, so I did)
3 c. oats
1 egg
2 tsp. vanilla
1 tsp. baking soda
1/2 tsp. salt
1/4 tsp. cinnamon
For the cookies:
Cream butter and sugars in mixer. Meanwhile mix dry ingredients together. Add eggs and vanilla to butter mixture. Cream. Add dry mixture to butter mixture. Drop by rounded spoonfuls onto a parchment lined cookie sheet. Bake at 375 for 10 minutes. Let cool on pan before removing (so they don’t crack).
For the icing, you need:
1/2 c. butter
2 c. powdered sugar
1-2 Tbsp. heavy cream (I didn’t have cream so I used milk)
4-5 Tbsp. shortening** (This wasn’t part of the original recipe but it needed something to taste lighter and fluffier. This was the perfect trick. Made it taste more like cream filling and less like a buttercream frosting.) Thanks for the advice, Shan-made!
I also added 1 tsp. of vanilla
For the icing:
Cream all ingredients together until frosting is a light and whipped consistency.
Frost insides of cookies once completely cool!
Yummmmmmy!
This was a great ending to our perfect Halloween night!
Yep, 2 ingredients. Can’t get any easier than that! We had husband’s parents over a couple of weekends ago and I made these with some chili. I really couldn’t believe how good they were!
All you need is:
1 box of spice cake and 1 can of pumpkin (make sure it’s only pumpkin)
All you have to do is mix these two ingredients together with a mixer and pour into a muffin tin (you can use cupcake wrappers or spray the pan).
Cook for 18-20 minutes on 350.
This made 11 muffins for me, but you could easily stretch it to 12 (two little girls each ate one before they got to the plate)!
These were delicious and a great side. They could even be used as a breakfast muffin!
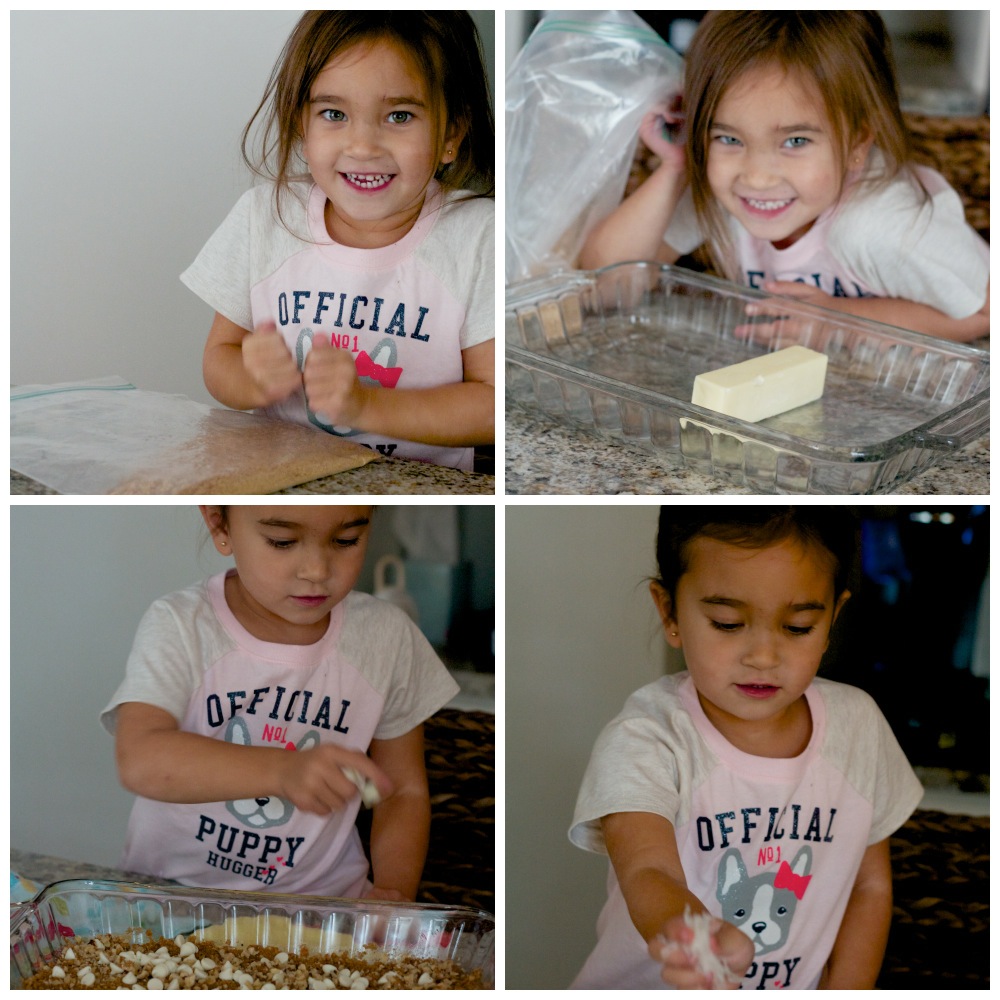
Husband has always loved seven layer bars. It’s kind of a bittersweet when we make delicious desserts (so good to the mouth, so bad to the hips). His parents were coming into town so I thought it would be a perfect and delicious dessert that my four year old could help with. Well, she ended up doing 90% of it and had so much fun!
1/2 cup unsalted butter (1 stick)
1 1/2 cups graham cracker crumbs
1 cup semisweet chocolate chips
1 cup butterscotch chips (I used white chocolate chips instead)
1 cup chopped walnuts
1 (14 ounce) can sweetened condensed milk
1 1/3 cups shredded coconut
All you do is:
Preheat oven to 350 degrees F (180 degrees C).
Place butter in 13 x 9 inch pan and melt in oven. Swirl to coat bottom and sides with butter.
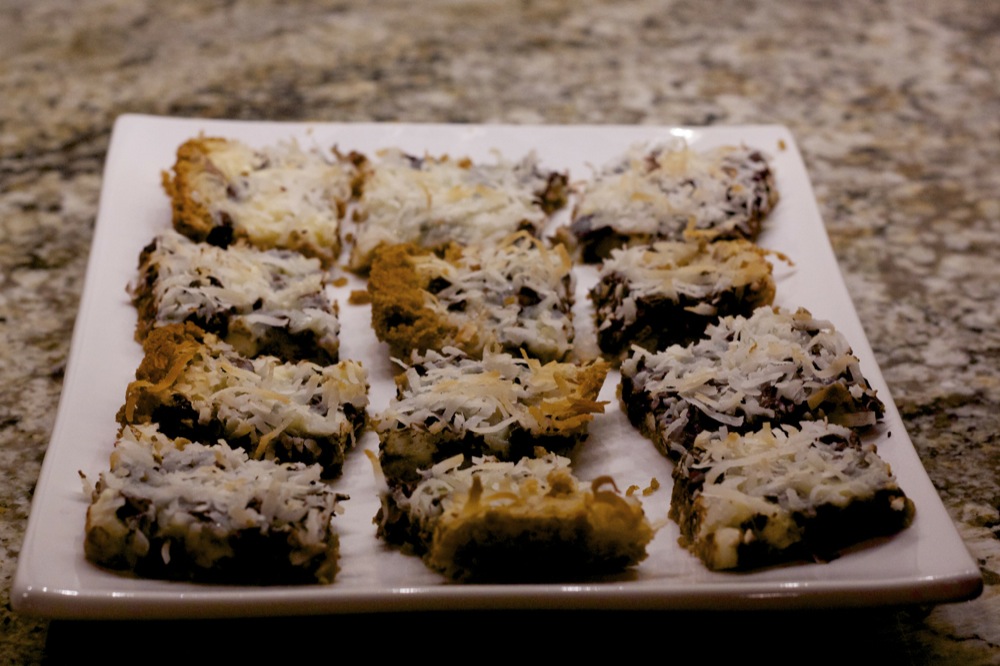
Spread graham cracker crumbs evenly over bottom of pan. Layer chocolate chips, butterscotch chips, and nuts over crumbs. Pour condensed milk over nuts. Sprinkle coconut over condensed milk.
Bake until edges are golden brown, about 25 minutes. Let cool before cutting into bars.
Try them with your kids, they will love feeling like they are a baker! I had a lot of fun too!
I love brownies! They are way yummier than cake! I am always trying new recipes that use brownies instead of cake!
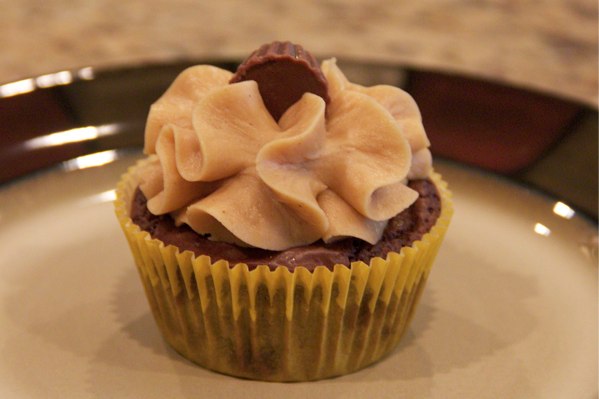
I was browsing one of my favorite food blogger sites, The Girl Who Ate Everything, and came across these delicious brownie cupcakes! She might be a genius! The brownies paired with peanut butter frosting sounded way to good not to try!
We are big brownie fans at my house, and if you can believe it, I didn’t even get one bite of these brownies! My family gobbled them all up before I got one! I am pretty sure my husband had three of them himself!
So yes, try these!
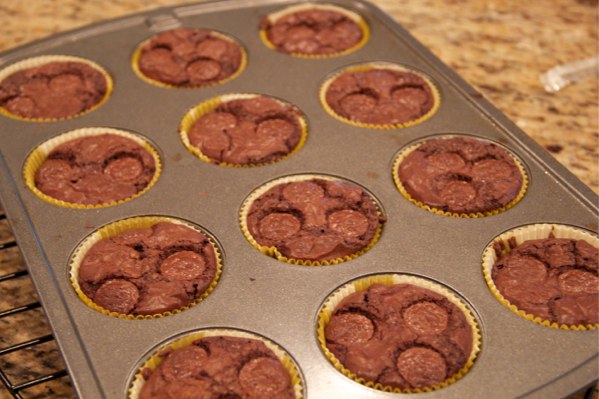
They are perfect! Be careful with your cook time though. If you over cook them they will harden and be difficult to get out of the cupcake wrappers.
Preheat over to 350 degrees. Make brownie mix according to directions. Fill a cupcake pan with cupcake liners and fill cupcakes ¾ full with brownie mix. Bake the brownies for 14 - 18 minutes. (I would stay closer to 14minutes). I also like to put a couple mini Reeses PB cups pushed into each cupcake before baking.
To make the frosting first mix the butter and peanut butter together. Slowly mix in confectioners' sugar. Add one tablespoon at a time of milk and mix until you have your desired thickness. Beat for three minutes to make the frosting nice and fluffy. Add mini PB cups to the top of each cup cake.
3.2.1215
See all the mini Reeses PB cups in there! So yummy!
Does everyone have their dish planned for your 4th of July BBQ? Just in case you haven’t made a decision yet, I thought I throw out ten of our favorite potluck sides for you. These are tried and tested recipes that you can’t go wrong with it!
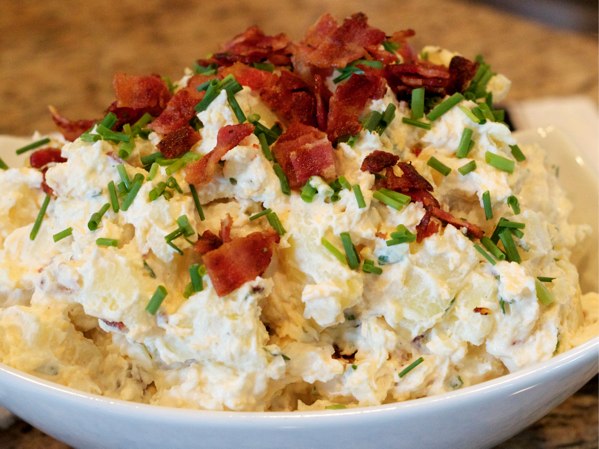
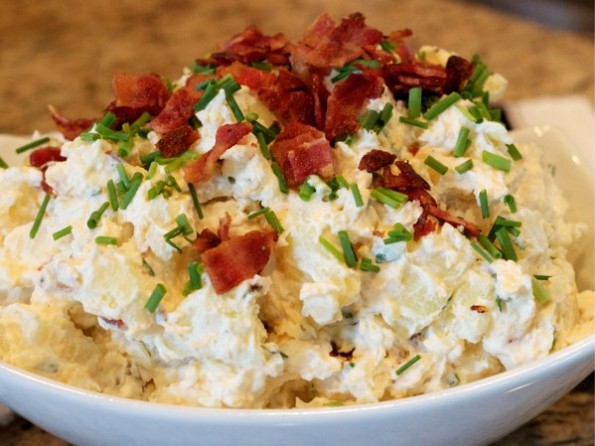
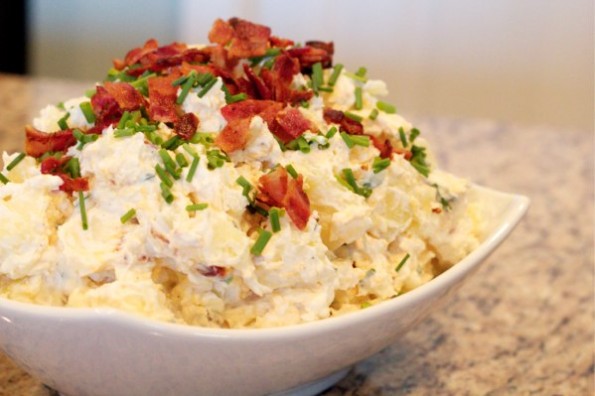
1. On of my all time favorites is Loaded Baked Potato Salad! Its a different twist on potato salad and is so yummy! With all that bacon, how could it not be a hit!?!?!
Loaded baked Potato Salad
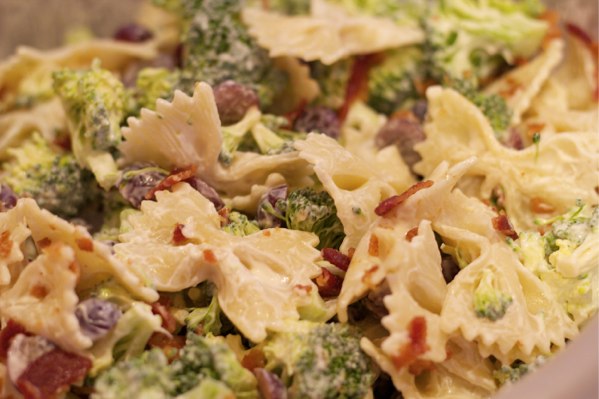
2. Broccoli Grape Pasta Salad is an easy side to bring. It can be made ahead of time and is served cold, making it the perfect take-a-long dish.
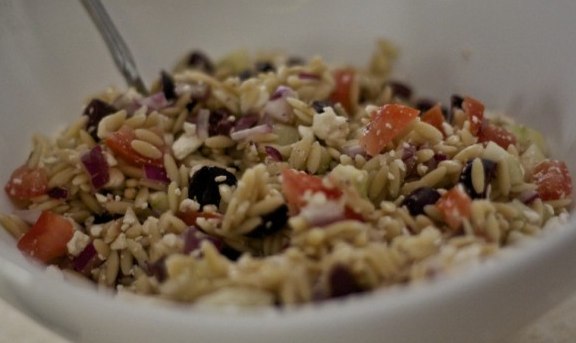
5. This Orzo Pasta Salad is also a big hit. It is something a little different from the standard potluck dish and will be one of the first dishes to go when served in a crowd. It is a no fuss dish that throws together easily.
Orzo Pasta Salad
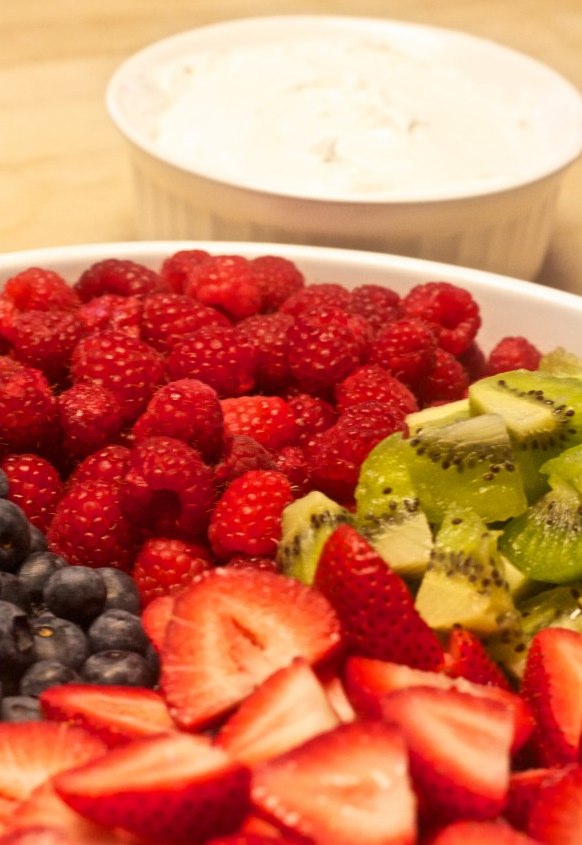
6. Fresh fruit is always a yummy BBQ side. I like to serve mine up with this yummy fruit dip of cream cheese and marshmallow fluff. It really dresses up your fruit. I have been told that this fruit dip is addictive!
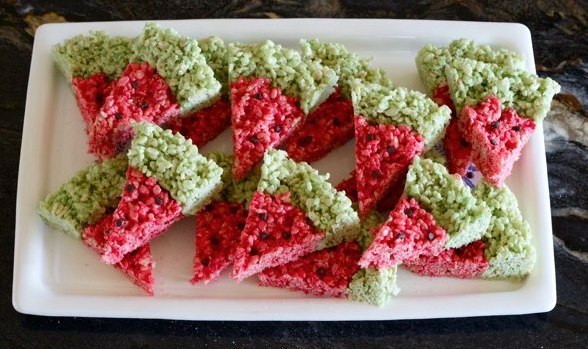
6. These Watermelon Rice Krispies are so much fun! I like to bring these along if I know there will be a lot of kids. It is always a big hit with the kids.
Watermelon Rice Krispies
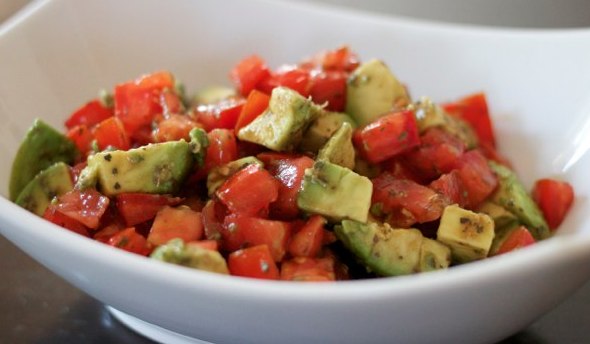
7. Try this Avocado and Tomato Salad. This always tastes so good paired up with a good burger. It is fresh and healthy! Try adding crumbled bacon and cubed mozzarella cheese to it as well!
Avocado and Tomato Salad
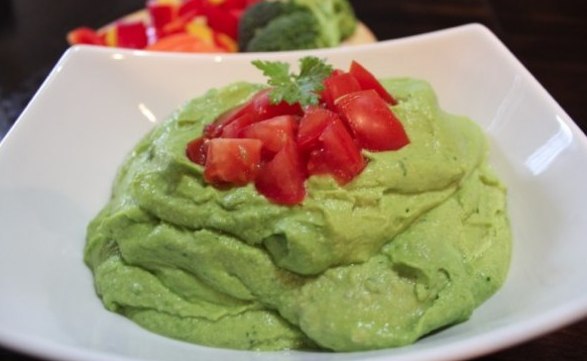
8. If you are serving some fresh veggies, you could really glam them up by serving them with this yummy Avocado Hummus. This is delicious with Pita slices as well.
Avocado Hummus
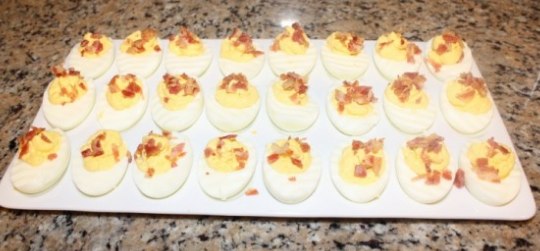
9. These fancy deviled eggs go great at a potluck. Use a crinkle cutter to slice the eggs and a pipe the yoke mixture into the eggs to really make them look good. We also like to sprinkle them with crumbled bacon. What doesn’t taste better with bacon?!?! This should be my motto.
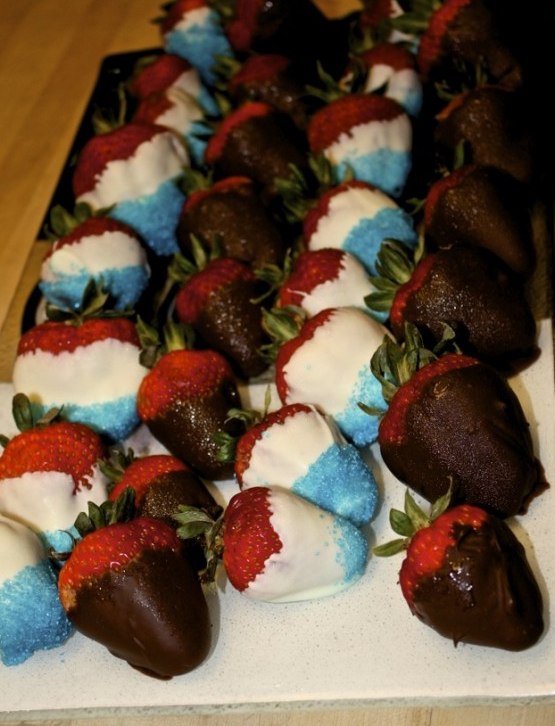
10. Chocolate dipped strawberries sprinkled with blue sprinkles look especially festive for July 4th BBQ. It also helps that they taste AMAZING!
Yay! Its BBQ season again! I love it! Time to start getting your grill on!
We love potato salad at our house! My mother-in-law has really perfected her potato salad by taste, all the way to the tiniest dab of salt. It is so so so fabulous. Sadly, I am unable to replicate it. I just dont seem to have the magic taste… you know where you can take a small nibble and declare it needs just one more touch of mustard or pepper. I just can’t seem to get it right.
So when I can’t duplicate it, I have to go out and find a new recipe to introduce. I have had this Loaded Baked Potato recipe pinned for a long time from Dishing With Leslie for a long time now. I finally got to try it out for a family BBQ last week. Thank you Leslie! So yummy!
The only thing I would change from her recipe is to add more cheese… because really, you can never have enough cheese! I used the Yukon Gold potatoes… it was perfect! I agree with Leslie, serve it warm or cold! It is fabulous either way!
Fit in perfectly at our last BBQ and was gobbled up!
***Mix mayo and sour cream together in small bowl. Add half the chives, cheese, pepper, and salt to taste. Refrigerate. Peel and cube your potatoes. Put them in a large pot of water and boil until tender (about 20 minutes). Do not over boil or your potatoes will turn to mash. You want them to be be tender to the fork, but not falling apart. Drain the potatoes and let them cool for a bit while you cook and crumble the bacon. If you plan on serving this dish cold like I did, let the potatoes cool completely.
Combine the potatoes and sour cream mixture in a large bowl. Fold in the bacon crumbles. Top the salad off with the last half of your chives and the last two strips of bacon crumbled.
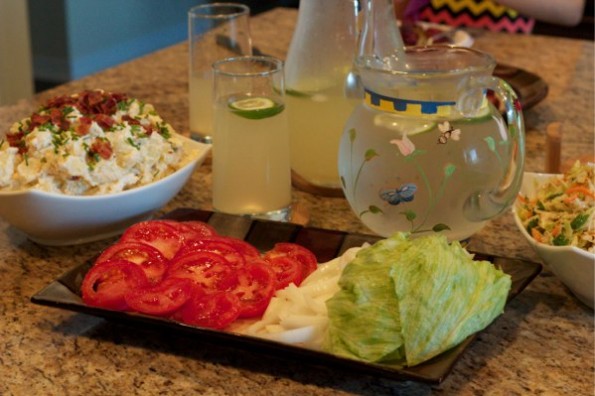
I bet you’re all thinking you wish I would make up my dang mind. I go from sweets to South Beach friendly meals to Paleo/Primal style posts. The overall truth is that I feel like I gained a crap ton of weight with my last child and I did not (quote DID NOT) want to do it again this time. So (not tooting my horn), this time I’ve got it under control. Of course I don’t eat perfect, but I’m also not eating McDonalds every time I pass by it like my last pregnancy nor have my feet swelled up this time around. I also have another friend who had some issues (preclampsia for one) with her last pregnancy and this time she’s golden because she’s also eating more Paleoish. So because of my diet plan this time, I haven’t gained that crap ton of weight and I feel like I have more energy for my other two kids.
For this post, I’m linking up to some meals and a snack that I’ve tried and that are delicious alternatives to the fatty ways of life.
Click on the link above to get the delicious recipe. Seriously to.die.for. We served it with cauliflower mash and parmesan roasted broccoli. Seriously how can you miss french fries when you have this.
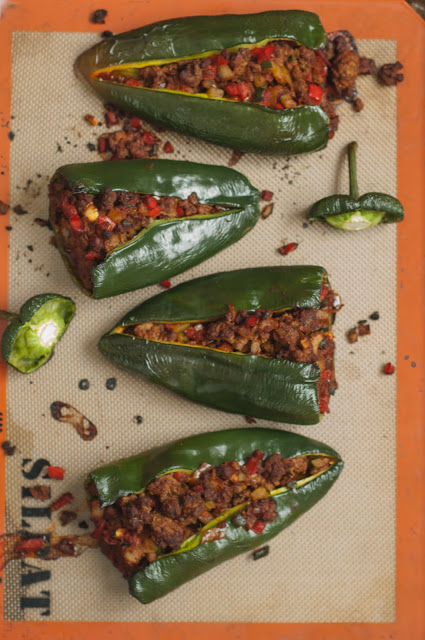
These were also amazing. My friend posted a pic of hers on instagram and I immediately started drooling. She told me that when she made them she boiled the peppers while she was prepping everything else. I think that was a good idea so they wouldn’t snap when you tried to cut them. We also added some texas pete. Yummmmmmmm.
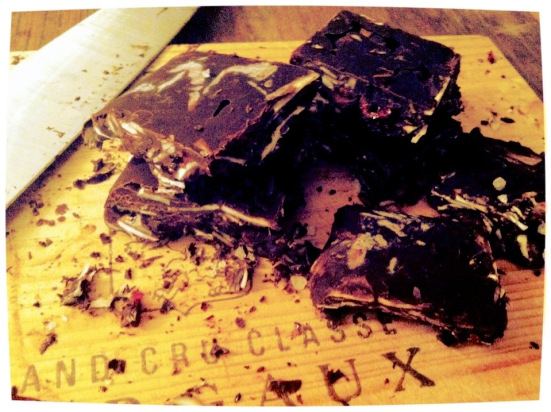
Okay, need I say more?! Well, we do add as many nuts as possible and load up on the natural coconut flakes. So good. Oh yeah, did you know that Costco has coconut oil?? You can get a huge container for 15 something. Good deal.
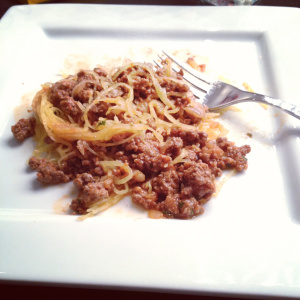
This was seriously yum. We have the Primal Blueprint Quick and Easy Cook Book (totally worth EVERY penny). We made this from there. We actually used regular ground beef since we have half a cow (literally). Very yum!
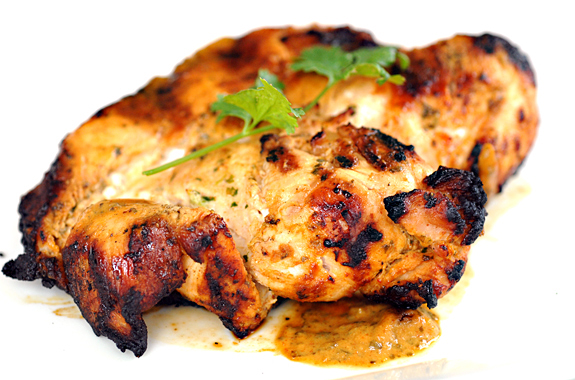
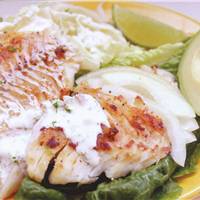
I thought I would hate these. But, no. They were so tasty and delish. The sauce made it to die for. We actually used salmon because we already had it on hand. Oh my goodness. You won’t regret.
These are just some of my favs. They really are so delicious and you won’t even think about the crap you used to eat. I promise. Do you have any favs? Please share!!!
Spaghetti squash is so yummy and can be cooked so many different ways! We have been cutting down on carbs lately and trying to eat more veggies! Spaghetti squash is a great carb substitute! We regularly use it in place of pasta in our spaghetti. So yum!
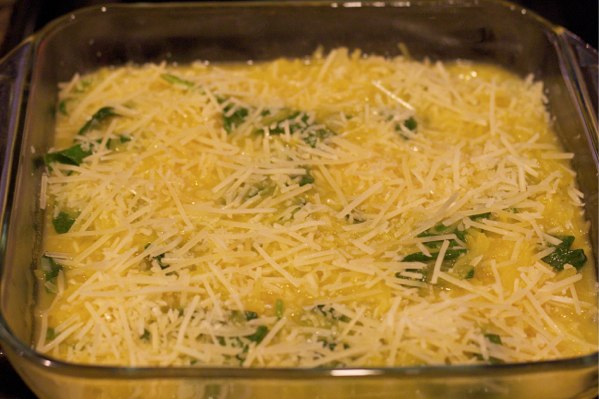
This recipe has been floating around pinterest lately so I decided to give it a try. I did change it up a bit to take the carbs out. The original recipe is made with flour and milk. I did like the dish, however, if I made this again I wouldn’t bake it. I would just cover it in parmesan cheese and eat it!
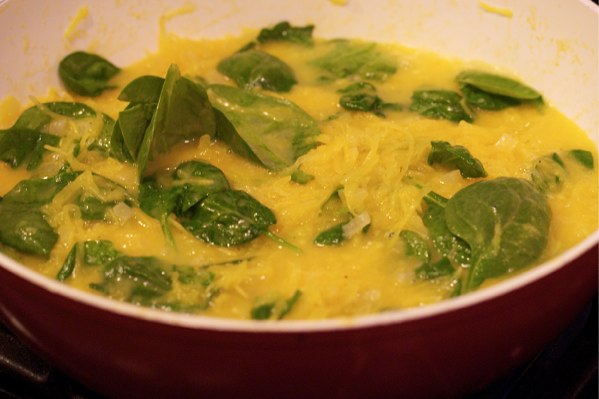
This is it before being baked.
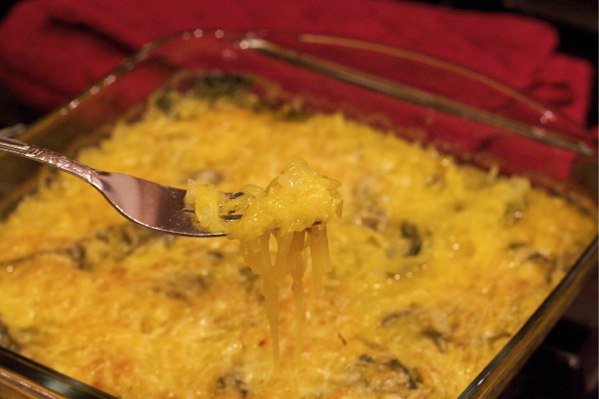
This is it after it baked for 30 minutes. It was good, and melted all the cheese, but I think it would have been just as good without this step.
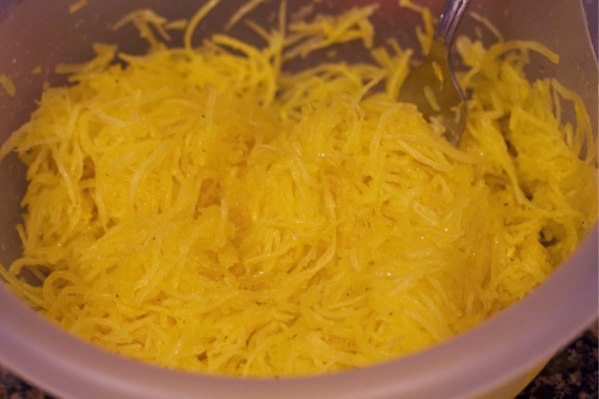
Start with cooked spaghetti squash
Saute it up with baby spinach, cheddar cheese, onions, and chicken broth. I added a bit too much broth.
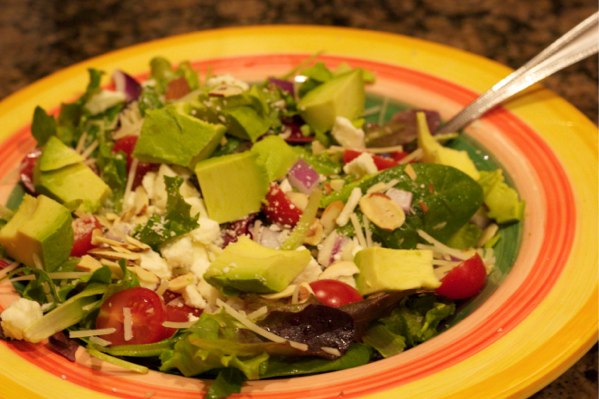
Goes perfect with this salad! Mixed greens, tomatoes, avocado, feta, parmesan, red onions, and sliced almonds!
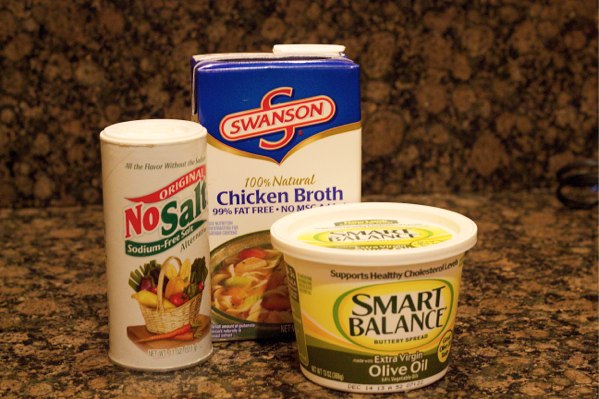
Ingredients to make it even healthier.
I try to use the No Sodium salt and smart balance butter when I am cooking. It is much healthier. I also opted for the 99% fat free chicken broth. It all gets mixed in together and tasted great. My uncle would laugh at this, but he is the one who introduced me to the No Sodium salt. He calls it the “girl salt.” We use to eat dinner with him all the time when we lived out west and he would always say, “Please pass the girl salt.” It always made me laugh!
2 cups baby spinach (I used half of regular size bag)
¼ cup grated parmesan (to be sprinkled on top)
Instructions
Heat the oven to 375 degrees.
To cook the spaghetti squash, cut it in half lengthwise. Scoop out all the seeds and lay on a baking sheet facing up. Put a tsp. of butter in each half and sprinkle with salt and pepper. Bake for 45 minutes at 375 degrees. Take squash out of the oven and scrape insides into a bowl.
Heat oil in a large skillet and saute onions for 2 minutes. Add chicken broth and let simmer on medium high for several minutes. Add the cheddar cheese and keep stirring until cheese is completely melted into the broth. Add spaghetti squash and baby spinach. Stir until combined and flavor with salt and pepper. Put it all into a baking dish and sprinkle with parmesan cheese.