Enchanted Mommy

Daisy Hair Bow Tutorial!

Because I have two girls, I’m an accessory addict!  I just love them matching.  However, even before I had my first daughter (but knew she was a girl), I was making different types of hair bows for her.  This style is a newer design, but I think it is so cute!

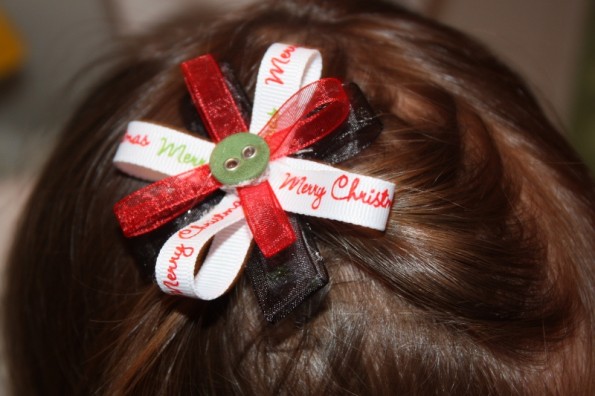
christmas daisy bow in hair

Bow in my 2 year old's hair

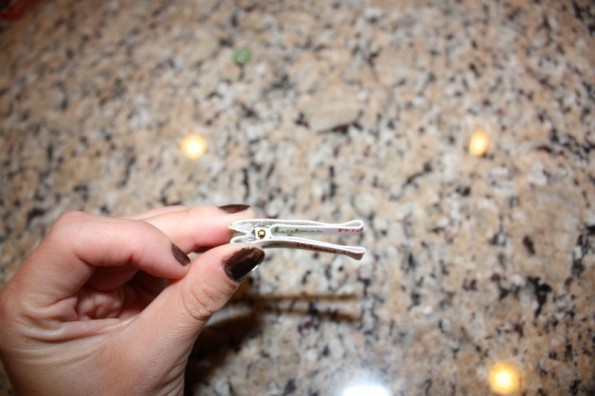
First, I take the alligator clip and wrap it with ribbon all the way around it.  This helps with it staying in fine hair (which most little girls have) and it makes it so the silver doesn’t show.

alligator clip wrapped with ribbon

wrap one of the ribbons all the way around the alligator clip

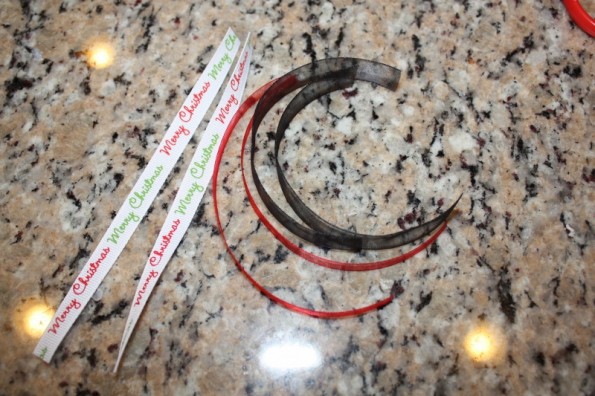
Next, I take three different types of ribbon and cut it into about 6 inch pieces
**you can choose the length, just remember the width of your bow will be about half of the length you cut the ribbon.

ribbon cut for daisy bow

my 6 pieces of ribbon

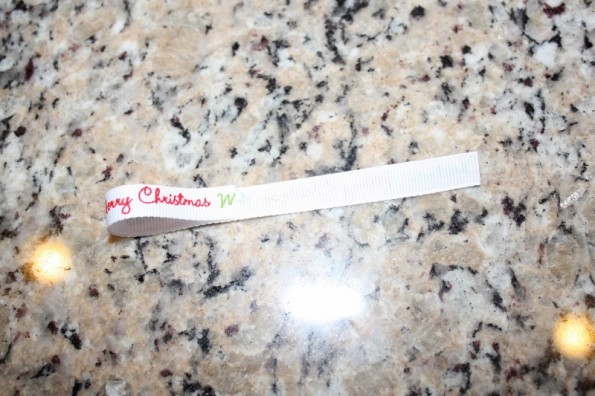
Then, you fold the ribbon in half (so you know where the center is) and you put glue across the fold.

folded ribbon for daisy bow

fold ribbon to halfway and glue it down

Repeat with the other side.

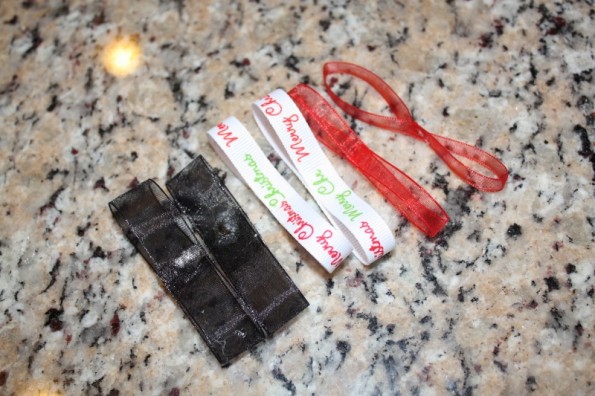
Fold and glue all of your ribbons.

glued ribbons for daisy bow

*all of the ribbons glued in the middle

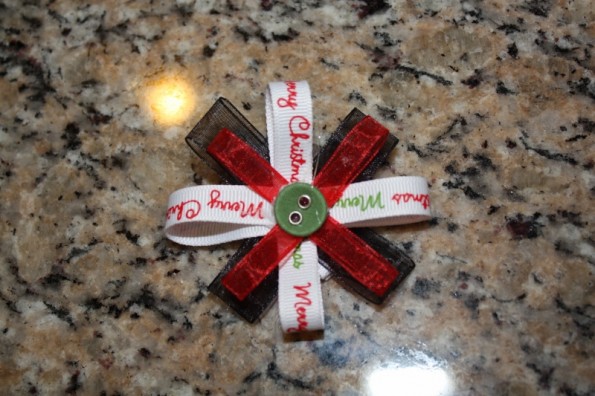
Next, I glued the black ribbons in an x-shape and then the Merry Christmas ribbon and then the red.  I put them on top of each other with the button on top and glue the bottom ribbon to the alligator clip and wahlaaaaa, we have ourselves a bow.

Christmas Daisy Bow

Finished bow!

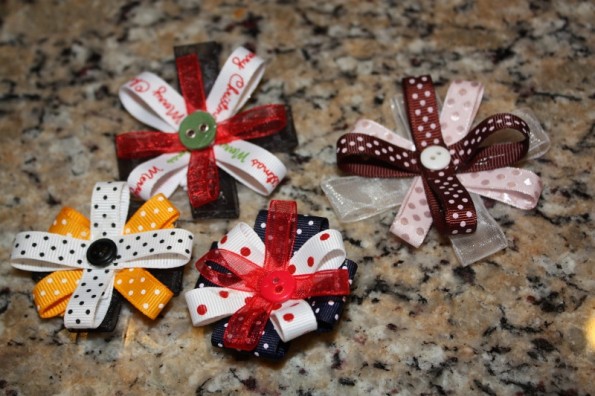
Here are some of the others I have done for the girls!

Different daisy bows

A few of the Daisy bows that I have made

Couple of side notes:

  • You can get all of the supplies at any craft store.
  • You can use all types of ribbon for this bow.
  • Sometimes I use thicker ribbon on the bottom.
  • Play with different designs!
  • Save your extra buttons from clothes!!

Fashion Show, Fashion Show, Fashion Show at Lunch

I got the name of this blog post from this hilarious scene from the office:

This morning my poor 6 month old, Anna, was not feeling well.  I didn’t want to leave the house because I wanted her to rest well in her bed and not out and about.  Poor thing slept for 3.5 hours this morning (on top of her 13.5 hours of sleep she had last night). So….. Ella and I did a fashion show.  She didn’t quite understand exactly how it worked, but I made it seem so fun!

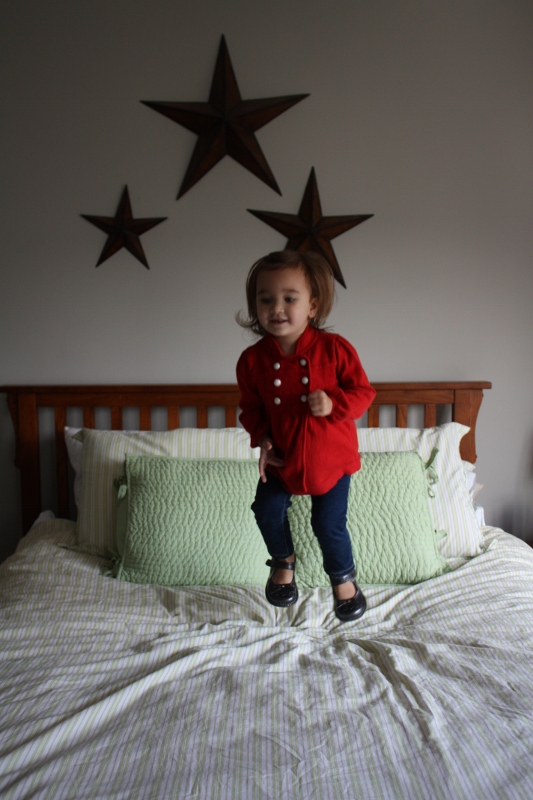
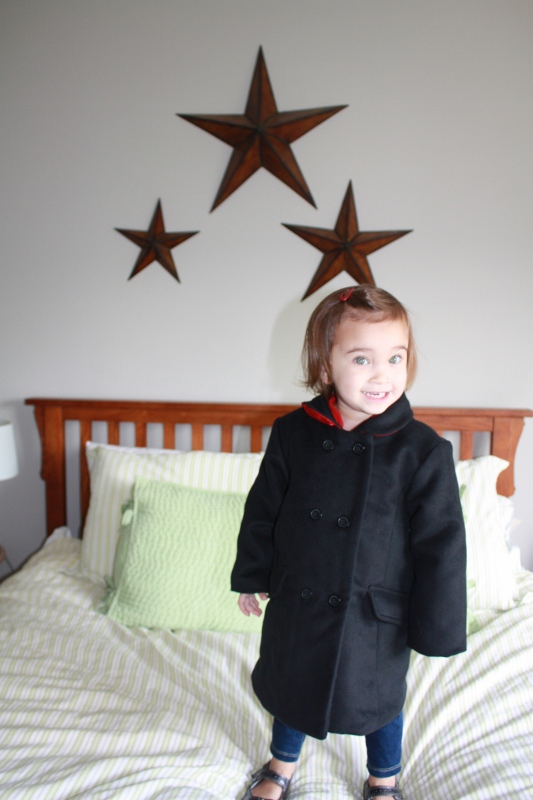
The first outfit, I told her she was so pretty and she kept saying “I’m very pretty, mommy.”  I let her jump on my bed to make it more fun and tried capturing some pics of her high jumps!  I got the red sweater at the consignment sale last weekend that I talked about in my previous post for $3 and it’s from baby gap!  Can you believe it?!?!?!?!

baby gap red sweater

Ella loving her fashion show! This is her $3 sweater from baby gap. She might be a future bball player!

Next, we got to pretend it was winter time and she was very cold!  This is her $8 winter coat from Old Navy.  WAY too cute to pass up.  It is a size 2T (yes, Ella is VERY tiny), but it can fit her again next year and then my sweet sweet Anna after that.  Here is a similar one on sale for $35.

old navy jacket

Isn't this $8 coat just adorable?!

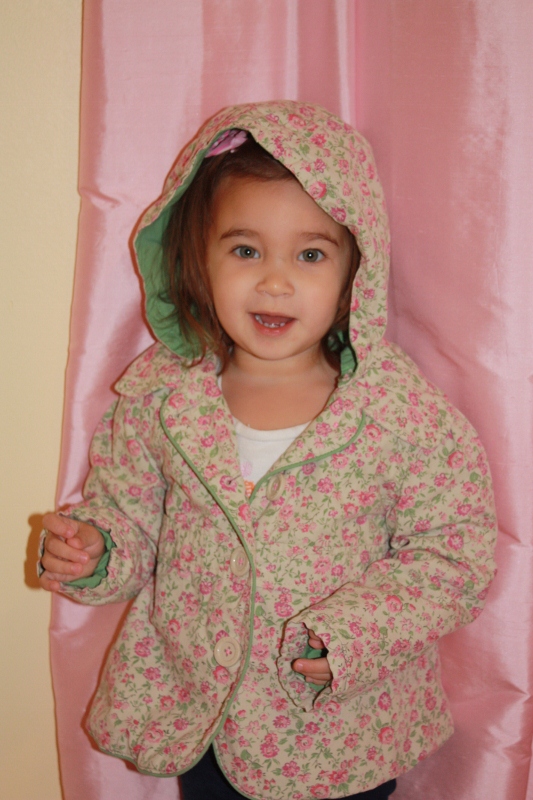
I guess we were on the jacket fix, so here is a genuine kids oshkosh coat that I picked up for $4.  This is also a little big, but will definitely continue to fit!

genuine kids by oshkosh jacket

$4 coat find. Good as new!

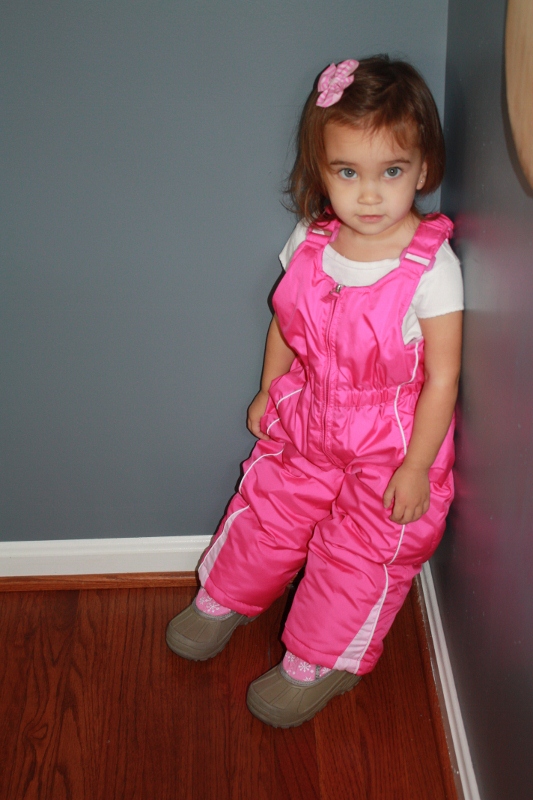
The next outfit, she by far had the most fun with!  Ella got to pretend we were going out in the snow!  Hopefully we will see some snow this year because I got her this great snow outfit for $5 and these adorable boots for $2.

snow outfit pink

Even if it doesn't snow, she can have fun pretending it will!

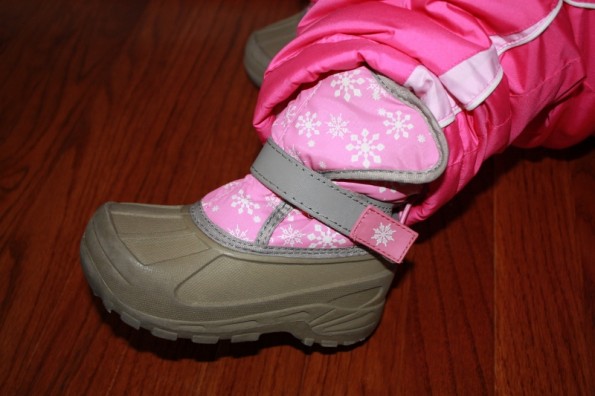
Here is a close up of the $2 boots.

$2 snow boots

AWESOME find! Look almost as good as new!

Now do you see why I love consignment sales?!  My kids can get everything they need for a fraction of the price and I get an amazing feeling when I get such good deals on cute stuff!


Making Baby Food, Fruit this Time!

My last baby food post was for vegetables.  You really can’t get any easier than veggies, but of course your precious needs fruits too!  So, here’s a step-by-step guide to making fruit.

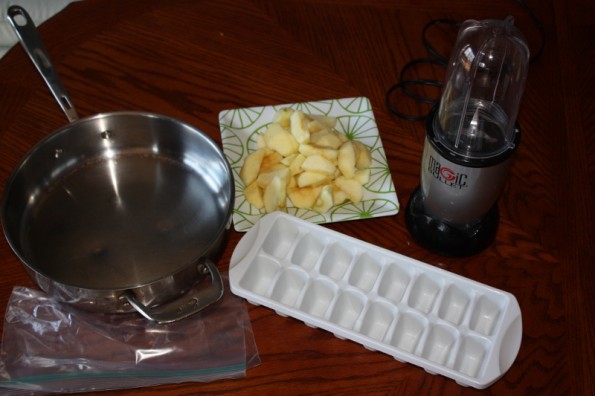
What you need to get started

  • saucepan
  • apples (or fruit of choice)
  • magic bullet or other blender or food processor
  • large ziplock freezer bag
  • ice tray
making fruit baby food

saucepan, apples (or fruit of choice), magic bullet or other blender or food processor, large ziplock freezer bag, and ice tray

Directions

  • Peel and core as many apples (or other fruit) as you would like to use (don’t mind my coring job, my corer is awful)
  • Cut up the apples a little more
  • Throw them in the saucepan with water just covering the apples
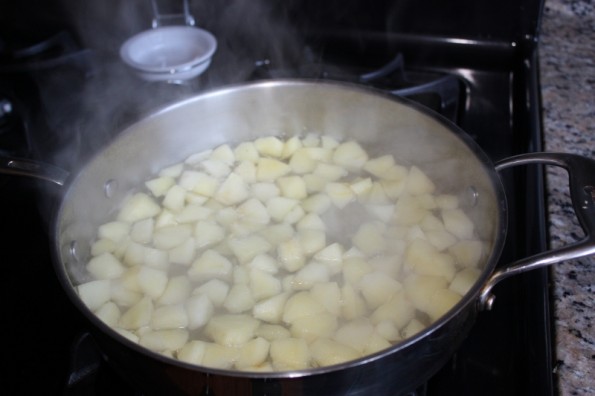
  • boil until soft (it took mine about 8 minutes)
  • Put apples in magic bullet (I saved some out and will tell you why in a minute)
  • Take some of the water from the sauce pan and put it in with apples in your blender
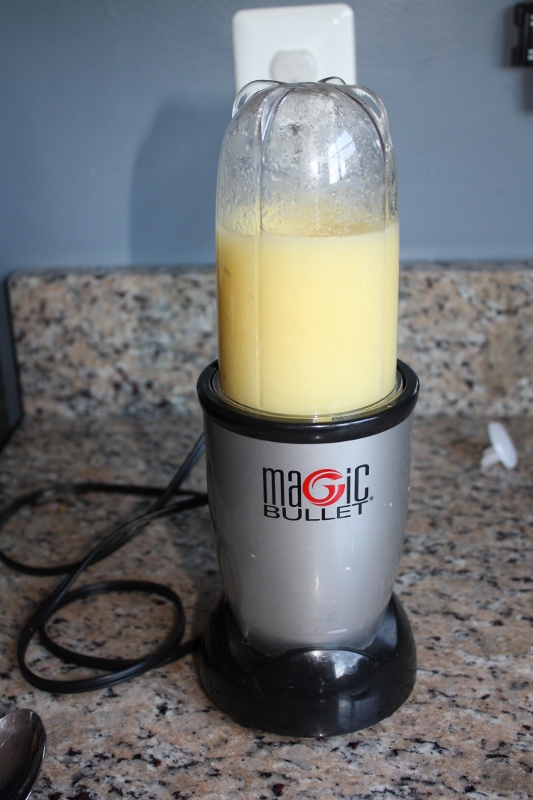
  • Blend away (add water if they are too thick)
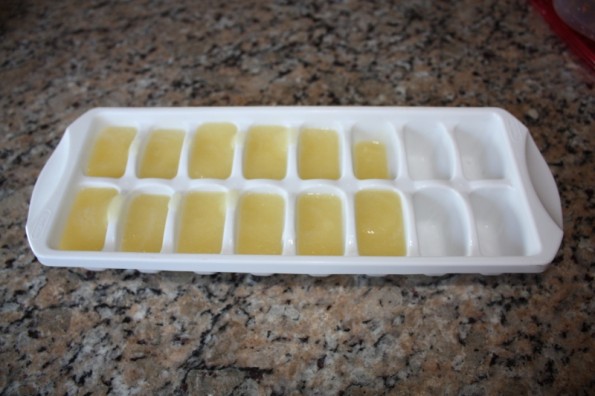
  • Pour into ice cube tray
  • Freeze and then pour into a ziplock bag with name and date on it
Wahlaaaaaa and you are done!
apples getting soft for baby food

Here are my apples boiling. They smell SO good!

making baby food in magic bullet

If you read my veggie post, I described a little bit of my love for the magic bullet. It seriously makes it so perfect.

freezing baby food

I didn't quite fill up the ice cube tray because I saved some of the apples. Read below!

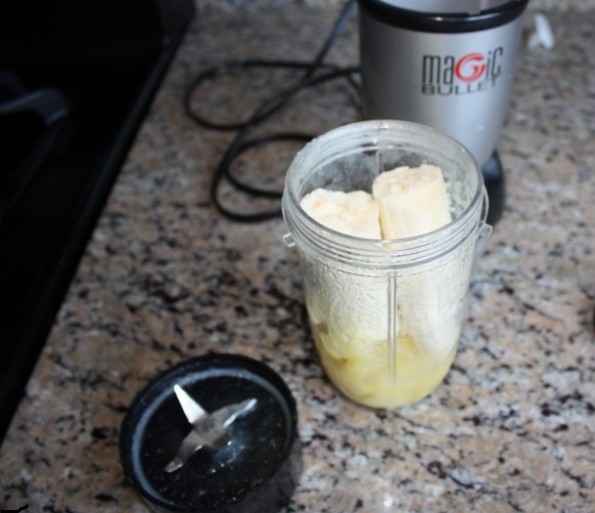
They always say “variety is the spice of life”.  So, I got ideas from walking down the baby aisle and seeing all of the different mixes they used.  We had some bananas so I took the rest of the apples and a banana and threw them in the bullet.  Wahlaaaaaa again, now we have apple-banana food too!

banana and apple baby food

It's as easy as this!

Next, I might try some blueberry apples or some banana berry.  Yummm!  Be creative and have fun!!

Four Easy Steps to Cutting Hair at Home

Giving haircuts at home is really easy!  I have never been trained to cut hair in anyway, but through practice the last several years I have learned how to cut a decent haircut in just a few simple steps!  You don’t even need an expensive fancy set of buzzers.  I paid $29 for mine on Amazon.com and it came with all the guides and some scissors.QUICK MONEY FACT:  Cutting hair at home can save you hundreds per year.  If you consider that a typical boys haircut costs about $20 with tip and they need their cut every 6 weeks, you are looking at about 9 haircuts a year, or $180 per year.  I have three little guys, plus my hubby, so by cutting hair at home I am essentially saving about $720 per year.
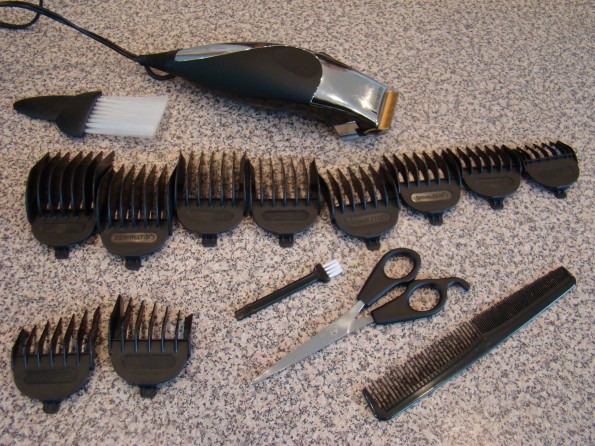
Here is a quick tutorial using my almost 4 year old, Tyson, and my 2 year old, Andy.

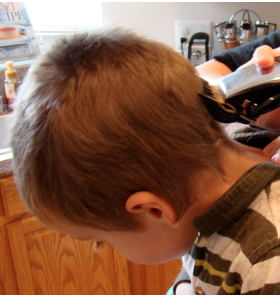
Step 1:  Shape the top of the Head
Start with a larger sized guide comb.  I usually pick the largest or second largest.  Remember, you can always go shorter, but once you have cut it short there is no going back.  Cut just the top and around the crown of the head for now.
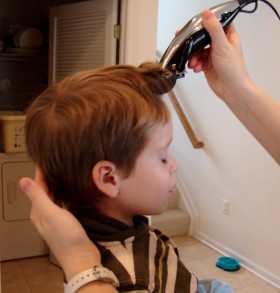
Cutting the top of Tyson’s hair

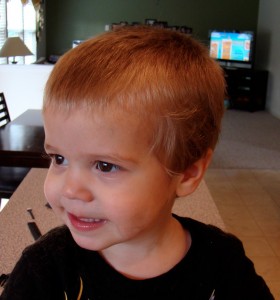
Andy

Andy after step one

Step 2:  Cut the sides, back, and around the ears
Use one of the smaller sized guide combs.  I usually start with the second or third smallest and go from there.  Cut the sides, back, and around the ears.  You should see a line of hair around the top of the head from where you used the longer guide comb.
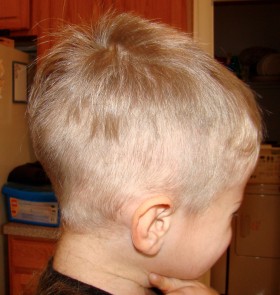
Notice the hair line across Andy’s head showing the length of the different guide combs

Cutting Tyson’s Hair – Step 2

Step 3:  Blending
I found that it is completely unnecessary to use a blending guide comb for this part.  Just pick a mid size guide comb.  I pick one that is just 2 sizes up from what I used on the back and sides.  Start at the bottom of the head and and go straight up, crossing over the line made from using the larger guide.  DO NOT round the buzzers to follow the shape of the head, just go straight up.  If you let the buzzers follow the round part of the head you will end up having to buzz all of the hair on the top to match and will end up with a very short military buzz.  Just keep moving the buzzers straight through the hair line made previously, going from one side of the head to the other until you can know longer see a line and the hair is completely blended.  You might need to switch to a bigger or smaller guide comb to get the hair line completely blended.  This all depends on how large the guide comb you used on the top was.
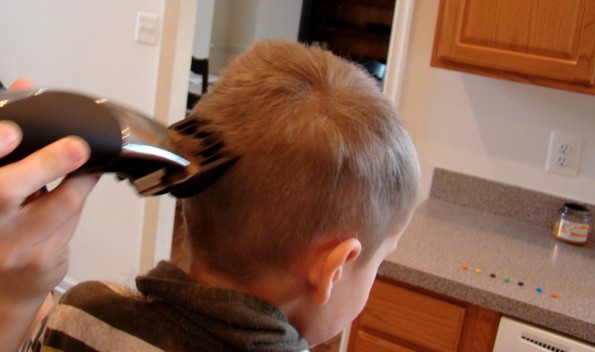
Move the buzzers straight up across the longer hair line, but not around the head.  Notice the M&M’s in the background….  bribery goes a long way!!!

***Once you get some practice in blending you can use an even smaller guide comb on the sides and back.  I can now use the largest comb guide on the top and the very smallest on the sides and back and get it blending perfectly… it took lots of haircuts before I got to this point though, so don’t get discouraged.

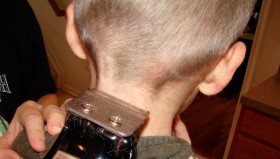
Step 4:  Trim around the ears, back of the neck, and bangs
Take off the guide comb.  Make sure the handle on your buzzers is down so that the blade is at its shortest so you can get the cleanest cut.  Carefully (these are sharp with out the guide combs on) trim the hair around the ears by gently pressing buzzers down on desired part.  Do the same for the side burns.  Trim a straight line across the back of the neck.  Do not trim to high up on the back of the neck.  I did this once and my hubby was not very happy  :).  You can trim the bangs the same way with the buzzers, or if you are more comfortable you can use regular hair cutting scissors.    PLEASE NOTE:  I do not do any of this step with very young kids, including my two year old.  They just wiggle too much and I feel like it is way to dangerous.   It also seems unnecessary to me since their hair is still mostly light fuzz at the back of the neck anyway.
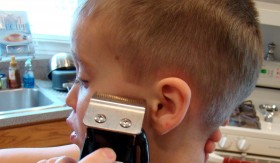
Hold buzzers in a straight line and press gently to make a straight horizontal cut

Trim a straight horizontal line across the back of the neck

That’s it!  You’re done!  Don’t worry, you really do get better with each haircut.  The best part about cutting boys hair is that it grows back so fast!  If you accidentally cut to short you can always just buzz it all one length and try again in a few weeks when it grows back.  So don’t get yourself to syked out… you will get better with each cut!

If you have any questions before you get started, let me know!  In the meantime, here are some before and after pics of the boys.
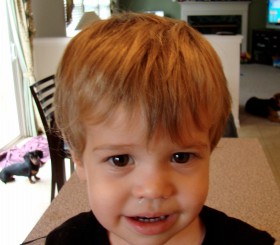
Andy before his big cut

Andy, before his big hair cut

Tyson, before his cute hair cut

Handsome Andy after the big cut

Handsome Andy after the big cut

Handsome Tyson after his hair cut

Handsome Tyson after his hair cut

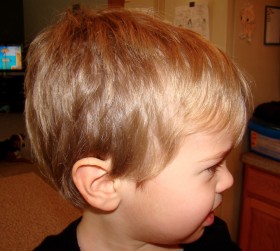
Andy profile view before pic

Andy, profile view before his haircut

Tyson profile before pic

Tyson, profile view before haircut

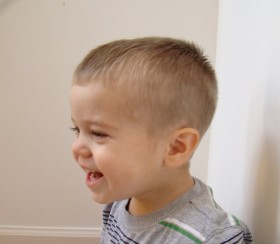
Andy – After profile view

Tyson - After profile view

Tyson – After profile view

Awesome Consignment Finds

After today I decided that I’m no longer shopping in stores for clothes or toys for the girls.  Of course I say that now, but I found so many amazing deals at a local church’s twice a year consignment sale today.  You need it for a child, they had it.  They only accept things that are great condition.  If anything looks even slightly worn then they put it on a special rack that says “worn or out of season”.

When I say they had everything, they had tons and tons of shoes, clothes, walkers, high chairs, strollers, potties, books, DVDs, cribs, rockers, toys, bikes, coats, snow suits, pack n plays, exersaucers, bjorns, jumpers, socks, and even tons of Halloween costumes.  If you are having a baby or you want a nice treat for your child, this is what you so need to do.

I will save the clothing for later when my girls are in a great mood to model it for you and after it’s washed.  I even went back for more clothes later in the day because they have a “dollar dash” which is everything that is left is $1.  Obviously, this stuff was more picked over, but I did get a jean skirt, sweater and pajamas for Anna and I picked up my friend’s son two shirts.

Here are two things that I bought my girls:

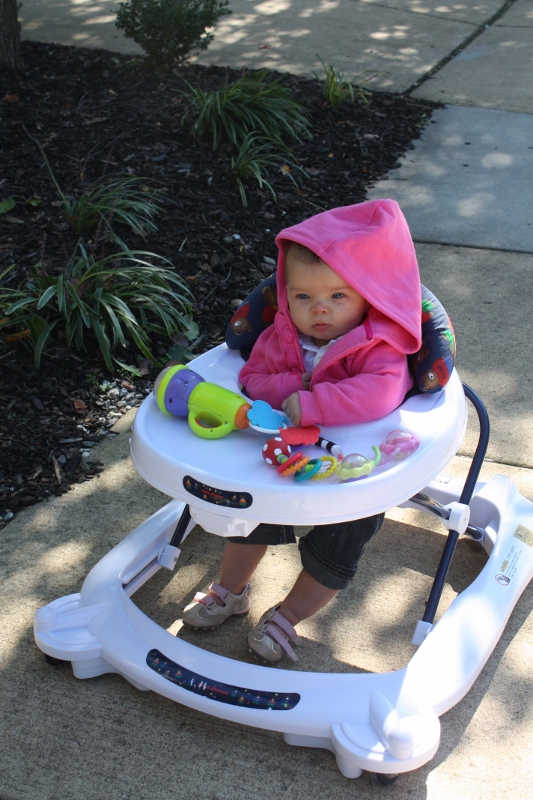
baby walker from consignment

Anna with her consignment item, retails for $39.99, I paid $10

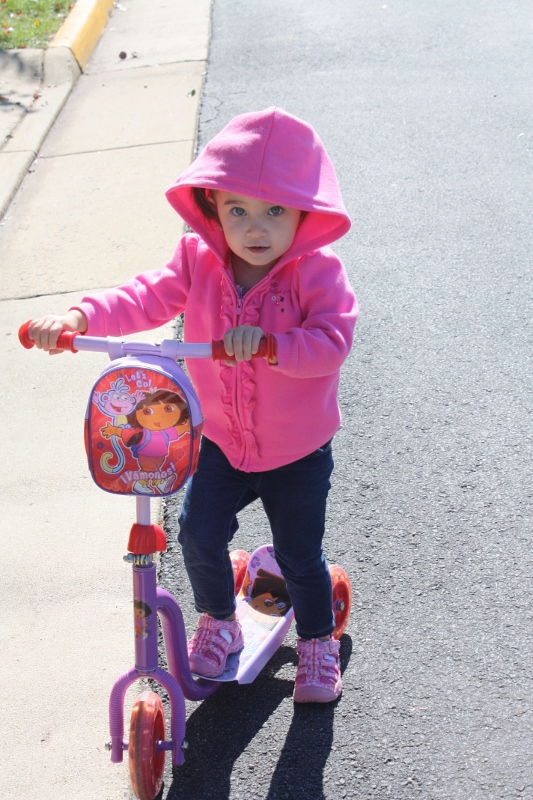
Riding Dora Scooter

Ella did watch the neighbor play with a scooter and wanted one. I couldn't pass this up. This scooter retails for $25 and I paid $6.

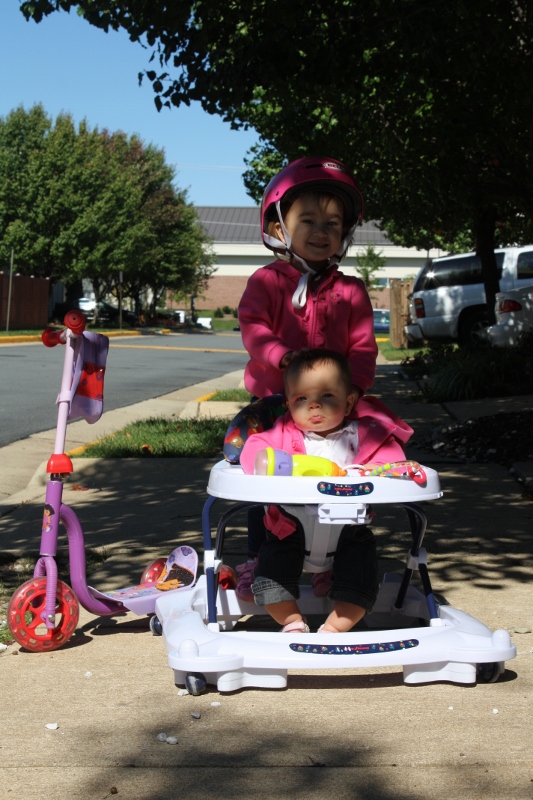
So for $16, they had a great day and I have this to show for it.

Dora scooter, baby trend walker

I think the sweetness of this picture alone is worth $16. I love that they both have a sister 🙂

Now, go find a local consignment near you and then feel the awesomeness with me!

Making Baby Food

l’m almost embarrassed to write this post because I’m on my 2nd child and I just learned the easiest thing ever how to make baby food.  I often see posts on Facebook of people wanting advice and that they’ve read up on it.  Well, it’s.so.dang.easy.

Magic Bullet Use

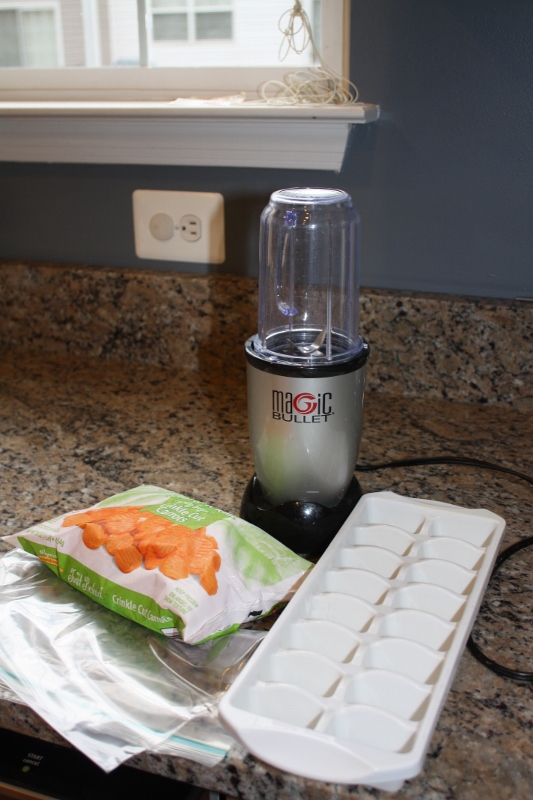
What you need to make baby food

Here’s what you need:

  • Magic Bullet – okay, I’m super partial to my bullet because it’s such an inexpensive small blender (I should be the lady in the pink dress in the crazy infomercial below… and yes you need to watch it for comic relief) Seriously though, it’s everything that they say it lives up to. OR you can use any blender or food processor. They also have a baby bullet, for me it’s not necessary when I can use the regular bullet for many things.
  • Ice Cube Tray(s)
  • Large Ziploc Freezer Bags
  • Frozen Veggies to Steam
  • Water to create the thickness

Directions

Steam your veggies according to package
Throw as many veggies in your blender that you can
Add a bit water (remember you can always add more)
Mix it up
Add more water if it’s too thick and mix again

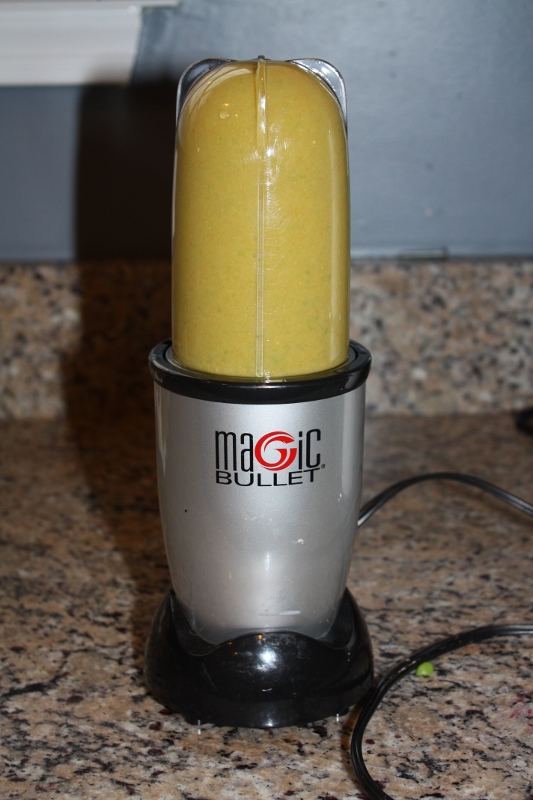
Magic Bullet Making Baby Food

Mixed Veggies in the Bullet, looks perfect, huh?!

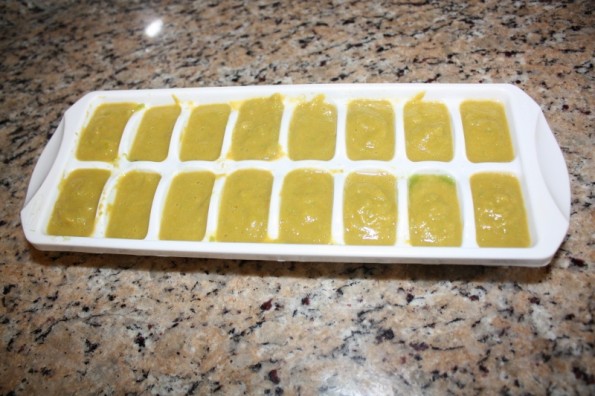
Pour into your ice tray, but make sure you don’t go over the dividers (we did that before and it’s so hard to get them out once they are frozen).

Baby Food in ice tray

So simple!  Throw this in the freezer!

Freeze the veggies
Dump them into a labeled freezer bag
Pull out as many as you need at the time
I do put mine in the microwave before I feed it to Anna, but I make sure I mix is really well so there aren’t any hot spots.

AND you’re done!  So easy, so cheap and for me, I feel like I accomplished something healthy for my little one.

It’s WAY cheaper

I figured out the cost too.  The bag of veggies is 99¢ and you get at least one full ice cube tray out of them.  Approximately two cubes = one container of baby food.  There are two containers (of Gerber, which I found is the cheapest) together for approximately $1 (at a well-priced grocery store). Therefore, you are cutting the price by at least 67%.