Enchanted Mommy

Easy and Delicious Challah Bread!

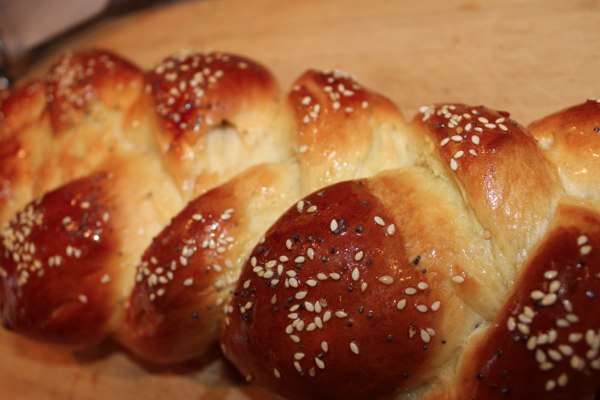
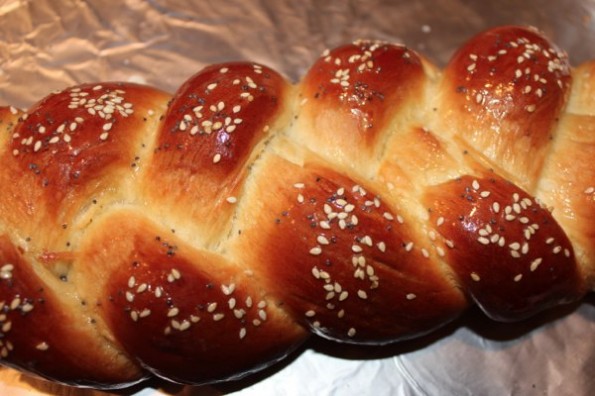
So have I mentioned that I pretty much love anything from the Lion House Bakery?  This bakery is most famous for its breads, pies, and desserts.  Anything you get from here is going to be good!  I recently posted a crepe recipe from the Lion has as well that my family has been using for years and years.  Anyway, I had a friend in my neighborhood get really sick this past week.  I wanted to make something to cheer her up and feed their family.  So I made this Challah bread from the Lion House Bakery to go with Alice Springs Chicken.

It turned out really yummy!  I made a loaf for my family and a loaf for my friend.  It is delicious pull apart bread that is soft and fluffy on the inside!

Challah Bread (makes 2 loafs)
From the Lion House Bakery Cook Book
1 Tb dry yeast
1 1/2 cups warm water (not too hot)
1/4 cup granulated sugar
1/4 cup vegetable oil
1 tsp salt
2 eggs beaten well
4 1/2 to 5 cups of flour
1 egg yolk beaten well
1/4 tsp water
sesame seeds
poppy seeds (I added this to mine as well)

1.  Place the warm water in your bowl and sprinkle the yeast on top of the water and let sit for a few minutes until is is slightly dissolved and frothy on the sides of the bowl.

2.  Add sugar, oil, salt, beaten eggs, and 2 1/2 cups of flour.  Beat well.  Add enough remaining flour to make soft dough and knead until smooth.

3.  Grease your dough and bowl with a cap full of vegetable oil.

4.  Cover and let rise until double (about 30 -40 minutes).  P

5.  Punch down and divide in half.  Then take each half and make three long ropes.  Braid the three ropes together and then repeat with the other three ropes.  Place on a greased cookie sheet.

6.  Mix egg yolk with 1/4 tsp of water and brush over the braids.  Sprinkle with seeds.

7.  Cover and let rise 30 minutes.

8.  Bake at 375 degrees for 30 to 35 minutes.

***I baked mine for 30 minutes and it was a little browner than I would like.  I had to run out for a minute and asked the hubby to keep an eye on it.  He didn’t do a great job. Haha… apparently men (at least this one) doesn’t have the eye for checking on bread!  I would recommend checking it at 20 and 25 minutes.  So yummy and fancy looking but such an easy recipe!

The bread just ready to bake after being left to rise the second time

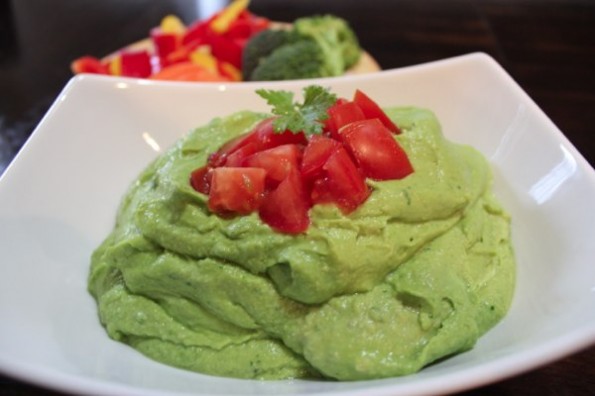
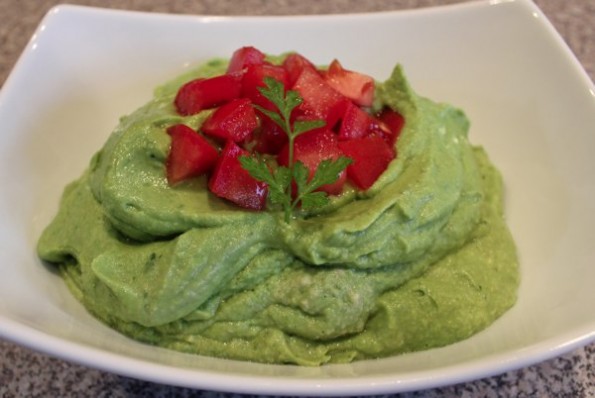
Avocado Hummus… mmm mmm good!

Crazy day today…  isn’t it always though?!?!  We are always on the go making it harder and harder to get in a decent healthy lunch.  I have been trying really hard to eat more raw veggies lately, mostly because they are just so good for you.  I read all the new year resolution on veggies (yeah I know, I know!  You are all sick of hearing about new year resolutions), but the fact that eating large quantities may reduce your risk of cancer is awesome and gave me a raw veggie kick.  The problem is that I don’t really like raw veggies and either do my kids!

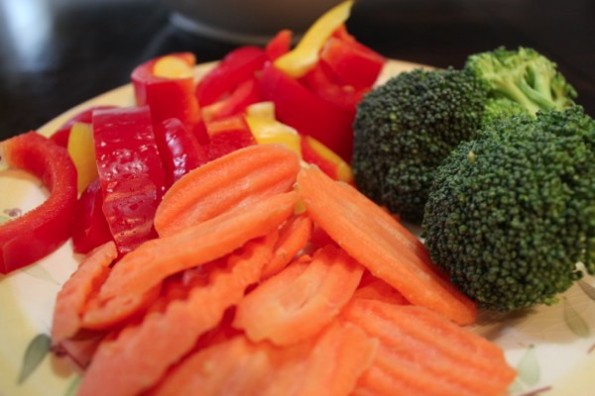
We are learning though!  I have found that it is all in the presentation.  For example, try buying carrot chips instead of regular carrots.  I don’t know what it is, but something about calling it a chip and the thinner crinkle cut is more enticing than a thick carrot stick.  My kids will gobble it up!  Throw in some interesting and yummy Hummus and we will all down and tray of raw veggies. 

So I am a little obsessed with Hummus lately since being on my veggie kick.  It is such an easy and healthy lunch.  I have been keeping a different variation of it along with fresh cut veggies in the fridge for the last several weeks.  If is is ready and you just have to pull it out… you will eat it!  It is easy to grab and when you just want a quick snack for you or the kids it is a great healthy way to go.

So here is the latest Hummus variation I have made lately… So good!

AVOCADO HUMMUS
From www.edibleperspective.com

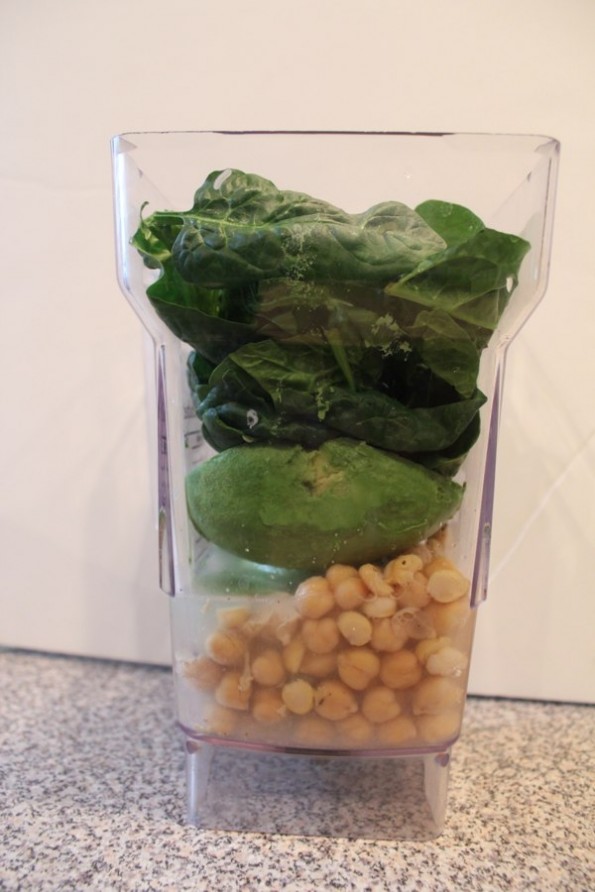
  • 1 can garbanzo beans
  • 1/4 – 1/3 cup of cooking liquid if you use dry beans or chicken stalk (I actually just used water here)
  • 2 medium cloves of garlic
  • 1/4 cup of tahini
  • 1/2 tsp salt
  • fresh ground pepper to taste
  • 1/4 cup fresh lemon juice
  • 1 avocado
  • 2-3 cups fresh spinach
  • I like to garnish with Tomatoes and cilantro

Add the ingredients to a food processor or blender and mix well.  I needed to add more liquid to get the right consistency.  Serve with a variety of raw vegetables (I recommend carrot chips for kiddos).  I am sure this would be great with a yummy pita as well.  Enjoy… I sure did!

Making Dishwasher Detergent: So Easy and CHEAP!!

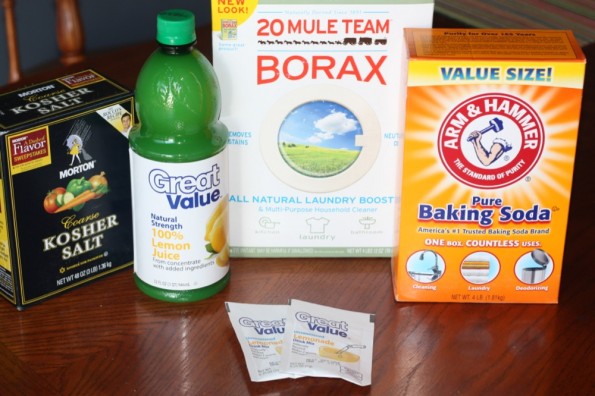
This works great!!!  Here is what you need!

cheap way to make dishwasher soap

borax, baking soda, salt, 2 lemonade kool-aid packets, lemon juice

Ingredients:

1 cup borax
1 cup baking soda
1/4 cup salt
2 lemonade kool-aid packets (I used store brand, almost half the price as kool-aid brand)
30 drops of lemon juice

Directions:

Mix together in a sealed container and wahlaaaaaaa.

I had to run to Wal-Mart to return something for my daughter, so I decided to pick up the ingredients there.  They had all the ingredients and it cost about $8.00 and I can probably make it 10 times for that total.  I would say it cuts your price to about 1/10th of  the average dishwasher soap.  It is SO easy!  It made me feel great and my dishes turned out just as clean or even cleaner than if I used Cascade or Finish.

Couple of side notes:
Borax is found with the laundry detergent.
I also found the big baking soda in the laundry detergent aisle.
Must use lemonade kook-aid mix, other flavors could stain your dishes.
Use about a tablespoon in each compartment.

Have fun and get happy when you’re saving so much money!!!!!!

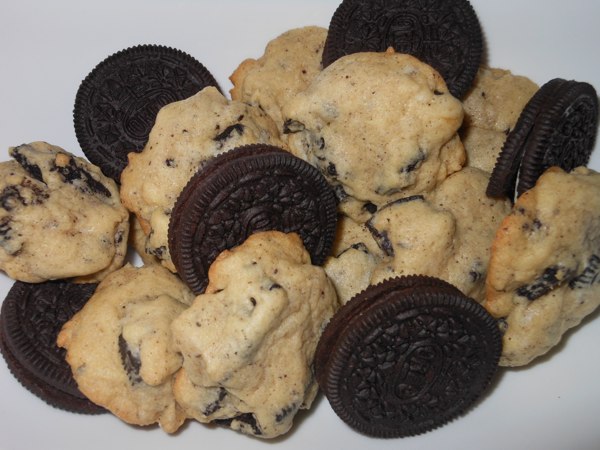
Cookies and Cream Cookies!

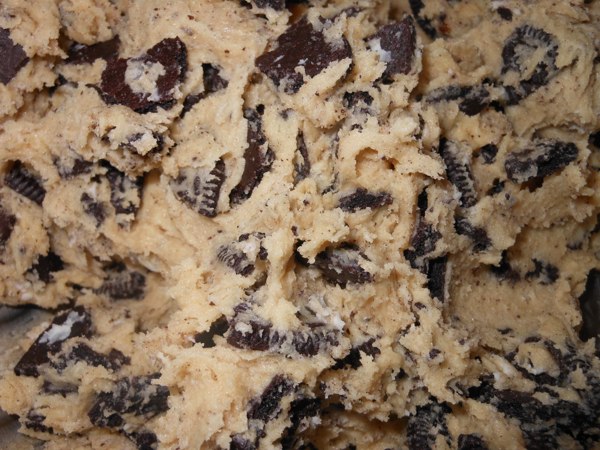
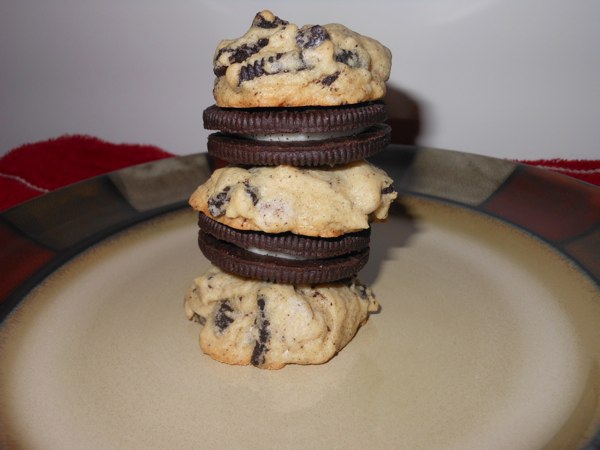
Pinterest has caught  my attention again!  I can’t get enough of it!  It has the best of everything!  I saw these cookies and cream cookies floating around on pinterest a lot lately so when we got invited over to a friends for dinner I immediately thought of these cookies as something fun and different to bring along.  They were yummy and fluffy, but I must admit that the dough was just as good as the baked cookie!  So good… I am such a sucker for cookie dough!  It was a great compliment when I had no cookies to take home at the end of the night…  I think that speaks for itself.
So good... I love the dough!

How could you not love a cookie full of Oreo bits! MMMmmmm!

Cookies and Cream Cookies
(makes about 30 cookies)
From Ericassweettooth.com

1/2 cup butter, at room temp.
6 Tb sugar
6 Tb. brown sugar
1 egg
1 tsp. vanilla
1 1/4 cup flour
1/2 tsp. baking soda
1/2 tsp. salt
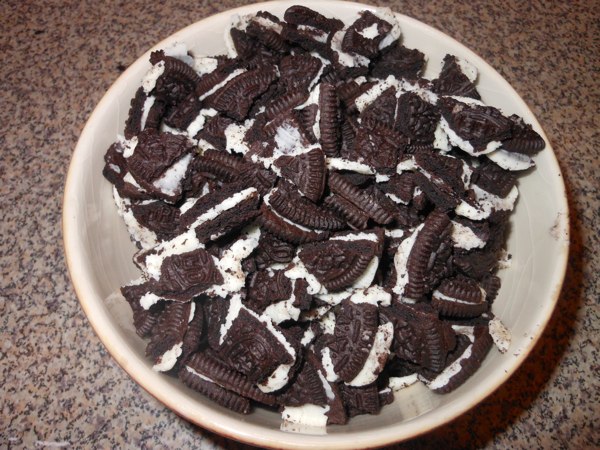
12 Oreos broken into pieces

***Preheat over to 350 degrees.  Cream together sugars and butters.  Add egg and vanilla. Wisk dry ingredients together in a separate bowl, then slowly add to sugar mixture.  Mix slowly until just combined.  Gently stir in oreo bits.  Line baking sheet with parchment paper and bake 8 to 10 minutes.

Cool completely on a wire rack

Outback’s Alice Springs Chicken!

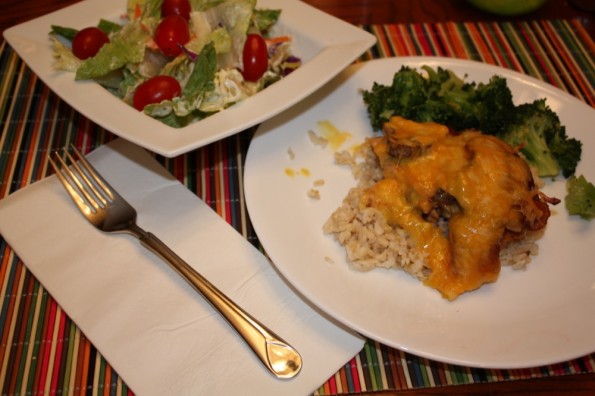
I have to give credit where it’s due.  I got this amazing recipe here from Pinterest (if you haven’t joined pinterest, do it like NOW).  My in-laws were in town this past weekend and this is a great meal to serve.  It’s easy, quick and delicious.

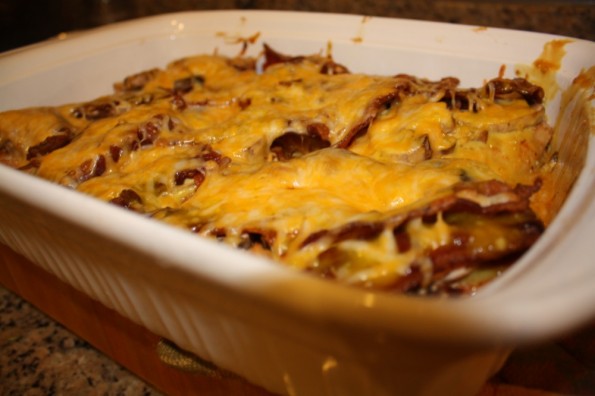
Chicken dinner

What a great meal!

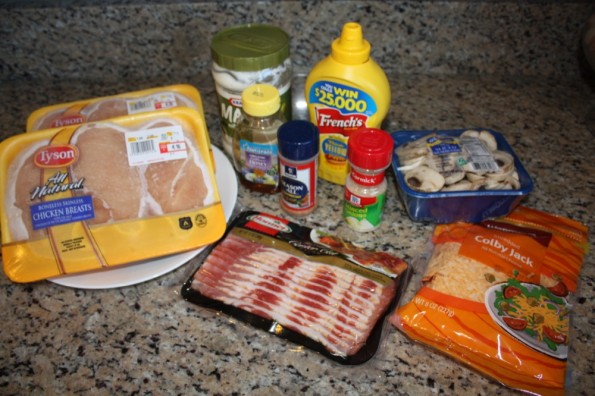
It’s very easy!!  Here is what you need:

Alice Spring Ingredients

Start of an amazing meal!

  • 4 boneless skinless chicken breasts, I cut them through the middle to make them half the thickness
  • seasoning salt
  • 6 slices bacon, cut in half
  • ¼ cup regular mustard
  • ¼ to 1/3 cup honey
  • 2 tablespoons mayonnaise
  • 2 teaspoons dried onion flakes
  • 1 cup sliced fresh mushrooms
  • 2 cups shredded Colby/Jack cheese
Directions:

Sprinkle and rub the chicken breasts with seasoning salt.  Cover and refrigerate for 30 minutes.

Meanwhile, cook bacon in a large skillet until crisp.  Remove bacon.  ***Do not discard grease.*** Saute chicken in the bacon grease for 3 to 5 minutes per side, or until browned.  Move chicken to a 9×13 pan.

In a small bowl, mix the mustard, honey, mayo and dried onion flakes.  Apply the honey mustard to each breast, then layer with mushrooms, bacon, and shredded cheese.

Bake in a 350° oven for 30 minutes, or until cheese is melted and chicken is done.  (Be sure to cut into a breast to see that it is fully cooked before serving to guests who will find raw meat in their main dish.  Ask me how I know…)

Serve with honey mustard sauce.

Outback Aussie Chicken

You're done!

Side note: I used 6 breasts and doubled the sauce.  There were four adults and I didn’t have to worry at all about having enough, in fact we had leftovers.

Crock Pot Beef Stew

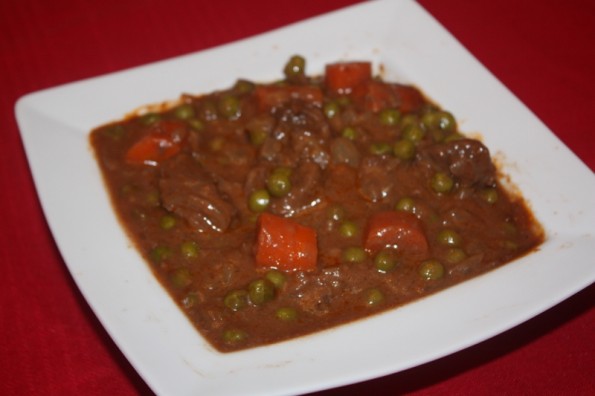
delicious stew

It's so yummy!

Soups are just so delicious in the winter!  I got this recipe off food dot com.  I love this recipe because you just throw everything into the crock pot.  There is no before cooking.

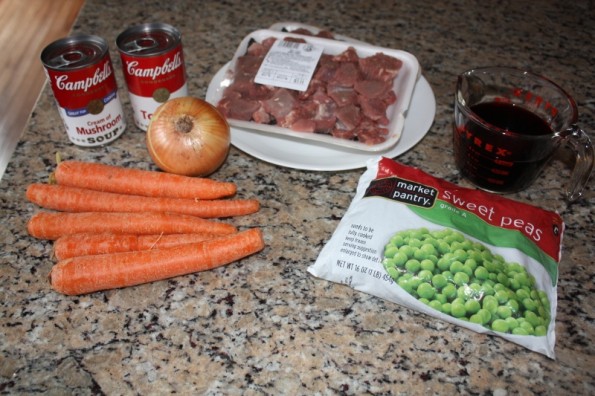
Here’s what you need:

Beef stew in crock pot ingredients

The ingredients needed for the delicious stew!

  • 2 lbs stew meat (no need to brown)
  • 1 (10 3/4 ounce) can condensed tomato soup
  • 1 (10 3/4 ounce) can condensed cream of mushroom soup
  • 1 package Onion Soup Mix
  • 1 cup red wine
  • Extra veggies (I used peas, onions and chopped carrots)
Directions (can’t be any more simple):
  • Put all ingredients into crock pot (I kept my frozen peas out and put them in 30 minutes before we were ready to eat it).
  • Eat and enjoy!


Make Your Own Bread Crumbs

bread crumbs

Beautiful and fresh bread crumbs.

I recently posted a crock pot Chicken Parmesan recipe.  I never buy pre-made bread crumbs for a couple of reasons.  I only eat whole wheat and I haven’t seen 100% whole wheat bread crumbs at the store and I would much rather have something more fresh.  So, I make my own and it’s SO simple.

You need:
bread of your choice
toaster
food processor

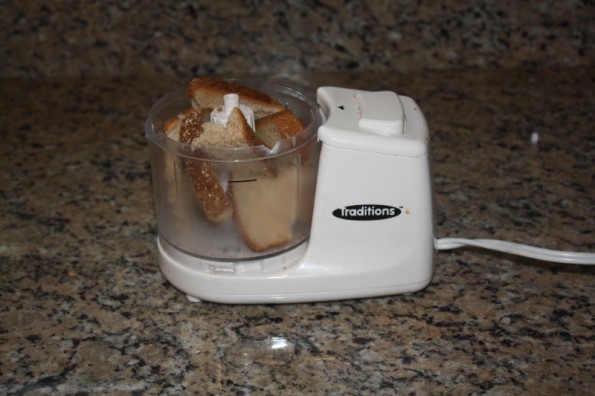
I toasted two pieces of bread and pulled them apart and stuck them in my mini food processor (another favorite kitchen gadget that I believe we got on a black Friday for $5).

Make your own bread crumbs

After your bread is toasted, throw it in the food processor.

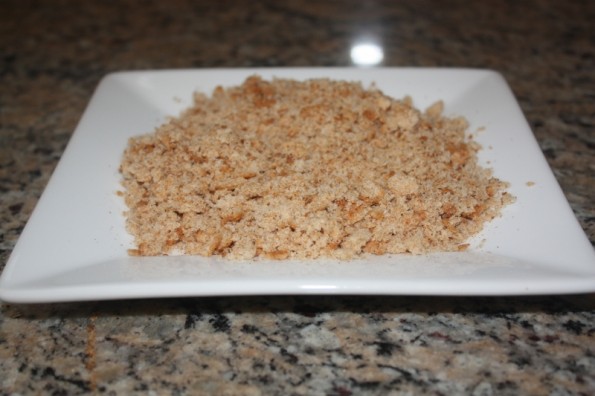
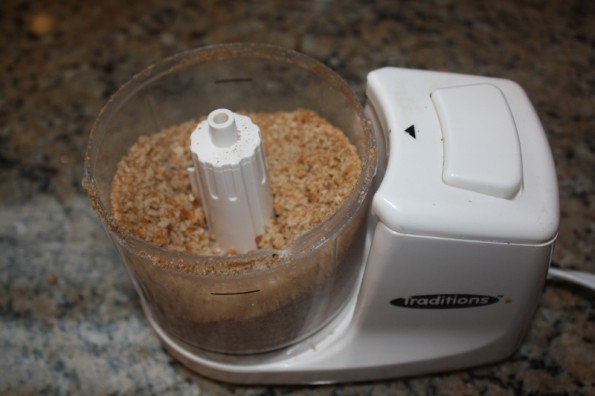
Process it up and you are finished!

ready bread crumbs

This is what they looked like in the processor.

Most recipes call for what you want to add to the bread crumbs, but you can also be creative with spices and parmesan cheese!


Slow Cooker: Chicken Parmesan

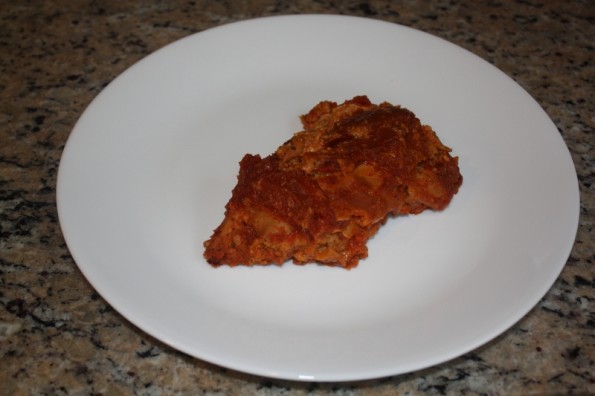
chicken parm from crock pot

Definitely not the most beautiful thing in the world, but oh so delicious!

So, I have to admit my recent obsession for the slow cooker.  I have seriously fallen in love with it and there are a few reasons why.  However, I will save that for a different post.  We went over to my friends house for dinner two weeks ago and she made chicken parm in the crock pot.  It is DELICIOUS!  I decided to make it too.  I did modify it (of course) to fit phase 3 of the South Beach Diet.  She got the recipe from crockpot365 dot blogspot dot com.

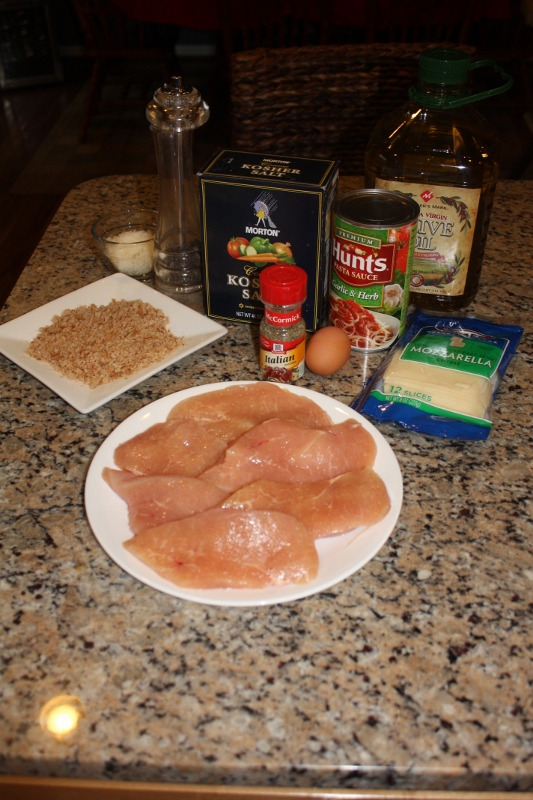
Here is what you need:

chicken parm in crock pot

This is what you need for chicken parm in the crock pot!


  • It calls for 2-4 boneless, skinless chicken breast halves, but I used 6
  • 1/2 cup bread crumbs (I made my own 100% whole wheat)
  • 1/4 cup parmesan cheese
  • 1/2 t Italian Seasoning
  • 1/4 t black pepper
  • 1/4 t kosher salt
  • 1 T olive oil
  • 1 beaten egg
  • sliced mozzarella cheese
  • favorite jarred marinara sauce (I used hunts garlic and herb in the can because there is no sugar)
Directions:
  • spread the 1 T of olive oil into the bottom of your crockpot stoneware insert
  • whip the egg with a fork in a separate bowl
  • mix the bread crumbs with the seasonings and the parmesan cheese in another separate dish
  • dip the chicken into the egg, then into the bread crumb mixture, coating both sides with crumbs, cheese and seasonings
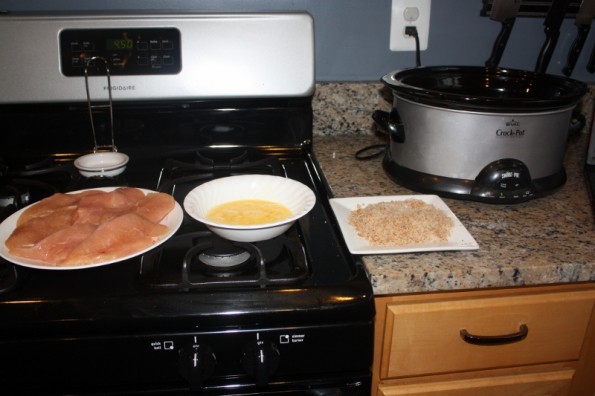
chicken and things for chicken parm

I did an assembly line.

  • place the chicken breast pieces in the bottom of the crock
  • layer 2-3 slices of mozzarella cheese on top
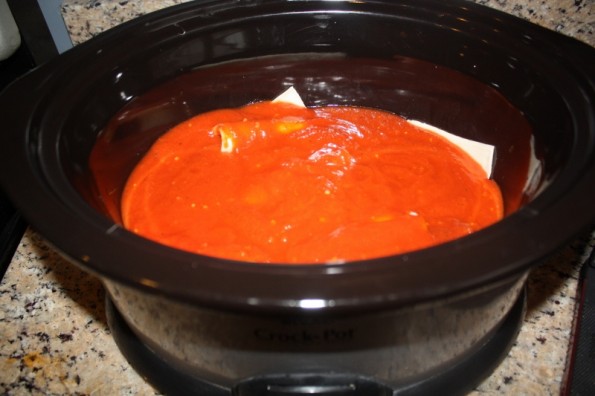
  • cover with entire jar of marinara sauce
sauce covering chicken in crock pot

Ready to cook in crock pot!

  • close lid and cook on low for 6-7 hours or high for 3-4. If your chicken is still frozen, it will take longer (although I would never recommend putting frozen chicken in the crock pot)
  • Serve with pasta (I didn’t because of my crazy obsession without too much grain)
I thought it was delicious.  I would totally make it for my husband and myself over and over again.  However, it isn’t the best looking dish in the world.  I probably wouldn’t serve it for a formal dinner, but it was so good!

Making a Super Man Cake!

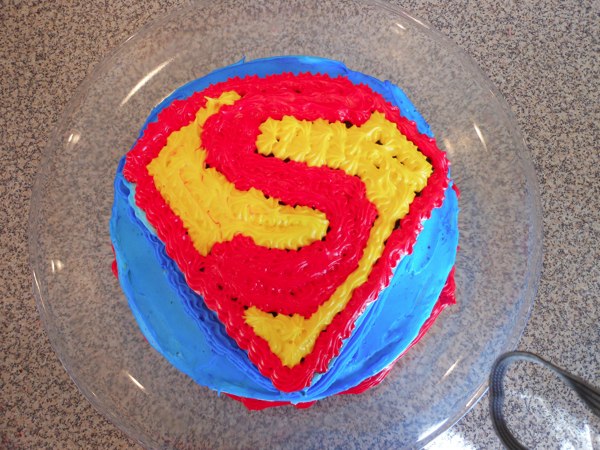
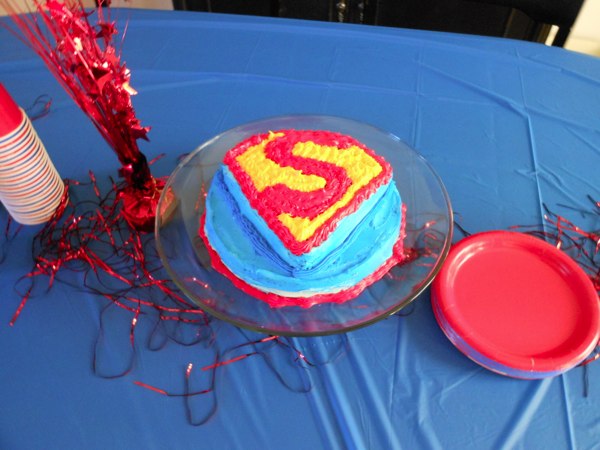
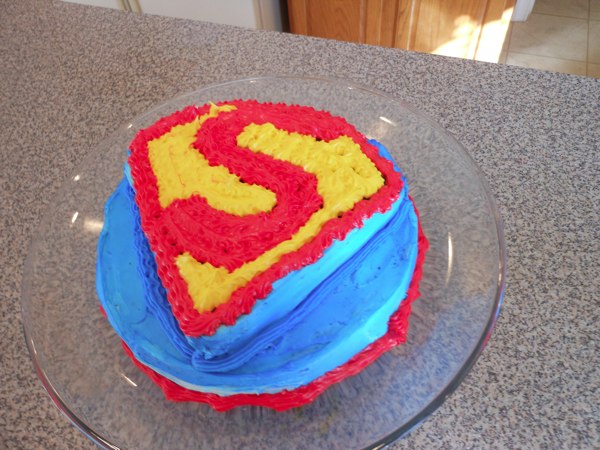
I have to say that I am huge on making and decorating my kids birthday cakes.  I have three boys and on each of their birthdays we get up and make and decorate a cake together.  I am not an expert (my cakes obviously show that) and I have never taken any cake decorating classes (although I’d love to find time to).  For that reason, and because I always have an extra set of little hands helping me, I need to keep my designs simple.This year my little monkey had a Super Hero party.  He wanted his cake to be superman. I looked up the super man logo and new exactly what to do.  A two layer cake with the top layer cut in the shape of the super man shield logo.

  • Step 1: Bake your favorite cake in two 9-in round pans.  I am a simple when it comes to this… I use a $2 cake mix.  We never choose anything but chocolate at my house!
  • Step 2:  Carefully dump the pans upside down to release the cake from the pans. Put the cakes face up on two different plates and put them in the freezer for a couple hours.  This makes the cake easier and smoother to cut and shape later.
  • Step 3:  Take the cakes out.  Use a long piece of dental floss to cut straight across the cakes to make them level.  If you do not feel confident in doing this, just flip your cake upside down on your cake tray so that the bottom of the cake (the nice and flat side) is facing up.
  • Step 4:  Carve one cake into the shape of the super man shield.  The cake should cut clean and easy if it has been in the freezer long enough.  Using a frosting knife, frost a thin layer of frosting over the entire cake.  It doesn’t matter what color or if bits if cake show in the frosting.  This is only the first layer.  Place the cake back in the freezer (this seals the frosting and allows you to come back and put on another thicker layer of frosting without getting the itty bitty cake pieces in the frosting.  HINT: To save your serving tray from messy frosting while you are decorating, put pieces of parchment paper under the edges.  You can easily pull them off when the decorating is done.
  • Step 5:  Re- frost your cake in the main color you will use and decorate the top with other colors to make the superman logo.  I used a little bit of frosting in a decorating bag with different decorating tips.  You can also use a zip lock bag also; it works just the same.

Recipe Party = Huge Success

You might have read my previous post about how excited I was to have my recipe party.  The party was everything that I imagined.  It was so much fun!  Everyone got along so well (probably because I have so many nice friends) and all the food was over-the-top delicious!

Here’s the jist of the party that I previously posted:
Each person emails the host their five favorite recipes before the party, brings one dish of their five sent recipes and shows up for a childless great night!  I made sure to let people know that it’s supposed to be stress free, if they show up in sweats, no one will judge.

It started at 6:30 and I think everyone was here by 6:45, let the party startttttt.  The girls labeled their recipes (I had a sharpie with some blank index cards), grabbed some delicious cocktails and I went around and introduced everyone.

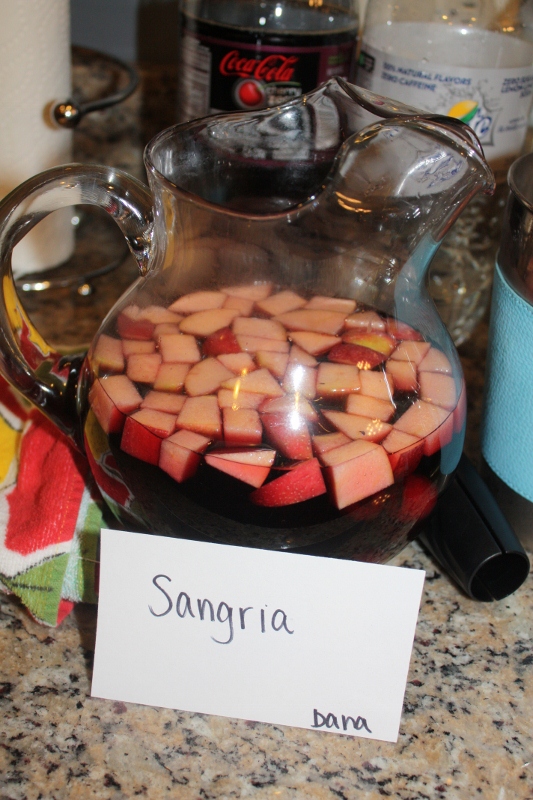
Sangria was a hit cocktail.  I made it (I can’t take credit for the recipe)!

sangria

Sangria. One of my recipes. It was a huge hit!

Introducing was actually fun because it brought back old stories that everyone got to hear.

Next, we chowed down!  The food was so delicious.  I took pictures, it’s okay to start drooling because this food was SO scrumptious.

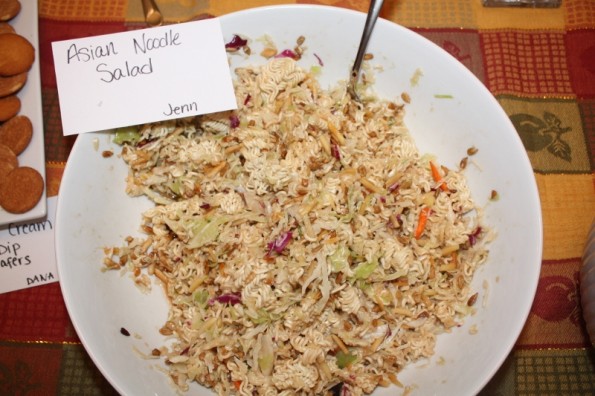
Asian Noodle Salad Recipe Party

This is a delicious Asian Noodle Salad, so yumm!

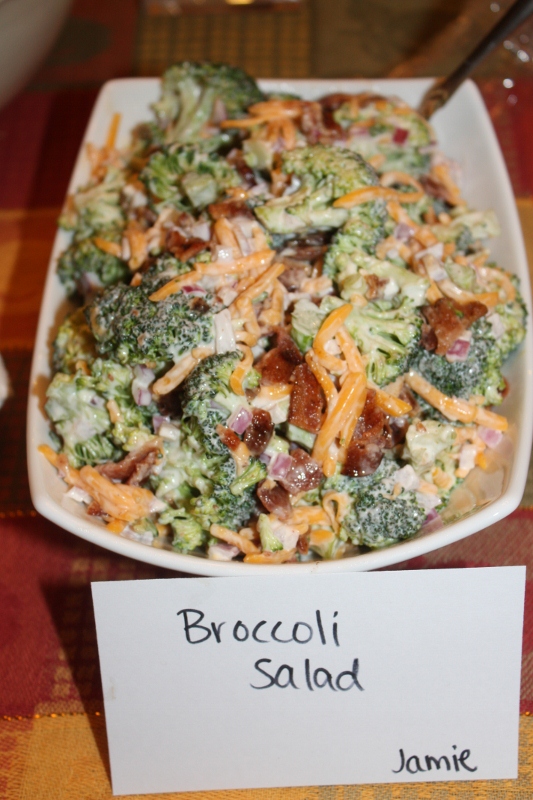
Broccoli Salad

Jamie brought this! I love broccoli salad for picnics (and you can totally make it south beach friendly).

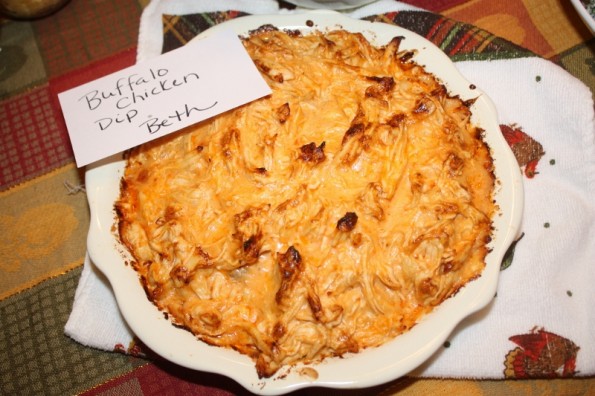
Buffalo chicken dip with blue cheese

Perfect appetizer! Buffalo chicken dip!

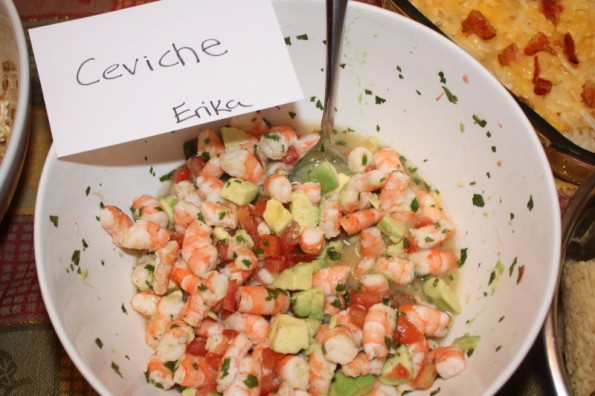
Ceviche yum

Ceviche

I was so proud of my friend that made this!  She never (no exaggeration here) cooks.  This is actually a more difficult dish and it was so yummy!

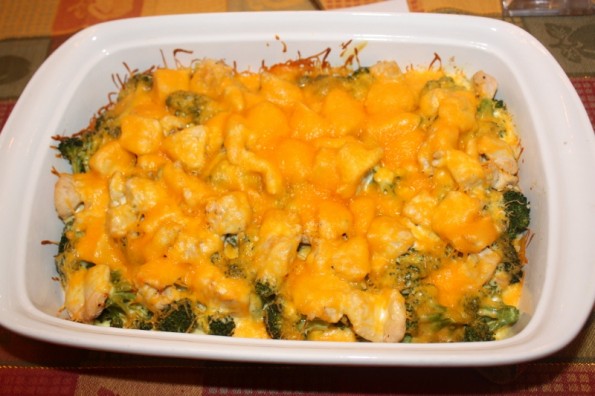
chicken divan casserole

Classic Chicken Divan. I made this.

I wanted there to be an actual meal type of dish.  I also told the girls that it was a great dish to take to someone if they had a baby or had something going on in their life (i.e. I took it to my aunt when she had a knee replacement).

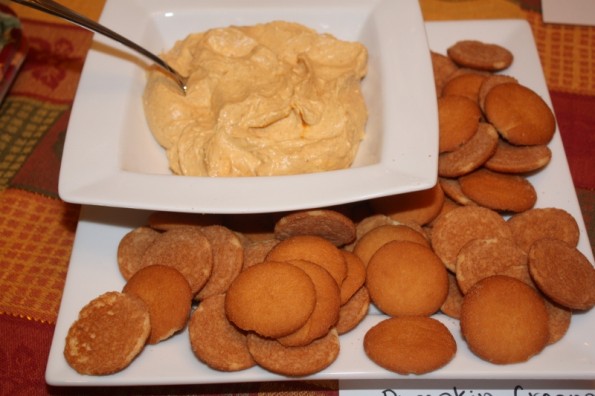
perfect pumpkin cream cheese dip

Perfect fall appetizer or even sweet treat. Pumpkin Cream Cheese Dip!

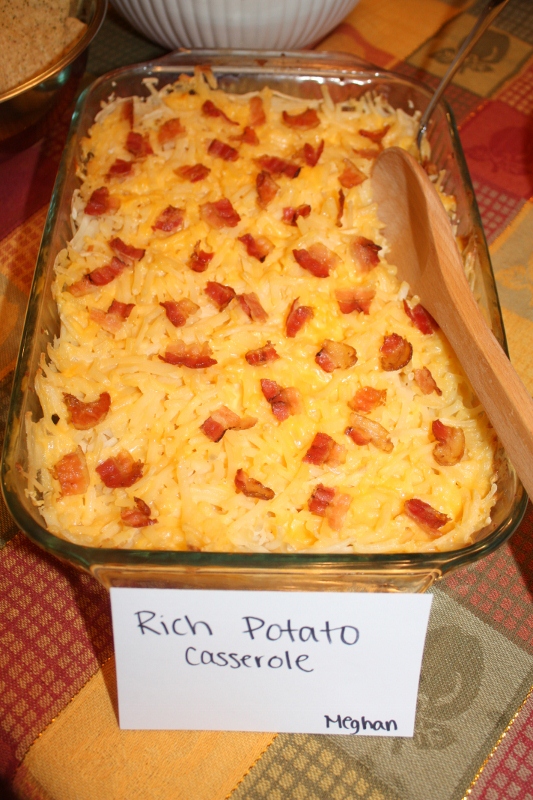
Rich Potato Casserole

Rich Potato Casserole. I love warm appetizers!

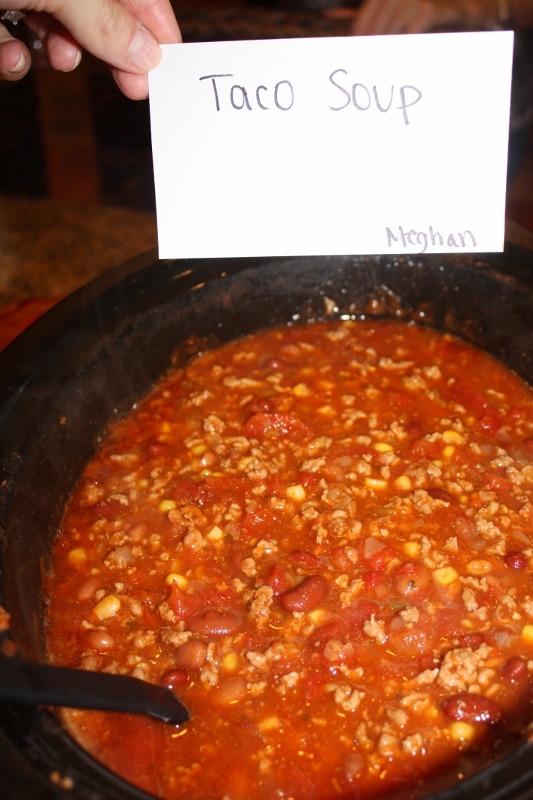
Taco Soup

So, Paula Dean does make a great Taco soup!

There were also two desserts.  There was an ice cream cake and a pumpkin dump cake.  I am so mad at myself for not getting pictures.  Now, I will have to make them and post them for you!  They were both delicious!  My old coworker use to make me an ice cream cake every year for my birthday, so I told her she had to bring it.  Oh man, I want some right now!  The pumpkin dump cake was also a huge hit!  My neighbor that came said she was going to make the pumpkin dump cake for Thanksgiving, see it’s totally worth having a party for all the yummy recipes.

After we ate, we played taboo!  We played the moms against the non-moms.  Team mom won!!  This was so much fun and was a great way for everyone to get to know each other!

Some people began to leave and three girls stayed around and we just chit chatted for a while.  I had the best time and I want to make this an annual tradition.  I love my friends.  The End.