The letter “U” is one of the most unique letters in the alphabet. While not many words start with the letter “U” in the English language as others do, there are tons of fun words that begin with this letter – from umbrella to unicorn to ukulele.
Perhaps one of the most exciting words that start with the letter “U” is (u)nderwater. From oceans to lakes to pools, being underwater is such a fun activity, especially when it’s hot and sunny out. Not only is being underwater a nice and refreshing place to be to escape from the heat, but swimming fantastic physical activity to keep you healthy and strong.
Underwater Coloring Page
While you might not live close to an ocean or pool or not know how to swim yet, this underwater activity is something you can do in your own home. Not to mention, you can stay dry while doing so!
This coloring book page features the beautiful underwater scenery of the ocean. Many of the things illustrated on this page you might have never seen before! For instance, coral reefs, octopus, jellyfish, and starfish are hard to see underwater unless you dive really deep. This coloring book page gives you an awesome window into a whole other world in the deep blue sea.
Here is what you’ll need for this activity:
Printer
Crayons, Colored Pencils, or Markers
Check it out below!
Once you’re done with your coloring page, hang it up on a window and see how the sunlight reflects through the ocean water, just like how it does with real ocean water. If you have any sea creature stickers at home, add them to the page for a unique touch!
Do you have a favorite sea creature? A fish? Or maybe a shark? Let us know in the comments below and snap a picture of how your underwater coloring book page turned out!
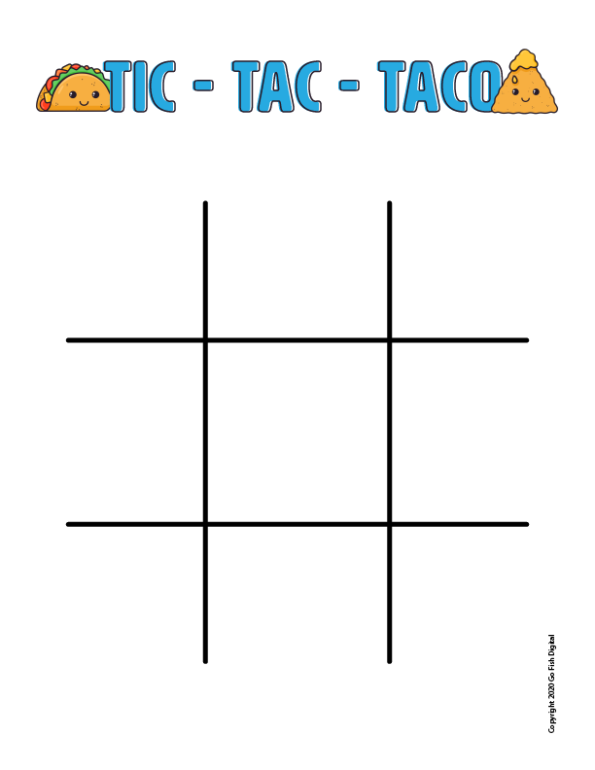
Terrific, tremendous, and tasty are all words that start with the letter “T”, and they also describe today’s special “T”-themed activity: Tic-Tac-Taco!
This fun and re-usable activity includes a printable game board and pieces that kids can color however they want before cutting them out to use as moveable game pieces. All you need to get started is a printer and some crayons, markers, or colored pencils.
The first step to this activity is to print out the following game board:
While the board comes pre-colored, you can always choose to print it in black and white to let your kids have complete control over how it looks after they have decorated it.
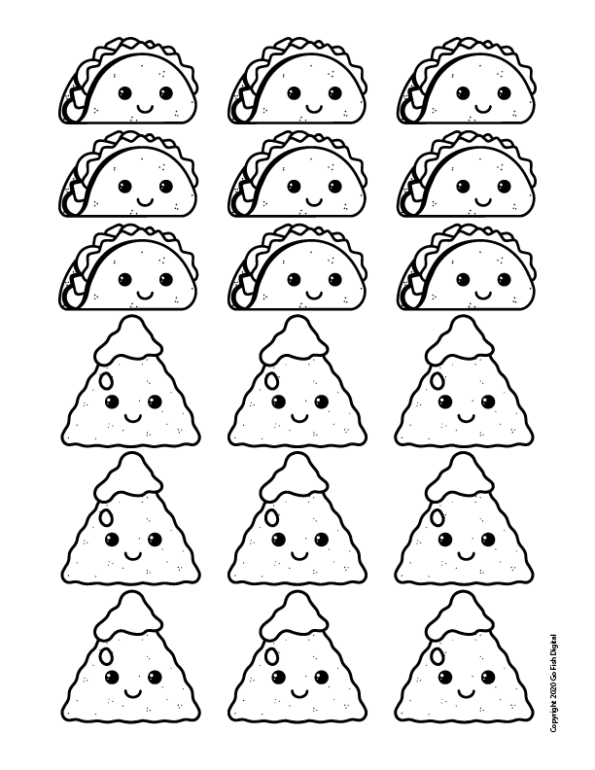
Once you have the game board ready, it’s time to print out your tic-tac-taco pieces. What sets this game apart from regular tic-tac-toe is that instead of playing with Xs and Os, this version of the game uses two different foods that start with the letter T: tacos and tortilla chips. Even better, these game pieces can be cleared off the board and re-used time and again so you aren’t using an entirely new sheet of paper every time you play!
To get your game pieces, print out the following sheet and have your kids color in the tacos and tortilla chips however they want. Once they have been brought to vibrant life, it’s time to play!
Not sure how to teach the necessary letter N? You’ve come to the right place.
For kids who are preschool aged and who are starting to learn the alphabet, it’s fun to find different activities to help them learn the letters. That way, there’s something to remember the letters by! It’s always fun to start teaching your kids new things, and with different activities, not only will you be able to keep them busy but you’ll also be able to make some memories with them.
While there are tons of different words starting with the letter “N,” there’s nothing more magical than the starry night sky.
That’s why we thought it would be fun to teach the letter “N” by creating a beautiful glow in the dark night sky for your child’s bedroom ceiling. Let’s get started.
Here’s what you’ll need.
To get set up to make these glow in the dark stars, you won’t need many materials. You’ll definitely need to supervise your preschooler while you use some spray paint that’s involved, but otherwise, this is a no muss no fuss type of craft!
These are the materials you’ll need to create your night sky:
Scissors
Old cereal boxes
White paint
Glue dots or command strips
Glow in the dark spray paint (you don’t have to use spray paint if you’d like to use a paint you can brush on instead)
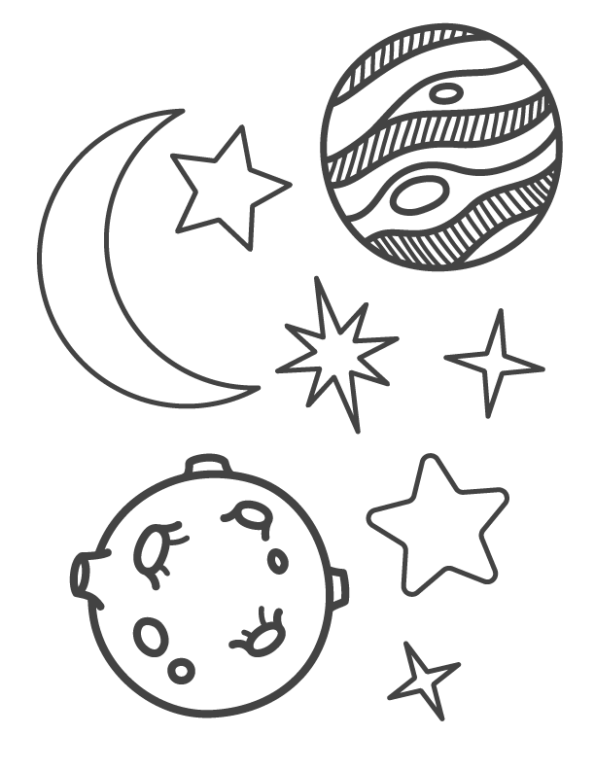
The first step is to outline your constellations and stars on the cereal box. You can use the stencils below for your stars!
Your next step is to paint the stars, moons, and other planets of your night sky white. Let them dry completely before moving on to the next step. Step three is to use your glow in the dark paint and coat the night sky stars, moons, and planets with several thin coats of the paint.
Charge your night sky by leaving it out in the light for 15-20 minutes where the light or the sun can charge the glow in the dark paint. Then you’ll be ready to stick your stars on the ceiling and create a beautiful night sky!
You need the letter “N”, so here are (n)ine other words that start with “N”:
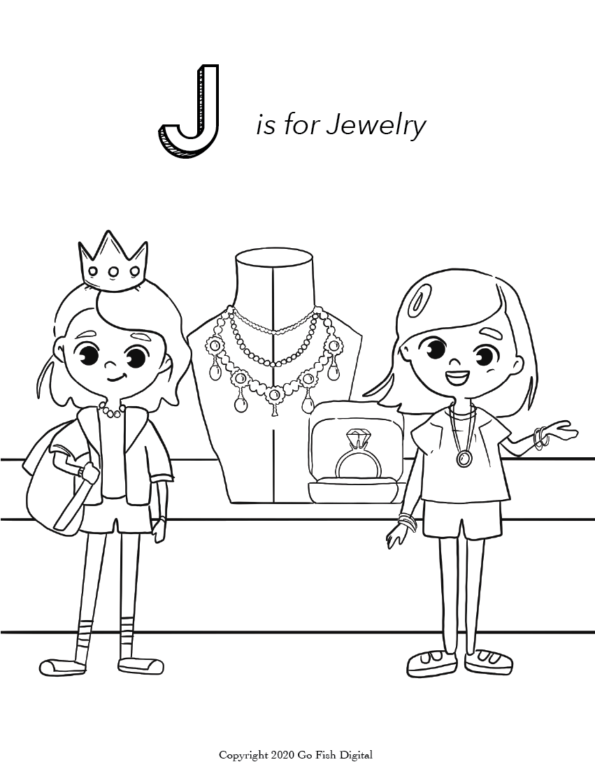
Time to get excited, because today we’re learning the letter “J”! There are so many cool words connected to this letter, but we’re going to focus on jewelry.
Making jewelry is a fun and creative way for children of all ages to express themselves. Whether it is making friendship bracelets or a pretty beaded necklace for mom, kids can practice independent expression while showing affection for loved ones. Creating jewelry and patterns using colorful objects assists kids in developing fine motor and planning skills. Completing these activities with friends can also help them develop social and communication skills.
Now, have you ever heard “Diamonds are a girl’s best friend?” Well, today “Snacks are a preschooler’s best friend!” We’re teaching you how to make a cereal and marshmallow rainbow necklace. This craft will double as a fun and tasty craft for your little ones.
But don’t worry, this cool activity only requires a few materials and it’s hardly messy!
What you will need:
Fruit Loop Cereal
Marshmallows
Yarn or String
Plastic yarn needle
First, sort the fruit loop cereal into piles by color. Secondly, color coordinate the fruit loop cereal to pattern a rainbow. Finally, add marshmallows at each end to symbolize the clouds at the end of a rainbow.
Preschool age kids will need assistance with threading the needle, but afterward they will have so much fun adding the fruit loops and marshmallows. When they’re all done, they can rock their cool new necklace, or have a blast eating it.
You can also find more details on how to make this necklace here.
After this activity, have some more creative fun with this jewelry coloring illustration. You can download and print them, and let your preschoolers’ imagination run wild!
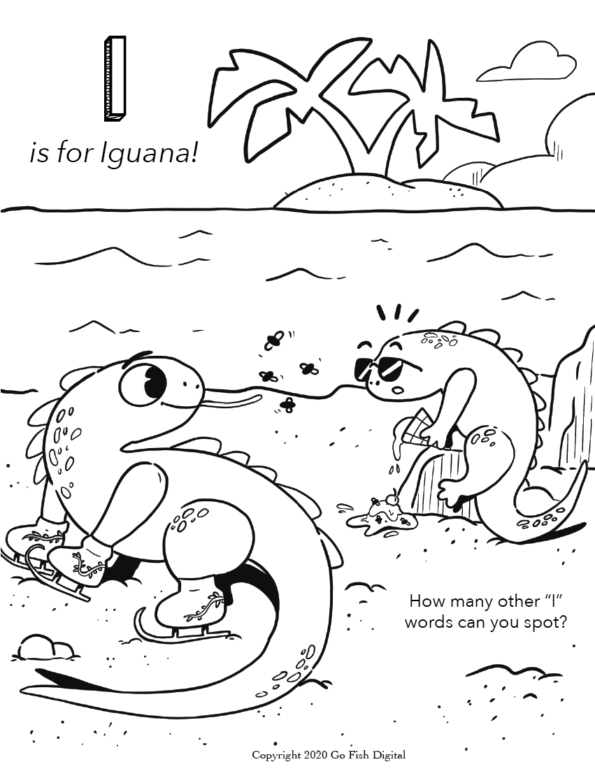
The letter “I” is an important one for preschoolers to learn. However, this letter can be tricky because, like the other vowels, “I” makes two different sounds.
You can hear the “long I” in many words your preschooler already knows – words like “smile”, “time”, and “night-night”. “Short I” also crops up in plenty of common words like “fish”, “sit”, and “tickle.”
For this letter with TWO sounds, it only makes sense to have TWO different fun activities. First up – homemade Long-I ice cream!
Whipping up a micro-batch of ice cream at home is quick, fun, and uses real ingredients you probably already have on hand. Here’s what you’ll need:
1 gallon-size plastic bag
1 sandwich-size plastic bag
1 cup half-and-half
2 Tbsp sugar
½ tsp vanilla
Ice
¼ cup salt (rock salt or kosher salt work best)
Add your half-and-half, sugar, and vanilla to the sandwich-size bag. Close it up, eliminating any air from the bag as best you can. (Make sure the bag is completely sealed – you don’t want salt getting in and ruining the ice cream!)
Place your bag of ice cream mix into the gallon-size bag. Fill the gallon-size bag about halfway with ice, then add your salt. Seal up the gallon-size bag and shake, shake, shake! After shaking for 6-8 minutes, remove the sandwich-size bag. Rinse it well with cool water to remove all the salt, then squeeze into a bowl and enjoy.
For your next batch, add a little chocolate syrup, peppermint extract, fresh fruit, or crushed candy. You could even try a dash of food coloring to create something totally unexpected. You definitely won’t find blue vanilla with strawberry and chocolate chips in any grocery store.
When your little ice cream chef is ready to move on, share the coloring page below. See how many “I” words you can find together.
So many exciting and extraordinary words start with the letter E. For preschoolers who are starting to work with the alphabet it’s always fun to mix in new and creative activities that involve the letters of the alphabet. Today we are sharing with you fun activities to do with preschoolers that involve the letter E.
This activity requires very little mess, which also means very little clean up for you, mom. For this activity you’ll just need some colored pencils or crayons and the free to use picture for coloring.
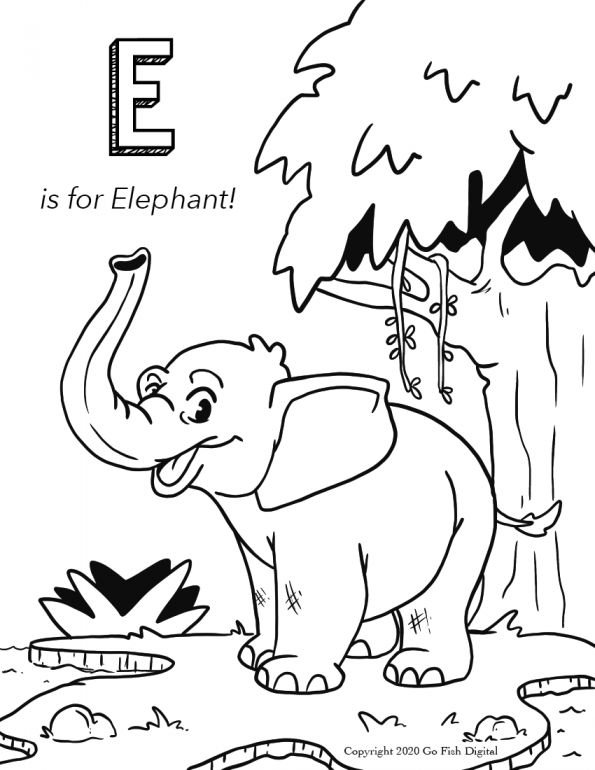
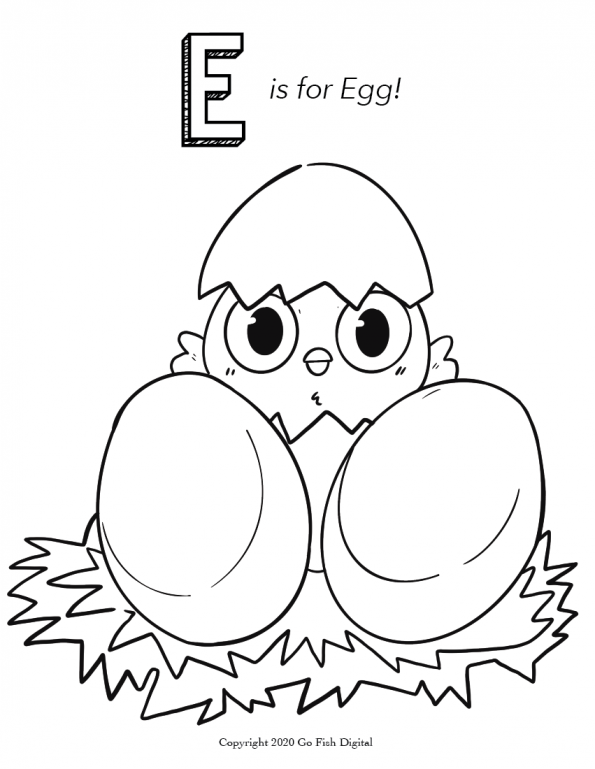
We will be coloring a beautiful majestic elephant and a cute egg. Both of these things start with the letter E. While sharing them with your preschooler you can help them make the letter E sound and invite them to color in the picture.
Letter “E” Activities for Preschool
While things in the world may not seem so positive right now, elephants are beautiful creatures that symbolize many great things. While your kids are coloring their pictures, take this time to talk with them about elephants and how people believe they symbolize good luck, power, and wisdom – all things that are great to be reminded of.
“Eggs” are great for helping preschoolers learn the letter e because of the many related words that start with E. When it comes to eggs – you (e)at them, they give you (e)nergy and they are (e)xtra delicious. Make your egg colorful and fun! Something that really shows your personality.
Letter “E” Activities for Preschool
In the comments below, feel free to share other activities that can help preschoolers learn the letter E.
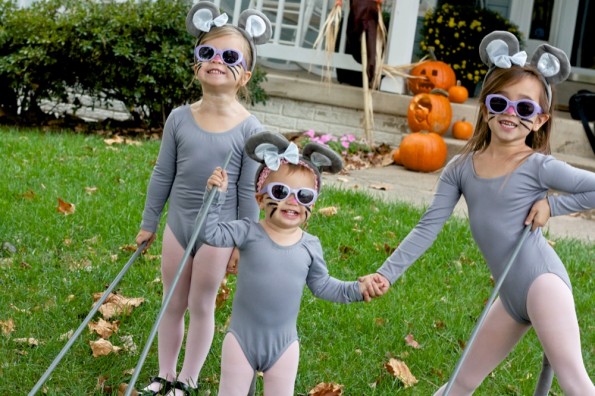
Happy Halloween (a day late)! I love going with themes for my kids for Halloween. Last year, it wasn’t happening with my two year old. I was ecstatic when they all agreed to be a blind mouse. Here they are!
I just love Halloween!
In case you’re wondering where I got their costumes, their leotards are from leotard boutique dot come, sunglasses are from Children’s Place, I bought rods at A.C. Moore and spray painted them gray, mouse ears, tail and tights are from Target.
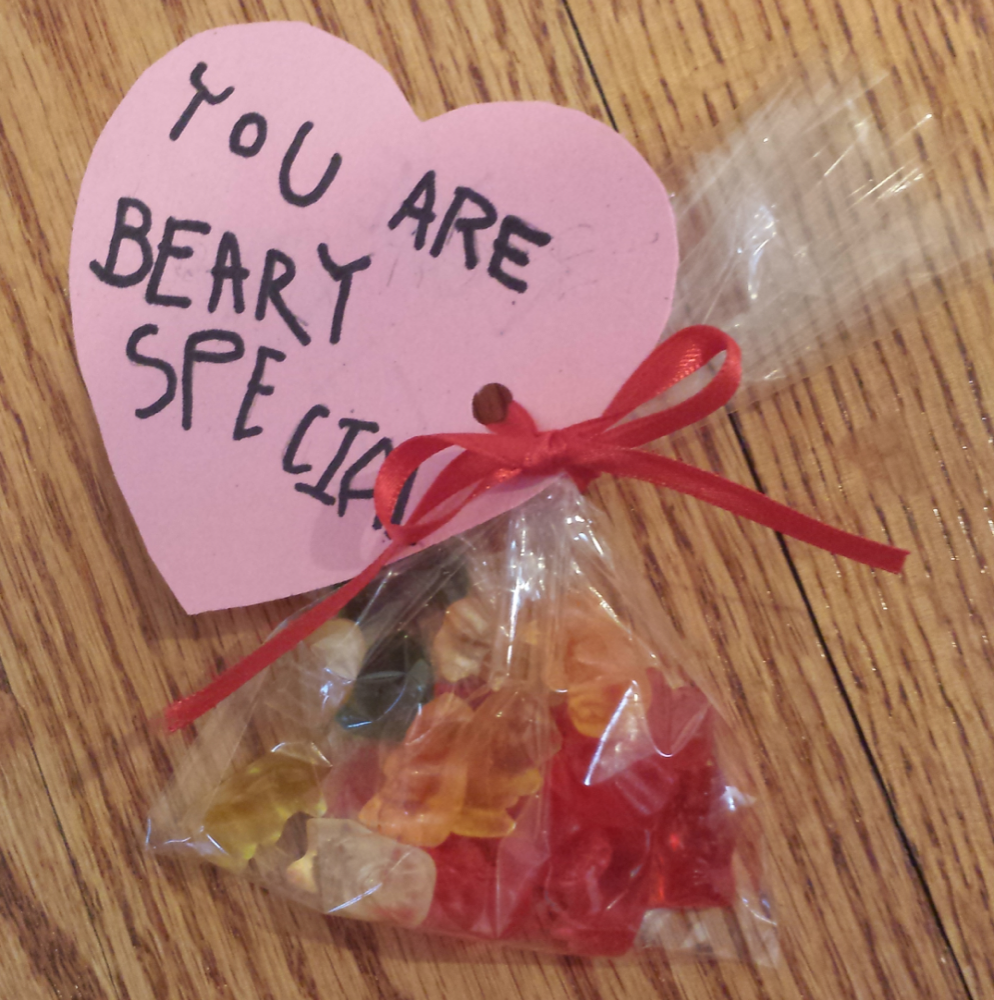
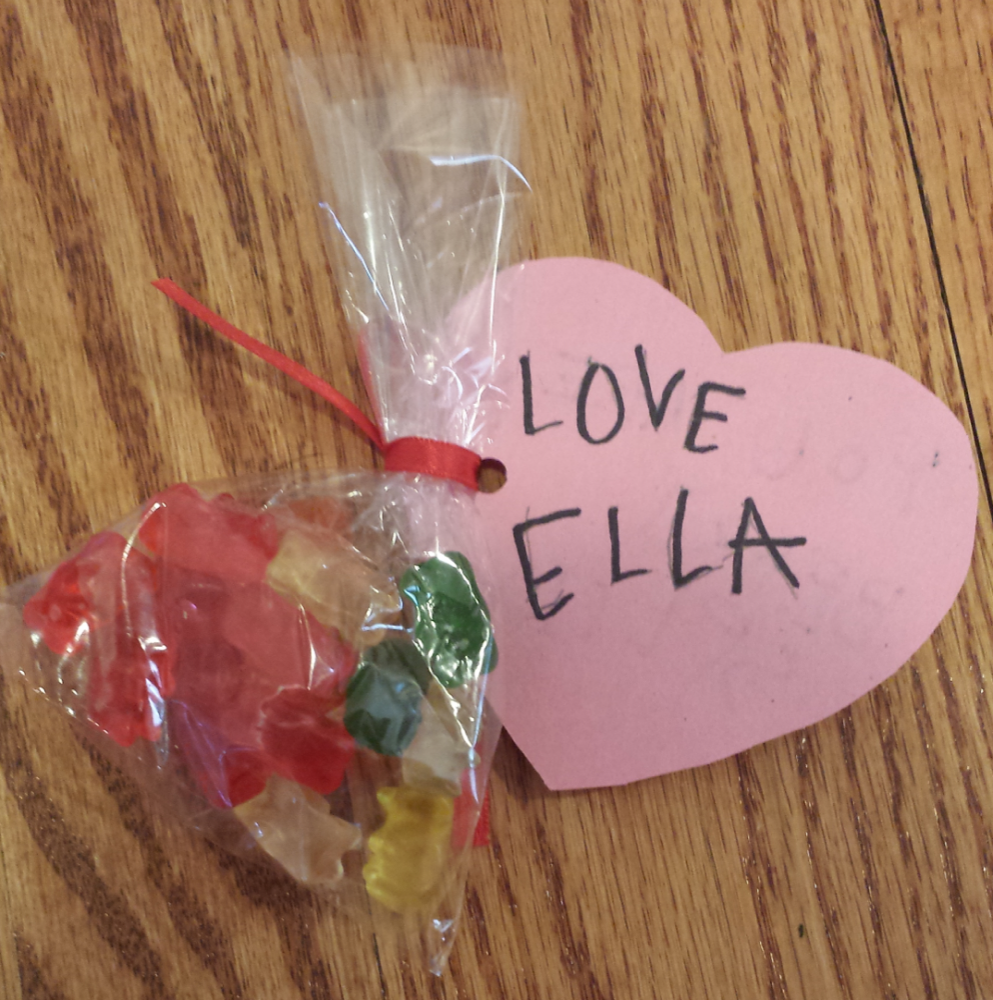
My 4 year old is in the Gummy Bear class. We went with the “beary special” theme. She has worked long and hard to make enough for her class. I think they turned out pretty cute!
I got the clear wrappers from a craft store in the cake section (they are really for cake pops).
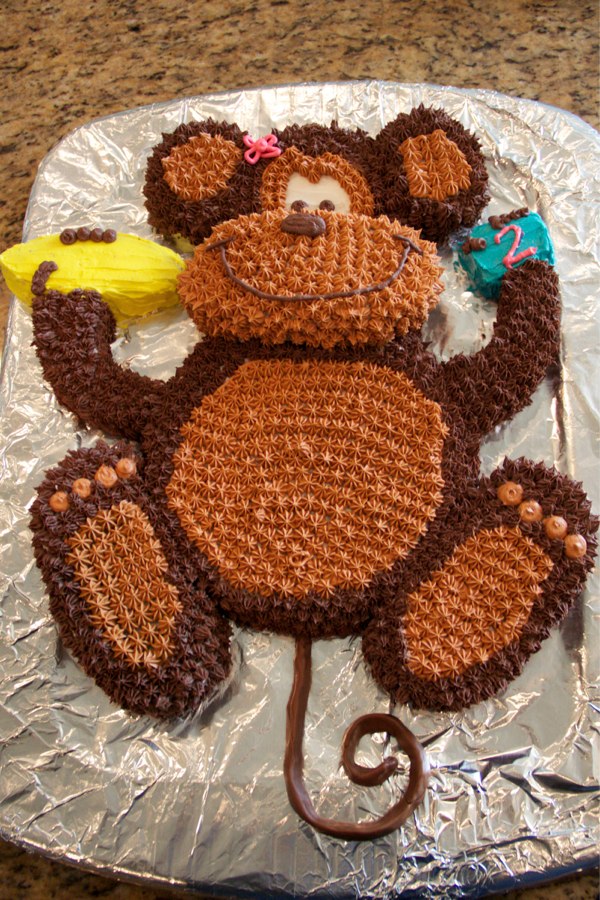
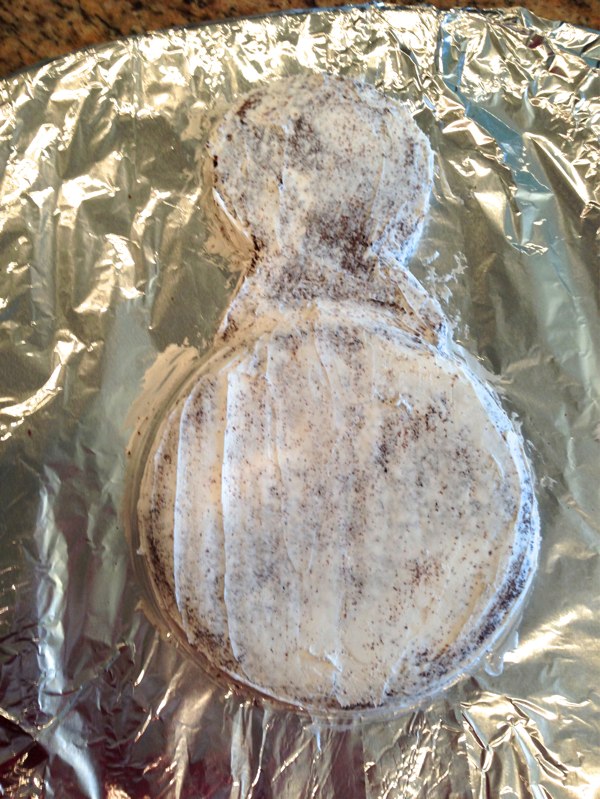
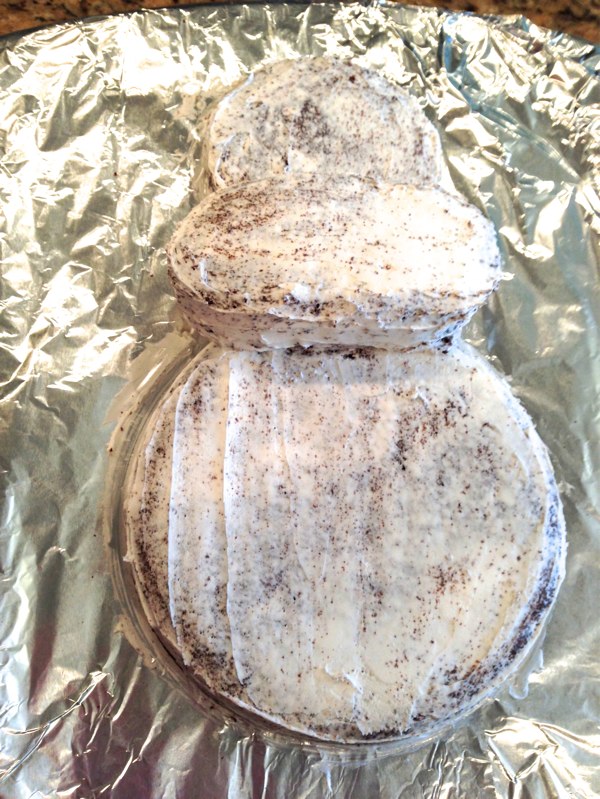
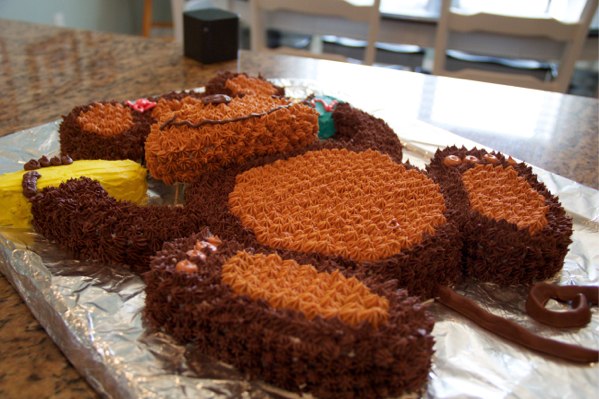
I recently made this monkey cake for a special 2 year old in my life. She loves monkey’s and is constantly singing “No More Monkey’s Jumping On the Bed.” It was pretty time consuming making all the stars for the fur, but it turned out awesome!
I researched lots of different monkey cakes, but in the end I used this one from My Daily SAHM Life as my model. I know I could have just ordered the monkey cake pan, but who wants to pay for a pan you will probably never use again???
I used 2 cake mix boxes and made 4 round cakes. I used Wilton’s buttercream icing and Wilton’s food colorings to get the desired colors.
1. Make 4 rounds cakes. Take them out of their cake pans, wrap them in nonstick tinfoil or parchment paper and stick them in the freezer.
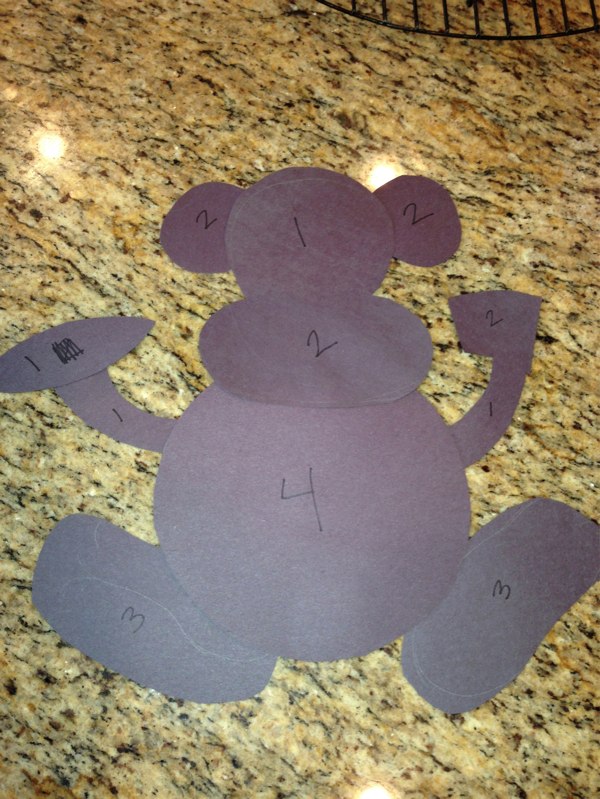
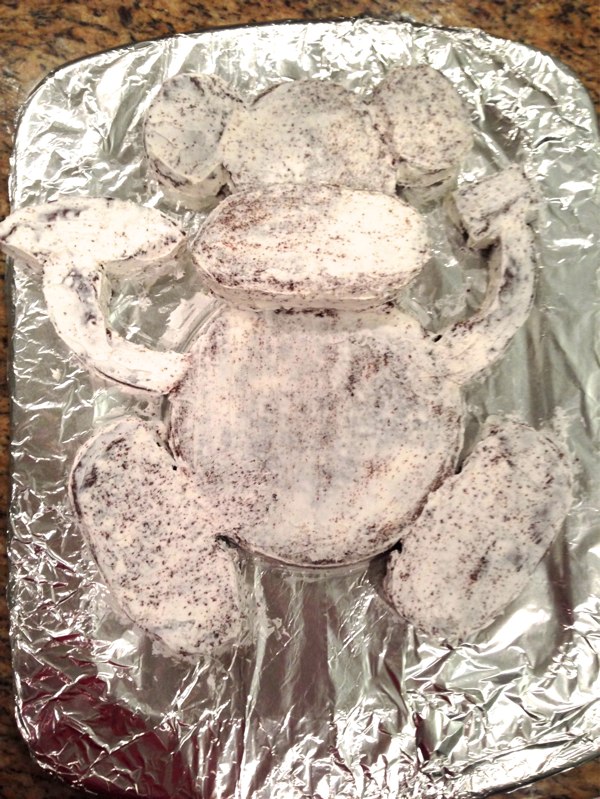
2. Using construction paper, cut out your pattern. I numbered each piece so I knew which cake I would cut it from to make sure all the pieces fit.
3. Once your cake is good and frozen, use your paper pattern to cut the cakes into their shapes. Freeze the parts until you are ready to start frosting.
4. Do a thin crumb coat frist. Once the crumb coat is dry you can start frosting! I used a basic star tip.
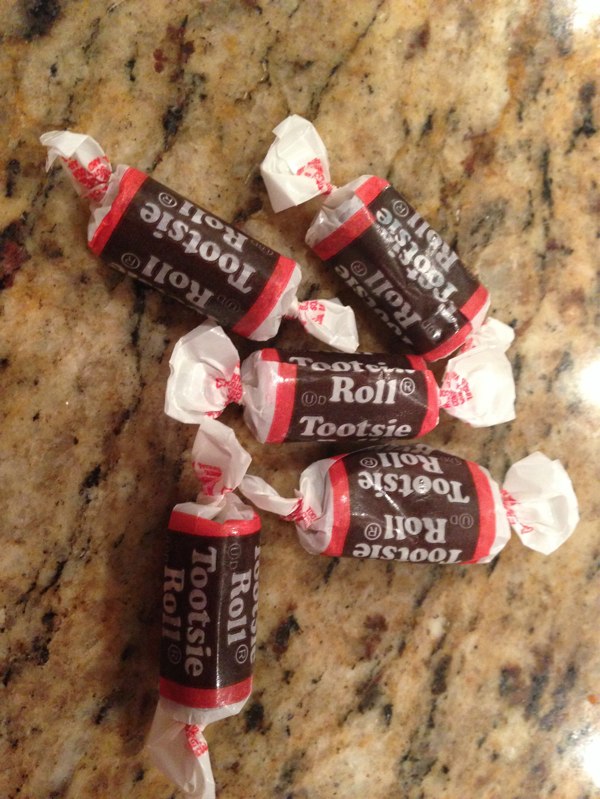
5. The tail is made from Tootsie Rolls. Just heat them in the microwave for a few seconds then mold them how you want.
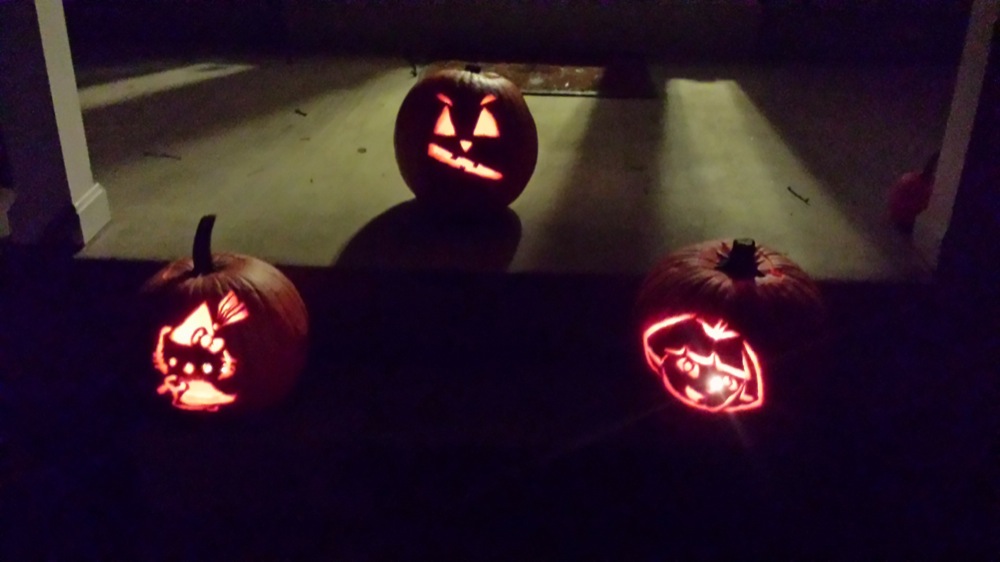
Every holiday comes too fast for me. I feel like I never get to do all that I want with the girls before it is over. This year I wanted to let them choose what they wanted on their pumpkins.
I picked up some pretty good pumpkins at our grocery store (Harris Teeter). They were pretty big and they were 2/$10.00 – I didn’t have to pay by the pound.
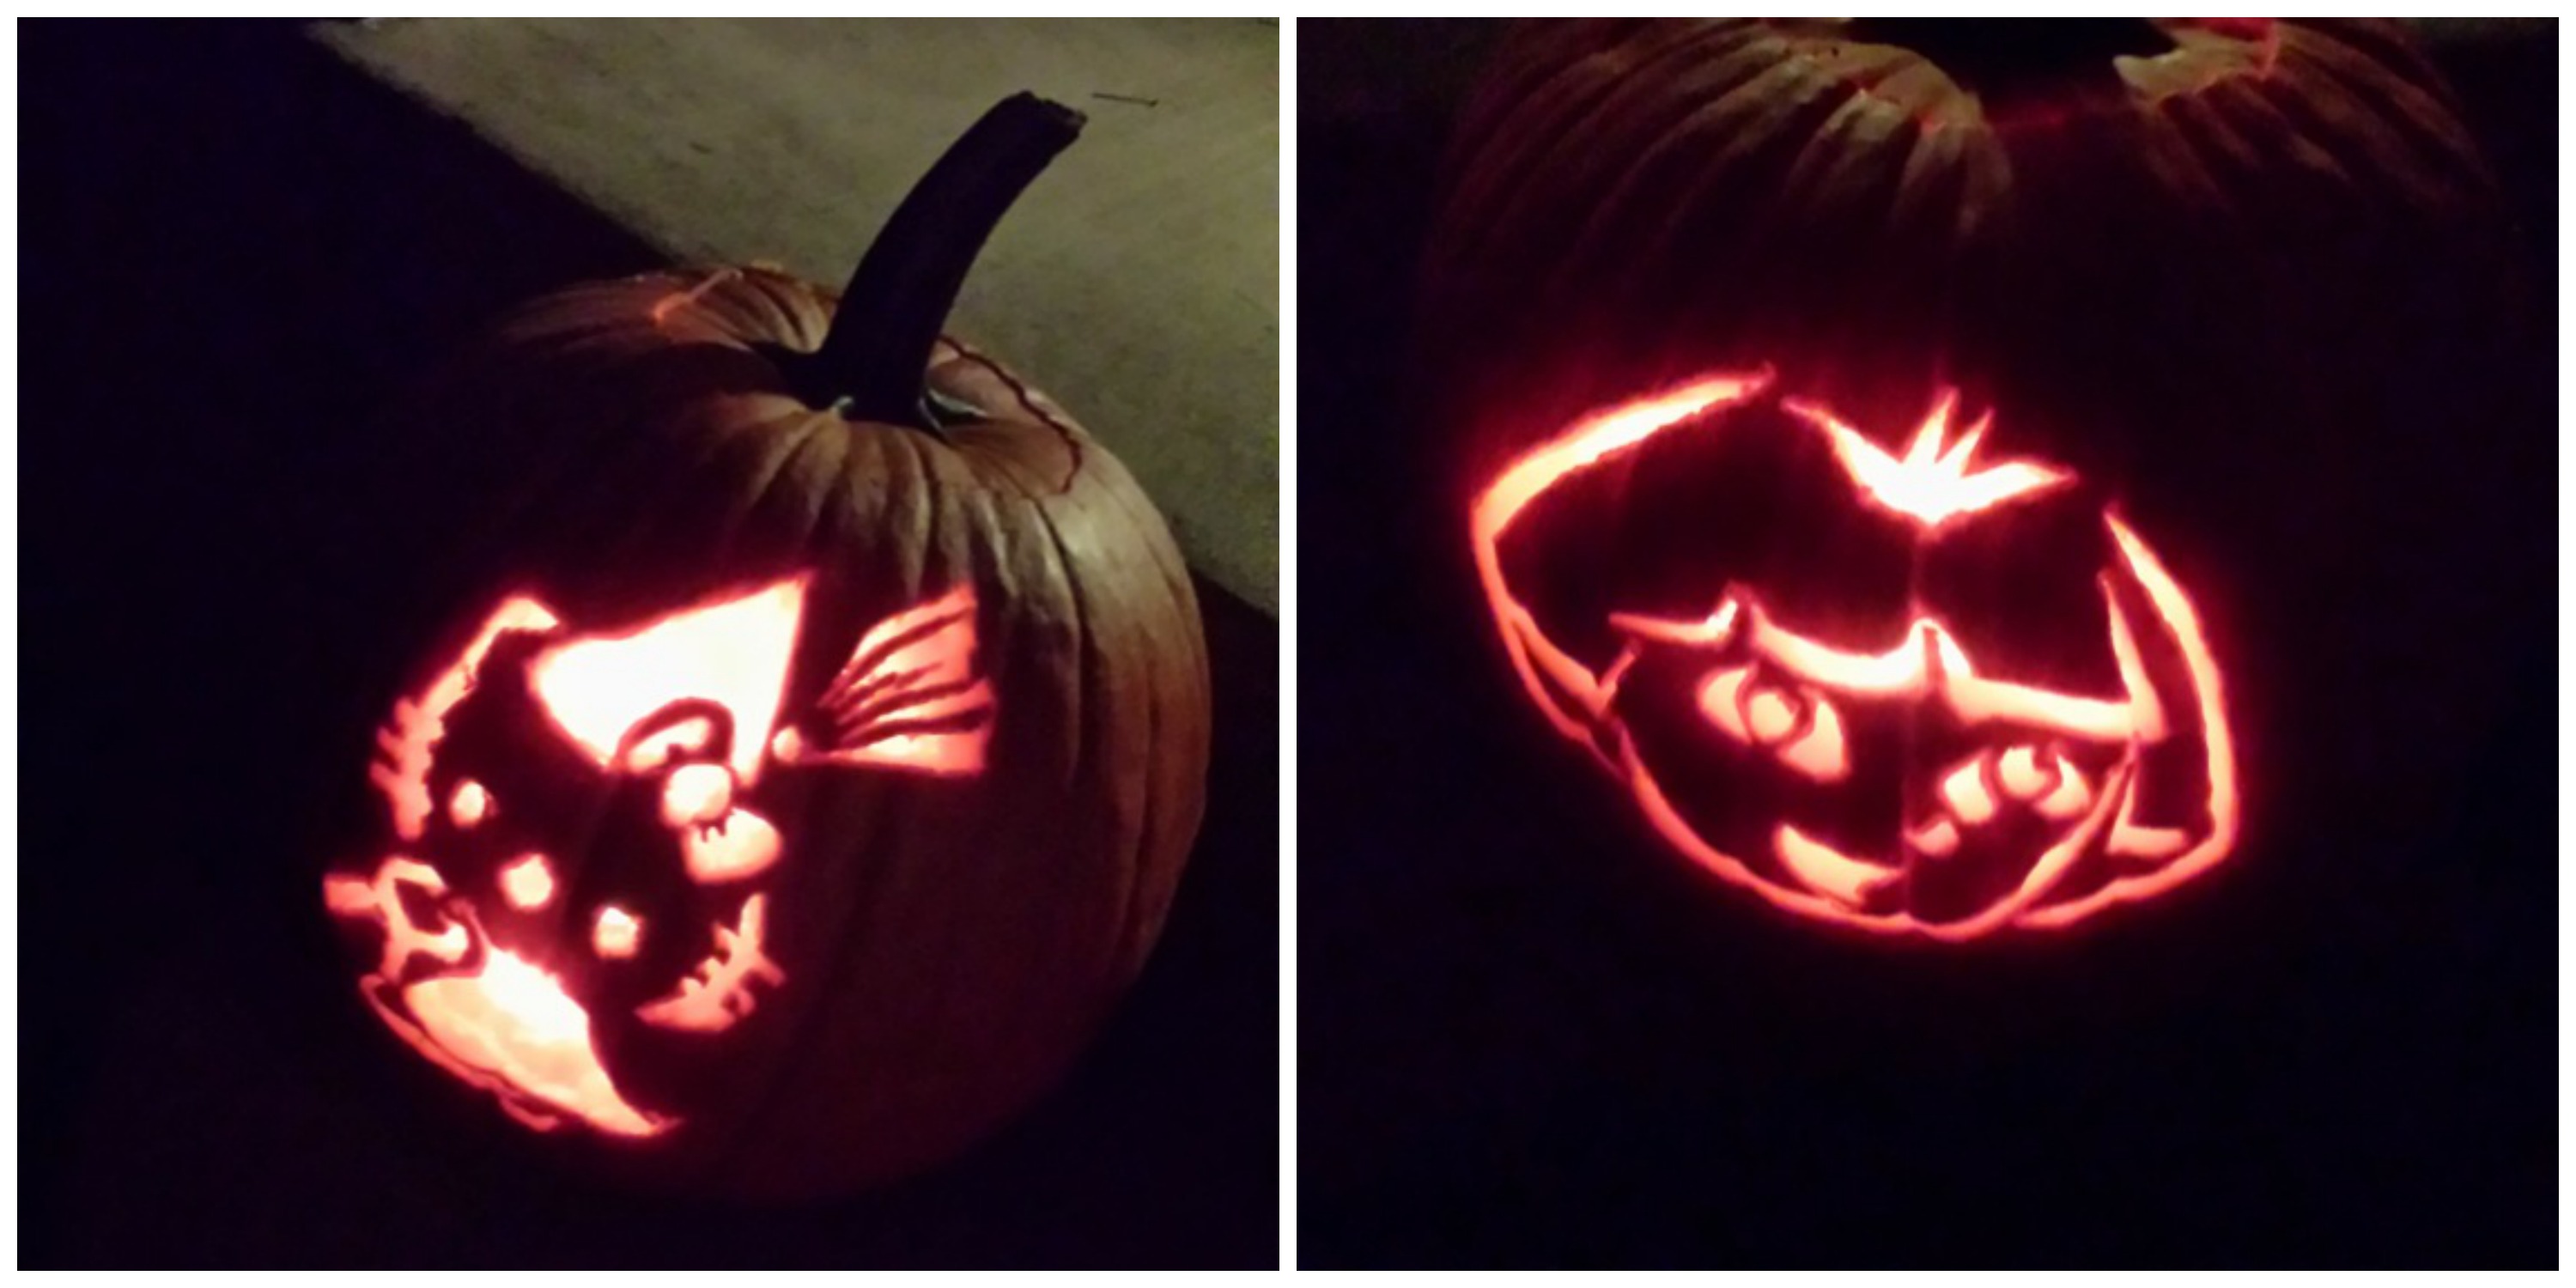
We let the girls pick what they wanted on their pumpkin. My five month old obviously couldn’t pick, so husband just drew and carved (see middle pumpkin). My four year old wanted Hello Kitty and my two year old wanted Dora. I’d say they turned out pretty good.
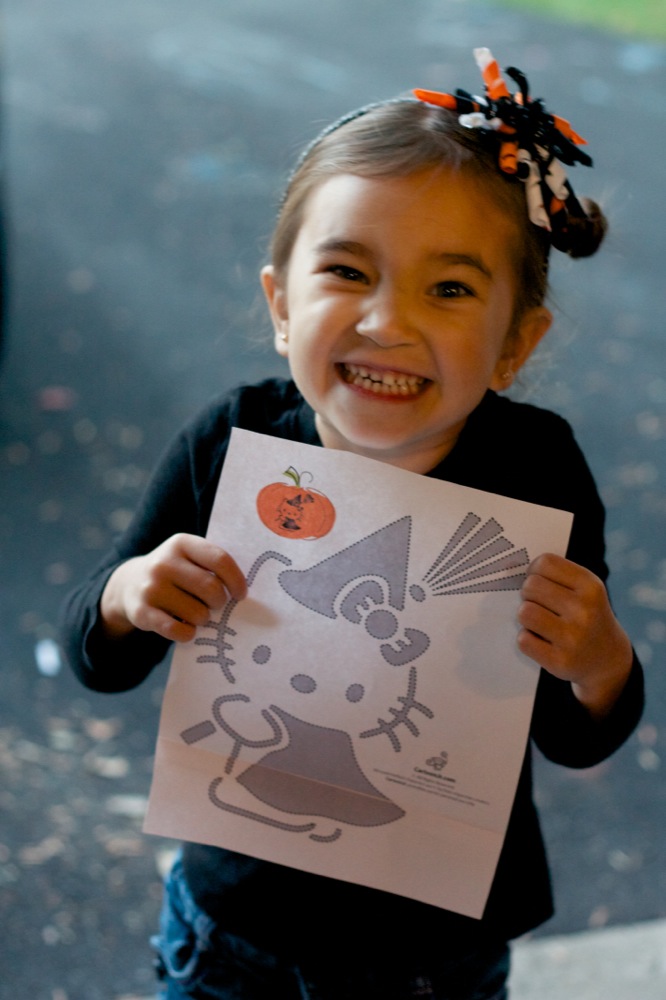
In case you’re wondering, we did the obvious (obvious that we never thought to do before) and googled “Dora pumpkin stencil”. It took my husband to the Nick Jr. site that has a TON of characters. He also just googled “Hello Kitty pumpkin stencil” and Ella chose the one she liked best.
Here’s Ella with her stencil:
What you need for the stencil is:
pumpkin
pumpkin carver, my neighbor let us borrow her electric one.
Big spoon for all the guts
stencil of your choice
lots of tape
candle (I used votive ones)
After we carved them, we noticed a lot of light wasn’t shining through, so I had to go back and kind of thin out the inside lining of the pumpkin and make the lines a little wider. I’m not sure if all pumpkins are really thick, but ours seemed to be.
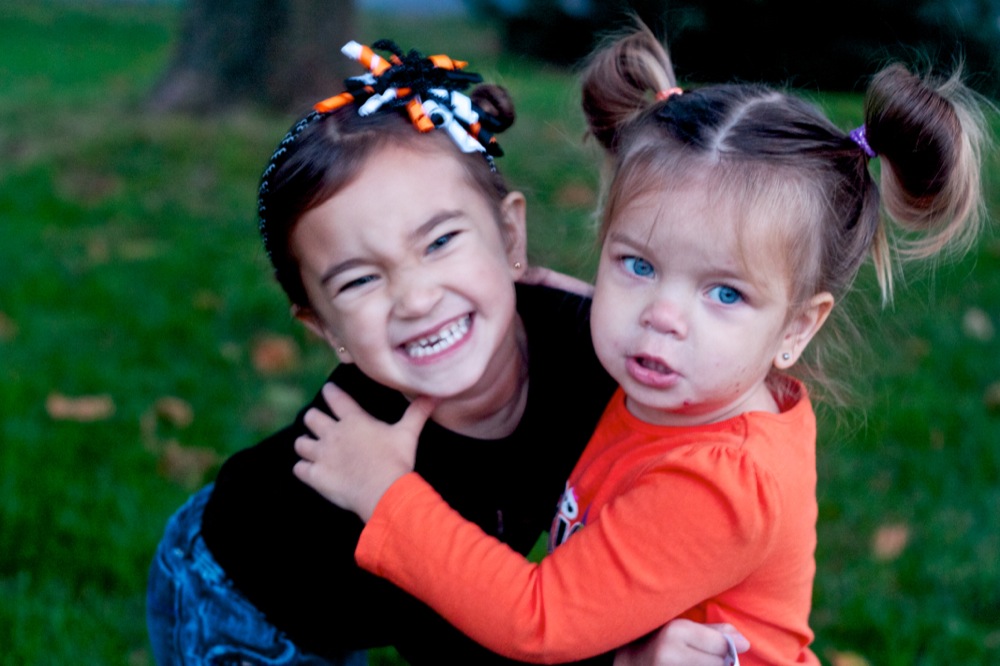
I will say that it was pretty tedious, but I was really happy with how cute they turned out. In the end, husband and I did all the work, while these two ran around and looked cute.