
Enchanted Mommy

Preschool Letter O Activities

Alright boys and girls! Time to get your creativity caps on and the art supplies handy, because today, we’re learning about the letter O! So many wonderful words start with the letter O, like onion, over, oven, and orange. Even common phrases we read in story books start with O, like “once upon a time.” To help us learn this letter, we’re going to do an arts & crafts project with our favorite animal that starts with O: an octopus in the ocean.

We’re going to learn how to create a toilet paper roll octopus! To get started, here’s the supplies that you’ll need:

  • A toilet paper roll 
  • Acrylic paint or markers
  • Googly eyes
  • A glue stick
  • A scissors
  • A black sharpie

First, start by cutting 1.5 inch long slits at the bottom of the toilet paper roll with your scissors. Then push the roll down on a flat surface, so that the slits spread out like octopus legs. Next, grab your acrylic paint and paint the outside of your octopus a bold color of your choosing. Paint the interior of the roll at the top and underneath the legs a different color for contrast. Then, use a glue stick to stick on some googly eyes or feel free to draw the eyes on with a black sharpie. 

Use a black sharpie to add a happy smile onto that octopus face, because he or she is happy to be alive and in your home! Finally, feel free to add on stickers, gems, or other decorations to your heart’s content! Don’t forget to create 3-4 of these guys so your octopus can have some friends.

These octopuses are taking over the world of Pinterest right now, as parents are starting to get exponentially more creative with keeping their kids stimulated at home. See the photo of Holly Homer’s toilet paper roll octopus to catch a glimpse of the potential here!

Lastly, we’ve created a coloring book illustration of an octopus in his natural habitat. Octopuses are fascinating creatures with three hearts, high intelligence, and the capability to camouflage themselves by changing color. Feel free to print out copies and invite your kids to color this scene! 

Know any other fun preschool activities that start with the letter O? Feel free to share them with us in the comments below!
Learning the Letter “Z”

Congratulations! You’ve made it through the alphabet, and now it’s time to learn the letter “Z”. There are so many cool words connected to this letter such as zip, zero, and zig-zag. Today, we’re going to focus on the word “zoom”! Relax parents, this is not about the Zoom calls you have to join on a daily basis. We’re talking about “zoom” for cars. 

Remember, growing up when you would race cars, and say “zoom zoom”. We were associating a sound with an object and word. For example, “mooo” and “cow” or “quack” and “duck”. Sounds can often help us identify things without even seeing them. In this case, going “zoom” with cars is a fun and creative way for children of all ages to express themselves. These types of activities encourage children to tap into their imagination while helping them build cognitive and social skills. 

So, without further adieu! We’re learning how to create a painting by using cars and going “zoom”. This is a fairly simple craft and requires mild cleanup. 

What you’ll need: 

  • A large sheet of plain paper
  • A plastic sheet or oilcloth (or a lot of newspaper, depending on how much paint your kids decide to use!)
  • A black felt tip pen
  • Some paper plates
  • Some thicker paint (i.e. acrylic paint)
  • Some toy cars that are not precious (i.e. it doesn’t matter if they change colour permanently)!

How to set up this activity: 

  • First, make sure all your surfaces and kids’ clothes are covered (i.e. overalls or aprons)
  • Layout a large sheet of plain paper and use your black felt tip pen to draw large outlines of the letter Z and add dashed lines for ‘road’ markings
  • Squirt a good dollop of paint into each of your trays or paper plates.  
  • Add a toy car to each paint tray or plate
  • Let your kids roll the car back and forth in the paint to coat the wheels
  • Once the wheels are loaded with paint, your kids can drive their cars along the Z ‘road’, following its shape.

You can also find more details on how to make a “zoom” painting here

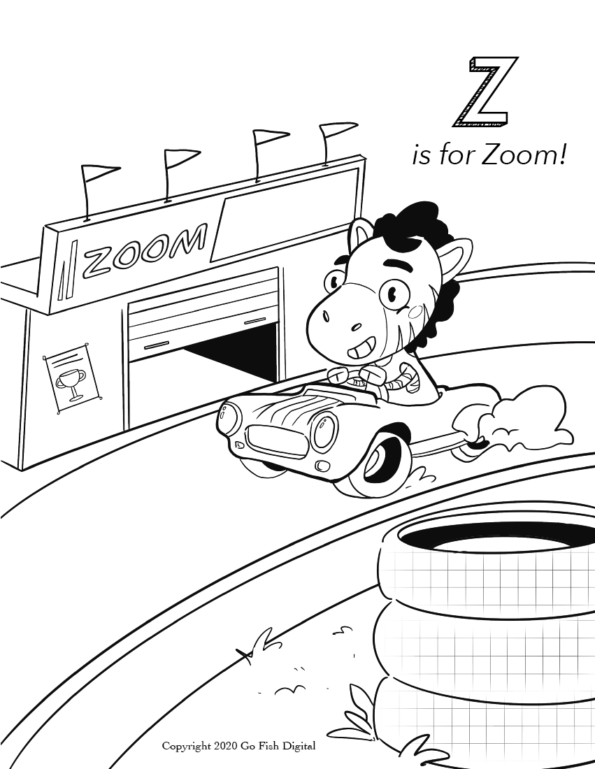
By the end of the activity, you’ll have an awesome, colorful painting of the letter “Z”. After this activity, have some more creative fun with this coloring illustration. You can download and print, and let your preschoolers’ imagination run wild! 

Letter Z Activity for Preschool Children

Learning the Letter “S”

If you’re making your way through the alphabet with your preschooler, it’s easy to get stuck on what seems to be the simplest letters! In trying to find inspiration for the later letters in the alphabet, I realized that so many activities for learning the letter “s” are about snakes. Yikes! I know I hate snakes, and maybe you and your kid do too. What if you want something a little more fun and seasonal? 

For this activity, we’re going to be focused on one of my favorite flowers, and one of my favorite “s” words: sunflowers! This activity is perfect for the spring and summer, which are also great seasons to get your preschooler familiar with the letter “s”. Today, we’re making paper plate sunflowers! This craft is simple, inexpensive, and uses materials you’re likely to already have around your house! 

Here’s what you need: 

  • 1 paper plate
  • 1 craft stick
  • 1 piece of green foam paper
  • Yellow paint
  • Green paint
  • Handful of sunflower seeds
  • Scissors
  • Glue

First, cut small triangles out of the rim of your paper plate. Show your child how to cut on an angle so the gaps look like flower petals. Cut all the way around the plate. Then, paint the craft stick green and the paper plate yellow. Let the paint dry and then begin to glue the sunflower seeds to the middle of the plate. 

At this point you can also cut two small leaves from the green foam paper and glue them to the craft stick. Now you’re ready to glue the craft stick to the back of the paper plate to act as your stem, and your paper plate sunflower is complete! 

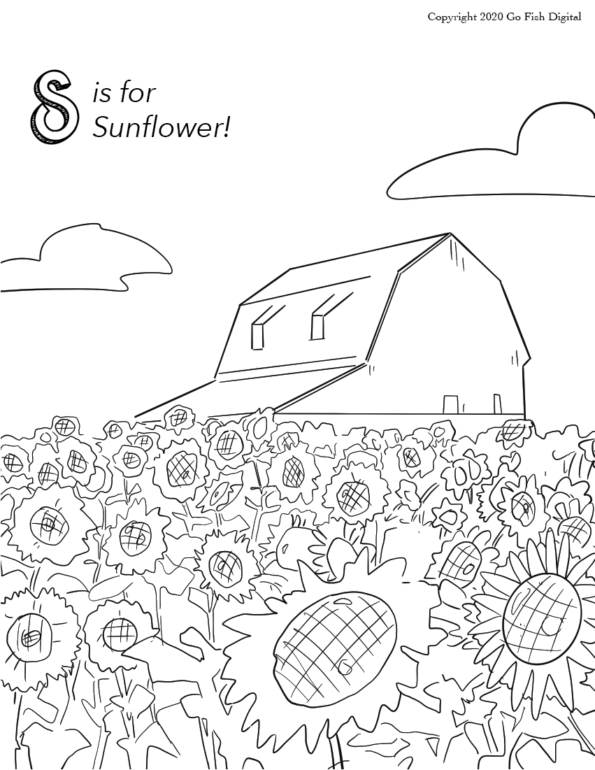
Looking for more ways to teach your child the letter “s”? Check out the printable coloring page of a beautiful sunflower field below! 

Letter S Activity for Preschool Children

Learning the Letter “R”

ROOOOOOOAAARRR!

That’s the sound of a lion, and it’s also the sound of today’s featured letter – R!

Many parents and little ones are cooped up inside right now and craving connection with the outdoors, which is why our letter “R” activities are all about nature and the outside world.

Along with letters, animal names and sounds are among preschoolers’ favorite things to learn and explore. How many “R” animals can you think of together? Here are some animal names that begin with R:

  • rabbit
  • rooster
  • rhinoceros
  • raccoon
  • rat
  • rattlesnake
  • reindeer
  • ram

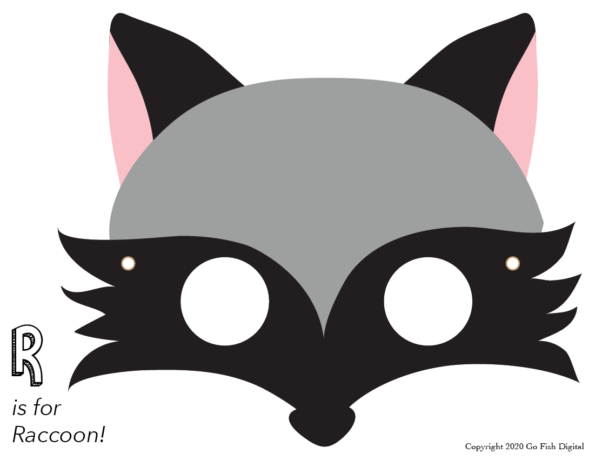
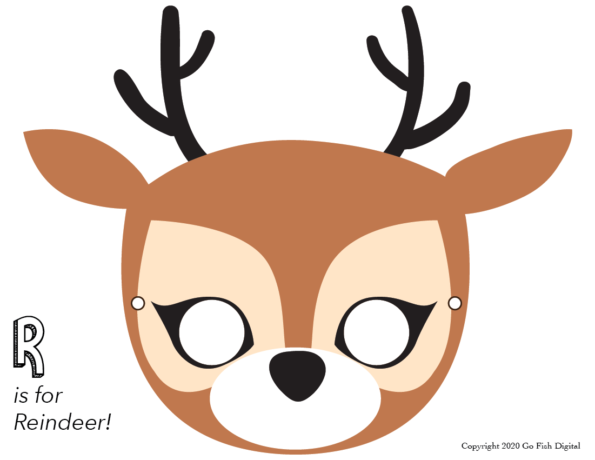
Preschoolers love imaginative play, so a great way to learn this letter is pretending to be “R” animals together! Emphasize the letter “R” as you turn yourselves into rabbits, rattlesnakes, or roosters. For more immersive fun, print and cut out these adorable animal masks to complete your transformation.

Letter R Activity for Preschool Children

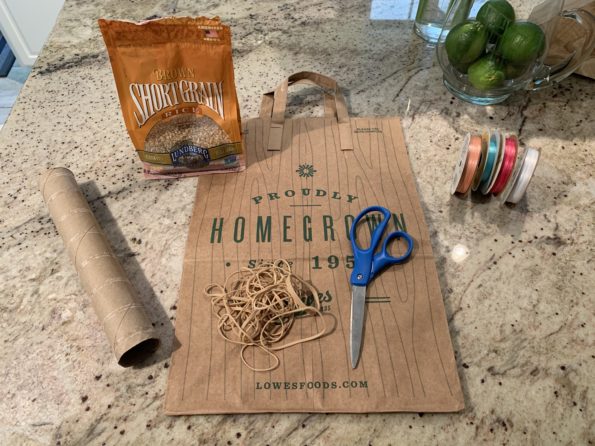
Another great “R” word is RAIN! You can enjoy the soothing sound of rainfall even indoors by making a rainstick. Here’s what you’ll need:

  • Pencil
  • Scissors
  • Paper towel roll
  • Aluminum foil
  • Brown paper grocery bag
  • Rubber bands
  • Dry beans or rice
  • Colorful yarn or ribbon (optional)

Your paper towel roll will serve as the body of the rainstick, while the grocery bag will be used to cap the ends. The aluminum foil will be coiled up inside the tube, helping to slow the beans and rice as they fall and creating that familiar rain sound.

Begin by gathering all of your supplies.

Letter R Activity for Preschool Children

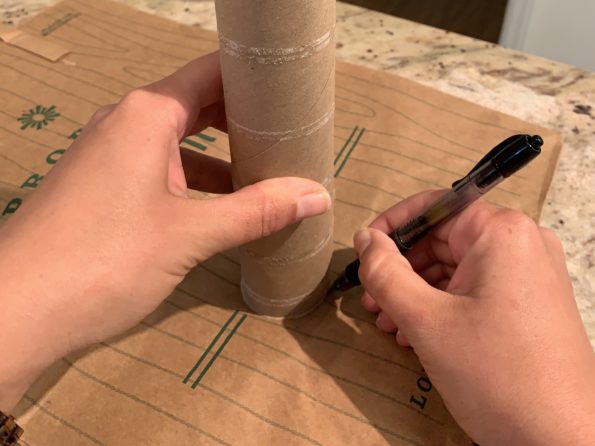
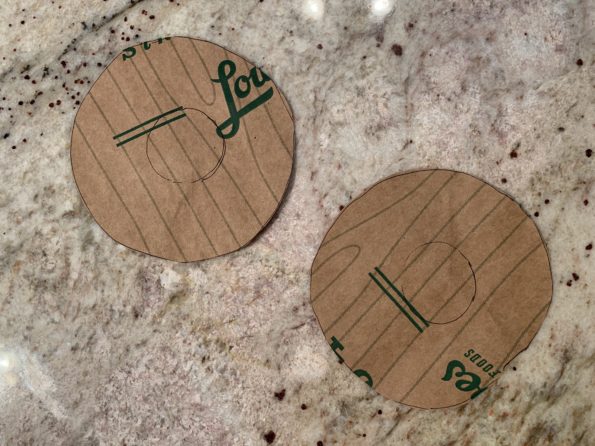
Trace the end of the paper towel roll onto the grocery bag.

Letter R Activity for Preschool Children

Then, draw a larger circle around the traced one, leaving about two inches of space between the circles. Do this two times. Cut out your circles and set them aside.

Letter R Activity for Preschool Children

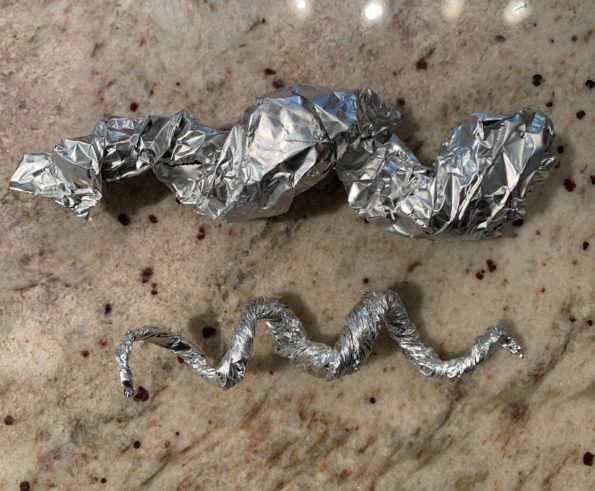
Use the aluminum foil to create a spiral. We recommend making one skinny spiral and one fat one, then nesting one inside the other. This will do the best job of filling up the tube and making your “rain” fall nice and slowly.

Letter R Activity for Preschool Children

Measure out ¼ to ½ cup of rice or beans to go inside the tube.

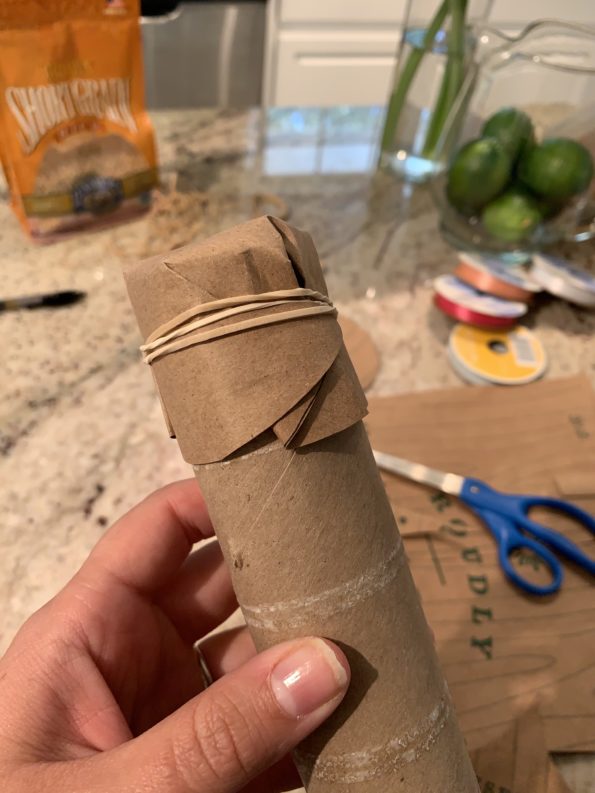
Now it’s time to put it all together! First, cap one end of the tube by folding a grocery bag circle over the end and securing it with a rubber band. 

Letter R Activity for Preschool Children

Next, insert your foil spiral. After that, you’ll want to carefully pour in the beans and rice. Finally, cap the second end of the tube just as you did the first.

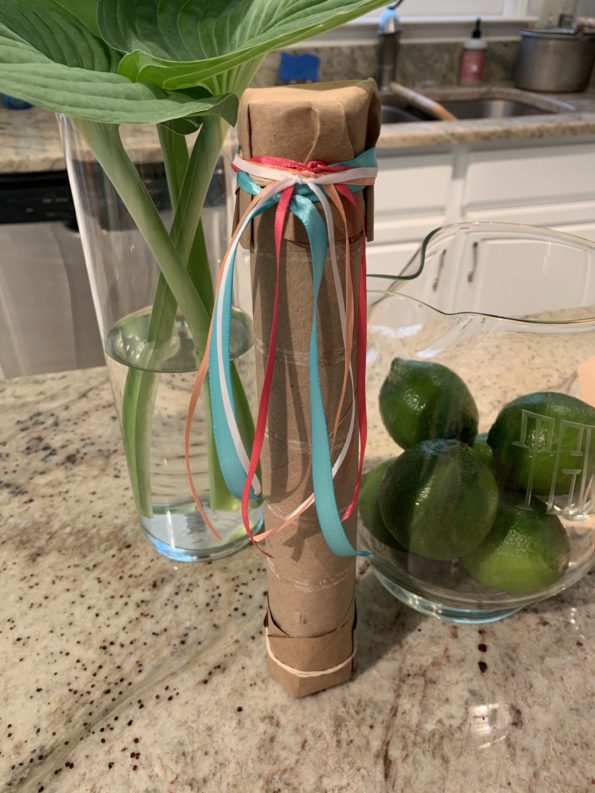
And that’s it! If you want to decorate your rainstick, you can add some pretty ribbon or yarn to cover the rubber bands. If your preschooler wants to color on the tube or decorate it with stickers, it’s best to do this before the rainstick is assembled.

Letter R Activity for Preschool Children

Learning the Letter “N”

Not sure how to teach the necessary letter N? You’ve come to the right place. 

For kids who are preschool aged and who are starting to learn the alphabet, it’s fun to find different activities to help them learn the letters. That way, there’s something to remember the letters by! It’s always fun to start teaching your kids new things, and with different activities, not only will you be able to keep them busy but you’ll also be able to make some memories with them. 

While there are tons of different words starting with the letter “N,” there’s nothing more magical than the starry night sky. 

That’s why we thought it would be fun to teach the letter “N” by creating a beautiful glow in the dark night sky for your child’s bedroom ceiling. Let’s get started. 

Here’s what you’ll need

To get set up to make these glow in the dark stars, you won’t need many materials. You’ll definitely need to supervise your preschooler while you use some spray paint that’s involved, but otherwise, this is a no muss no fuss type of craft! 

These are the materials you’ll need to create your night sky: 

  • Scissors
  • Old cereal boxes 
  • White paint 
  • Glue dots or command strips 
  • Glow in the dark spray paint (you don’t have to use spray paint if you’d like to use a paint you can brush on instead) 

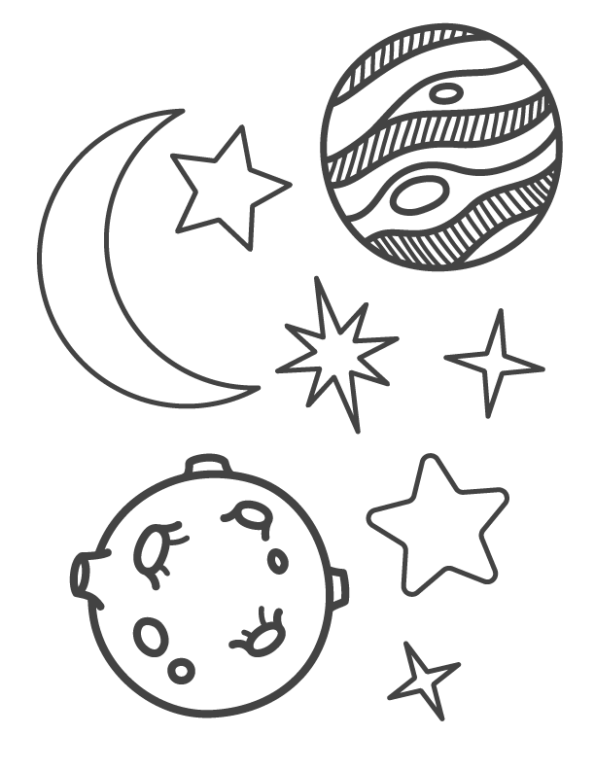
The first step is to outline your constellations and stars on the cereal box. You can use the stencils below for your stars! 

Letter N Activities for preschool children

Your next step is to paint the stars, moons, and other planets of your night sky white. Let them dry completely before moving on to the next step. Step three is to use your glow in the dark paint and coat the night sky stars, moons, and planets with several thin coats of the paint. 

Charge your night sky by leaving it out in the light for 15-20 minutes where the light or the sun can charge the glow in the dark paint. Then you’ll be ready to stick your stars on the ceiling and create a beautiful night sky! 

You need the letter “N”, so here are (n)ine other words that start with “N”: 

  • Nose
  • Nickel
  • Nurse
  • Ninja
  • Necklace
  • Name
  • Noise
  • Nana
  • Noodles 

Learning the Letter “J”

Time to get excited, because today we’re learning the letter “J”! There are so many cool words connected to this letter, but we’re going to focus on jewelry. 

Making jewelry is a fun and creative way for children of all ages to express themselves. Whether it is making friendship bracelets or a pretty beaded necklace for mom, kids can practice independent expression while showing affection for loved ones. Creating jewelry and patterns using colorful objects assists kids in developing fine motor and planning skills. Completing these activities with friends can also help them develop social and communication skills. 

Now, have you ever heard “Diamonds are a girl’s best friend?” Well, today “Snacks are a preschooler’s best friend!” We’re teaching you how to make a cereal and marshmallow rainbow necklace. This craft will double as a fun and tasty craft for your little ones. 

But don’t worry, this cool activity only requires a few materials and it’s hardly messy! 

What you will need:

  • Fruit Loop Cereal
  • Marshmallows
  • Yarn or String 
  • Plastic yarn needle 

First, sort the fruit loop cereal into piles by color. Secondly, color coordinate the fruit loop cereal to pattern a rainbow. Finally, add marshmallows at each end to symbolize the clouds at the end of a rainbow. 

Preschool age kids will need assistance with threading the needle, but afterward they will have so much fun adding the fruit loops and marshmallows. When they’re all done, they can rock their cool new necklace, or have a blast eating it. 

You can also find more details on how to make this necklace here

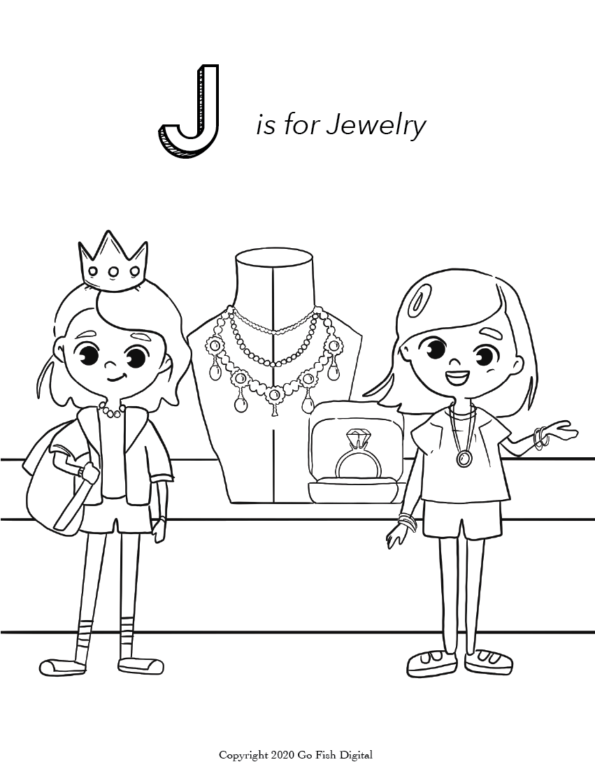
After this activity, have some more creative fun with this jewelry coloring illustration. You can download and print them, and let your preschoolers’ imagination run wild! 

Letter J Activity for Preschool Children