Summer looks a lot different this year due to the social distancing rules in effect across the country. Normally, our kids’ schedules would be jam-packed with fun activities, like day camps or sleepaway camps, scouting, sports, and more. But this year, as we’re all faced with lots more time at home, lots of moms are looking for creative, educational ways to fill the endless summer days!
Bentham Science Publishers, an international publishing company that publishes well-known scientific, technical, and medical journals, knows how important it is to develop an early love of science, technology, engineering, and math (or, STEM). Our kids are the doctors, researchers, engineers, and mathematicians of the future, and we should do our best as moms to foster and encourage their curious minds.
These fun science experiments use easy-to-find ingredients and will spark your little ones’ imaginations! Kids young and old will have fun exploring and playing, and you can feel good knowing that you’re supporting their learning and development. Make sure to supervise children as they do these experiments, since some of the ingredients can irritate skin and eyes.
A lot of these experiments are best done outside, since they can make a mess. Embrace that mess! Once you’re done with your afternoon of science fun, clean off with the hose or sprinkler. It’s lots of fun, and very effective at cleaning up after small scientists!
Without further ado, here are our best summer science experiments!
Rainbow Volcano
Supplies:
- Baking Soda
- White Vinegar
- Food Coloring
- Clear glass cups or jars
Instructions:
- Take your clear cups or jars and add a few tablespoons of baking soda to each one. Add a few drops of food coloring to each jar as well. You can experiment with color theory and combine colors to create new ones!
- Pour the white vinegar into each cup or jar slowly, and watch as the colorful foam erupts!
Summer Snow
Supplies:
- 1 cup cornstarch
- 1 cup shaving cream
- Food Coloring (optional)
- Large bowl
Instructions:
- Pour the cornstarch into a large bowl. Add the shaving cream and stir to mix. If using food coloring, add that in now too.
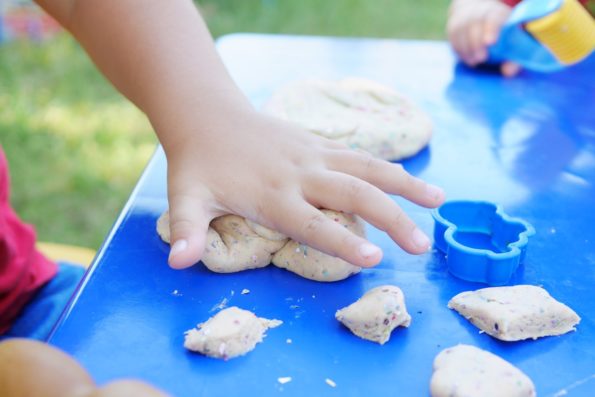
- When the mixture comes together in pieces (similar to shredded cheese), use your hands to squish the mixture and combine. It should quickly come together into balls, with a texture similar to dough.
- If your mixture is too wet and sticky, add more cornstarch. If it won’t come together, add a bit more shaving cream.
- Use the summer snow to make snowmen, igloos, snow forts, and more!
Elephant Toothpaste
Supplies:
- Clean 16oz plastic bottle
- 20 Volume Hydrogen Peroxide (This is a 6% solution which can be found at beauty supply stores. If you can’t find this, you can use the standard 3% solution available at most pharmacies, but the reaction will be smaller. Caution: Handle with care as Hydrogen Peroxide is corrosive in nature.)
- 1 packet of dry yeast
- Liquid dish soap
- 3 tbsp warm water
- Food coloring (optional)
- Small cup
- Funnel
Instructions:
- Using the funnel, carefully pour half a cup of the hydrogen peroxide into the bottle, and then add about 10 drops of your preferred food coloring.
- Add about 1 tbsp of liquid soap and swish it gently around in the bottle.
- In the separate cup, combine the warm water and yeast. Let sit for about 30 seconds–it should look like the consistency of melted ice cream. You can add more water if needed.
- Using the funnel, pour the yeast-water mixture into the bottle and stand back! This foam eruption will be epic!
Clean Putty
Supplies:
- Cornstarch
- Liquid dish soap
- Food Coloring (optional)
- Large bowl
Instructions:
- Add 2 tbsp of cornstarch to the bowl followed by 1 and a half tbsp of liquid dish soap. Add the food coloring now too if you’re using it!
- Mix and squish together in the bowl until it forms a putty consistency. If it is too dry, add a little more dish soap. If it is too wet, add a little more cornstarch.
- This putty should last a few hours, and it is way cleaner and less sticky than the common glue-based slime recipes online!
Homemade Lava Lamp
Supplies:
- Wide-mouth glass container (like a vase, pitcher, or tall drinking glass)
- Vegetable oil
- Food coloring
- Water
- Alka-Seltzer tablet
Instructions:
- Fill the container about three-quarters full with the oil, and then fill the rest of the way with water, making sure to leave a couple inches at the top of the container.
- Watch as the water and oil separate and the oil falls to the bottom–so cool!
- Once settled, add about ten drops of food coloring to color your lava lamp. Wait and watch as each drop sinks through the oil and settles in the water.
- Finally, drop in the Alka-Seltzer tablet and watch as the carbon dioxide gas bubbles push the colored water up into the oil like a lava lamp!
While all these experiments can be enjoyed by people of any age, many are aimed at younger children. Bentham Science does offer resources for older children and young adults looking to dive deeper into science and technology, including free, open-access textbooks and informative webinars.
Who knows, moms – maybe you’ll learn too! Learning is a lifelong process, and it’s never too late to teach yourself something new!
For more from Bentham Science, be sure to follow them on Facebook, Twitter, and LinkedIn.
About Lizzie Stewart
Mom. Wife. Espresso Lover. Braves Fanatic.


