Some of my hubby’s fondest memories from his childhood is going strawberry picking with his family. They did it every every year and came back with buckets and buckets of strawberries. His mom would make homemade jam from the strawberries and can them so they could have delicious strawberry jam all year.
As the spring weather approaches my husband always starts craving that homemade jam! Unfortunately, his mom now lives 2000 miles away from us so I have had to step into the role of fulfilling his strawberry jam requirement. I have to say that I am glad though… I would never have done it with out his insistence and am happy to have learned this skill and be able to pass this tradition on to our own growing family.
After a lot of research from several different sites, I have mastered canning strawberry jam! I mostly pulled my research from LovelyLittleDetails.com and pickyoruown.org. Let me first just suggest you buy this canning kit from Amazon to get you started with all the useful tools. It isn’t absolutely necessary, but it is only $12.97 and will make your life much easier. You’ll also need some canning jars. You can get these at most grocery stores or target/walmart.
Before you start make sure to sanitize your jars and rings in the dishwasher or by boiling them in water. DO NOT WASH THE LIDS.
Ingredients:
6 pints or 4 lbs of fresh strawberries
2 cups sugar (if you are not using reduced sugar pectin you will need closer to 7 cups, check the pectin box for specifics).
1 box reduced sugar pectin
2 lemons or 1/4 cup lemon juice
1 tsp butter (optional)
MAKING YOUR STRAWBERRY JAM
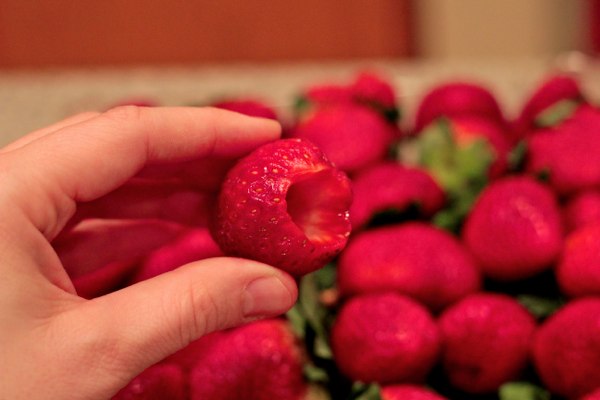
1. Rinse and hull your strawberries. The goal is to cleanly remove all of the stem of the strawberry. I use a small paring knife and just get at each one individually while I watch TV however, I am guessing there is probably some tool out there to do this for you, but I just never think about it until I am already hulling.
2. Mash up your strawberries! Some people like to use a blender to do this, but personally I like to have a few small strawberry chunks in my jam so I prefer to use a potato masher and to leave it a little chunkier.
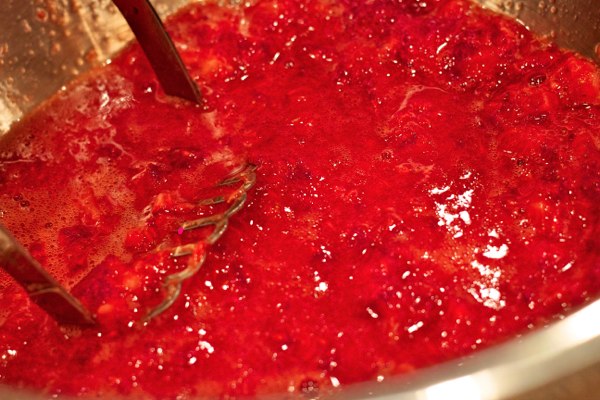
If you are not sure what consistency you want this first time you can try mashing half and blending the other half. This will give you something in between.
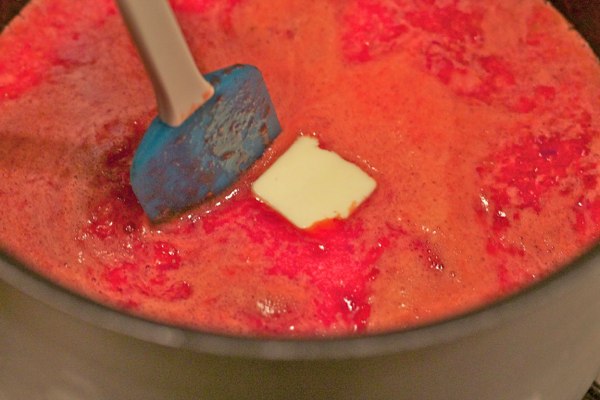
3. Put the strawberries in a large pot and begin cooking on high heat. Add one pectin packet and the juice of 2 lemons (or 1/4 cup of lemon juice). The lemon juice helps preserve the jam so it keeps longer and the pectin helps to thicken the jam. The next step is optional. Adding butter to the strawberries as it heats helps reduce foaming. You can always skim the foam off the top instead of adding butter and you may need to skim a little foam even with the butter.
4. Let the jam come to a full boil before adding the sugar. Then, stir constantly and bring to a rolling boil. A rolling boil is a vigorous boil that keeps boiling even when you stir. Keep the jam at this rolling boil for at least 3 full minutes. Don’t forget to keep stirring! It’s very important!
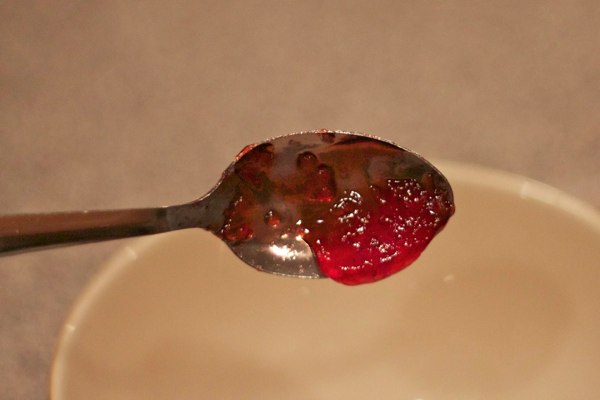
5. Skim any foam from the top of the jam using a large sauce spoon or a ladle. Keep a spoon in a cup of ice water. Then to test the consistency of your jam, pull out the spoon and scoop up a teaspoon or so of jam. Let it cool to room temperature then turn it sideways checking to see if it is firming the way you would like. Don’t worry… if it is not as thick as you want just add a little more pectin from the 2nd pouch in your box and bring to a rolling boil for another 3 minutes. Then test again. You can continue doing this until you are satisfied the pectin is thickening your jam. I usually add another 1/4 a packet to mine…. maybe I just like mine a little thicker. 😉
6. Poor the jam into the jars. I needed 7 jars (1/2 pint sized). You can use the funnel from the canning kit for this or you can cheat like me and poor all the jam into a juice pitcher and then poor into the jars. I found this way easiest and less messy. Wipe all along each jar to make sure there is no jam residue from pouring.
7. Get the jar lids in some hot water to soak. This loosens up the waxy stuff on the rim of the lid to help it seal. Let the jam sit to cool for 5 minutes while the lids soak. Before you put the lids on stir your jam carefully one more time. This makes the chunks of strawberries distribute more evenly instead of all floating to the top. Seal the jars tightly with the lid and rings and your are almost done!
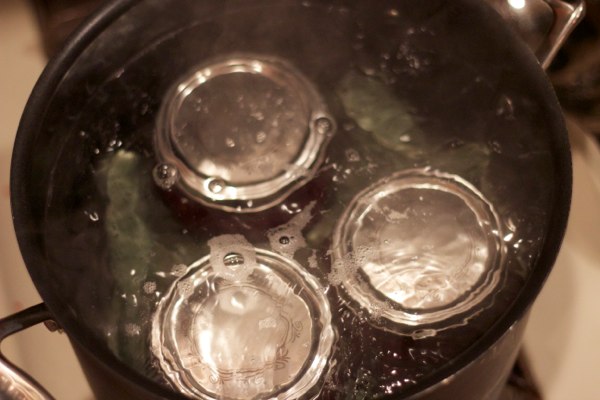
8. Put the sealed jars in a large pot of boiling water. Note: Do not let the jars rest directly on the bottom of the pan. You need a buffer of some sort. I use a wash rag at the bottom and put my jars on top of the rag. Make sure the water is at least 2 inches above the top of your jars. Let them boil for at least 10 minutes. You don’t want to keep them in much longer than that or the jam will get runny and turn dark. Be careful putting the jars in and pulling them out… this is where the jar tongs from the canning kit are very useful.
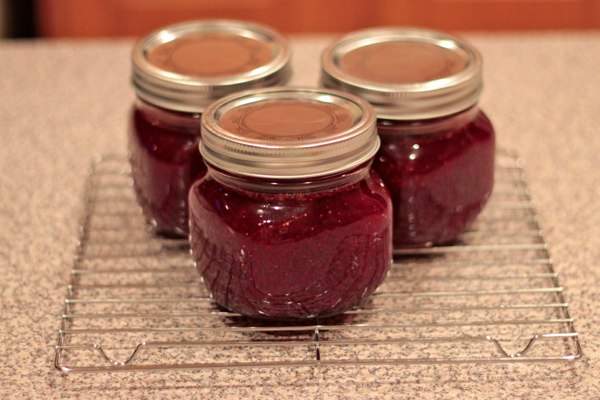
8. Pull the jars out and let them cool on a wire rack. You will hear a popping sound as the jars cool and seal. Check to make sure they have sealed after 24hrs by pushing in the center of the jar. If it pops up and down your lid did not seal correctly. If you do not can your jam it will keep for a month in the fridge. If you can them they will keep for a year, but start to get runny after about six to eight months.
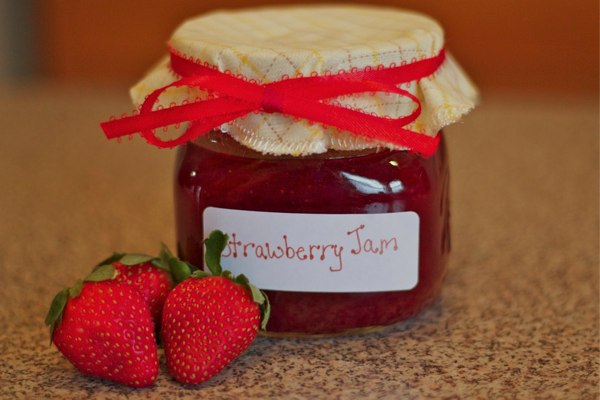
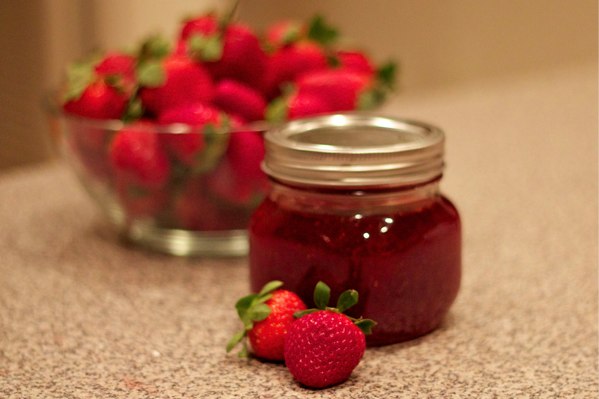
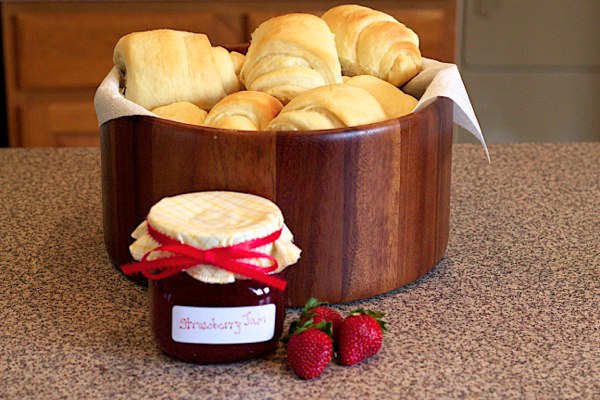
That’s it! You’re done! Now you can tie a cute ribbon around it and you have a great gift for a friend or neighbor. I will be using some of mine for teacher appreciation week. 🙂 Enjoy!
The jam tastes great on rolls, breads, crepes, cheesecakes, short cakes, etc… Pretty much anything!!!
About Jamie Hinckley
I am a mom of three crazy boys! We love life, play hard, and ALWAYS get messy! Life is busy and full of fun, jumping, crashing, skinned knees, rough housing, torn jeans, scratches, but most of all LOVE. Yes, life is crazy. Actually its completely nuts, but I wouldn't change a thing! We love life and can't wait for our next adventure... and one day, possibly a little girl! Haha!


3 Comments