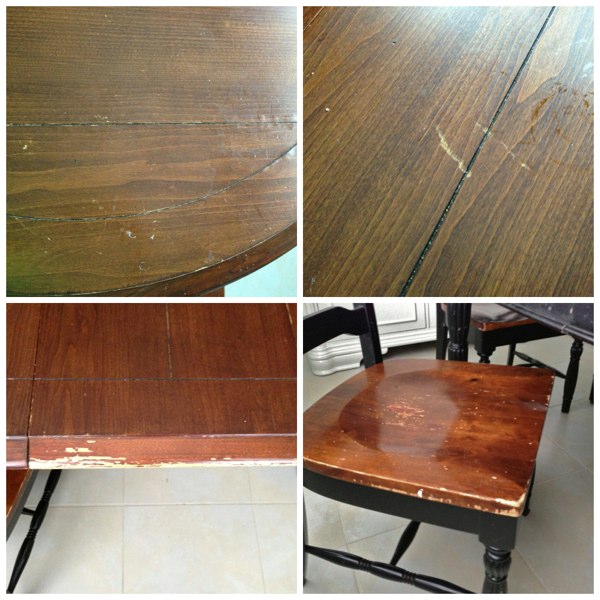
Remember when I refinished my buffet? I ended up redoing the kitchen table and chairs to match! This is a set we have had for quite a while now and has survived three moves and three children.
It was pretty beat up so I was really anxious to refinish it once we got settled here in Florida.
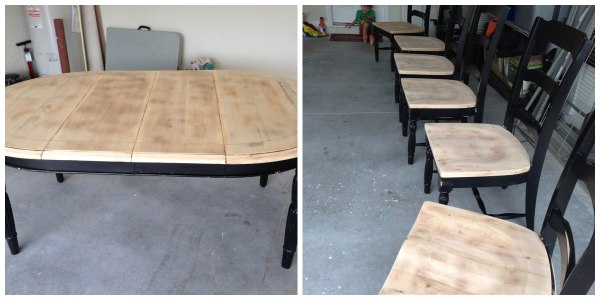
The chairs were the worst because they have spindles and took a lot of extra time to paint. I am pretty sure I will never do chairs again!
Supplies:
Oil based primer (I recommend Zinsser)
Sand paper and electric sander (sanding between coats and parts your are staining)
latex paint (I used a satin finish)
water based poly (I recommend Minwax Polycrylic)
Elmer’s wood filler (to fill in any grooves or scrapes)
Wood stain (I used the darkest stain I could find, Kona)
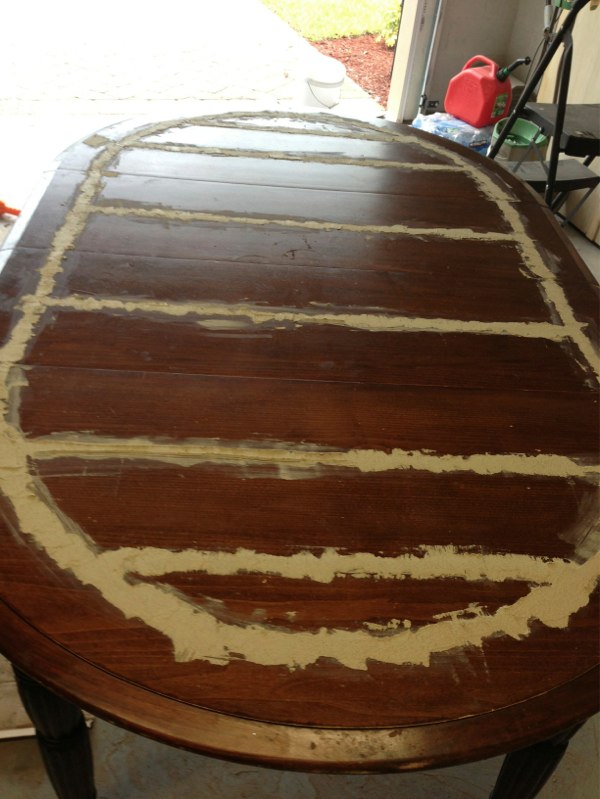
1. Start by repairing any major scrapes or dents with Elmer’s wood filler. I used a lot of this to fill in the natural grooves the table came with. I hated them… food was always getting stuck in them.
2. Start sanding! Use an electric sander to sand off the tops of the chairs and the top of the table. Make sure you get all the finish off. Do not over sand unless you are sure your table is solid wood. I did this and could see part of the particle board show through in one part.
3. Clean all the dust and start priming the table and chair legs. I did two coats. Lightly sand any drips between coats.
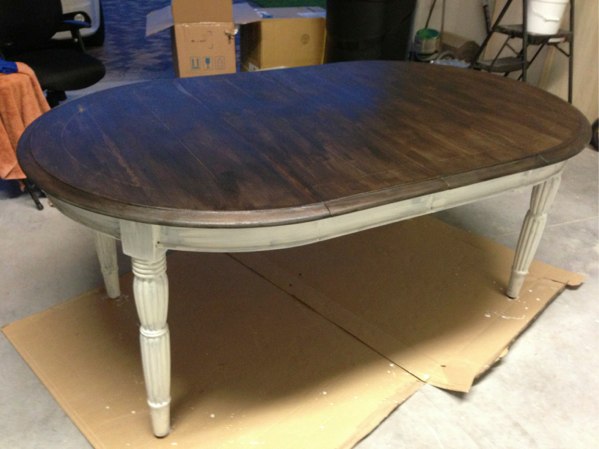
4. Ready to paint! It takes two coats of latex paint on the table and chair legs. Work slowly and carefully on the spindles to avoid clumps and drips. Sand any drips between coats. I also like to add some floetrol to my paint. This helps condition your wood and also slows down the drying time to minimize viewable brush marks.
5. Stain the top of the table and chairs. Use painters tape as needed. I did three coats of stain to get the color as dark as I wanted. I used a stain called Kona.
6. After 24 hrs I started the poly coats. Make sure the poly is completely dry between coats. I did three coats of poly. Sand between coats as needed with a very fine grit sandpaper.
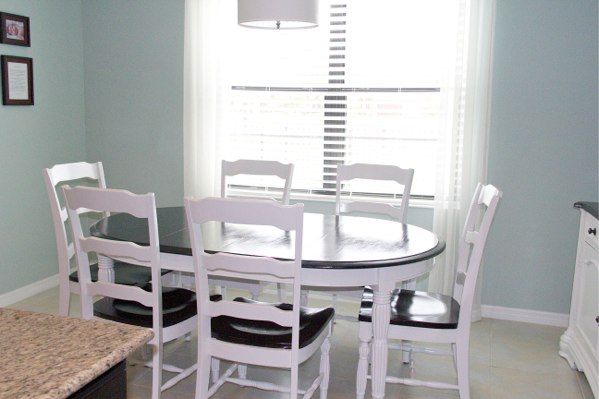
Make sure you wait 24 to 48 hrs before putting your table and chairs into regular use. It turned out great! We have been using it for a few months now and love it!
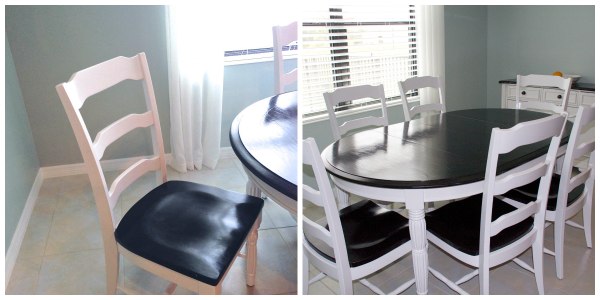
Turned out perfect! I can’t tell which chair was the one that was so beat up in picture above. They all look perfect now.
About Jamie Hinckley
I am a mom of three crazy boys! We love life, play hard, and ALWAYS get messy! Life is busy and full of fun, jumping, crashing, skinned knees, rough housing, torn jeans, scratches, but most of all LOVE. Yes, life is crazy. Actually its completely nuts, but I wouldn't change a thing! We love life and can't wait for our next adventure... and one day, possibly a little girl! Haha!


Pingback: Can You Use Wood Filler On Dining Tables? - Dining FAQs