Giving haircuts at home is really easy! I have never been trained to cut hair in anyway, but through practice the last several years I have learned how to cut a decent haircut in just a few simple steps! You don’t even need an expensive fancy set of buzzers. I paid $29 for mine on Amazon.com and it came with all the guides and some scissors.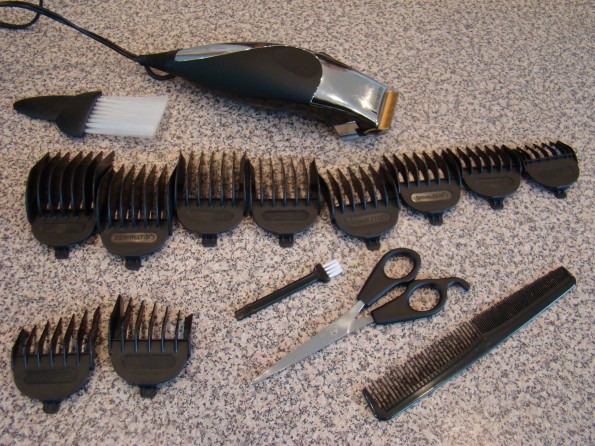 QUICK MONEY FACT: Cutting hair at home can save you hundreds per year. If you consider that a typical boys haircut costs about $20 with tip and they need their cut every 6 weeks, you are looking at about 9 haircuts a year, or $180 per year. I have three little guys, plus my hubby, so by cutting hair at home I am essentially saving about $720 per year.
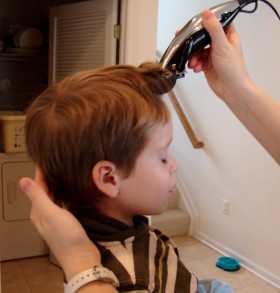
Here is a quick tutorial using my almost 4 year old, Tyson, and my 2 year old, Andy.
Step 1: Shape the top of the Head
Start with a larger sized guide comb. I usually pick the largest or second largest. Remember, you can always go shorter, but once you have cut it short there is no going back. Cut just the top and around the crown of the head for now.
Step 2: Cut the sides, back, and around the ears
Use one of the smaller sized guide combs. I usually start with the second or third smallest and go from there. Cut the sides, back, and around the ears. You should see a line of hair around the top of the head from where you used the longer guide comb.
Step 3: Blending
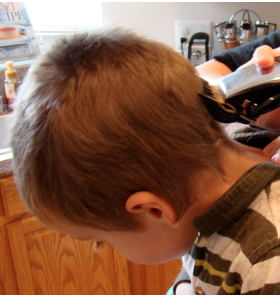
I found that it is completely unnecessary to use a blending guide comb for this part. Just pick a mid size guide comb. I pick one that is just 2 sizes up from what I used on the back and sides. Start at the bottom of the head and and go straight up, crossing over the line made from using the larger guide. DO NOT round the buzzers to follow the shape of the head, just go straight up. If you let the buzzers follow the round part of the head you will end up having to buzz all of the hair on the top to match and will end up with a very short military buzz. Just keep moving the buzzers straight through the hair line made previously, going from one side of the head to the other until you can know longer see a line and the hair is completely blended. You might need to switch to a bigger or smaller guide comb to get the hair line completely blended. This all depends on how large the guide comb you used on the top was.
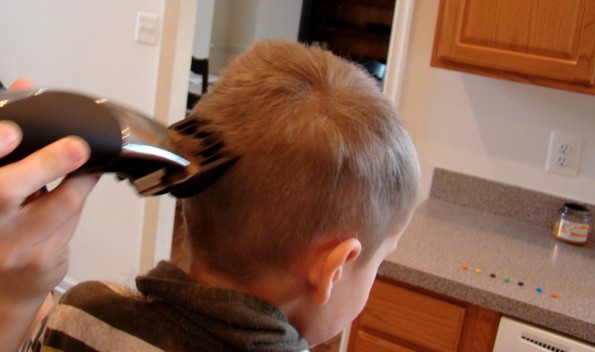
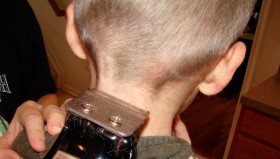
Move the buzzers straight up across the longer hair line, but not around the head. Notice the M&M’s in the background…. bribery goes a long way!!!
***Once you get some practice in blending you can use an even smaller guide comb on the sides and back. I can now use the largest comb guide on the top and the very smallest on the sides and back and get it blending perfectly… it took lots of haircuts before I got to this point though, so don’t get discouraged.
Step 4: Trim around the ears, back of the neck, and bangs
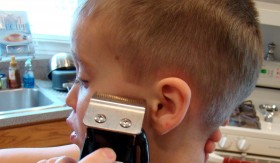
Take off the guide comb. Make sure the handle on your buzzers is down so that the blade is at its shortest so you can get the cleanest cut. Carefully (these are sharp with out the guide combs on) trim the hair around the ears by gently pressing buzzers down on desired part. Do the same for the side burns. Trim a straight line across the back of the neck. Do not trim to high up on the back of the neck. I did this once and my hubby was not very happy :). You can trim the bangs the same way with the buzzers, or if you are more comfortable you can use regular hair cutting scissors. PLEASE NOTE: I do not do any of this step with very young kids, including my two year old. They just wiggle too much and I feel like it is way to dangerous. It also seems unnecessary to me since their hair is still mostly light fuzz at the back of the neck anyway.
That’s it! You’re done! Don’t worry, you really do get better with each haircut. The best part about cutting boys hair is that it grows back so fast! If you accidentally cut to short you can always just buzz it all one length and try again in a few weeks when it grows back. So don’t get yourself to syked out… you will get better with each cut!
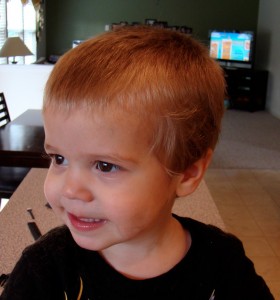
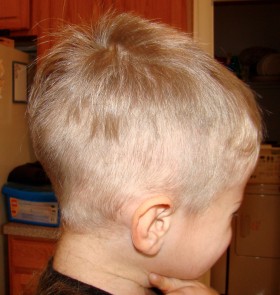
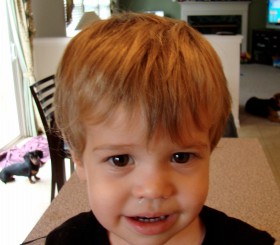
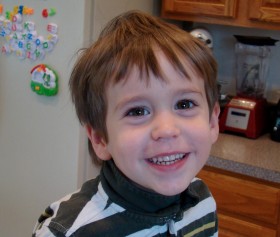
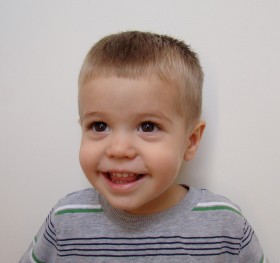
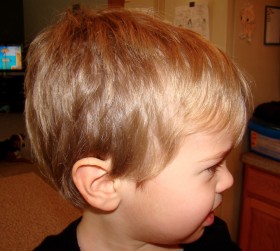
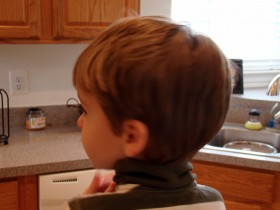
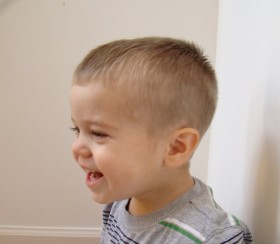
If you have any questions before you get started, let me know! In the meantime, here are some before and after pics of the boys.
About Jamie Hinckley
I am a mom of three crazy boys! We love life, play hard, and ALWAYS get messy! Life is busy and full of fun, jumping, crashing, skinned knees, rough housing, torn jeans, scratches, but most of all LOVE. Yes, life is crazy. Actually its completely nuts, but I wouldn't change a thing! We love life and can't wait for our next adventure... and one day, possibly a little girl! Haha!





Pingback: Saving Money While Being a Stay at Home Mommy! | Enchanted Mommy