When I asked my hubby what memories makes him think of family, in particular his mom, he told me he remembers how his house smelled of yummy food cooking when he came home from basketball practice or from a friends house. For some reason, the smell of delicious food baking gives us that warm comfort feeling of home.
The best cooking in my family comes from my Grandma. My siblings and I (there are seven of us kids) would cheer when we found out we were going to visit grandma because she is the super hero of cooking. Now that we are all grown (the youngest of us is now 20 years old) we have been begging for all the memorable meals we remember having at Grandma’s.
We must have finally put enough pressure on her because she finally put together her own cook book of her most trusted and go-to recipes she has used over the years. It is family recipe book now that she gave each of us grand kids for Christmas.
My sisters and I always laugh because sometimes recipes in my grandma’s book have strange instructions we feel are unnecessary, but every time we choose not to follow them to the exact detail the recipe is off just a bit. Trust me… Grandma knows best when it comes to cooking and baking!
So this Cinnamon Rolls recipe can be found in this oh-so-coveted book of recipes. I am told it is not an original recipe of my Grandma’s, but one she got from someone who got it from someone else, who may have gotten it somewhere else. My mom has been baking them for years now and has taught me all the tricks! 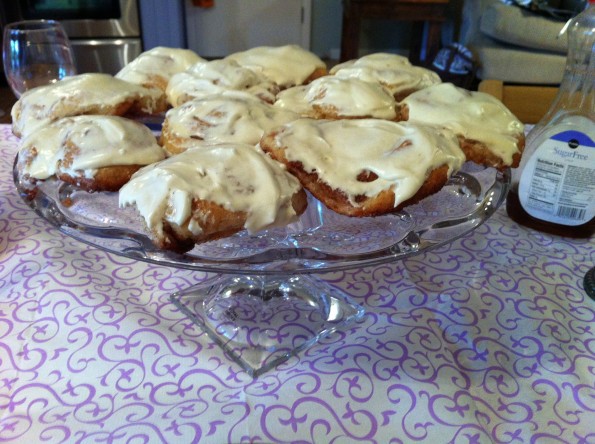 Mom’s best advice: It’s all about how much flour you add. If you add too much the rolls will be too dense and stiff. The key is to add just barely enough (the lease amount of flour you can get away with without the dough being too sticky to work with), so that you rolls will be soft, chewy, and fluffly.
By the way, this recipe makes 4 to 5 trays of cinnamon rolls (48 or so rolls) so if you don’t have a big crowd to feed (with seven kids and all the friends coming in and out we always did!) I would strongly recommend cutting this recipe in half.
Cinnamon Rolls
Makes 48+ rolls
- 1/2 Cup sugar
- 2 T yeast
- 2 C warm water (not too hot or you will ruin your yeast)
***let this mixture stand 5 minutes until it looks a little frothy from the yeast
- 2 Cups scalded milk (or 2/3 Cup powdered milk with 2 cups warm water) -my mom prefers to use powdered milk, although I have never been sure if that was a Mormon thing (recycling her food storage) or a baking thing, either way I have been trained to use the powdered milk.
- 1/3 Cup oil
- 1 1/2 T salt
- 1/2 – 3/4 cup quick oats
- 9ish Cups flour
***Mix in all ingredients but the flour. Using your dough hook, add one cup of flour at a time, mixing well (on the lowest speed) between each cup. Once you get up to 5 cups or so, pay very careful attention while you add your flour. You want to add enough so that the dough is soft, but not sticky. It is a good sign that you are close to the desired flour amount when you see that the dough is all staying together and no dough is left on the sides or bottom of the bowl. Knead dough in mixer with dough hook for about 7 minutes (yes my mom and grandma use to always do the kneading by hand, but even they agree that it just isn’t necessary to do it that way anymore).
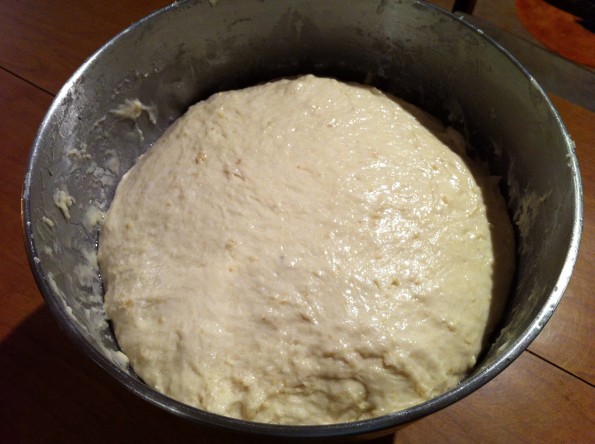
Here is the soft, but not stick dough ready to start rising
Step 1: After you have your dough ready, put about a tablespoon of oil on it and softly spread it across the surface of your dough. Try to get it on the sides and bottom of the dough as much as possible. Put a clean cloth over the top and let it rise until it is about double the size (30 – 45 minutes). If it is a cold day or you are in a hurry you can use my quick rise method. I put my oven on the warm setting until it is preheated, then turn it off and put the rolls in the oven where is it perfectly warm for them to rise.
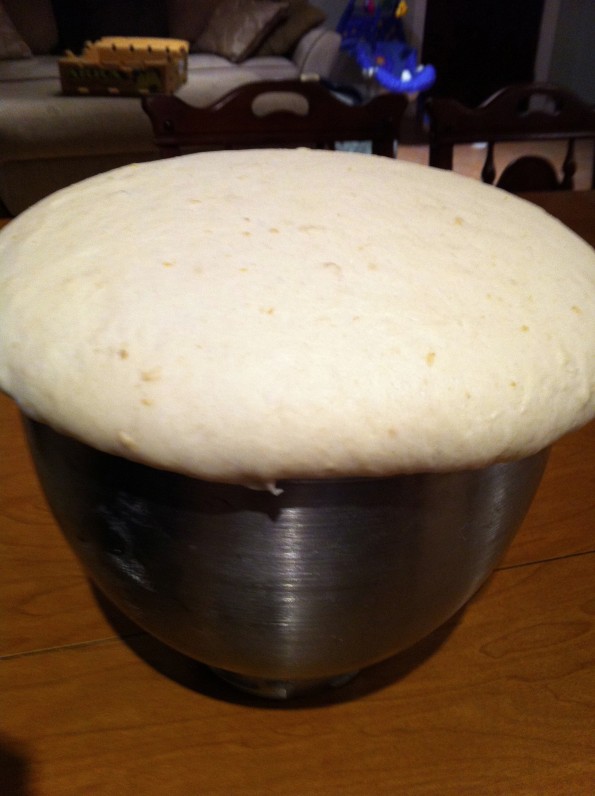
This is what it looks like after it is done rising when you use the smaller sized kitchen aid bowl
Step 2: Divide dough into four equal pieces. Spread a little oil across your rolling surface. Using one piece at a time, roll dough into a rectangle. Generously spread melted butter (I like to use a cooking brush to “paint” it on) over entire area. Cover with cinnamon/sugar mixture.
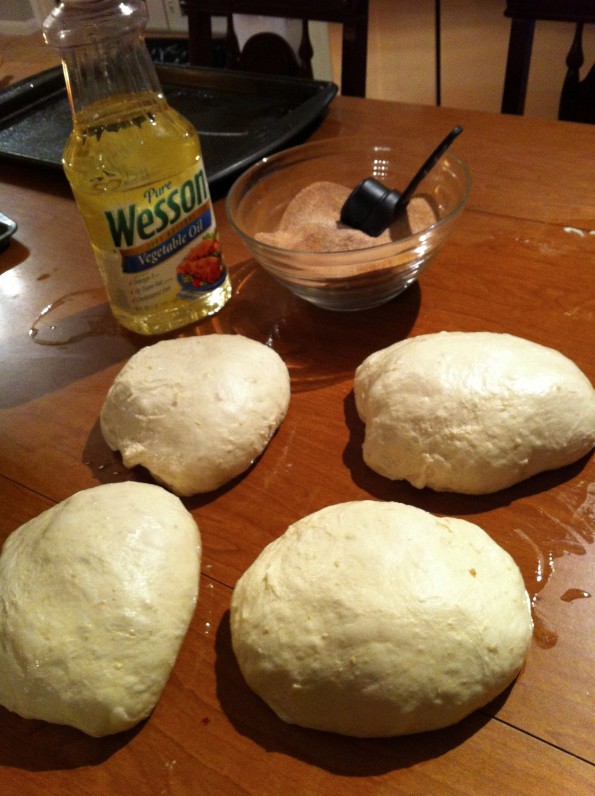
Almost ready to start rolling!
Step 3: Roll dough lengthwise into one long roll. Be careful not to have any gaps in your roll or they may fall apart later. Cut rolls horizontaly about 1 1/2 to 2 inches in thickness (using a pizza cutter makes nice, clean cuts). Place the rolls on a greased pan or use parchment paper about 2 inches apart.
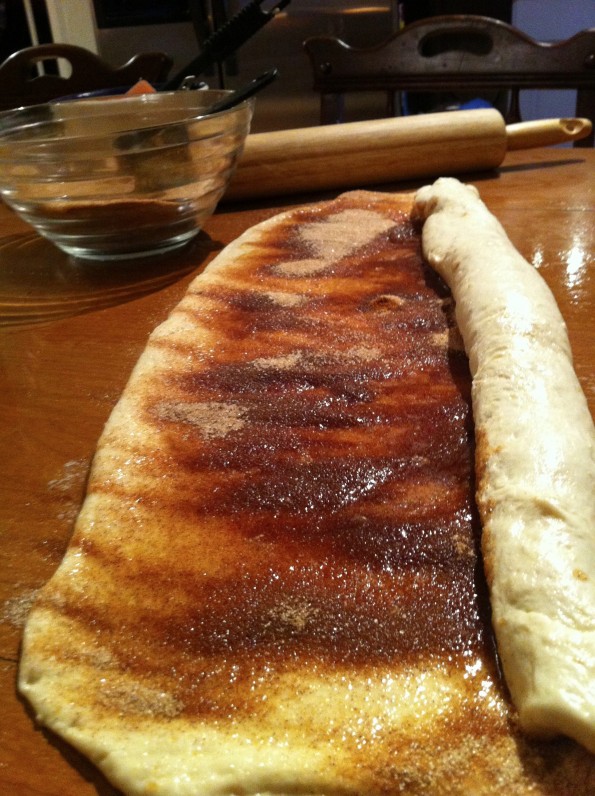
Be generous with your butter and cinnamon/sugar
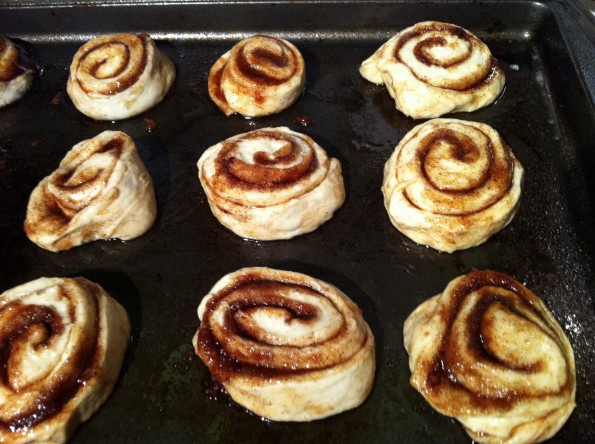
Rolls placed about 2 inches a part on baking sheet, getting ready to rise again
Step 4: Cover rolls with a clean cloth and let the rolls rise until double again (30 – 45 min) or use the my quick rise method again.
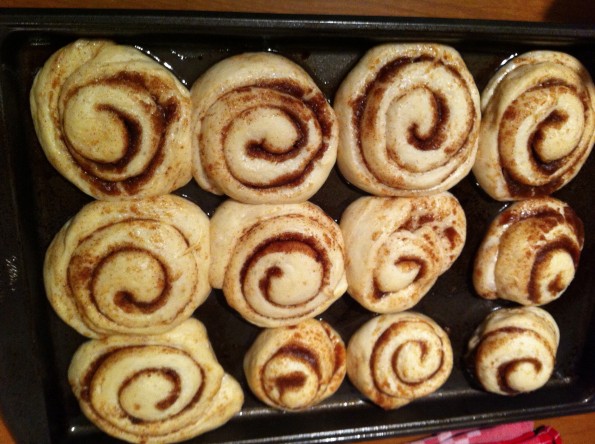
When they are done rising they should be nice and plump and touching as you see here
Step 4: Cook on 350 for about 12 minutes
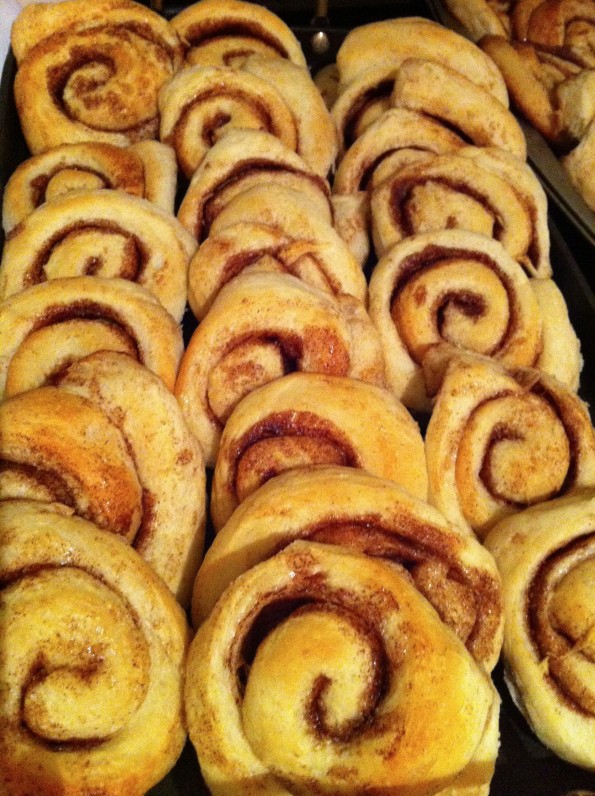
All done and ready to frost! My mom would tell you to let them cool before frosting, but I must admit I never follow that advice and can't wait to eat one warm from the oven with the frosting melting off it!
Frosting
Dont skimp on the frosting… I like to add extra to mine. 🙂
4 cups powdered sugar
1/4 t. salt
1/4 cup evaporated milk
1 t. vanilla
1/3 cup margarine
***Mix all ingredients together. I often do a taste test here and sometimes add a little more butter or sugar until it I think its perfect. 🙂
Variations: Add raisins or walnuts for an extra touch! My mom recently made them using strawberry jelly instead of the cinnamon/sugar mixture… they were awesome!
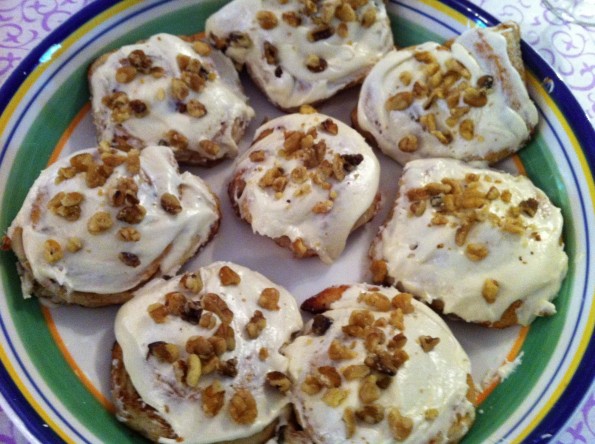
I love, love, love the walnuts variation!!!!
These are best when stored in an air tight container and just like the directions on a Cinnabon box, heat them up in the microwave for 10 – 15 seconds before eating! Perfection!!!!