


Again, with the beat up furniture from the move! Ha. I am slowly moving from project to project as I get settled in the new house. I got this buffet about 6 years ago. It was one of my first pieces of furniture I was able to buy after graduating from college and getting married.
I sold a lot of my stuff before the move, but I always loved this piece. It got really beat up in the move… maybe because we pack all our stuff ourselves, or maybe because it drove from Virginia to Florida in an open trailer secured with ropes and bungee cords. Oops.
Oh well… I actually LOVE the new look. It fits in much better with the colors of my house.
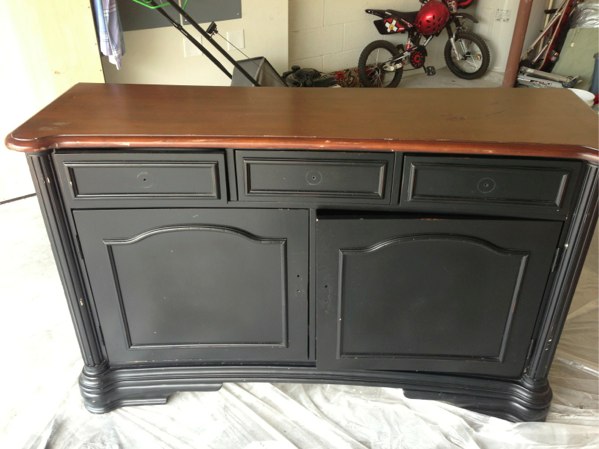
This is the buffet before. With the black knobs and handles removed already.
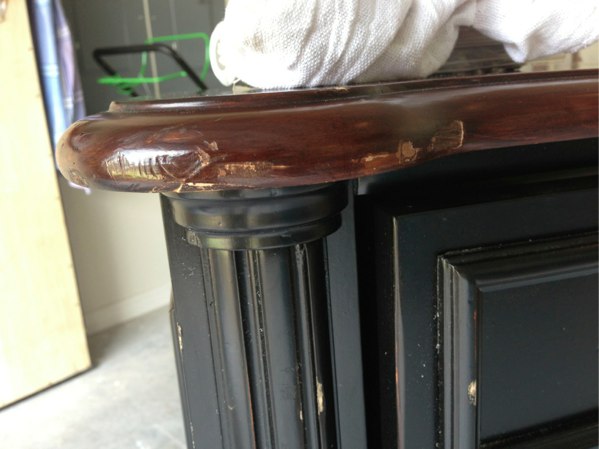
Close up of some of the worst dings.
I started out by sanding all of the little dings until they were nice and smooth. After that I used Furniture Refinisher with steel wool to give me a good start on getting the top finish removed. I wanted to stain the top so I really needed all the finish completely gone.
This had a really thick finish so I used the Furniture Refinisher to keep me from sanding my life away. Make sure you use gloves if you decide to use this product for your project.
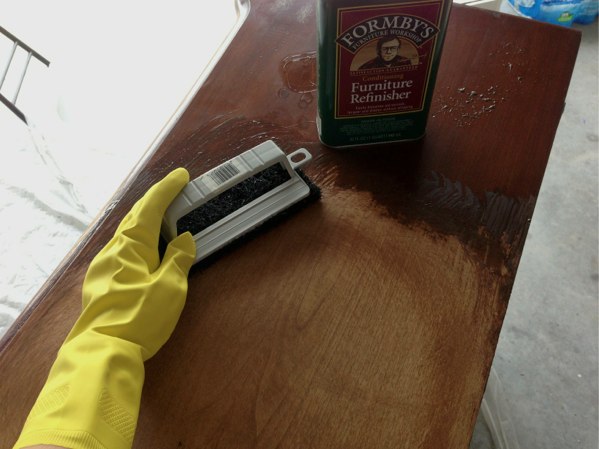
To use this product you poor a little in a bucket, then soak up your steel wool scrubber in it and continually rub in a circular motion. Its gooey and you will use up an entire package of steel wool. It definitely does its job.
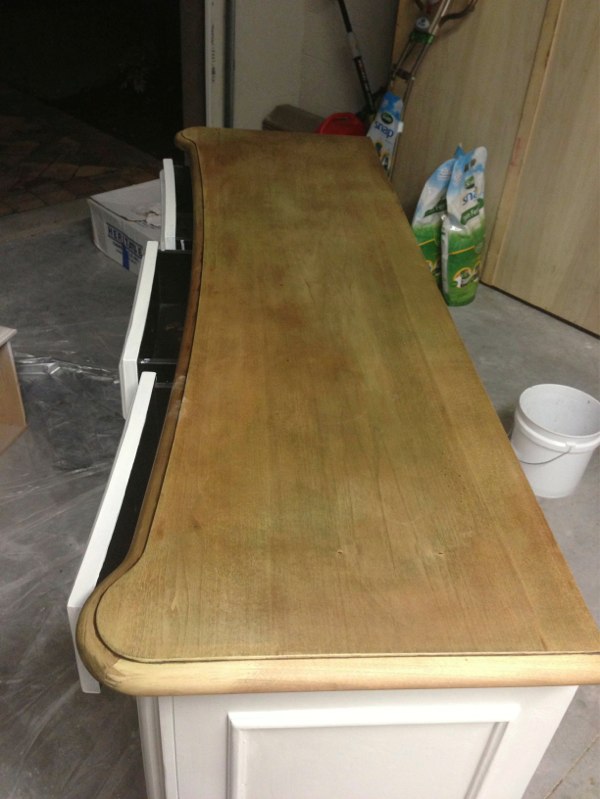
Here is what it looks like after using the Furniture Refinisher. You can tell it still has a little finish on it, but it is looking pretty good. I also have a coat of primer on in this picture. I would not recommend doing this until you are sure you don’t have to go back and sand… saves you time cleaning and dusting before starting to paint again.
Then, I took an electric sander and used a medium grain sand paper to take off the rest of the finish. After I dusted off the rest of the mess from sanding, I was ready to put on another coat of primer.
I like to use Zinsser Oil Based Primer from Lowes. Sand lightly between all coats of primer and paint to remove any clumps or paint drips.
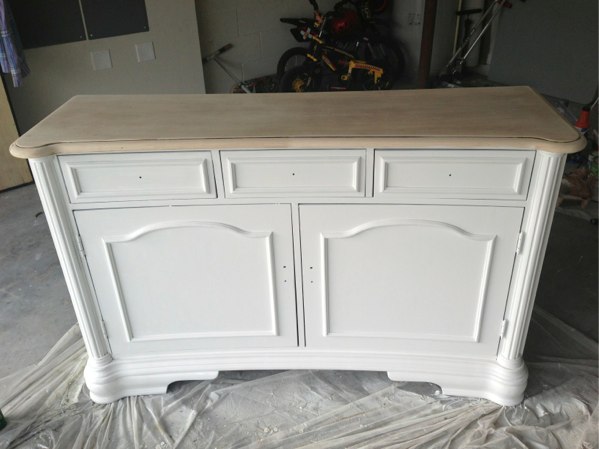
So here it is with two coats of primer, two coats of latex paint, and the top sanded down. You can see the difference the extra sanding makes after using the Furniture Refinisher. You really need to get all original finish off if you plan on staining.
Next, I put on two coats of white latex paint in a satin finish. I added a little floetrol to my latex paint. This helps condition the wood and slows down the drying time so that there are less visible brush strokes.
I used a a dark stain called Kona on the top of the buffet. I actually did 3 coats of this stain to get it as dark as I wanted it to be. You can always get it a shade or two lighter using less coats. I also sanded between coats to make sure it was extra smooth.
After 24 hrs of drying I started the poly coats. I like to use a water based poly in the satin finish. The oil based poly’s will yellow over time. This might not show on a darker piece, but would be terrible on this white. I recommend Minwax Polycrylic. Again, make sure to sand between coats to make it extra smooth.
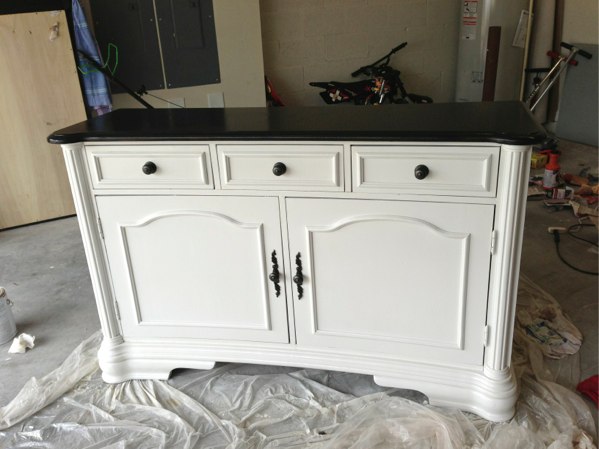
Here it is in the garage with the hardware finally back on. I like to wait 24 to 48 hrs before putting any of my pieces to use.
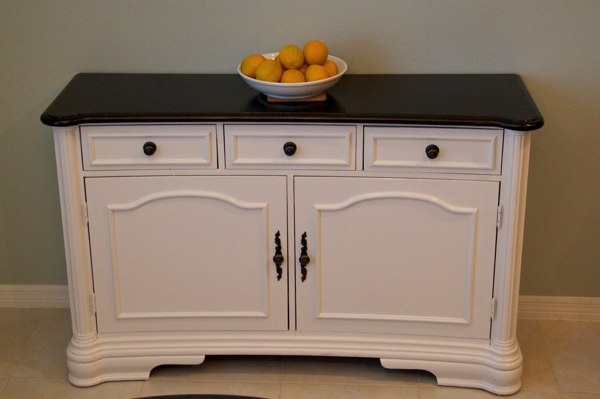
Finally, its in the house and looking fabulous! Still need to figure out how I want to dress it up, but I am very happy with how it turned out! Bad lighting here and the pic really doesn’t do it justice for how beautiful it turned out.
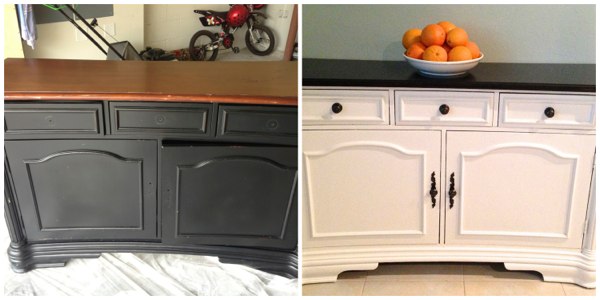
A quick side by side of before and after I decided to add at the last minute. Please excuse the cell phone shot. 🙂
Check out my antique turquoise armoire I did as a recent guest post here.
About Jamie Hinckley
I am a mom of three crazy boys! We love life, play hard, and ALWAYS get messy! Life is busy and full of fun, jumping, crashing, skinned knees, rough housing, torn jeans, scratches, but most of all LOVE. Yes, life is crazy. Actually its completely nuts, but I wouldn't change a thing! We love life and can't wait for our next adventure... and one day, possibly a little girl! Haha!
Pingback: DIY: Refinished Kitchen Table and Chairs