Enchanted Mommy

L is for Ladybug!!!

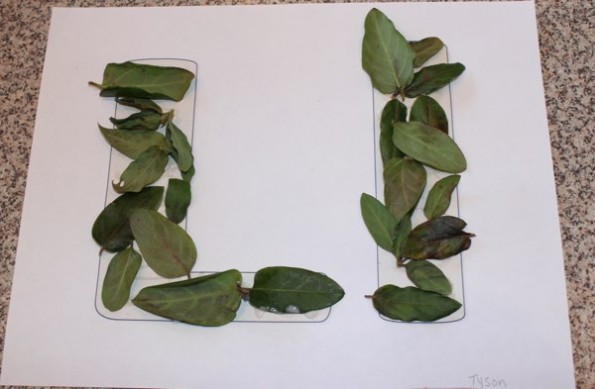
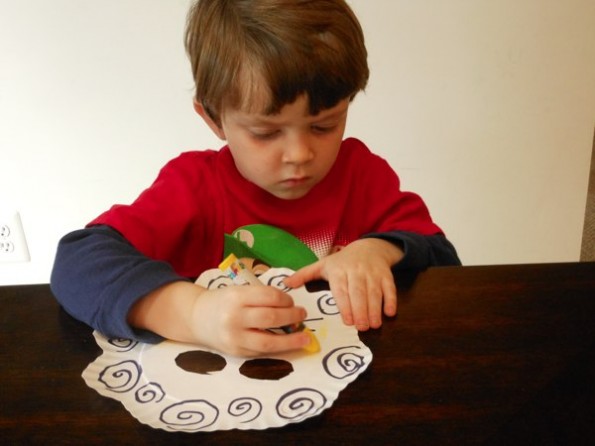
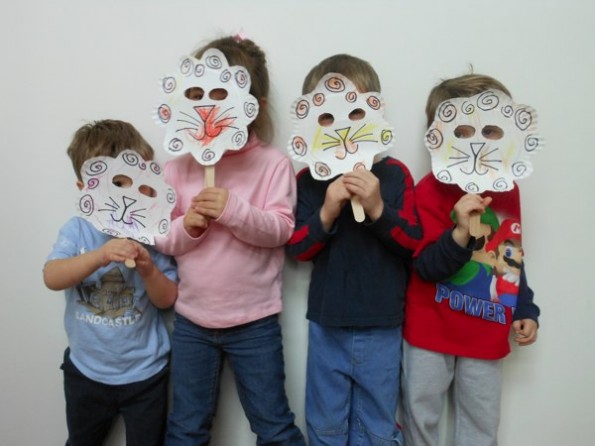
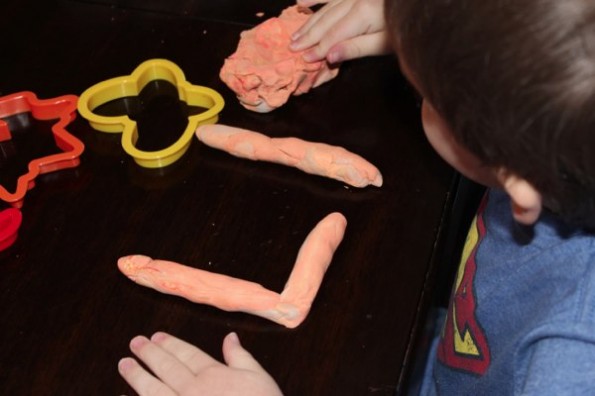
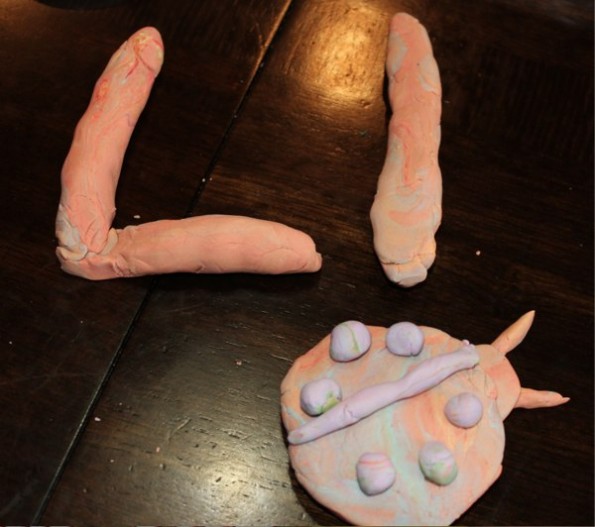
We had so much fun learning the letter L with our preschool class.  (For those new readers, I have a preschool swap program with a couple friends that have kids the same age as mine.  We trade off who teaches every couple weeks.  It really works out great!)  So it was mine turn to teach the letter L.  We had a blast Leaping like a Lion, making our own lion masks, decorating the letter L with Leaves, making L’s with play dough, and making a cute Lady bug take home project.

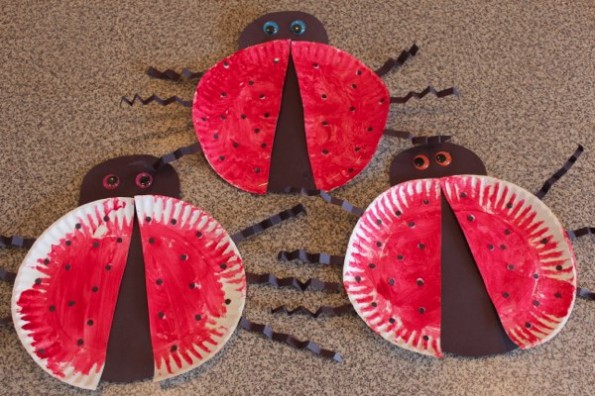
L is for Ladybug!

Ladybug supplies needed:
black construction paper
wiggly eyes
1 paper plate
red paint

Very simple… cut a paper plate in half and let the kids paint it.  Once it is dry have the kids glue it on a pre-cut ladybug head and body.  I used a hole puncher for the spots and crinkled construction paper strips for the legs.  **This is a cross-curricular activity since it covers, art, science, and math.  Take time to help the kids count the ladybug spots and talk about ladybugs and insects!

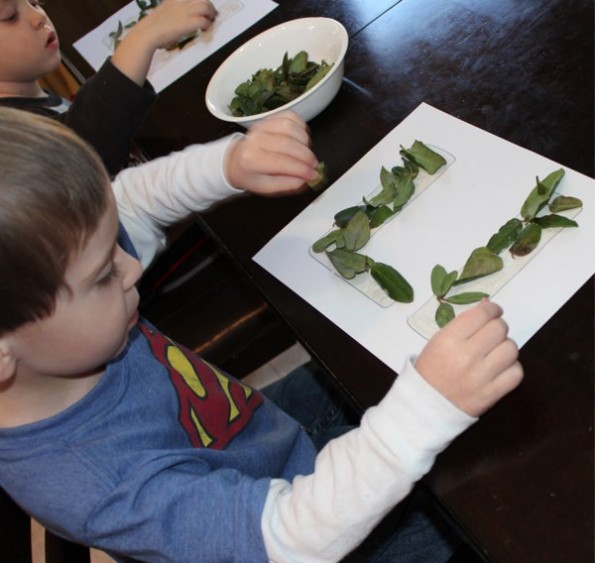
L is for Leaves!!!

The kids really enjoyed this one!  Even though it is winter out we were able to find enough leaves to do this.  It was different for the kids so they thought it was pretty cool.


Coloring our lion masks

The fun part about making lion masks is running around pretending to be one!

Lion Mask Materials
Paper plate
crayons
wide popsicle stick


Have a Lion Jungle Party!

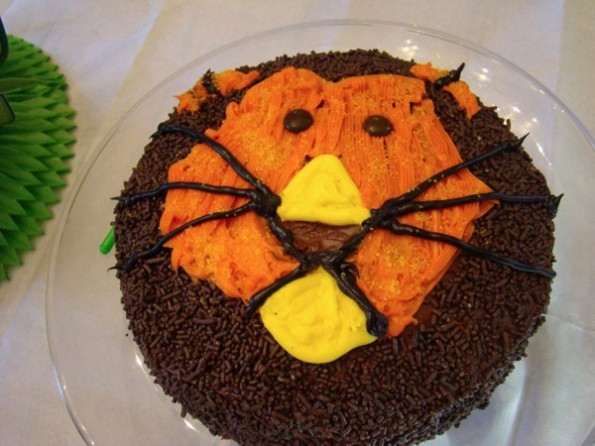
I feel everyone is always looking for fun birthday party ideas for preschoolers.  Once they are in grade school the kids seem to have their own ideas of what they want for their birthday parties.  So why not have a Lion Jungle Party.  This party was awesome and very inexpensive!

I love to make my own cakes and always make this party of the birthday ritual!

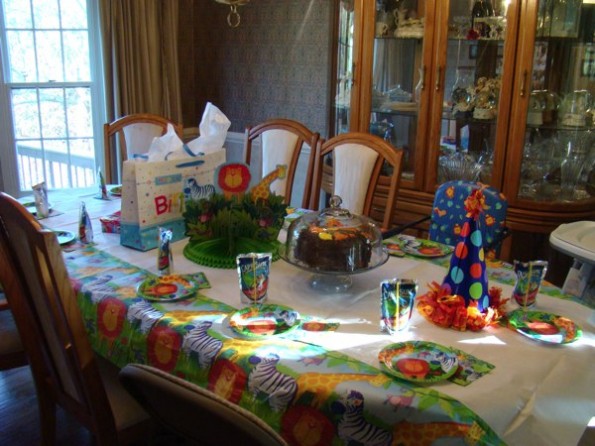
We decorated the house with different shades of $1 green streamers hanging from the ceiling to give it a jungle feel.  We also got some jungle looking plates, napkins, and a table cloth.  Green balloons littered the floor as well.  As the party kids arrived they sat at the table and played play dough with all my animal cookie cutters and plastic animal toys.  I called one child over at a time and had them pick an animal face painting design I had preselected (I checked out a book from my local library).  I painted each child’s face with some left over Halloween face paint.  After everyone had their face painted we went to the basement and played freeze dance to some sweet jungle songs (Lion King sound track, Wild Thing, Jungle Fever, etc..).

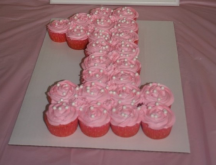
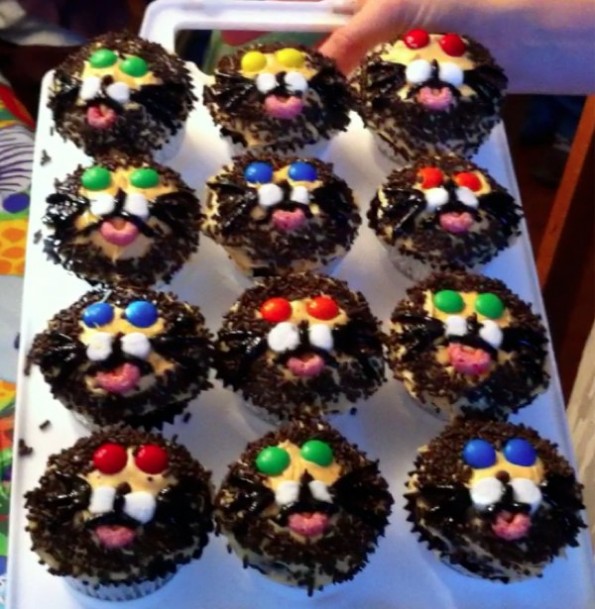
After that it was cake and cupcakes!  Easy and inexpensive!  The party went really well and the kids had a great time!  I highly recommend a Lion Jungle Party!

M&M for the eyes, mini marshmallows cut in half for the cheeks, and red fruit loops cut in half for the mouth


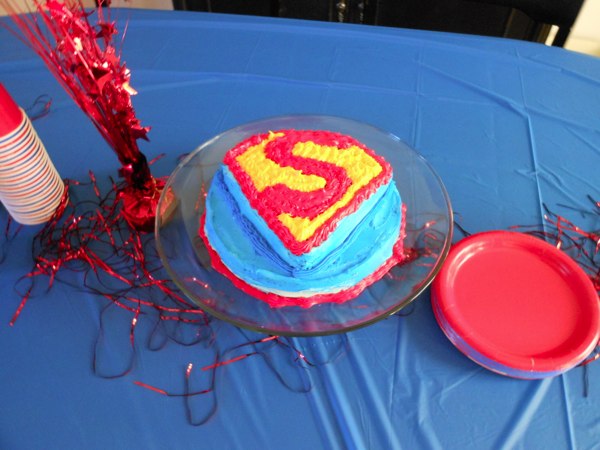
The table setting for the party

Have Weekends Away From Your Kids… It’s SO Healthy!

I might get a lot of bad views by the title of this post, but it’s probably from the moms that haven’t left their kids before.  Of course I HATE saying good-bye to them, but it’s a chance for me to get to spend one on one time with my husband.

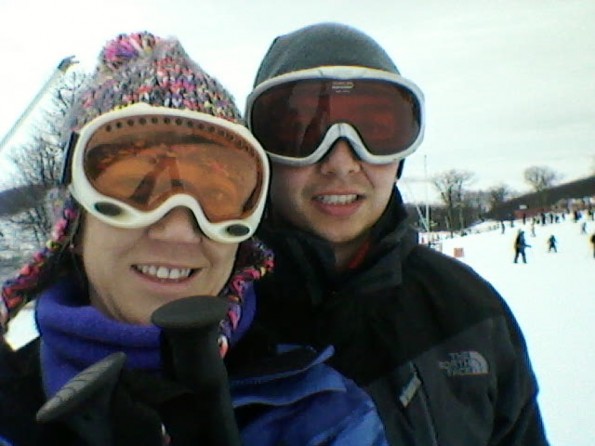
Last weekend, we went to Wintergreen Resort skiing (midwest fans don’t laugh) with Brian’s work.  We had the most awesome time.  We slept in and enjoyed each other without interruptions.  It was just us.

skiing

Having a great time!

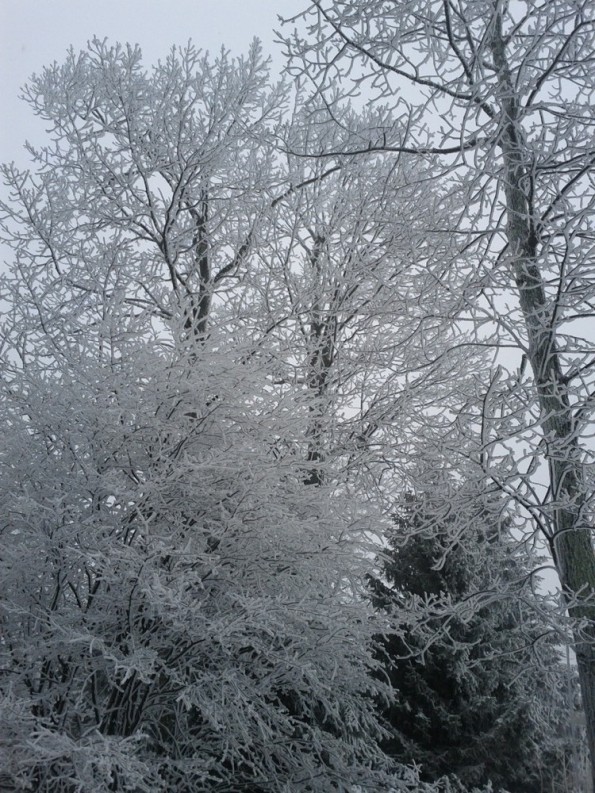
Some things I just don’t notice when I’m busy with two kids, here’s one:

tree sno

Some things I take for granted when I'm so busy with two little ones.

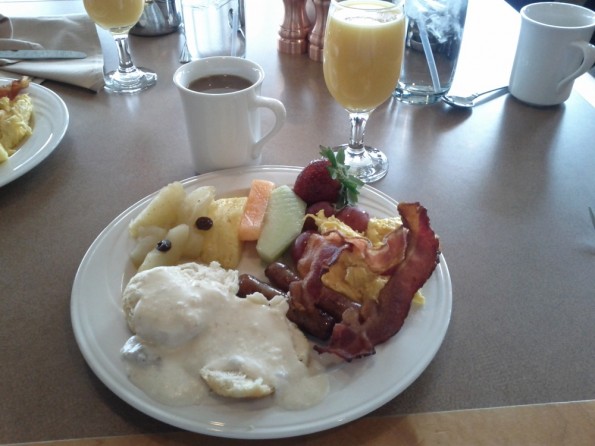
We definitely had great food while we were there — a serious shout out to Harris Grant Consulting for everything.  This was our last meal.

breakfast at wintergreen resort, The Copper Mine

Our last delicious meal.

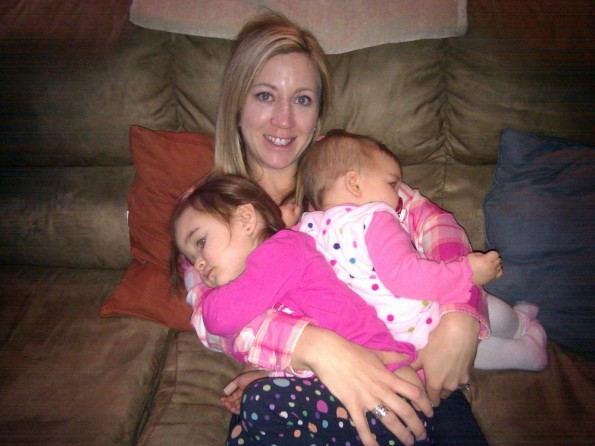
We had so much fun, but I was so excited to see my babes!

two sweet girls

Neither one of them were asleep, they just wanted their mama!

My whole point of this article is to tell you that it isn’t easy getting away and leaving your kids, but it really is healthy.  It was great spending time with my husband and so awesome to see my kids faces light up when they saw me after the trip.  Ella did have a great time with her grandparents and they had a great time with her.

Seriously, try it.  Go away for even one night.  There is an advice sheet that the doctor gives parents at each well visit and all of them say to take time to spend with your spouse.  So true.  It was amazing.


Letter H Activities for Preschool

Yep, my turn to teach preschool again.  We had a lot of fun learning H!  There are a lot of things you can do with the letter H since Hand print starts with H.  However, I feel like I have done the hand print projects to death lately so I went another direction.

We talked about our Hearts and how to take care of our bodies.  The kids seemed to enjoy it.  We did a couple different projects this week.

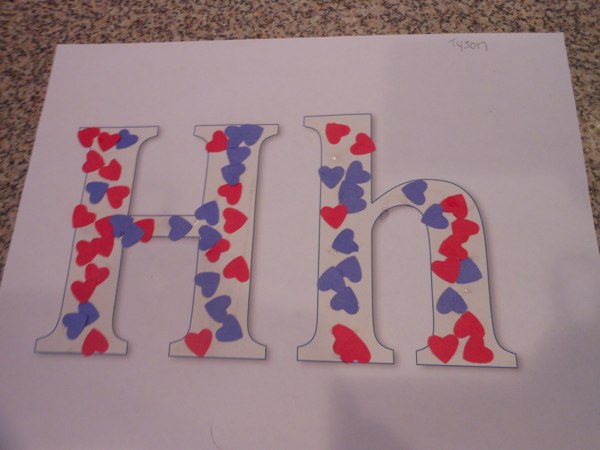
Decorating the letter H with hearts

This was really simple, but is great for fine motor development.  The hearts are small so they had to work to pick them up and glue them on.  I used a heart hole puncher sort of like this one to make the hearts.  I got mine at Michaels for a under $5 though.  I scrap book a lot and slowly like to build up my stash of supplies.

I put glue all over the H to save them the trouble of trying glue each tiny heart individually

Letter H Preschool Activitiy

The final product! A letter H Preschool Activity

The kids are in the process of making their own alphabet book.  Each week we learn a new letter and do a couple crafts to represent that letter.  They all have their own binders full of plastic sleeve protectors to store their projects in alphabetical order.  When we finish all our letters they will have their own little book to review their letters.

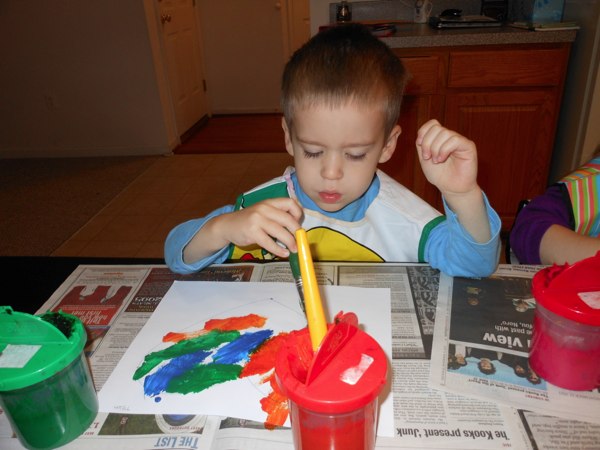
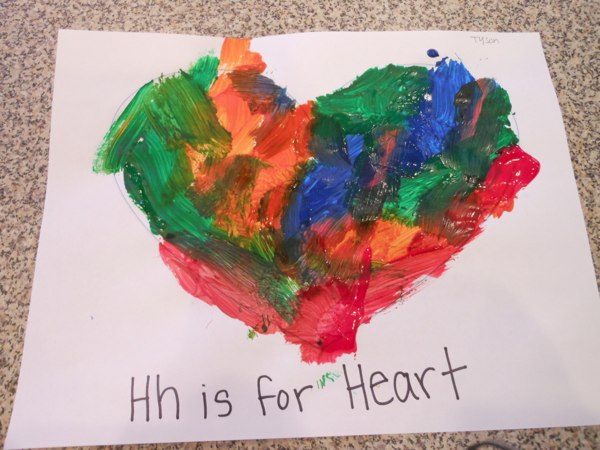
Preschool Letter H Activity – Paint A Heart

Here is the other project we did for the alphabet book for letter H.  It is pretty self explanatory.  They kids loved it… really anything involving paint is a big hit with the kids.

Painting his heart!

Too cute! Perfect for his alphabet book!

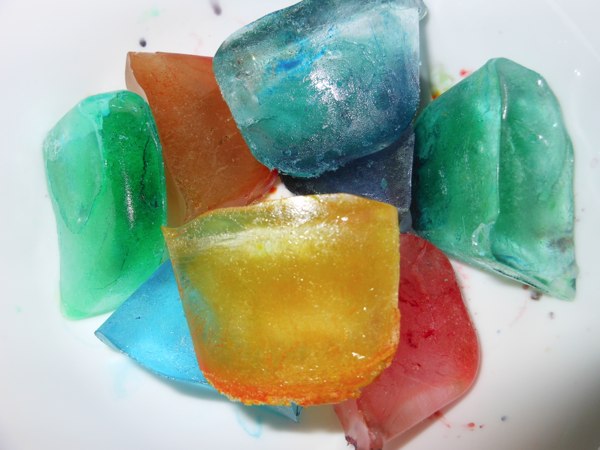
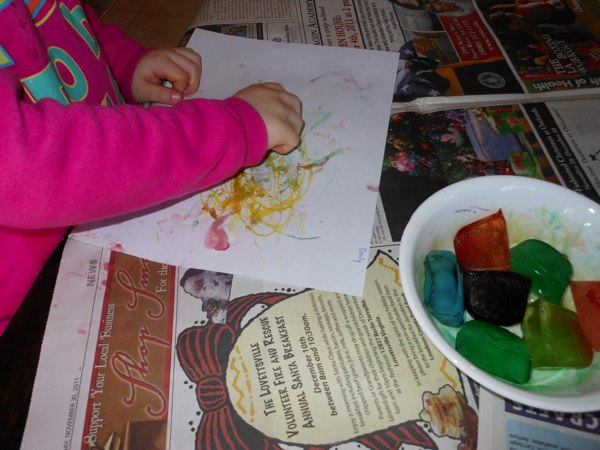
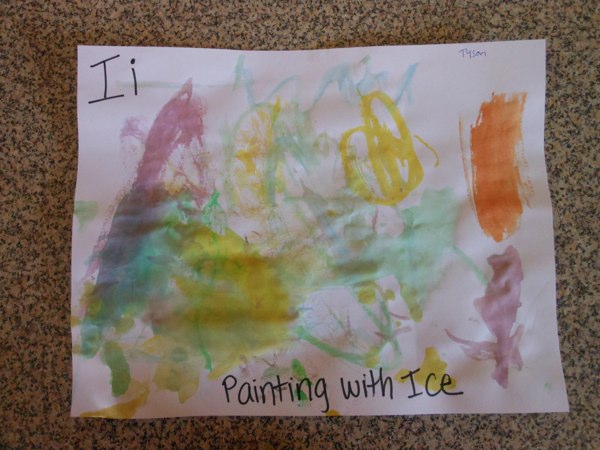
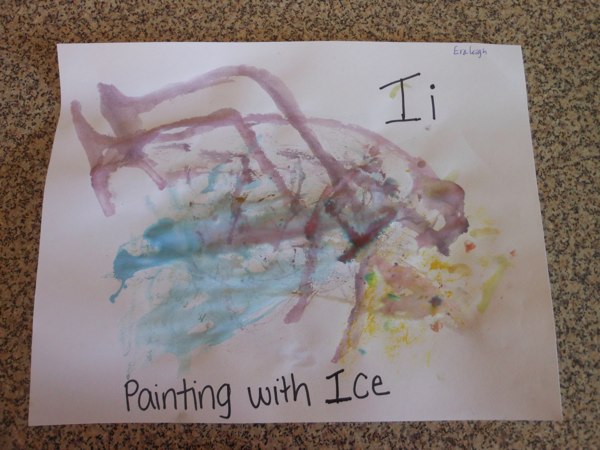
Painting with Ice! So fun!

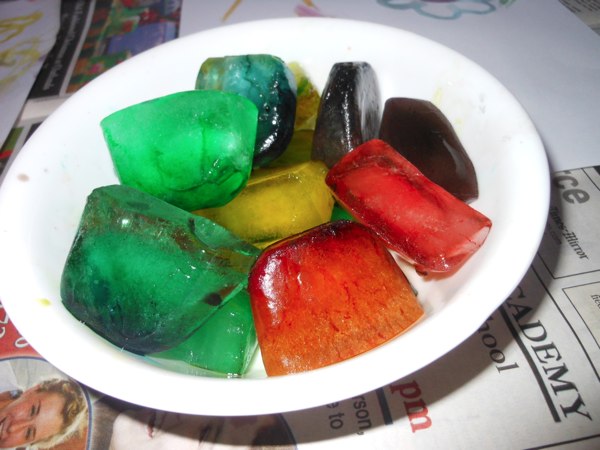
Brrrr!  We really had fun painting with ice cubes! This is such a fun little project!  I even enjoyed participating! All you have to do is fill up your ice tray and put a drop of food coloring in each one.  No need to mix or stir.  Just put in your drop and wait for them to freeze.  Pull the cubes out and let them sit for a few minutes before starting.

We are learning the letter Ii this week in preschool so painting with ice cubes was a perfect project!  This is also a great sensory and science activity.  Make sure to have the kids describe how the ice feels in their hands.

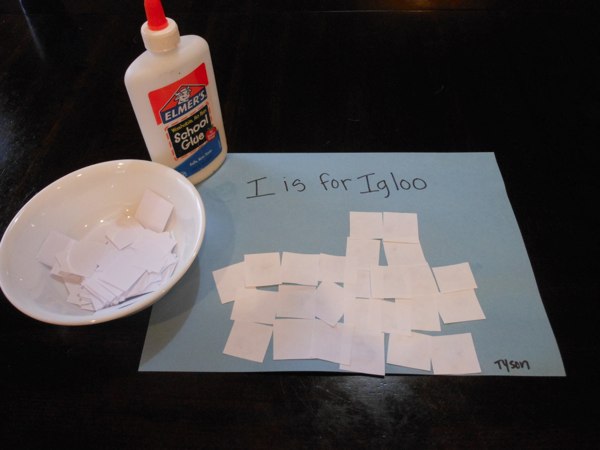
The kids also made igloos to learn about ice and the letter Ii as well.  Just cut out a bunch of white squares and let them create their igloo house!

Here is one of the finished igloo houses made by a 4yr old.

Saturday Night Idea in December!

You don’t have to do this on a Saturday night, but it was a great relaxing way to end our busy day (and it’s free).  I was a little bummed when we couldn’t find a sitter so we could go out for my friend’s birthday, but I didn’t let that get the total best of me. We ended up making a family night out by looking at all of the incredible Christmas lights.  It’s amazing how much time and effort people put into their lights and decorations.

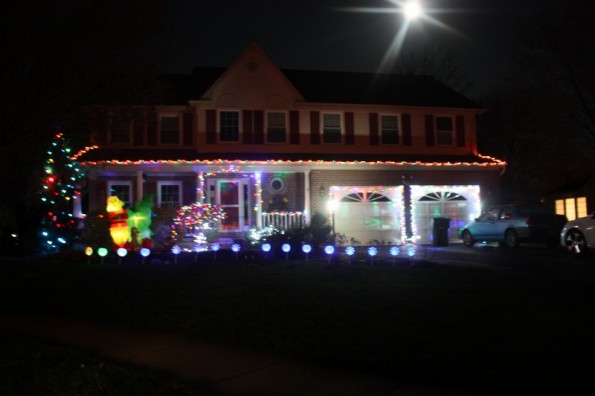
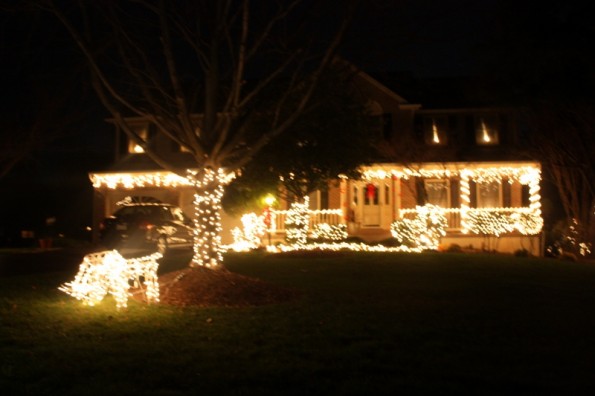
Here are a few of the houses we drove by:

pretty Christmas lights

I love this picture. Look at the reflection of the moon!

I purposefully took a picture of this house because of the Grinch.  I always joke with my daughter saying my husband is the mean Grinch.

Christmas lights

Simple and nice!

This is a lot of work!

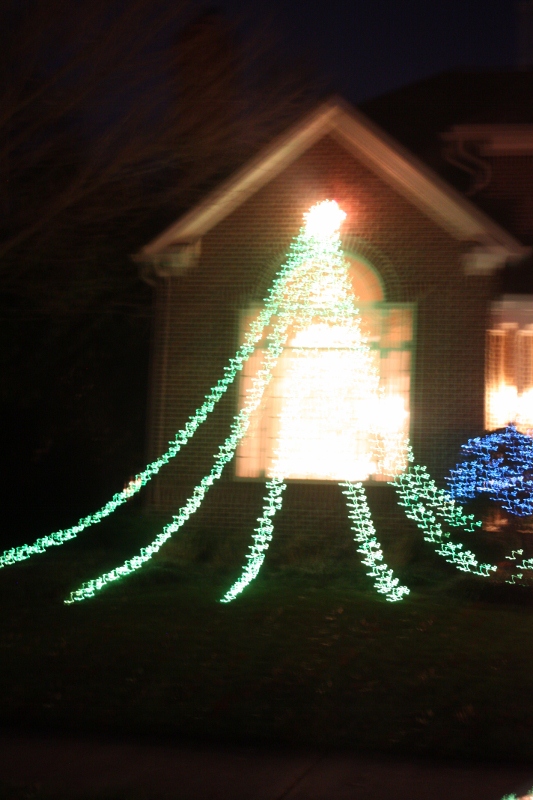
lighted christmas tree

Neat idea!

I thought the tree was really cool.  Creative!

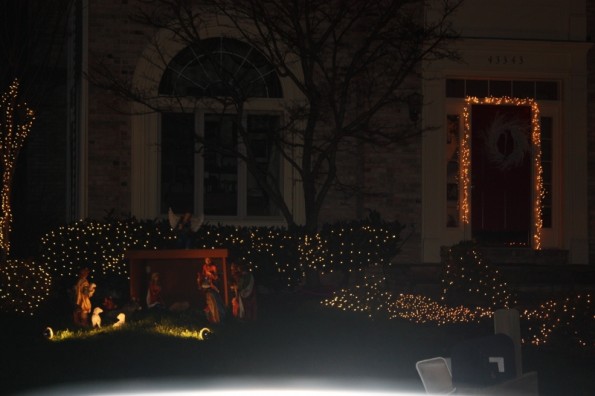
Lighted Manger

The real meaning of Christmas!

I loved this!  Sometimes we get so caught up in the hustle bustle of Christmas that we forget why we celebrate it.


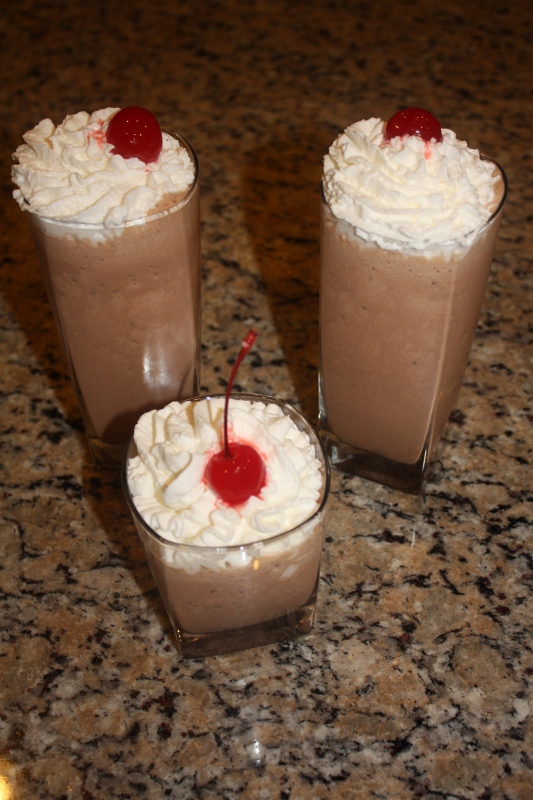
We stopped by the grocery store on the way home and I picked up some ice cream and whipped cream.  We came home and my 2 year old watched Rudolph, my husband played with the baby while I made these:

Yummy milkshake

Perfect ending to a perfect evening!

Wow, what a fun night as a family!

A Super Hero Birthday Party for only $45!

So excited, so excited!  After a lot of planning and anticipation, It was finally time for my little monkey’s 4th birthday party!!!   It was so much fun.  We did a lot of cool things and the entire thing from decorations, party favors, and food cost just $45.  You will love this…  here are the details:
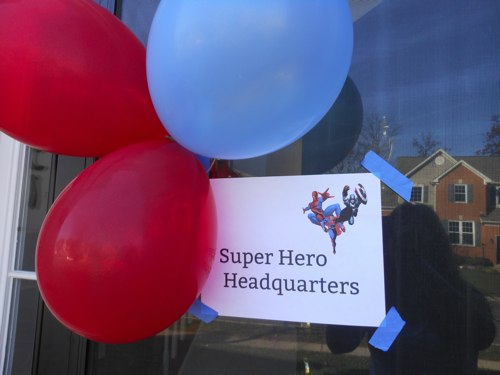
The Invitations:  I used an e-vite.  Simple, free, and easy to track the guest list.  The invitation went a little something like this:  “Calling All Super Heroes!  We must all unite to help defeat the evil villain trying to destroy Tyson’s birthday party.  Meet at hero headquarters at 3pm for some fun super hero training!  Hosted by Wonder Woman (aka Tyson’s Mom).”The Decorations:  I put a home made printed sign saying “Super Hero Headquarters” with a couple balloons on the door. Used some dollar table clothes and balloons, and hung a few streamers.
  • 3- $1 table cloths form the dollar store (one for the play dough table, one for the cake table, and one as the back ground for pictures)
  • 2 – $1 streamers (one red, one blue) from the dollar store
  • 1 – $1 hanging party centerpiece from the dollar store
  • 2 – $1 packages of balloons (one red, one blue) from the dollar store
    TOTAL:  $6 plus tax on decorations
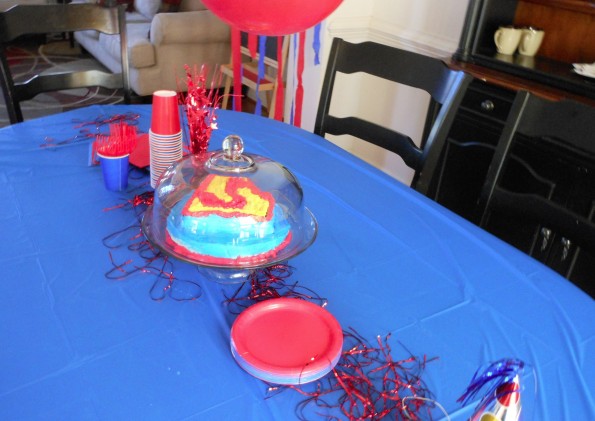
The Party:  As the kids arrived they were greeted and invited to play at the super hero play dough table.  The table had lots of play dough and even more super hero action figures of every type to play in the play dough with.

After all the kids had arrived I sat them all down together and told them that there was an evil villain lurking about trying to ruin the birthday party.  I needed all of them to use their super hero strength to defeat him.  Then I called them each up one at a time to receive their super hero rings (plastic superman rings I got in a 12pack on Amazon).

Just as the last child got his ring, the evil villain (my hubby dressed up and wearing a mask) showed himself while doing an evil villain laugh.  He had two large trash bags full of black balloons.  He told the kids they were bombs and that he would use them to destroy the party of they could not diffuse them in time.  The kids took a couple minutes jumping and popping all the “bombs.”

After all the “bombs” had been defused I told the kids they had all won a super hero award for their work diffusing the bombs.  I gave each child a super hero cape.  They were all pretty pumped to get their capes!  I then told them that the evil villain would be back and that we need to do some special super hero training to prepare.  The Kids went down to the basement for a special obstacle course.  The course ended with a pop up tent full of balls.  Each child had to search through the balls to find their super hero wrist bands with their initials.  (Note:  I just tossed one in before each person started the obstacle course).
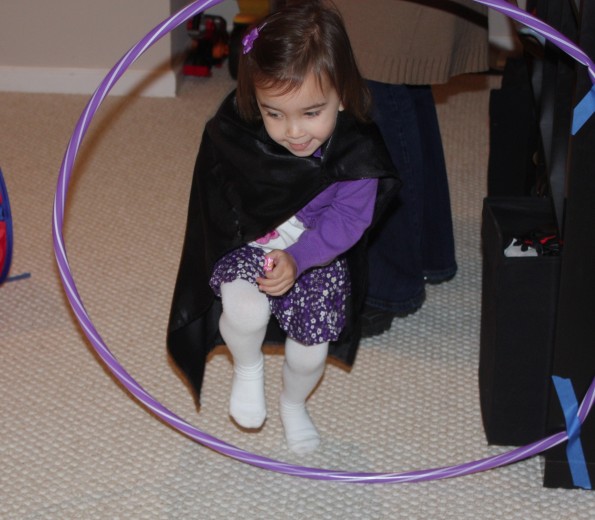
One of the party guests during the super hero training course

The kids completed the course to find that they had earned their super hero masks.  The kids now had a ring, cape, wrist bands, and a mask.  They all put them on and posed for pictures in front of a blue background (a plastic $1 tablecloth from the dollar store hung on the wall).  After the pics the evil villain dared to show himself again.  Each of the kids rushed to grab a ball from the pop up house to throw at him.  The birthday boy was given silly string to spray to defeat the villain.
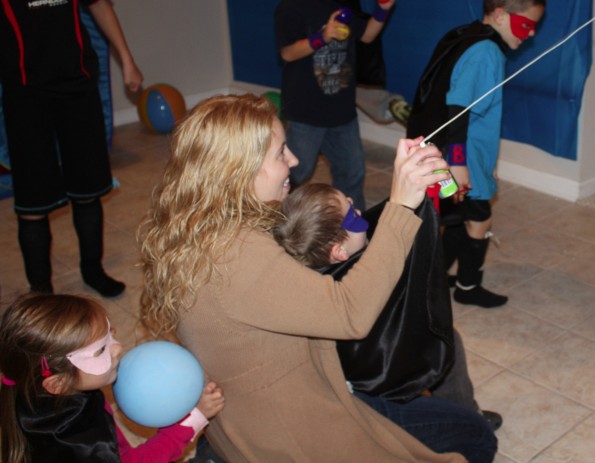
The birthday boy spraying (with a little help from his mom) the evil villain

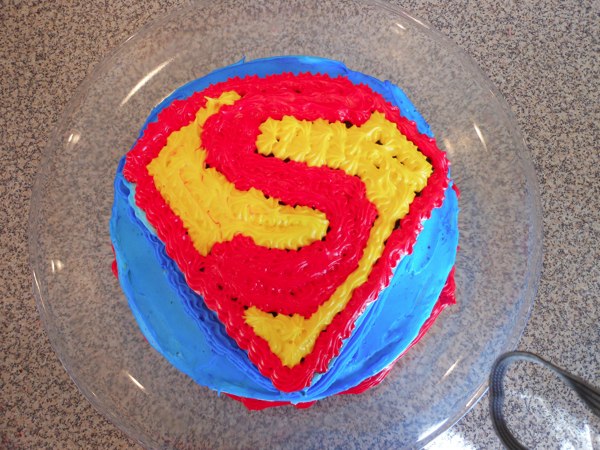
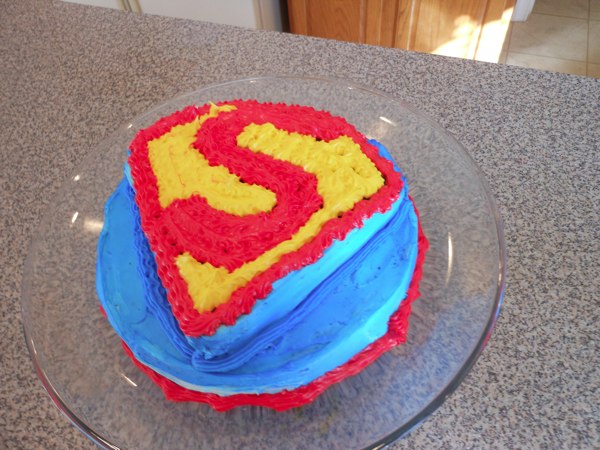
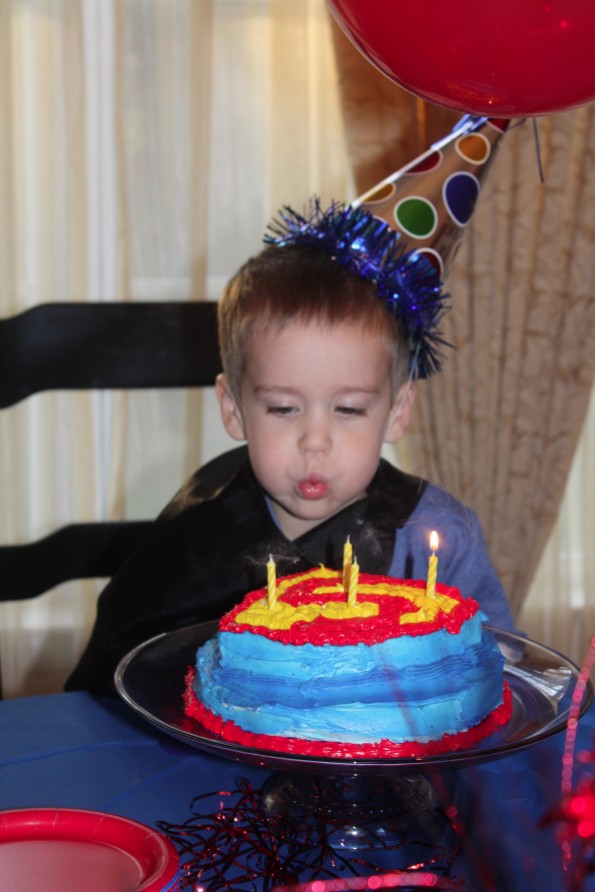
The super villain was defeated and the birthday party was saved.  Time for cake!  I always make and decorate my own cakes with the birthday boy.  It makes it that much more special.  This was a super man cake.  I also had incredible hulk juice (green sherbet, sprite, and green food coloring – all in a large punch bowl).  It was a big hit.
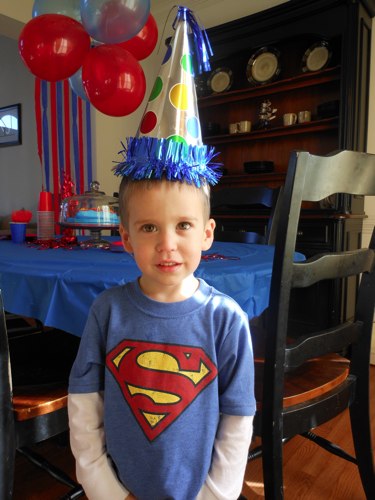
My sweet sweet birthday boy!

After cake, the kids all ran around playing and pretending in their super hero gear.  I also had a good friend who is awesome at tying balloons do me a huge favor and come help.  He tied a couple balloons for each child.  The boys mostly picked swords and sheaths and the girls picked flowers and animals.

The kids had so much fun, but even better, the birthday boy had a blast and declared he wants a super hero party every year!

Here is the price break down:

  • $6 on decorations
  • $2 for 2 bags of black balloons (used as bombs) from the dollar store
  • $2 cake mix
  • $2 frosting
  • $2.19 2-liter of sprite
  • $2.15 green sherbet
  • $1 for 2 paper cups (one red, one blue) from the dollar store
  • $1 for 2 paper plates (one red, one blue) from the dollar store
  • $1 for red plastic forks from the dollar store
  • $1 for 2 napkins (one red, one blue) from the dollar store
  • $1 for silly string (to spray the evil villain) from the dollar store
  • $10.91 masks and wrist bands
  • $6.68 capes
  • $3.40 superman rings

TOTAL COST OF THIS PARTY:  $45.33
Making a Super Man Cake!

I have to say that I am huge on making and decorating my kids birthday cakes.  I have three boys and on each of their birthdays we get up and make and decorate a cake together.  I am not an expert (my cakes obviously show that) and I have never taken any cake decorating classes (although I’d love to find time to).  For that reason, and because I always have an extra set of little hands helping me, I need to keep my designs simple.This year my little monkey had a Super Hero party.  He wanted his cake to be superman. I looked up the super man logo and new exactly what to do.  A two layer cake with the top layer cut in the shape of the super man shield logo.

  • Step 1: Bake your favorite cake in two 9-in round pans.  I am a simple when it comes to this… I use a $2 cake mix.  We never choose anything but chocolate at my house!
  • Step 2:  Carefully dump the pans upside down to release the cake from the pans. Put the cakes face up on two different plates and put them in the freezer for a couple hours.  This makes the cake easier and smoother to cut and shape later.
  • Step 3:  Take the cakes out.  Use a long piece of dental floss to cut straight across the cakes to make them level.  If you do not feel confident in doing this, just flip your cake upside down on your cake tray so that the bottom of the cake (the nice and flat side) is facing up.
  • Step 4:  Carve one cake into the shape of the super man shield.  The cake should cut clean and easy if it has been in the freezer long enough.  Using a frosting knife, frost a thin layer of frosting over the entire cake.  It doesn’t matter what color or if bits if cake show in the frosting.  This is only the first layer.  Place the cake back in the freezer (this seals the frosting and allows you to come back and put on another thicker layer of frosting without getting the itty bitty cake pieces in the frosting.  HINT: To save your serving tray from messy frosting while you are decorating, put pieces of parchment paper under the edges.  You can easily pull them off when the decorating is done.
  • Step 5:  Re- frost your cake in the main color you will use and decorate the top with other colors to make the superman logo.  I used a little bit of frosting in a decorating bag with different decorating tips.  You can also use a zip lock bag also; it works just the same.

Recipe Party = Huge Success

You might have read my previous post about how excited I was to have my recipe party.  The party was everything that I imagined.  It was so much fun!  Everyone got along so well (probably because I have so many nice friends) and all the food was over-the-top delicious!

Here’s the jist of the party that I previously posted:
Each person emails the host their five favorite recipes before the party, brings one dish of their five sent recipes and shows up for a childless great night!  I made sure to let people know that it’s supposed to be stress free, if they show up in sweats, no one will judge.

It started at 6:30 and I think everyone was here by 6:45, let the party startttttt.  The girls labeled their recipes (I had a sharpie with some blank index cards), grabbed some delicious cocktails and I went around and introduced everyone.

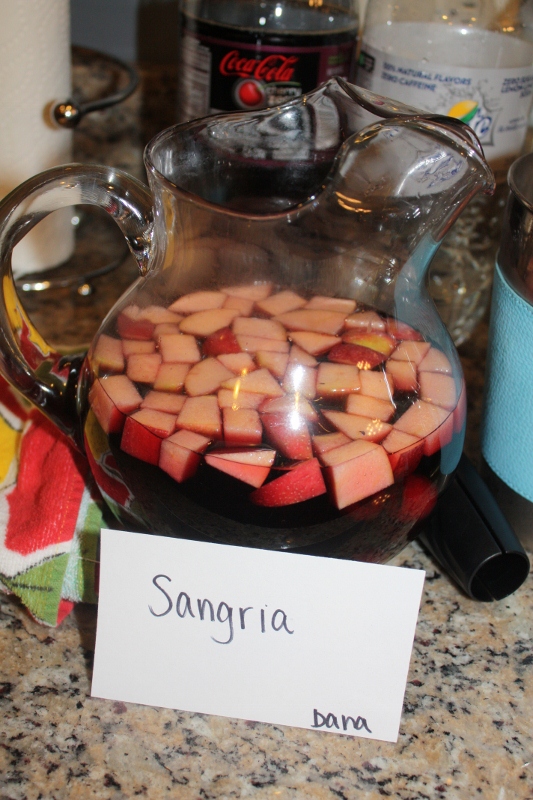
Sangria was a hit cocktail.  I made it (I can’t take credit for the recipe)!

sangria

Sangria. One of my recipes. It was a huge hit!

Introducing was actually fun because it brought back old stories that everyone got to hear.

Next, we chowed down!  The food was so delicious.  I took pictures, it’s okay to start drooling because this food was SO scrumptious.

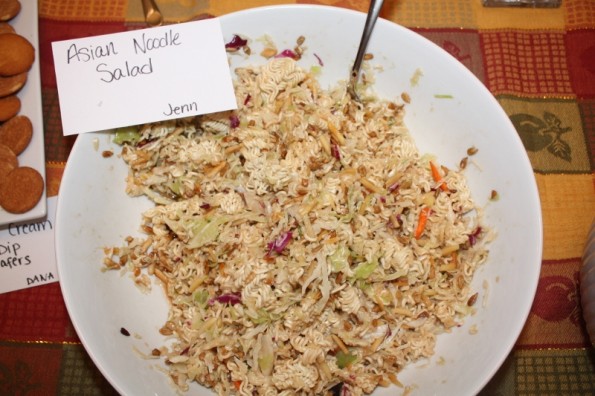
Asian Noodle Salad Recipe Party

This is a delicious Asian Noodle Salad, so yumm!

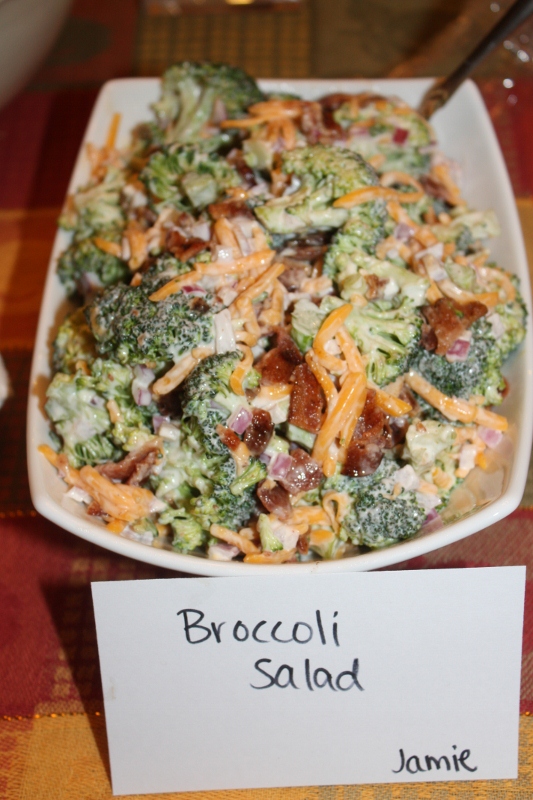
Broccoli Salad

Jamie brought this! I love broccoli salad for picnics (and you can totally make it south beach friendly).

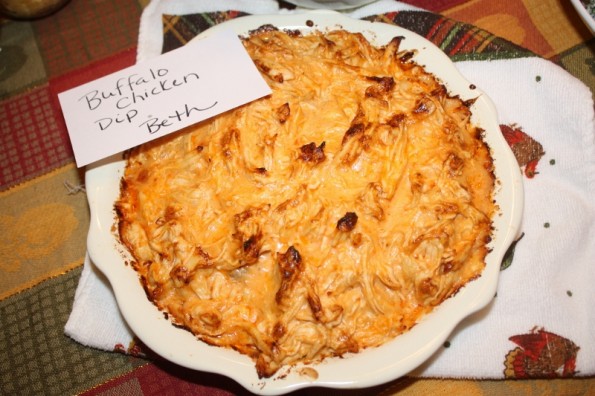
Buffalo chicken dip with blue cheese

Perfect appetizer! Buffalo chicken dip!

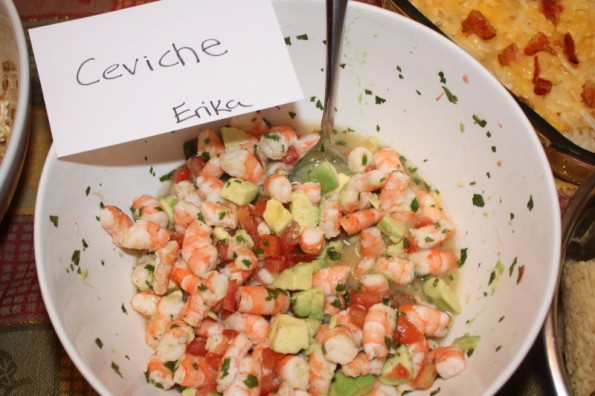
Ceviche yum

Ceviche

I was so proud of my friend that made this!  She never (no exaggeration here) cooks.  This is actually a more difficult dish and it was so yummy!

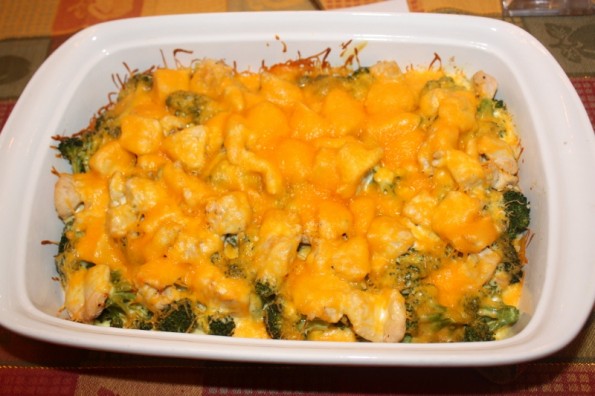
chicken divan casserole

Classic Chicken Divan. I made this.

I wanted there to be an actual meal type of dish.  I also told the girls that it was a great dish to take to someone if they had a baby or had something going on in their life (i.e. I took it to my aunt when she had a knee replacement).

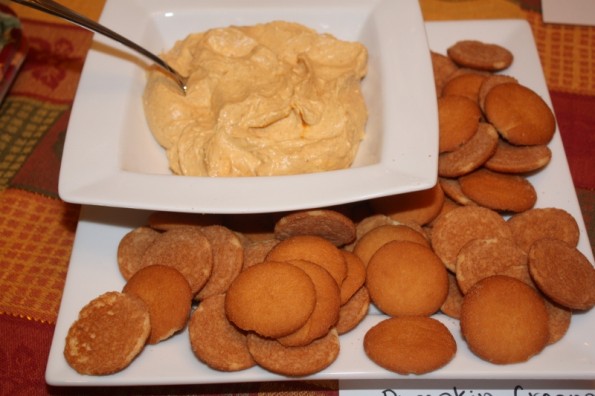
perfect pumpkin cream cheese dip

Perfect fall appetizer or even sweet treat. Pumpkin Cream Cheese Dip!

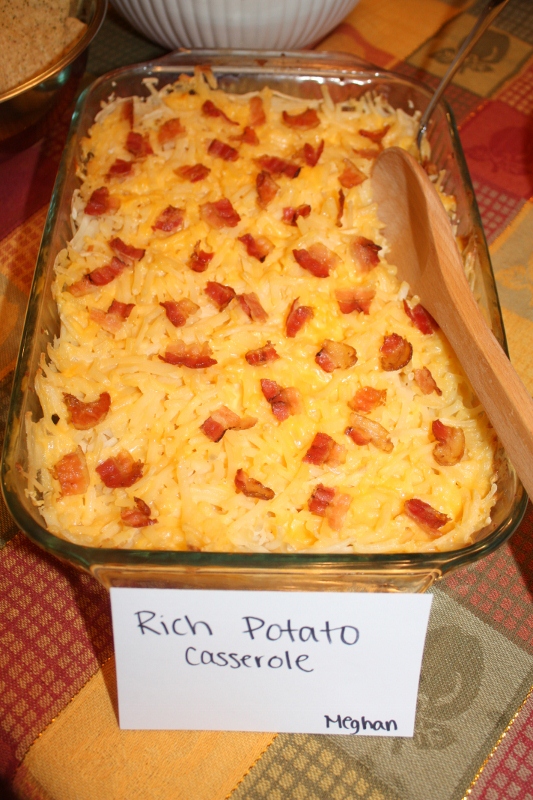
Rich Potato Casserole

Rich Potato Casserole. I love warm appetizers!

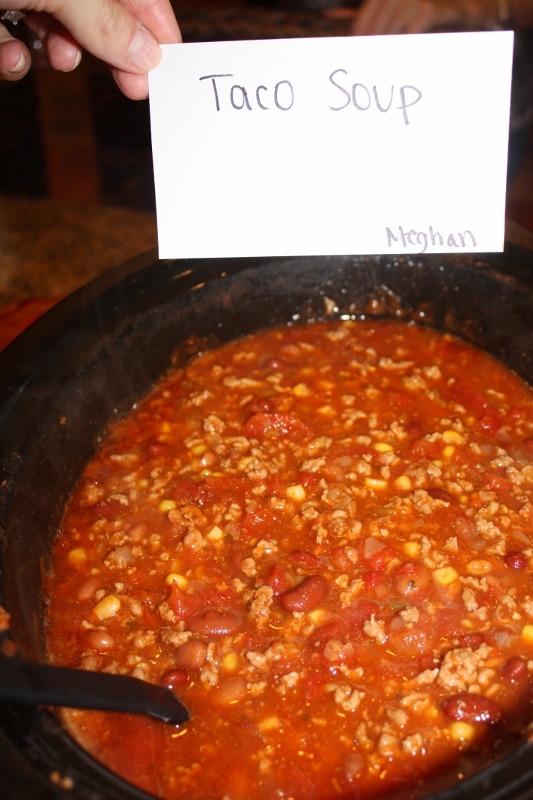
Taco Soup

So, Paula Dean does make a great Taco soup!

There were also two desserts.  There was an ice cream cake and a pumpkin dump cake.  I am so mad at myself for not getting pictures.  Now, I will have to make them and post them for you!  They were both delicious!  My old coworker use to make me an ice cream cake every year for my birthday, so I told her she had to bring it.  Oh man, I want some right now!  The pumpkin dump cake was also a huge hit!  My neighbor that came said she was going to make the pumpkin dump cake for Thanksgiving, see it’s totally worth having a party for all the yummy recipes.

After we ate, we played taboo!  We played the moms against the non-moms.  Team mom won!!  This was so much fun and was a great way for everyone to get to know each other!

Some people began to leave and three girls stayed around and we just chit chatted for a while.  I had the best time and I want to make this an annual tradition.  I love my friends.  The End.


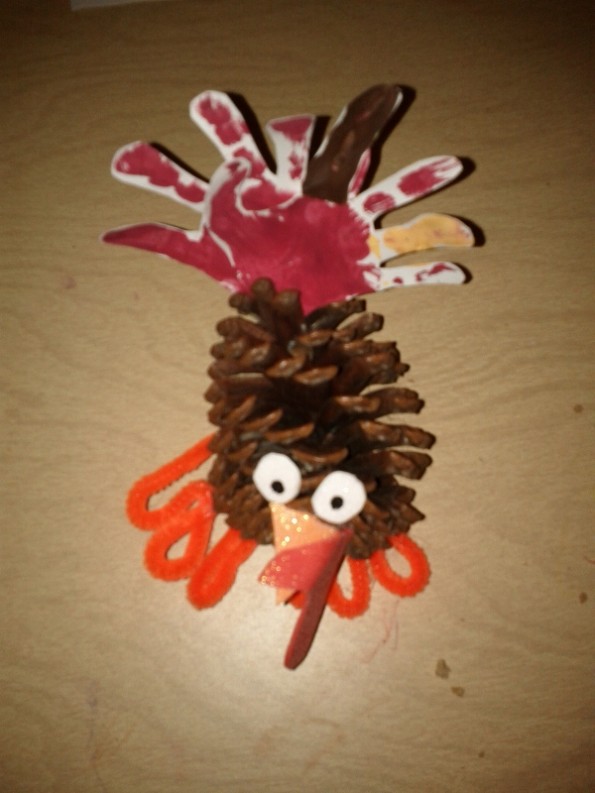
Turkey Made out of a Pine Cone

fun pine cone activity

Look at this cute turkey!

First, before I write anything else, I apologize for the pictures.  I only had my cell phone with me when the craft was being made.

Who’s got the most creative friend?!?!?!  I do, I do!  My friend Brooke and I hang out all the time, it’s more at my house just because of location.  She comes here, the girls play whatever and we chit chat.  We go there and she has amazing activities planned for the girls.  This is just one of those activities.

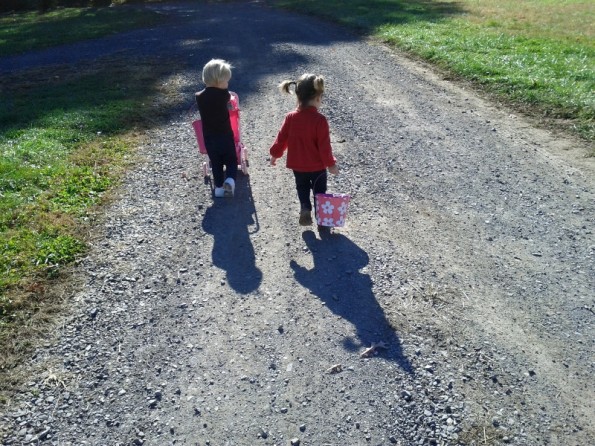
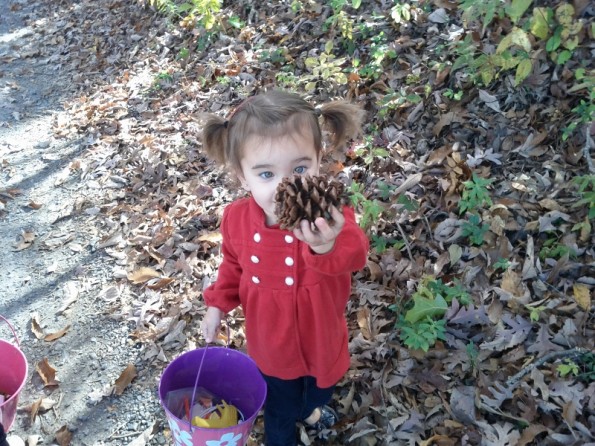
I arrive to her house (she lives on an AMAZING 20 acre farm) and she has the girls buckets ready for their adventure!  The first step was for them to go find two pine cones that she hid (of course they were in obvious places).

girls on a mission for pine cone

And they are off to find their pine cones!

This is the base for the turkey, yes I’m captain obvious.

Pine cone

Ella found hers!

If you are a blog junkie of ours, notice she’s wearing her sweater from the consignment sale!

Next, they went and started putting their turkey together.

You need:
pine cone
paper to trace both hands
turkey paint colors
eyes, beak, gizzard cut outs
two orange pipes
hot glue gun

turkey hand paint

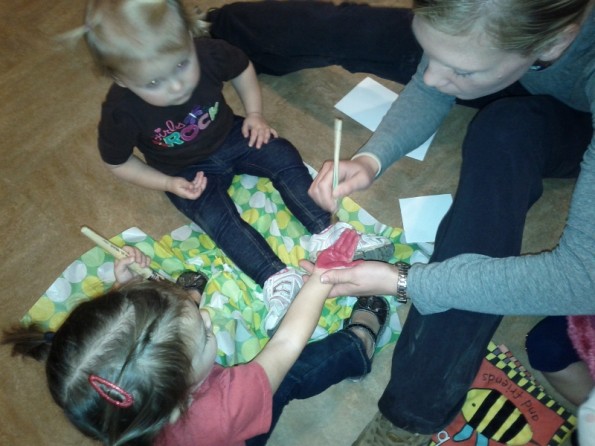
Here is Ella getting her hand painted for the back feathers.

Brooke painted her hand twice.  Once all red and the next time she painted two of her fingers different colors.

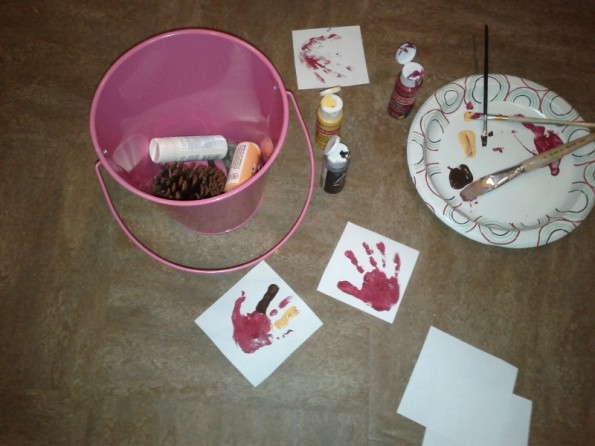
hand print for turkey pine cone

Here are the supplies and what the hand prints looked like before she cut them.

She had already had the beak, gizzard and eyes cut out for us.  So, we worked on the feet next.

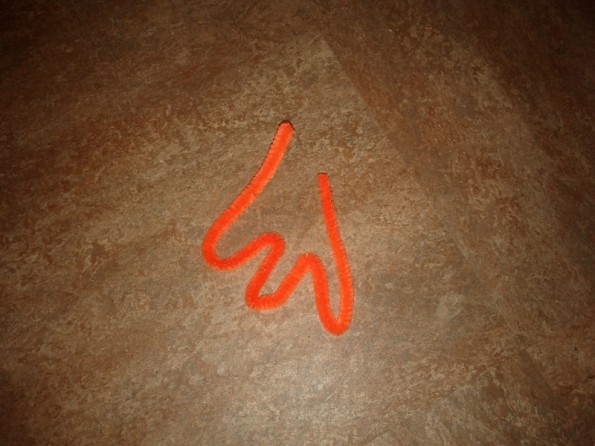
turkey foot

Here is the foot, you just bend it to make it look like this!

Now, since your hand prints are just about dry cut them out and glue everything on the pine cone. Wahhlaaaaa!  Such a fun and cute craft!